Common Brick Pointing Mistakes That Can Harm Your Historic Home
Key Takeaways:
- Material Mismatch Danger: Portland cement is the most destructive material for historic brick homes because its extreme hardness traps moisture inside walls, causing historic bricks to crumble and deteriorate within 5-10 years when soft lime mortar should be used instead.
- Power Tool Damage: Angle grinders and circular saws permanently scar historic masonry by removing protective brick layers and creating heat damage that forms micro-cracks, making proper hand-tool techniques essential for preserving original brick integrity.
- Mortar Analysis Critical: Matching mortar color without analyzing composition creates time-bomb repairs since modern masonry cements are 6-10 times stronger than original lime mortars, causing stress that cracks surrounding historic bricks even when colors look perfect.
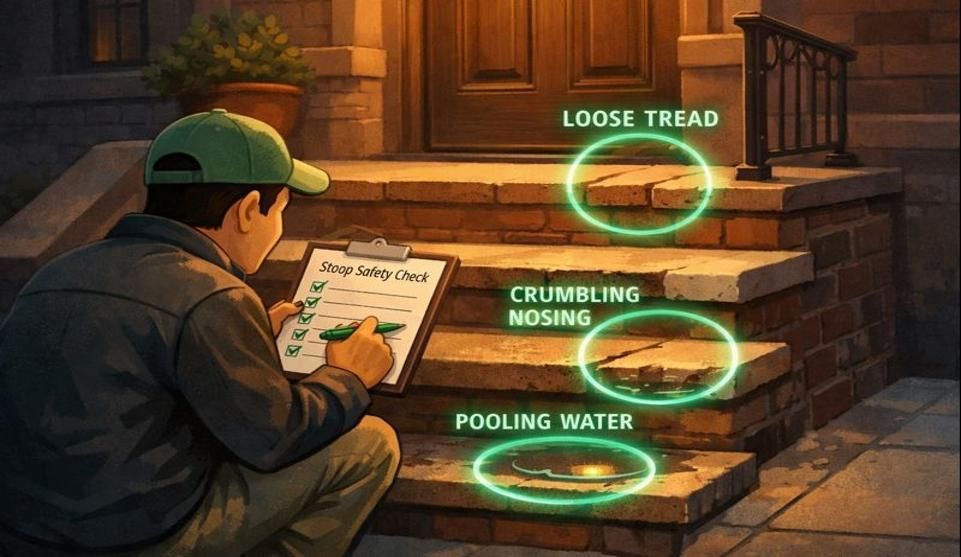
- Early Warning Signs: Uniformly gray mortar, efflorescence deposits, spalling brick faces, ruler-straight joint lines, and circular score marks on bricks all indicate previous pointing work was done incorrectly and needs immediate attention.
- Investment Protection: Proper historic pointing costs more initially but prevents $50,000+ repair disasters, requiring contractors experienced with pre-1930s buildings who understand lime mortar techniques rather than general masonry practices.
These devastating mistakes permanently damage irreplaceable historic fabric, making it crucial to understand proper preservation techniques before any pointing work begins on your historic Bronx brownstone.
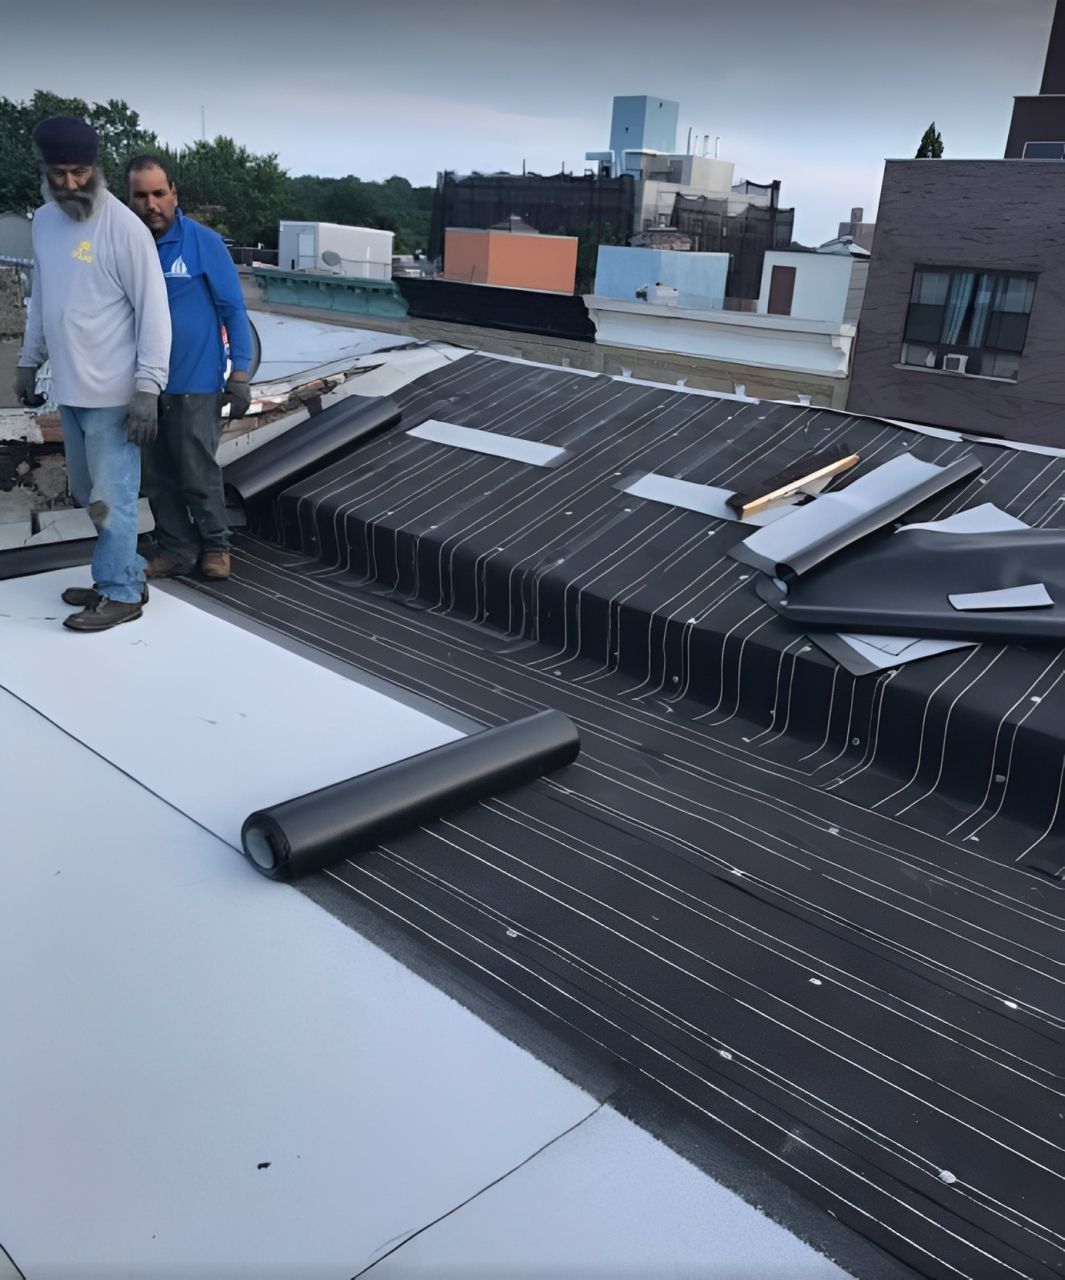
The wrong brick pointing job can severely damage your Brooklyn brownstone. One contractor's mistake with Portland cement could potentially cost tens of thousands of dollars in repairs, depending on the extent of damage and the size of the affected area. Similar damage patterns occur in historic masonry throughout the region, including issues with brick pointing in Bronx, NY, where pre-war buildings face comparable challenges.
Your historic home survived over a century with its original lime mortar intact. But modern masonry practices, when applied to heritage buildings, create disasters that spread like disease through old brick walls. The damage progresses variably—sometimes slowly, sometimes rapidly—based on factors like local climate conditions and freeze-thaw cycles.
Understanding these critical mistakes helps protect both your investment and the irreplaceable historic fabric that makes your home special. Let's examine the most devastating errors that permanently harm pre-1930s brick homes.
The Portland Cement Catastrophe
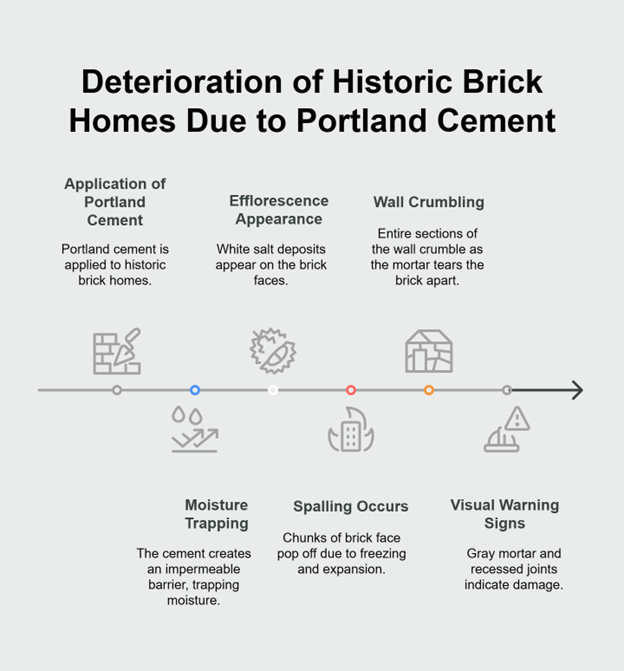
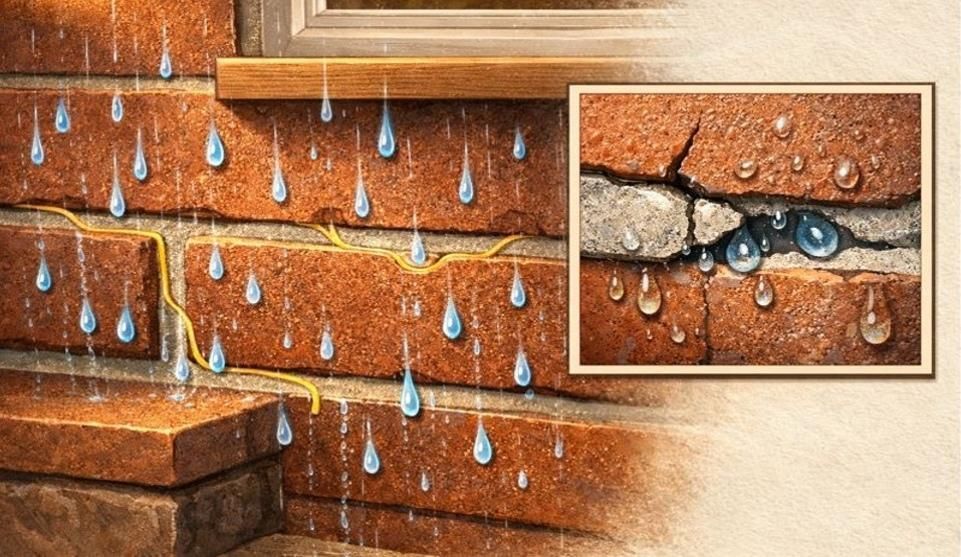
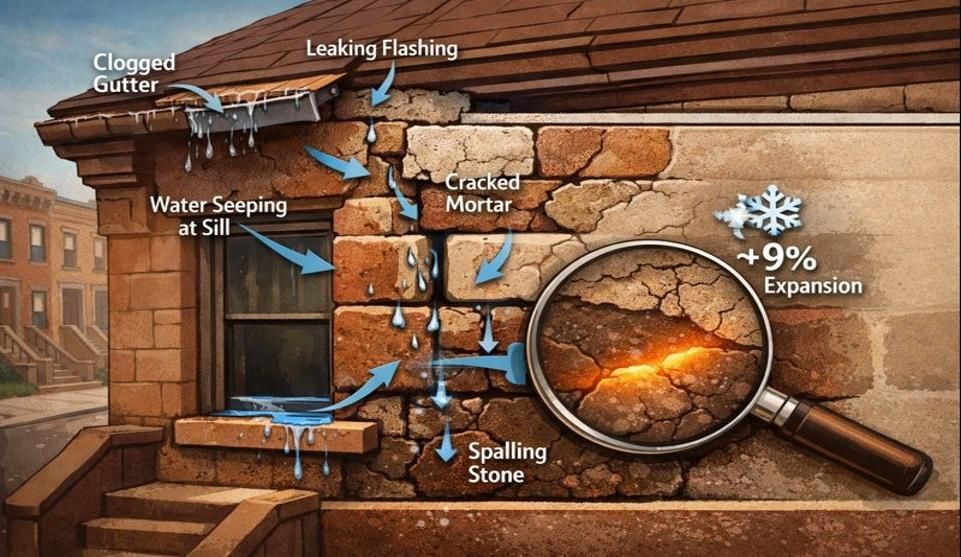
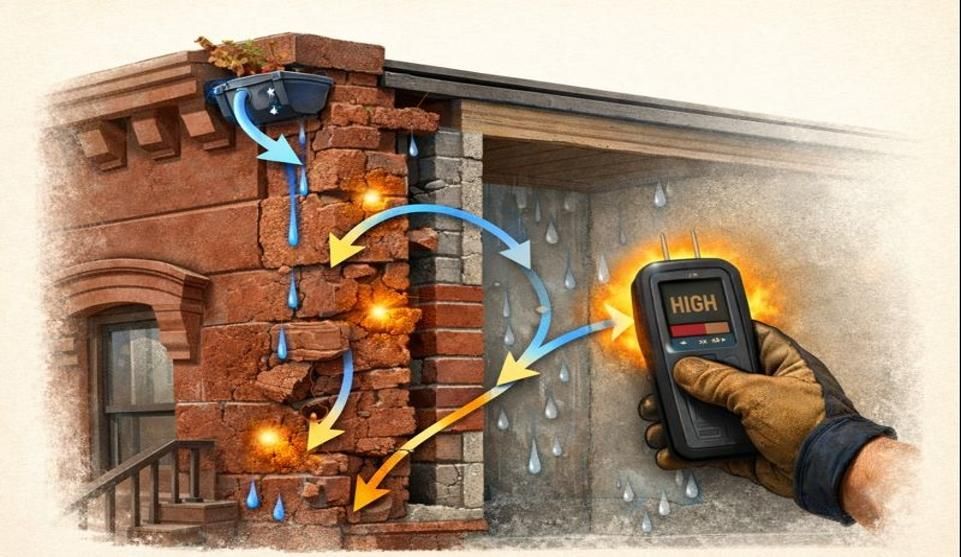
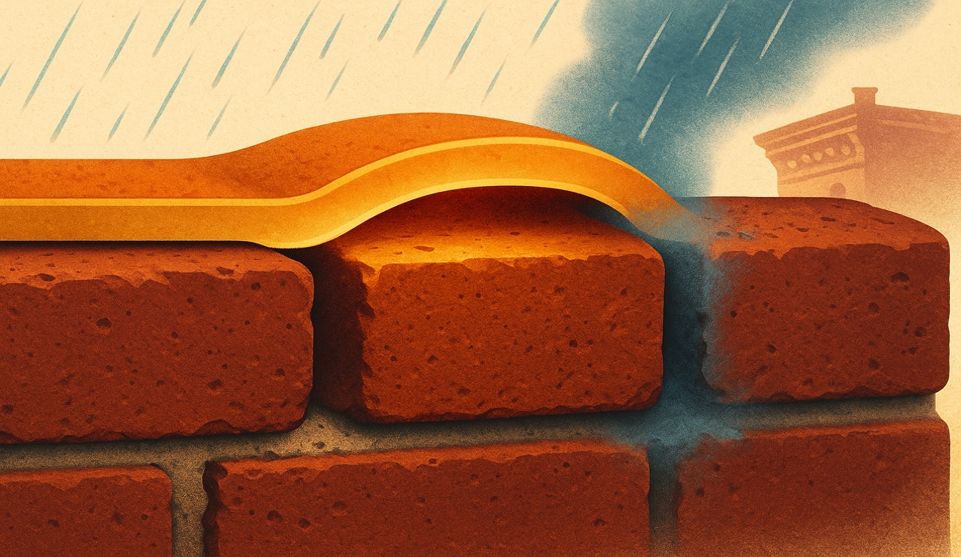
Portland cement represents the single most destructive material used on historic brick homes. Where original builders used soft lime mortar that flexed with temperature changes, Portland cement creates an inflexible seal that traps moisture inside your walls.
Think about how your historic bricks were made. Fired at lower temperatures than modern bricks, they're actually designed to be softer and more porous. This works perfectly with lime mortar, which allows moisture to escape through the joints. But when someone applies rock-hard Portland cement, that moisture gets trapped behind the impermeable barrier.
The results appear gradually but inevitably. First, you'll notice white salt deposits called efflorescence appearing on brick faces. Then comes spalling—chunks of brick face popping off as trapped water freezes and expands. The timeline for significant deterioration can vary widely—from just a few years in harsh climates with frequent freeze-thaw cycles to a decade or more in milder conditions. Eventually, entire sections of wall can crumble as the harder mortar literally tears the softer historic brick apart. Contractors might recommend Portland cement for various reasons—its widespread availability, lower cost, faster setting time, or the perception that "stronger" materials provide better protection—without fully understanding historic preservation requirements.
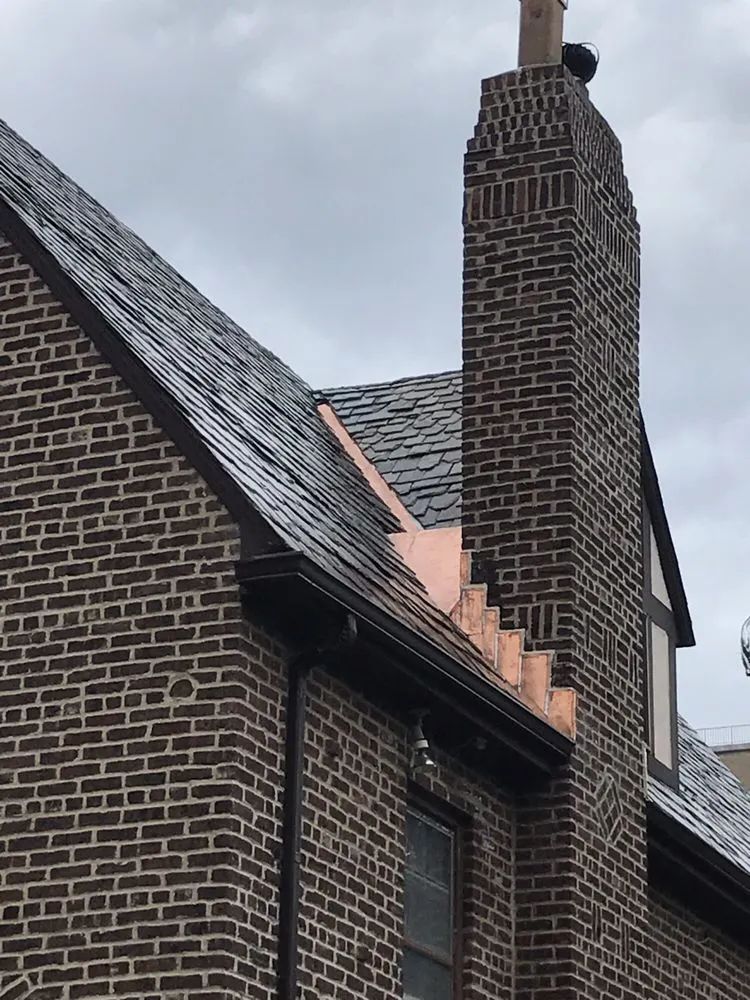
Visual warning signs include mortar that's uniformly gray rather than the off-white or buff color of lime-based mortars. Portland cement joints often appear recessed as surrounding bricks deteriorate, creating a skeletal appearance where mortar stands proud of damaged brick faces.
+-------------------------------------------------------------------------------------------------------+
💡 Quick Takeaways
- Material Mismatch: Portland cement's hardness destroys softer historic bricks by trapping moisture
- Progressive Damage: Deterioration timing varies significantly with climate and exposure conditions
- Visual Indicators: Gray mortar color and proud joints signal Portland cement damage
+-------------------------------------------------------------------------------------------------------+
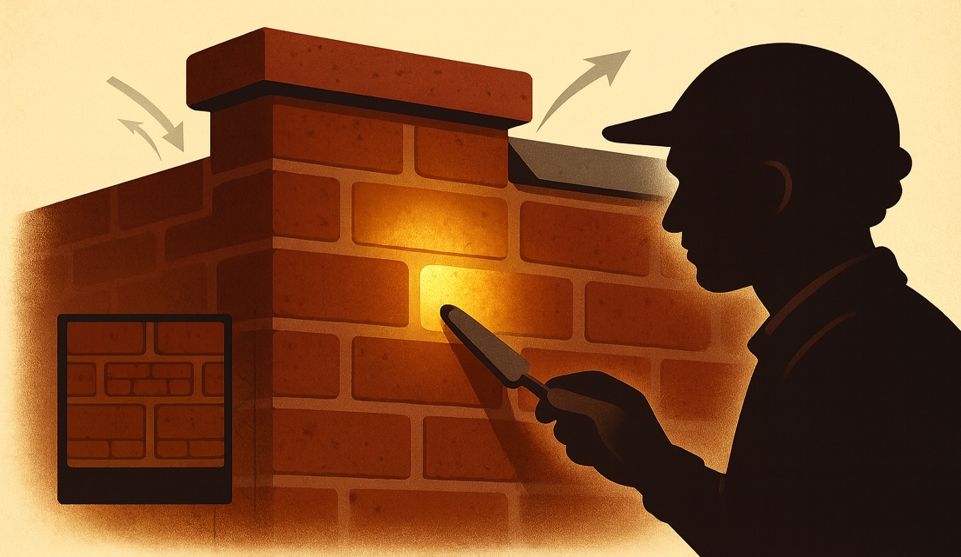
Destructive Pointing Techniques
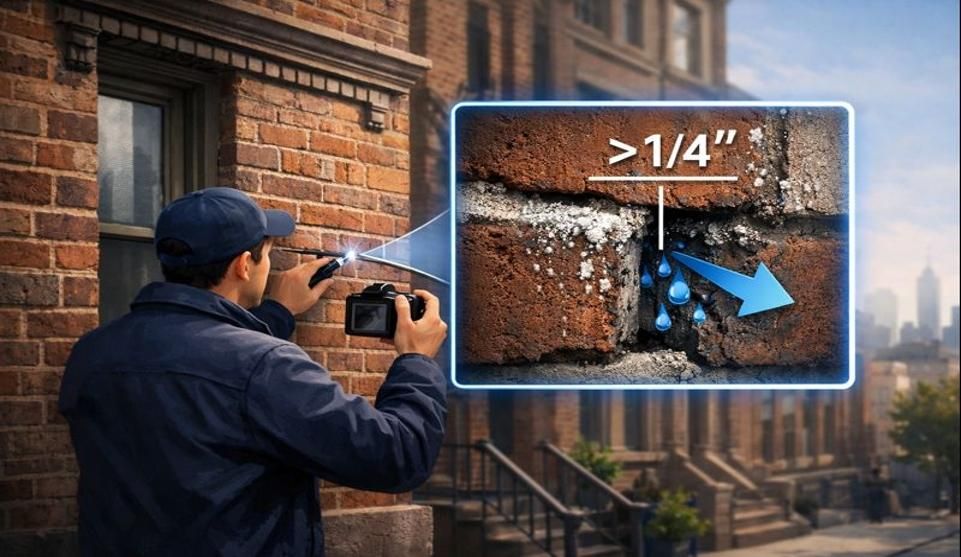
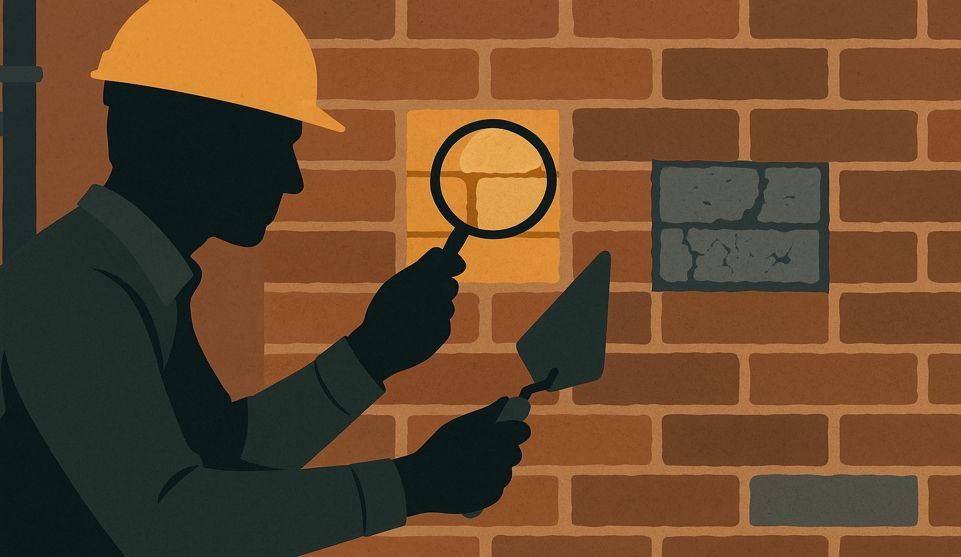
Power tools create permanent scars on historic masonry that no amount of careful restoration can fully erase. Angle grinders, the most common culprit, remove not just old mortar but also the hardened outer layer of brick that protects the softer interior.
When contractors use circular saws or grinders to remove old mortar, they invariably cut into the brick itself. These cuts, often extending a quarter-inch or more into the brick face, create permanent grooves that collect water and accelerate deterioration. The high-speed rotation also generates intense heat that can microcrack the brick's surface, creating thousands of tiny entry points for moisture.
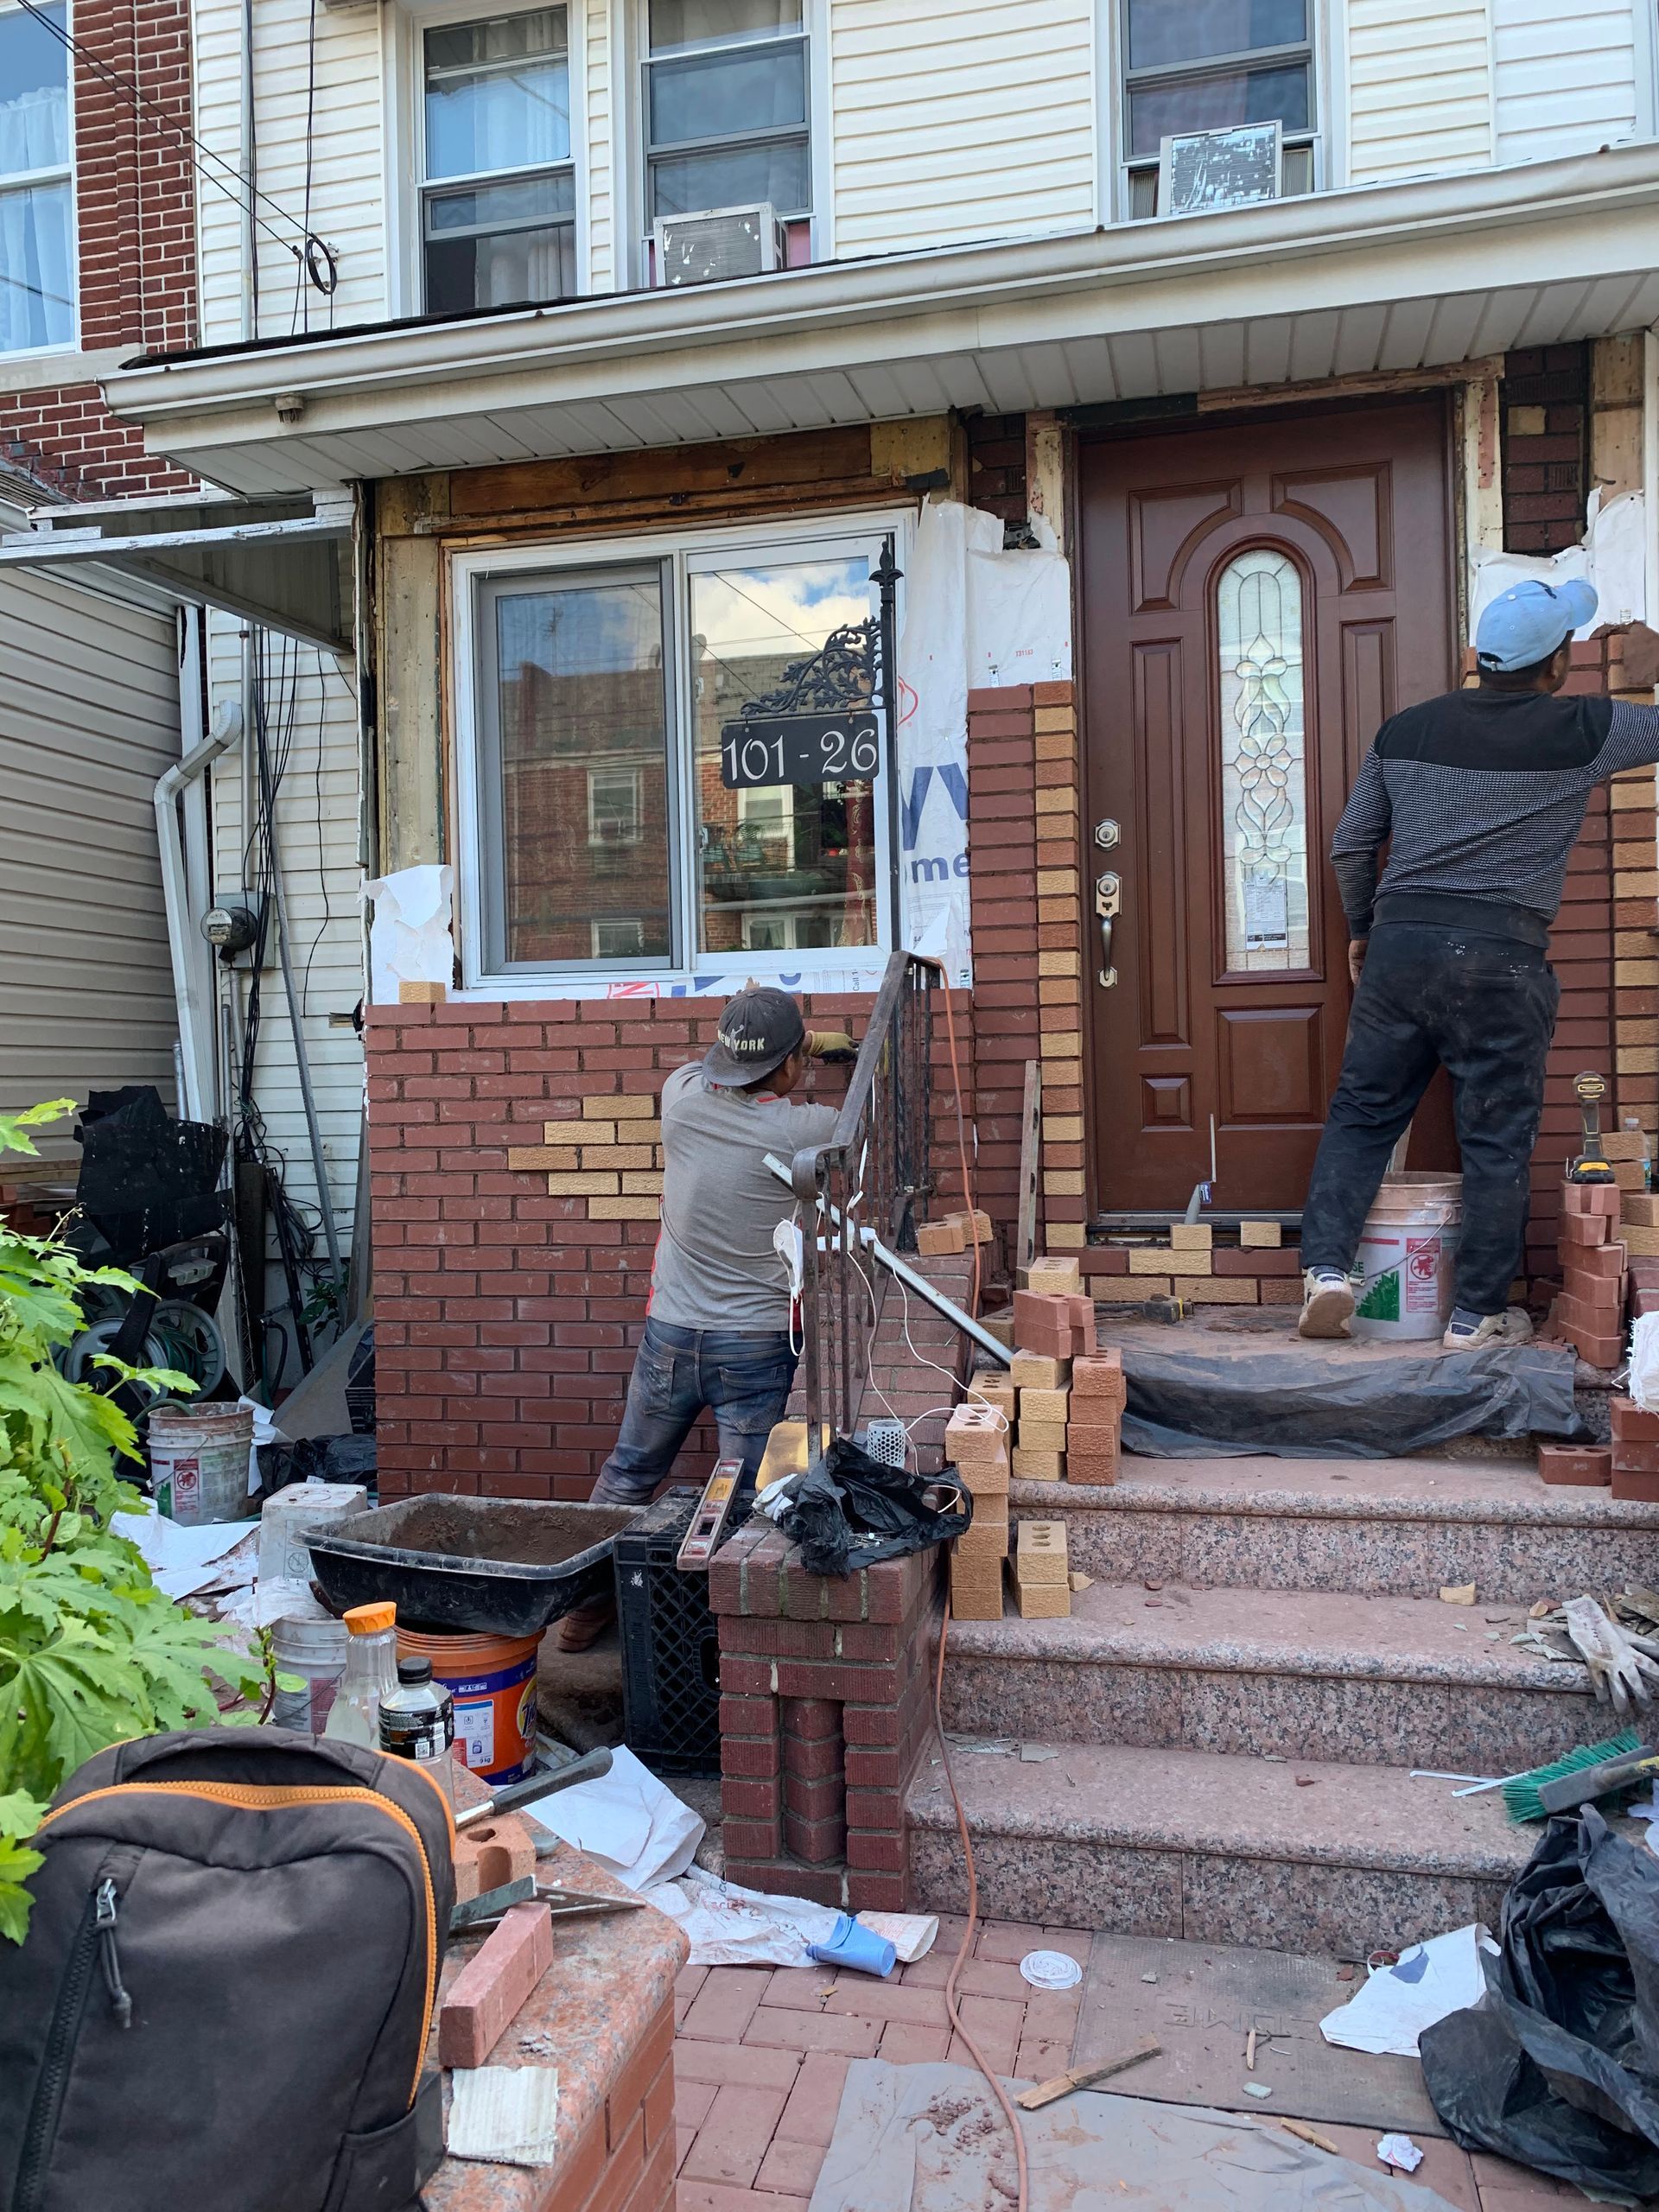
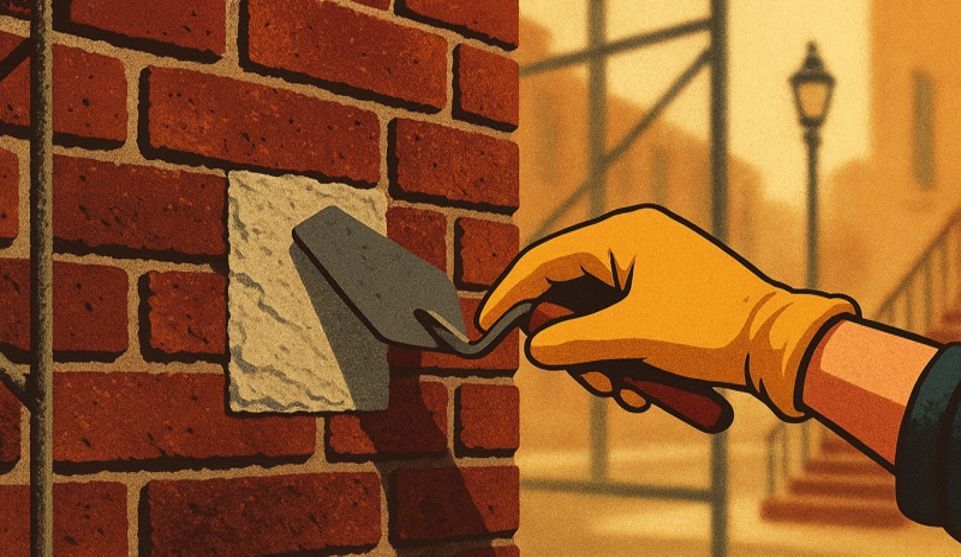
Proper mortar removal requires patience and hand tools—specifically a hammer and chisel for most work, with careful use of specialized masonry chisels for stubborn areas. This method preserves the original brick edges and the weathered patina that gives historic masonry its character. Yet many contractors, driven by profit margins and tight schedules, reach for power tools that can remove mortar ten times faster. Whether dealing with Brooklyn brownstones or brick pointing in Bronx, NY historic districts, the patience required for proper technique remains the same.
The telling signs of grinder damage appear as unnaturally straight joint lines, uniform joint depths, and smooth brick edges that lack the subtle irregularities of hand-laid masonry. You might also see circular score marks on brick faces where the grinder blade wandered beyond the joint.
+-------------------------------------------------------------------------------------------------------+
💡 Quick Takeaways
- Permanent Damage: Power tool cuts and heat damage create irreversible brick face destruction
- Proper Technique: Hand tools preserve brick edges and historic character during mortar removal
- Warning Signs: Unnaturally straight joints and circular score marks indicate grinder damage
+-------------------------------------------------------------------------------------------------------+
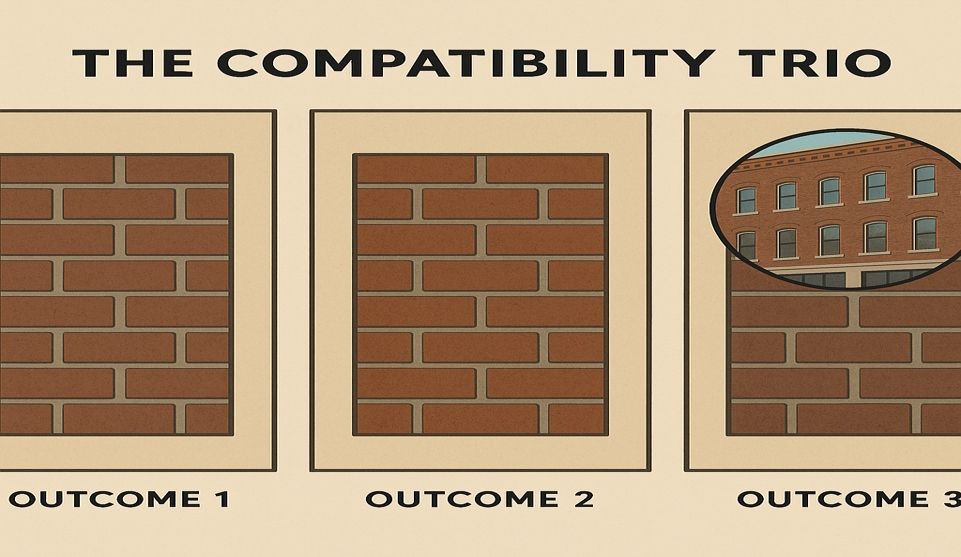
Mortar Mismatch Disasters
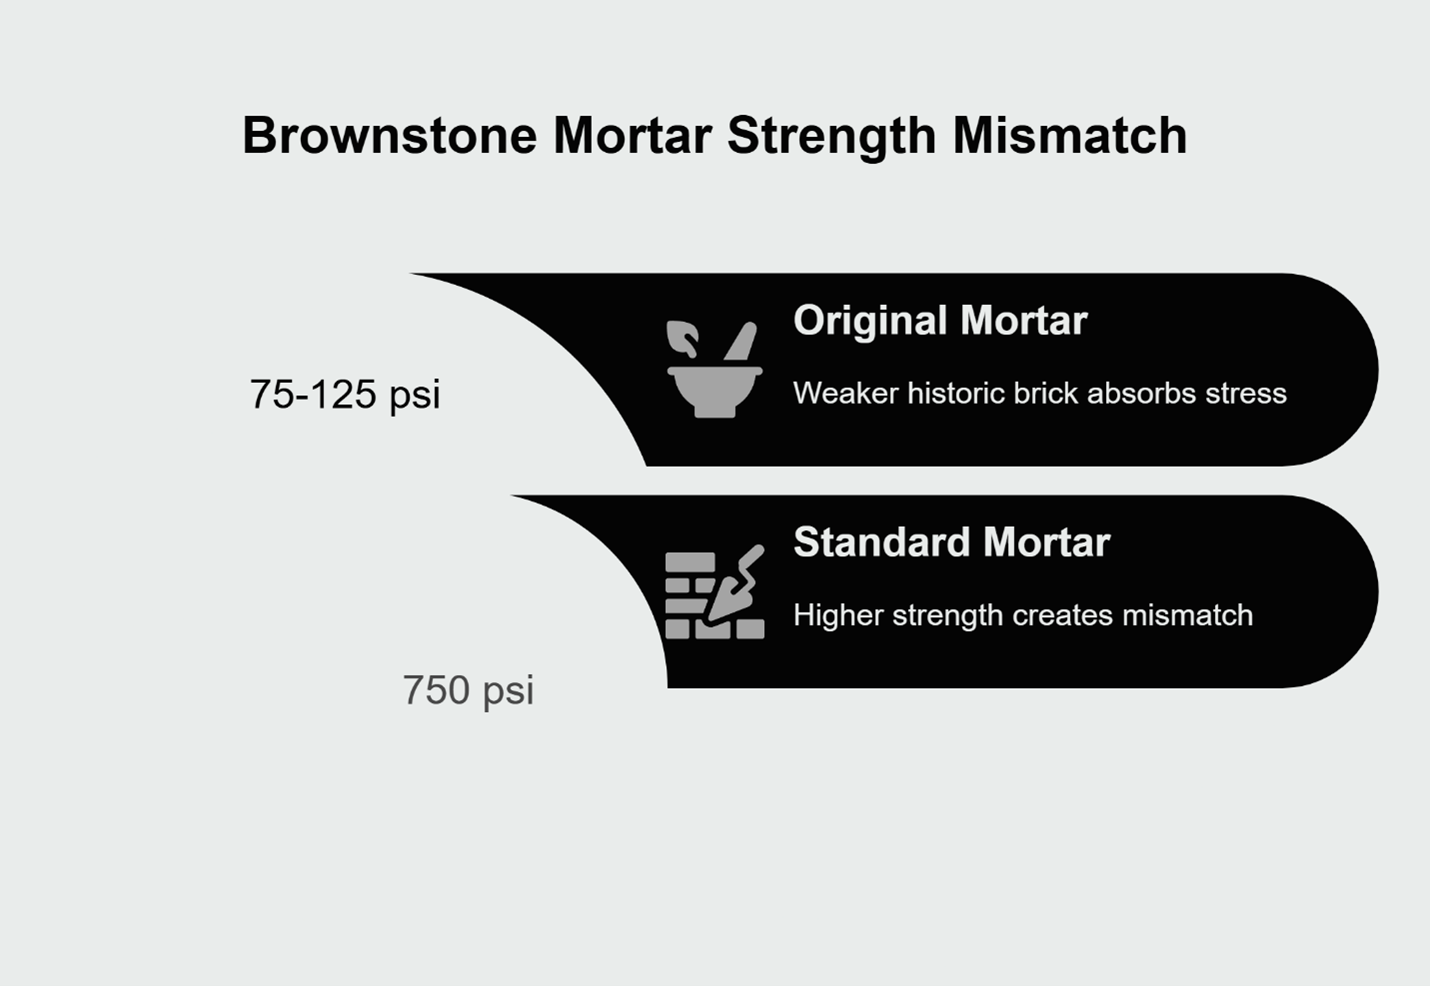
Matching mortar color means nothing if the material composition is wrong. Historic homes built before 1930 used lime-based mortars with specific ratios of lime, sand, and sometimes natural cement or crushed oyster shells. Replicating the appearance without matching the properties creates a ticking time bomb for your walls.
Modern masons often attempt color matching by adding pigments to standard masonry cement. But this approach ignores the fundamental incompatibility between hard modern mortars and soft historic bricks. The new mortar might look perfect on installation day, but its excessive hardness creates stress concentrations that crack and crumble the surrounding brick.
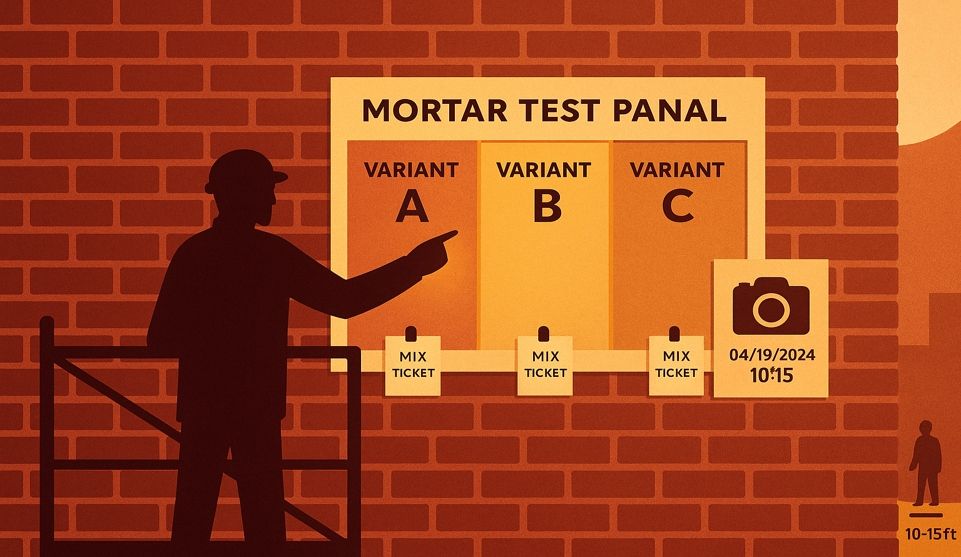
Professional preservation requires mortar analysis to determine the original mix design. Laboratory testing reveals not just the components but their proportions, aggregate size, and even the sand source. This information guides the creation of a compatible replacement mortar that matches both the physical properties and appearance of the original.
[ILLUSTRATIVE EXAMPLE]
Imagine a homeowner notices deteriorating mortar joints on their 1890s brownstone and decides to have them repaired. A typical general contractor might suggest using a standard Type N masonry cement tinted to match the surrounding mortar. While this looks acceptable initially, the mortar's higher strength (750 psi) compared to the original lime mortar (75-125 psi) creates a mismatch. Over several freeze-thaw cycles, the stronger mortar forces the weaker historic brick to absorb all the stress from thermal expansion, eventually causing the brick faces to spall off in sheets.
[END EXAMPLE]
Beyond composition, proper mortar preparation involves techniques largely forgotten in modern construction. Lime mortar must be mixed differently, allowed to slake properly, and sometimes aged before use. The installation technique also differs—lime mortar gets compressed into joints differently than Portland-based mixes, requiring specific skills that standard masonry training doesn't cover.
+-------------------------------------------------------------------------------------------------------+
💡 Quick Takeaways
- Composition Critical: Color matching alone fails without proper material compatibility assessment
- Analysis Required: Laboratory mortar testing determines original mix for accurate replication
- Special Techniques: Lime mortar requires different mixing and installation methods than modern cement
+-------------------------------------------------------------------------------------------------------+
Protecting Your Historic Investment
These three catastrophic mistakes—Portland cement use, destructive grinding techniques, and mortar mismatches—account for most irreversible damage to historic brick homes. Once original brick faces get ground away or split apart from moisture entrapment, that authentic material is gone forever.
The path forward demands choosing contractors who understand historic preservation principles, not just general masonry. Look for professionals who discuss mortar analysis, hand-tool techniques, and lime-based mortars without prompting. Your Brooklyn brownstone deserves craftspeople who respect its heritage while ensuring its future. The same preservation standards apply across the region's historic architecture, from Brooklyn's tree-lined streets to brick pointing in Bronx, NY neighborhoods with similar pre-war buildings.
When evaluating contractors, ask specific questions about their experience with pre-1930s buildings. Request references from similar historic projects and actually visit those sites if possible. The right professional will welcome these questions and share your commitment to preserving authentic architectural character. Remember: proper historic pointing typically costs more upfront but prevents potentially massive repair bills later. Repair costs can vary dramatically based on the extent of damage—ranging from thousands of dollars for localized repairs to tens of thousands or more for extensive structural restoration. Invest wisely. Preserve permanently. Protect your legacy.
Frequently Asked Questions
Q: What's the most common mistake that causes permanent damage?
A: Using Portland cement on historic brick causes the most irreversible harm. Its excessive hardness traps moisture and literally tears softer historic bricks apart during freeze-thaw cycles. Unlike proper lime mortar that allows walls to breathe, Portland cement creates an impermeable barrier that accelerates deterioration from within.
Q: How can I tell if previous pointing work was done incorrectly?
A: Look for uniformly gray mortar (indicating Portland cement), ruler-straight joint lines from power tools, or bricks with faces spalling off around hard mortar joints. Properly pointed historic walls show slightly irregular joint lines, off-white or buff-colored mortar, and intact brick faces that weather evenly with the mortar.
Frequently Unasked Questions
Q: Why do experienced masons sometimes make these mistakes on historic homes?
Modern masonry training focuses on new construction techniques using Portland cement and power tools. Most certification programs don't cover historic preservation methods, leaving a knowledge gap about lime mortars and hand-tooling techniques. Additionally, project constraints such as budget limitations, material availability, and time pressures can influence material choices. Many skilled masons simply haven't learned that stronger isn't better for old buildings.
Q: Can proper pointing actually improve my home's efficiency?
A: Correctly executed lime mortar pointing primarily enhances your home's moisture management system, preventing water infiltration while allowing vapor transmission. This balanced approach reduces interior humidity problems and prevents mold growth. As a secondary benefit, when the repointing process eliminates actual air gaps and infiltration points, it can contribute to improved thermal performance, though the primary value remains in moisture regulation and structural preservation.
Restore Your Historic Brick the Right Way—with Expert Brick Pointing That Protects, Preserves, and Lasts
At City Suburb, we understand that your historic home is more than just a building—it’s a legacy. With over 20 years of experience serving Brooklyn, Queens, Manhattan, and surrounding areas, our team specializes in authentic brick pointing that safeguards your home’s original character while preventing moisture damage, spalling, and costly structural repairs.
Our expertise in lime-based mortar, hand-tool techniques, and preservation standards ensures your pre-war brownstone or historic building remains beautiful and structurally sound for generations to come.
👉 Don’t let one wrong material choice destroy decades of craftsmanship. Contact us today to schedule a consultation and discover how proper brick pointing can protect your home’s value and integrity.
🔍 Want to learn more about preservation techniques or see examples of our work?
Browse our site for
project galleries,
client testimonials, and detailed insights into our process.
📲 Stay inspired—follow us on Facebook and Instagram for real-time project updates, before-and-after transformations, and expert tips from the field.
City Suburb — Historic Craftsmanship. Modern Protection.


Protecting Tenants and Pedestrians: A Framework for Scaffolding and Site Safety During Facade Repair