The Definitive Homeowner's Guide to Brick Pointing for Brooklyn's Historic Homes
📌 Key Takeaways
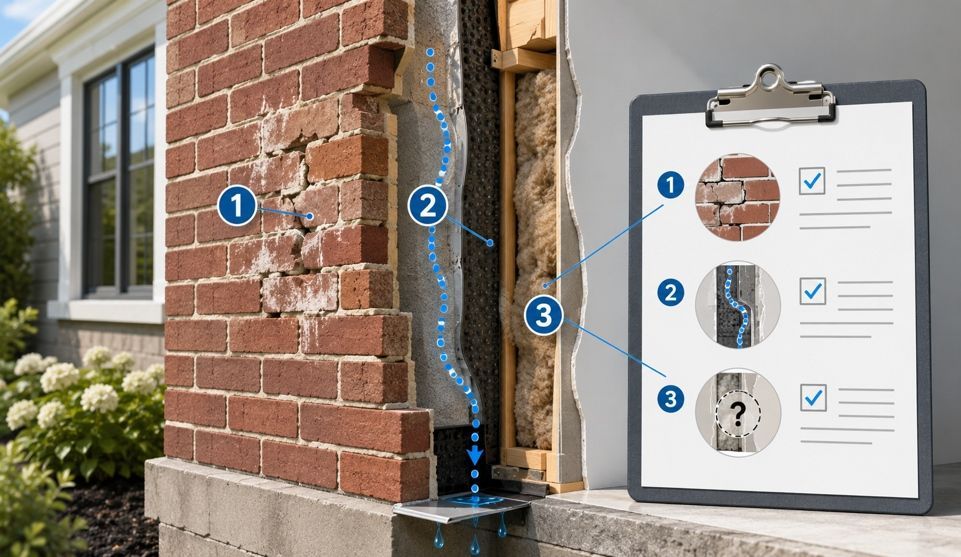
Know the 7 Warning Signs Before Costly Damage Occurs: Hairline cracks in mortar joints, crumbling or powdery mortar, gaps wide enough for a dime, white residue on brick surfaces, dark staining, loose mortar chunks, and interior water damage all signal when your Brooklyn brownstone needs immediate attention to prevent expensive structural problems.
The "Soft Mortar" Principle Could Save Your Historic Brick: Using modern Portland cement mortar on historic brick creates a "steel patch on a cotton shirt" problem—when water freezes, the harder cement forces cracks into your irreplaceable century-old bricks instead of the replaceable mortar joints, potentially costing significantly more than proper restoration.
The Contractor Vetting Framework Prevents Hiring Disasters: Ask five essential questions about recent Brooklyn projects, mortar selection rationale, NYC licensing and insurance, dust control methods, and warranty terms. Red flags include significantly lower quotes, inability to explain mortar choices, pressure for immediate decisions, and no verifiable local references.
Professional Process Management Minimizes Home Disruption: Quality contractors use clear communication protocols, dust containment systems, and coordinated scheduling to maintain your family's daily routines while preserving your home's structural integrity and authentic character.
Transform from Anxious Homeowner to Neighborhood Preservation Expert: This foundational knowledge positions you to become the trusted resource other historic homeowners consult, evolving your expertise into community leadership on preservation challenges.
The complete guide provides the detailed contractor evaluation tools and step-by-step restoration insights that transform overwhelming preservation decisions into confident, informed choices for protecting your brownstone's heritage and value.
Introduction: Your Brownstone is Speaking to You - Here's How to Listen
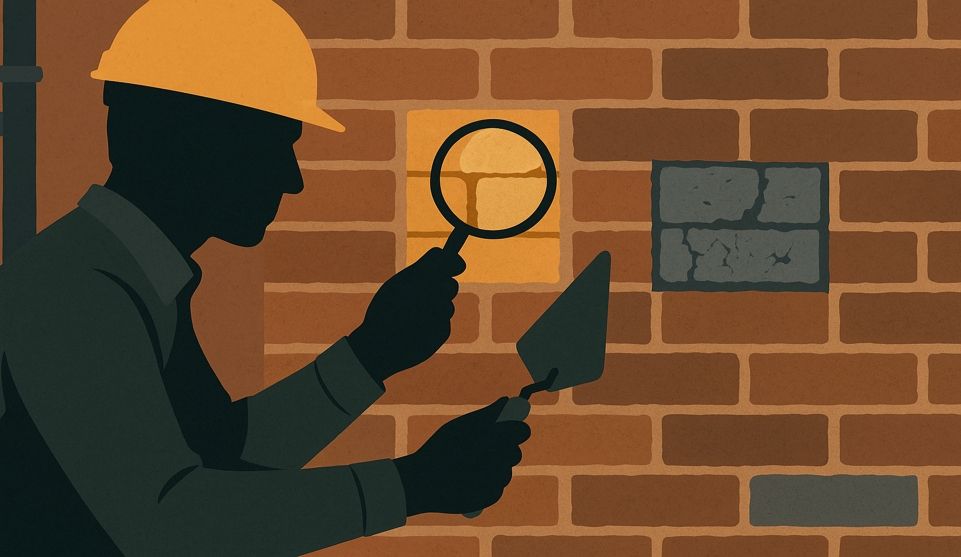
That fine powder collecting at the base of your Brooklyn brownstone's facade isn't just dust—it's your home sending you a message. For many homeowners, the moment they notice crumbling mortar joints marks the beginning of a familiar story: anxiety mixed with confusion about what needs to be done and who can be trusted to do it right.
Here's the thing about owning a historic home in Brooklyn: you're not just maintaining a house, you're preserving a piece of the borough's architectural heritage. When that responsibility feels overwhelming (and it often does), knowledge becomes your most powerful ally. Understanding what your building is telling you through those hairline cracks and crumbling joints transforms you from a worried observer into an informed decision-maker.
Key Terminology Box
Before diving deeper, let's establish the essential terms:
- Brick Pointing (also called Repointing): The process of removing deteriorated mortar from brick joints and replacing it with fresh mortar
- Mortar: The binding material between bricks that holds the wall together and keeps water out
- Historic Masonry: Brickwork from older construction using traditional materials and methods
The journey from anxious homeowner to confident preservationist starts with recognizing the signs, understanding the stakes, and knowing exactly how to find the right professional for the job.
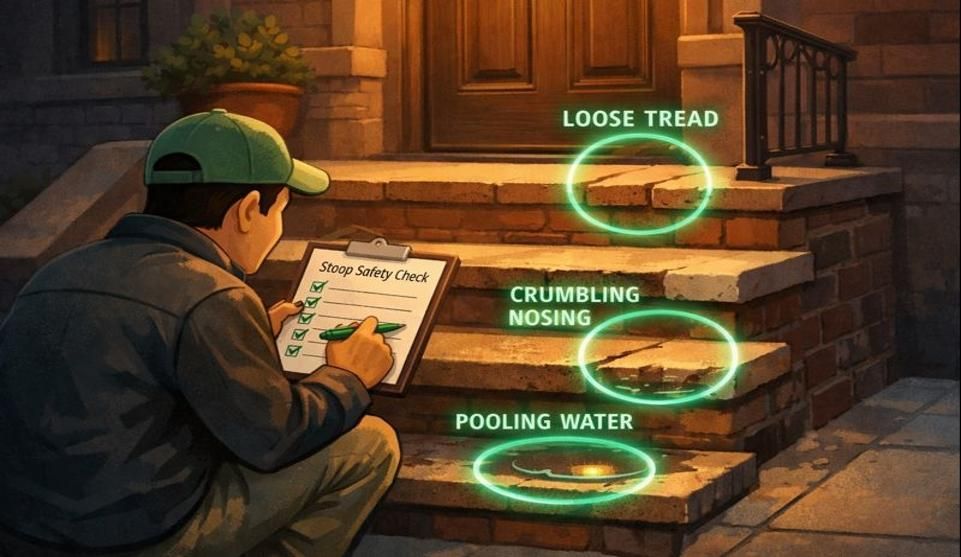
Is It Time? 7 Telltale Signs Your Brooklyn Brownstone Needs Repointing
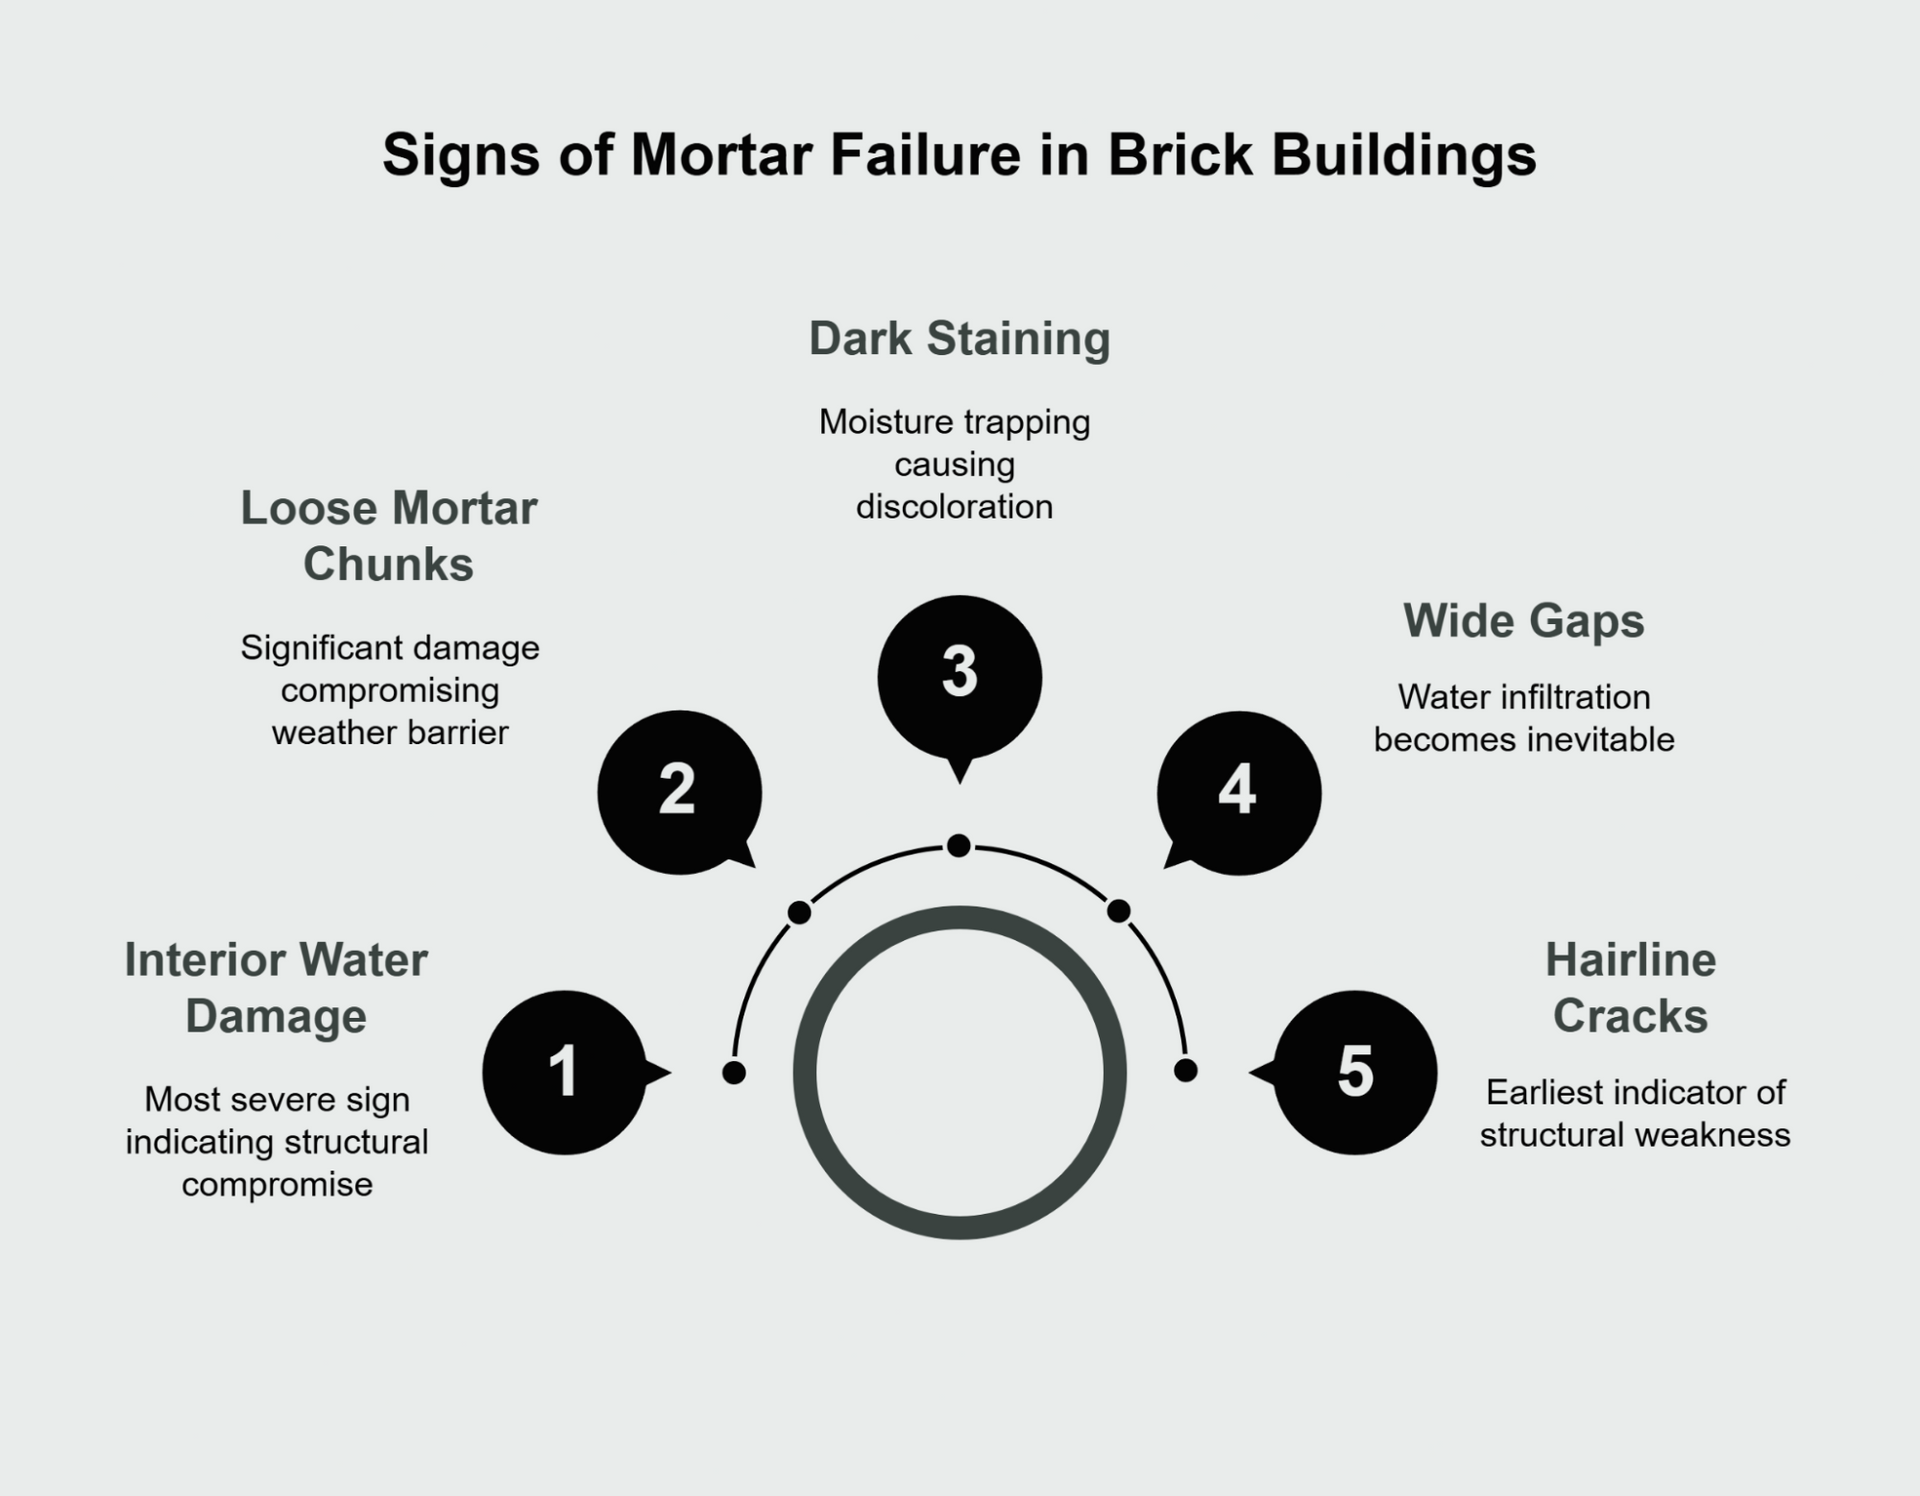
Understanding brick pointing explains the 7 telltale signs of mortar failure—and recognizing these early warning signals can prevent costly damage.
1. Hairline Cracks in Mortar Joints The earliest indicator appears as thin fractures running along the mortar lines. These might seem insignificant, but they're your first alert that the binding material is losing its structural integrity.
2. Crumbling or Powdery Mortar When you can brush away mortar with your finger or notice a sandy residue on the ground below your walls, the deterioration has progressed beyond surface-level concerns.
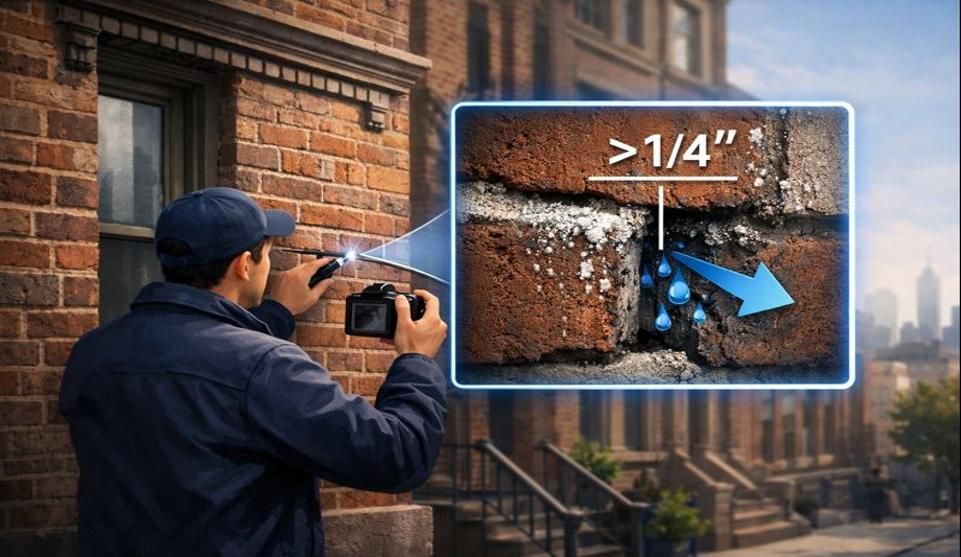
3. Gaps Wide Enough for a Dime If you can fit a dime into the gaps between your bricks, water infiltration becomes inevitable. This is often the point where many homeowners realize they can no longer postpone action.
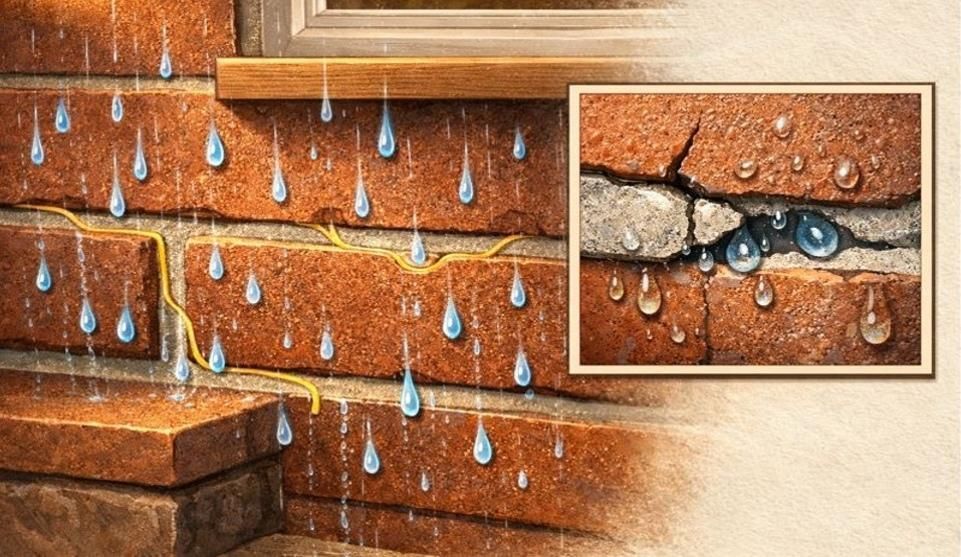
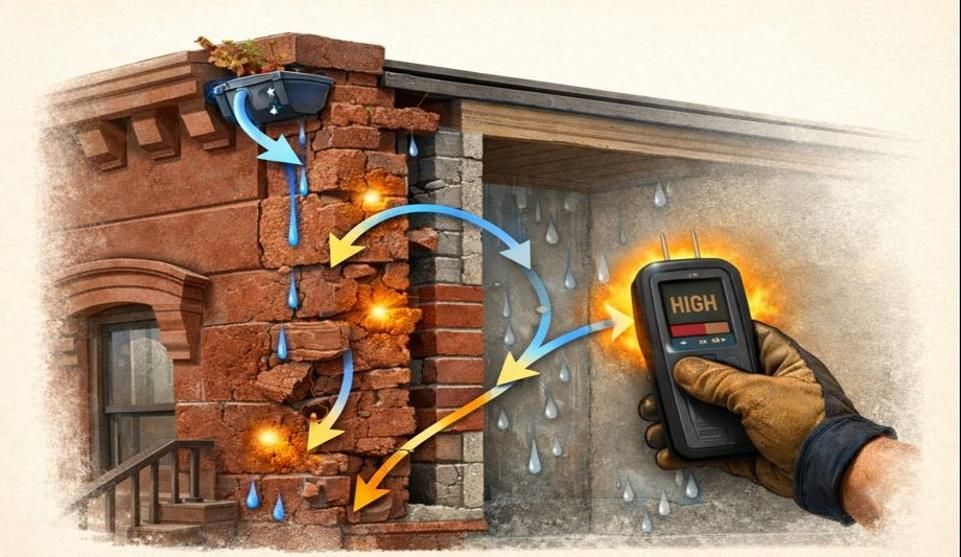
4. White Residue on Brick Surfaces (Efflorescence) Those chalky white deposits signal that water is moving through your masonry, dissolving minerals and depositing them on the surface as it evaporates.
5. Dark Staining or Discoloration Water stains or darker patches on brickwork indicate moisture is being trapped rather than properly channeled away from your building.
6. Loose or Missing Mortar Chunks When pieces of mortar begin falling out entirely, your wall's weather barrier has been compromised. This often accelerates during freeze-thaw cycles.
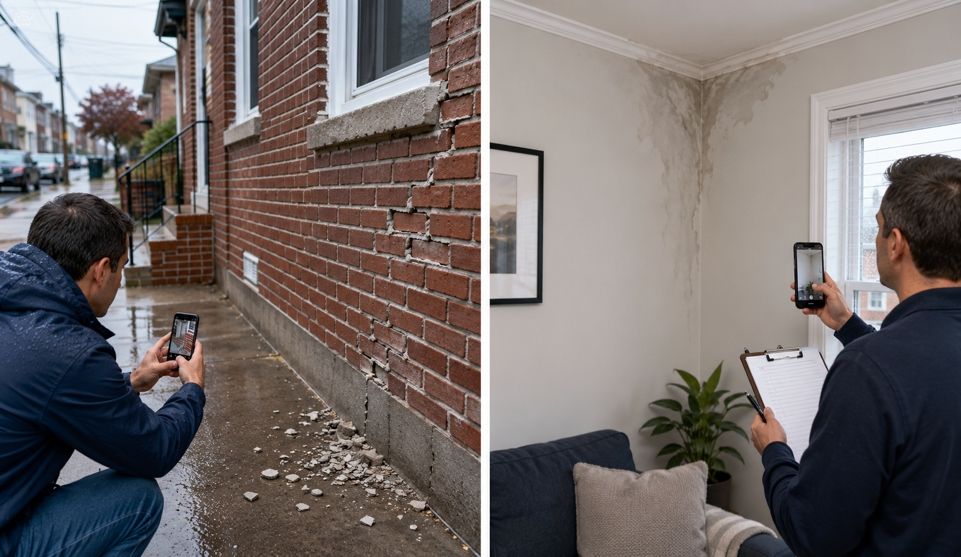
7. Interior Water Damage Perhaps the most concerning sign: water stains on interior walls or basement dampness that can be traced to exterior masonry failure.
Long-Term Value Callout Box For families evaluating the investment, proper repointing extends your masonry's lifespan while preventing water damage that could cost significantly more to remediate later.
More Than Just Glue: Why the Right Mortar Mix is Everything for Historic Brick
Proper historic restoration requires using the correct "soft" mortar mix—and understanding this principle could be the difference between preserving your brownstone and inadvertently destroying it.
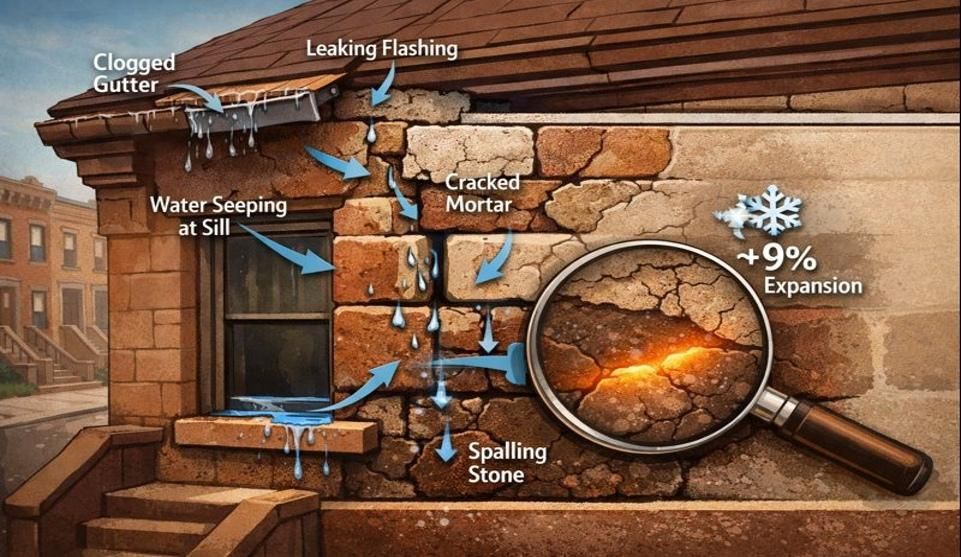
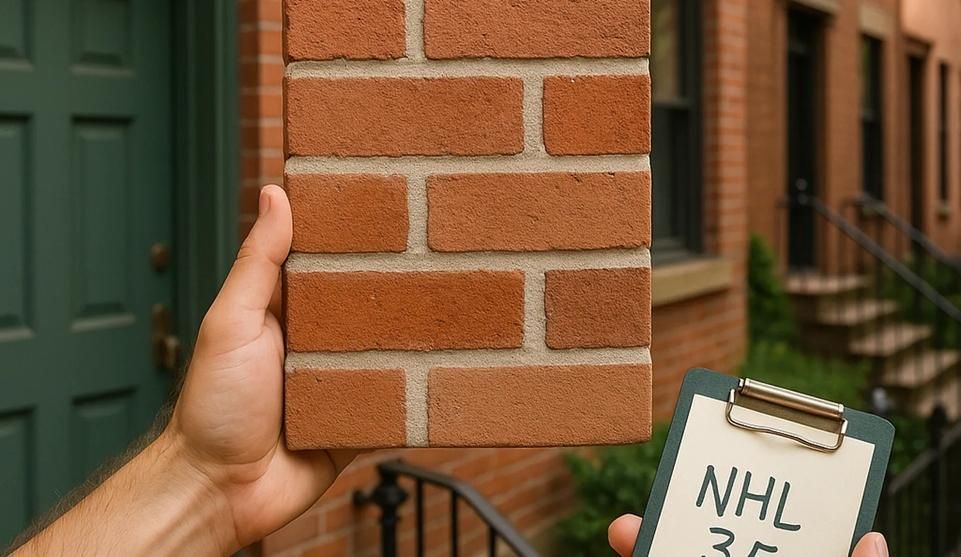
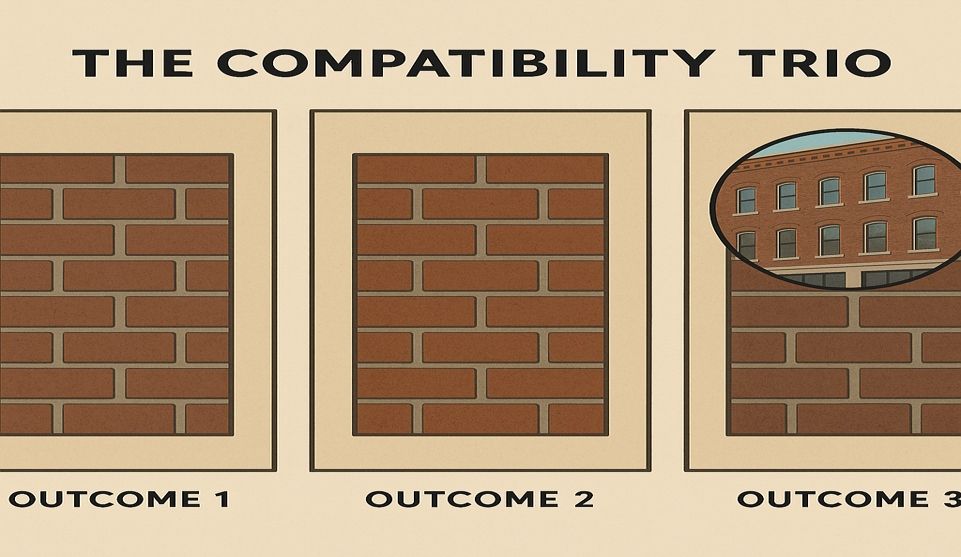
The relationship between historic brick and modern mortar creates what restoration experts describe as the "steel patch on a cotton shirt" problem. Your brownstone's original bricks were designed to work with lime-based mortars that are actually softer than the brick itself. This isn't a flaw—it's intentional engineering.
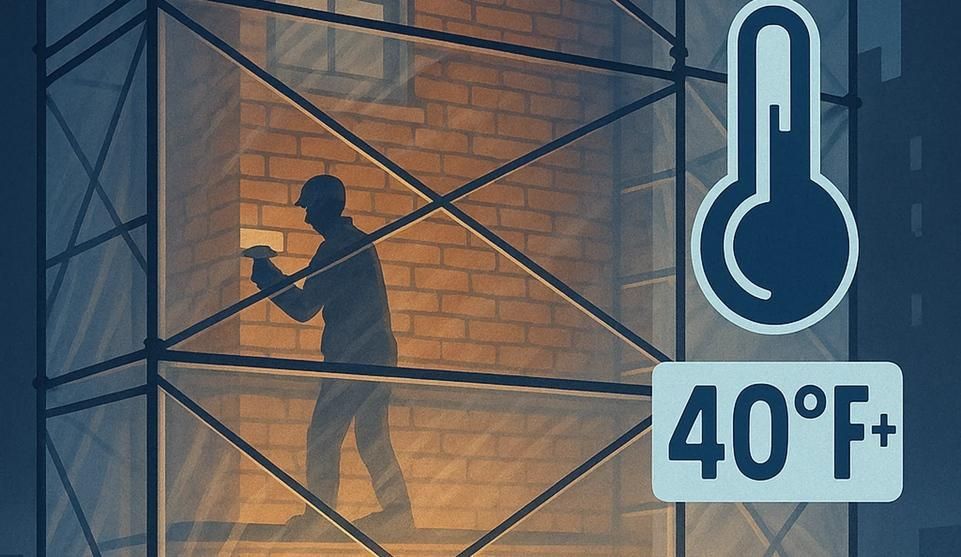
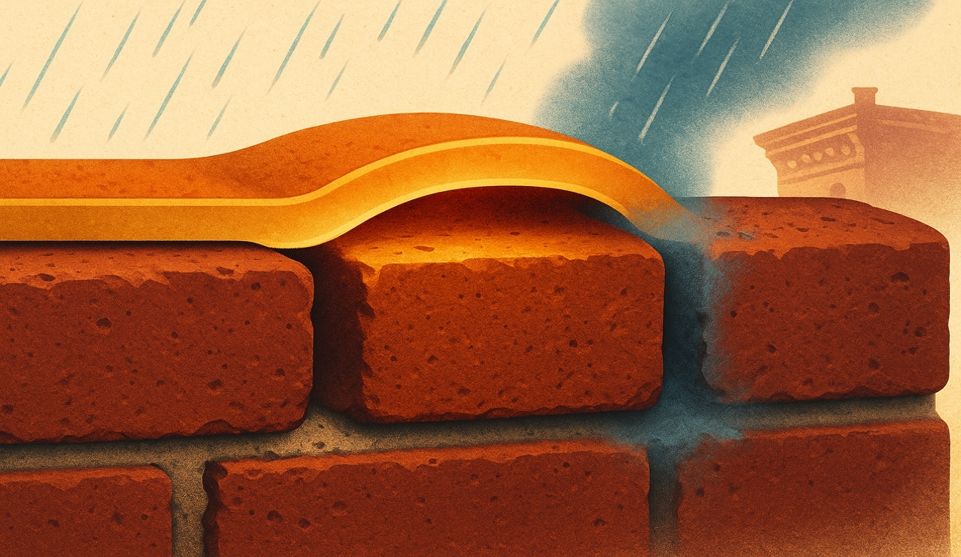
Here's why this matters: when water freezes and expands within your wall system (which happens every winter in Brooklyn), something has to give. With the correct soft mortar, any damage occurs in the relatively inexpensive and replaceable mortar joints. When contractors use modern Portland cement mortar, which is harder than historic brick, the expansion forces crack your irreplaceable century-old bricks instead.
Myth & Fact
Myth: A quick patch job is a cheap way to fix the problem.
Fact: Improper patch jobs often trap water and use the wrong mortar, causing more expensive damage to the original brick over time. A proper repair, while more costly upfront, prevents catastrophic long-term failures.
Think of proper mortar selection as insurance for your building's structural integrity. The softer mortar acts as a sacrificial element, protecting your valuable historic bricks by accepting the stress of seasonal movement and moisture cycles.
This principle explains why getting multiple quotes isn't just about price comparison—it's about finding contractors who understand the specific requirements of older masonry systems.
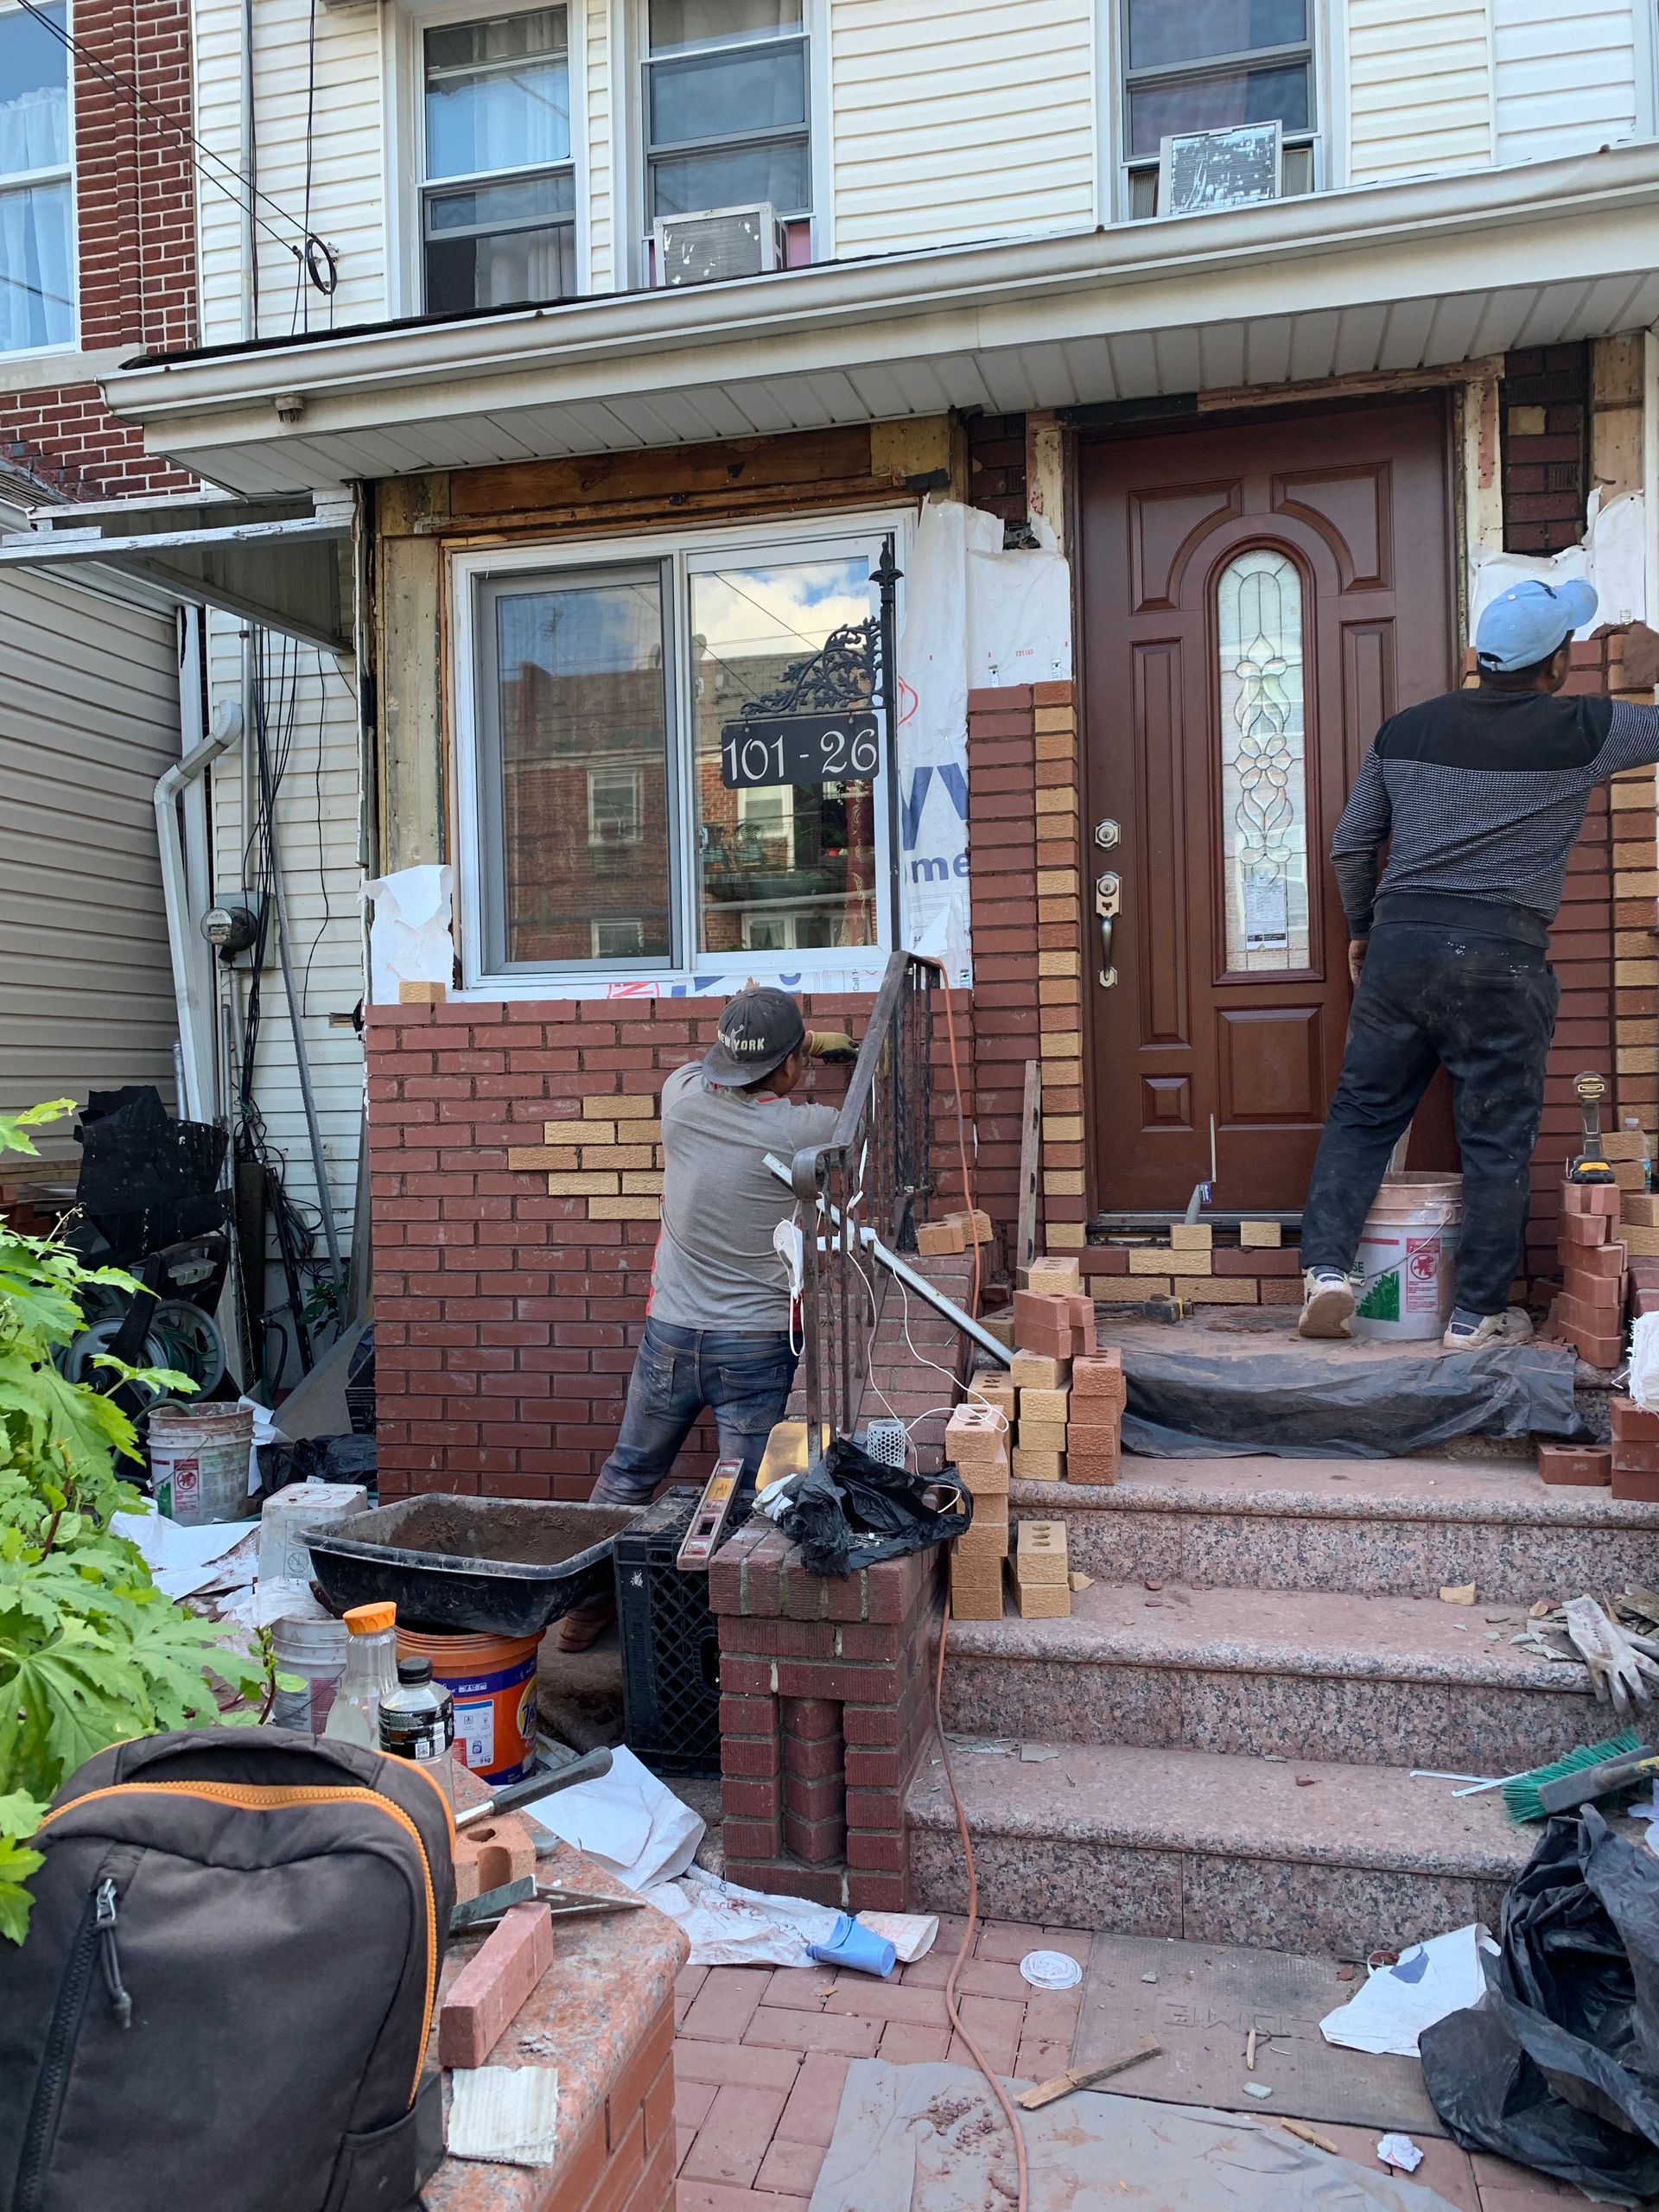
The Restoration Process: What to Expect When You Hire a Professional
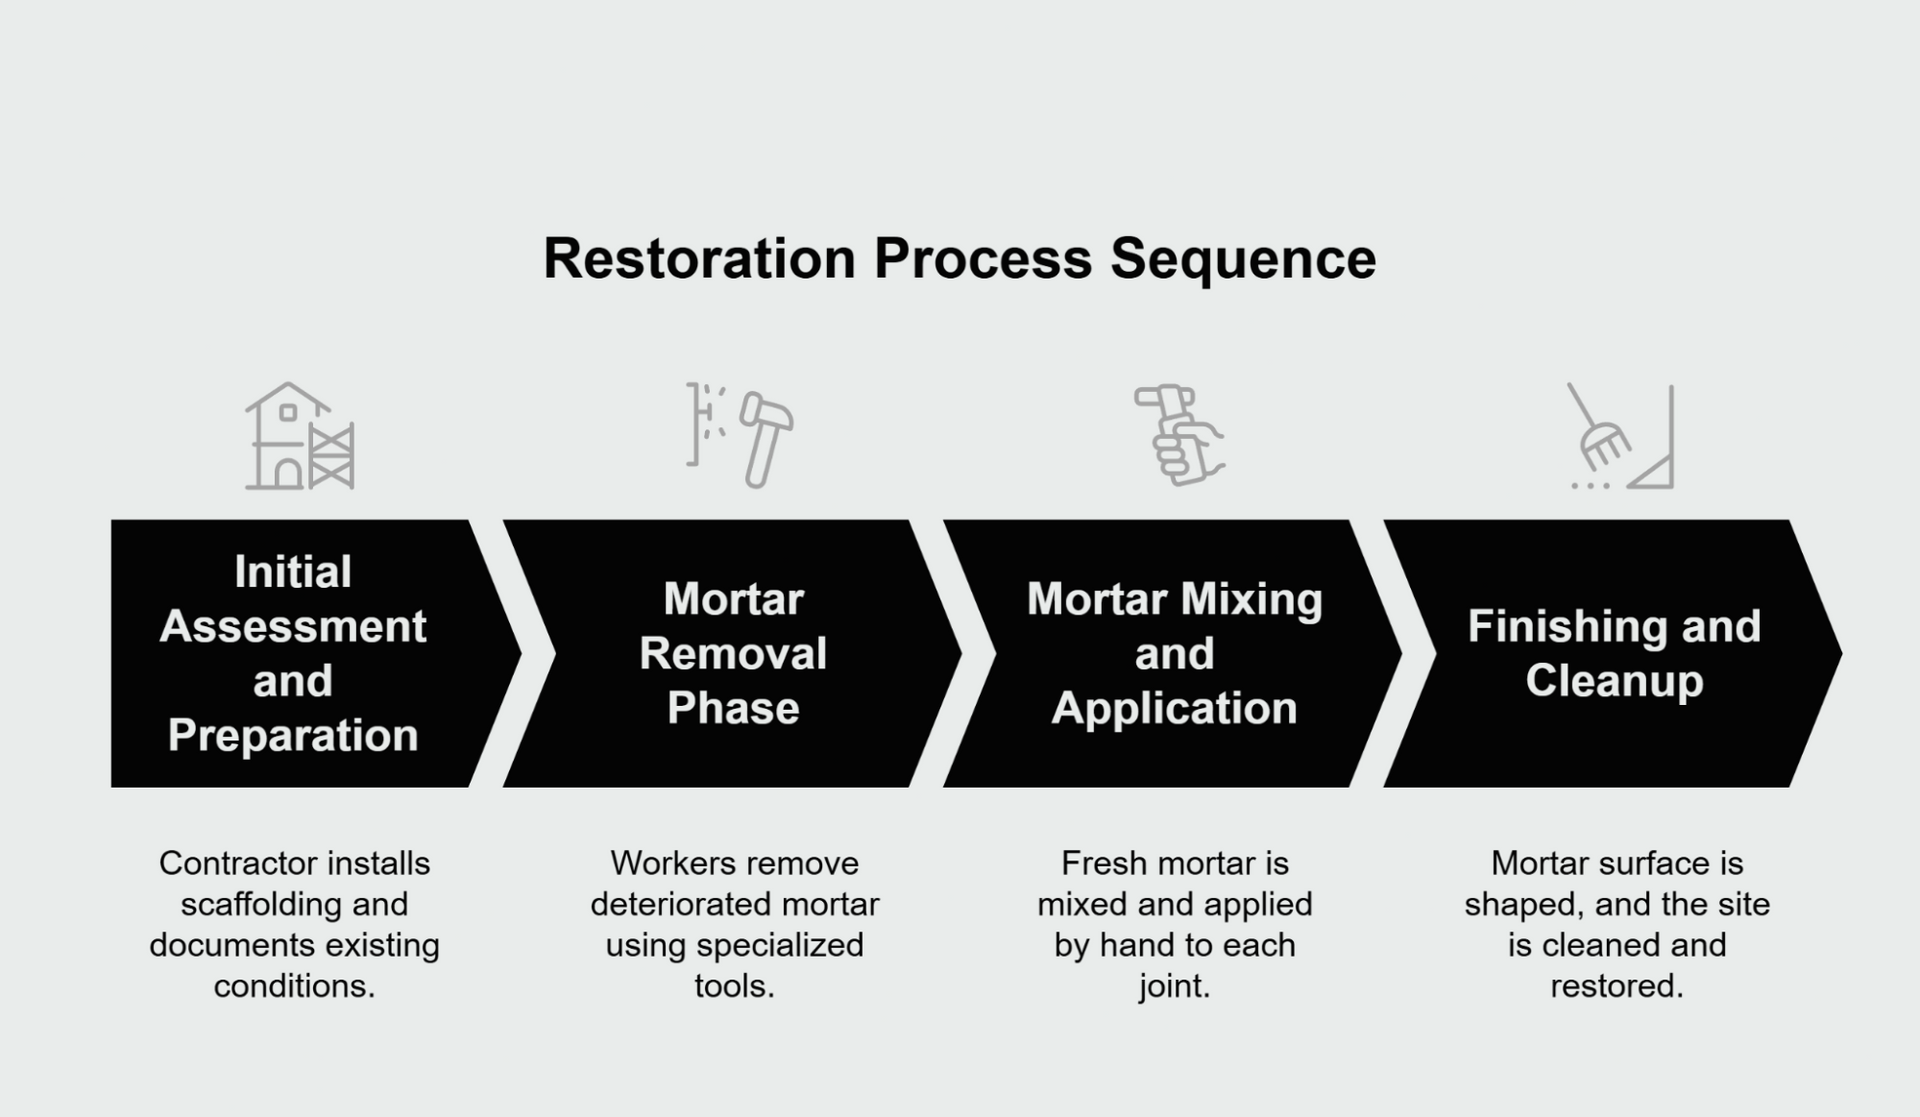
A professional process details the step-by-step project timeline, and knowing what comes next helps transform uncertainty into manageable expectations.
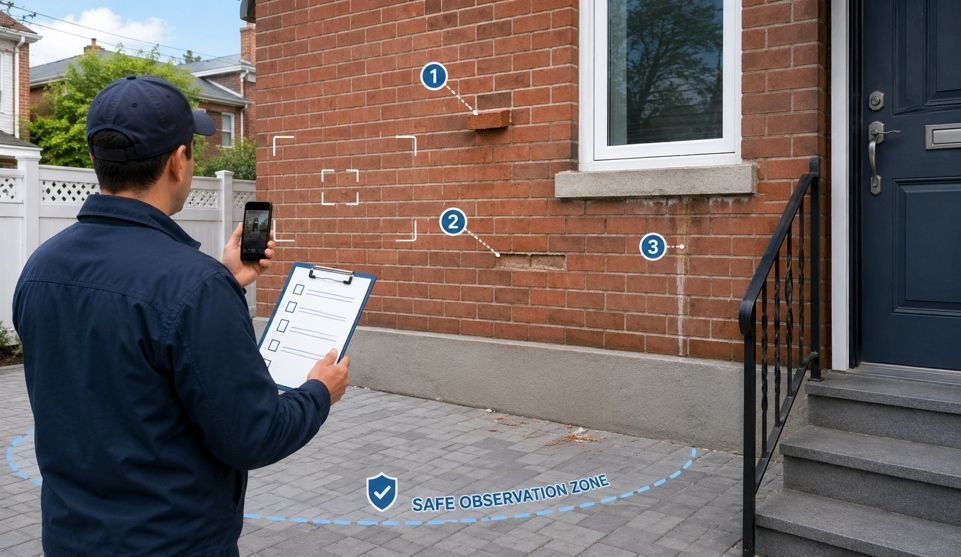
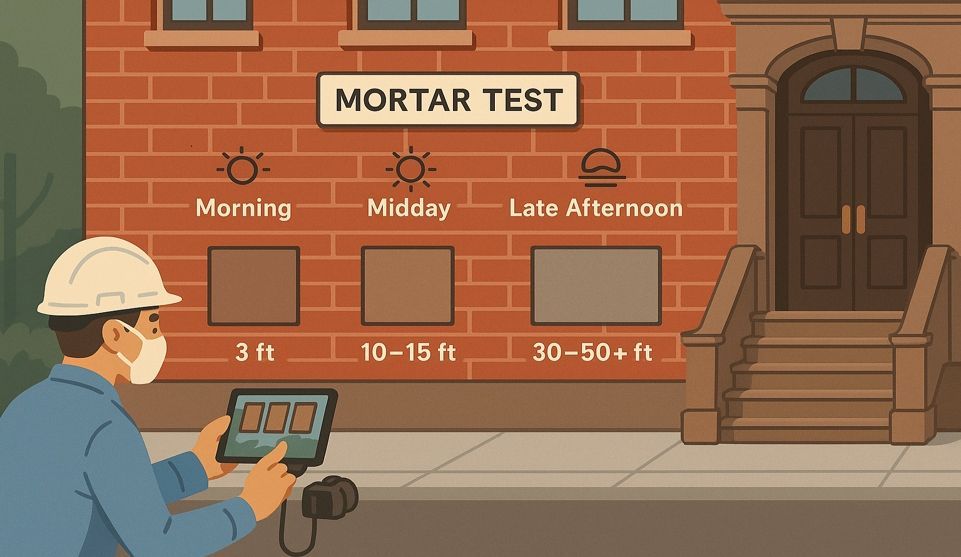
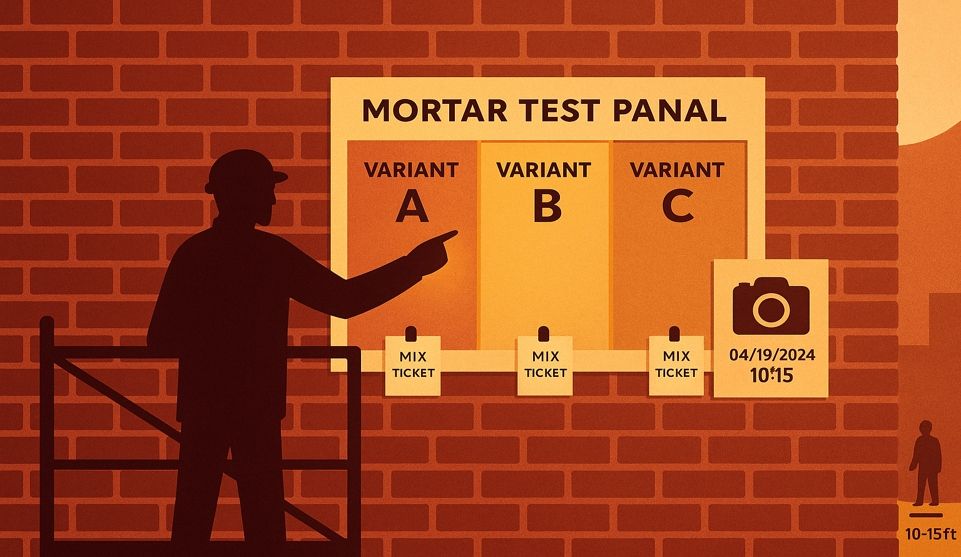
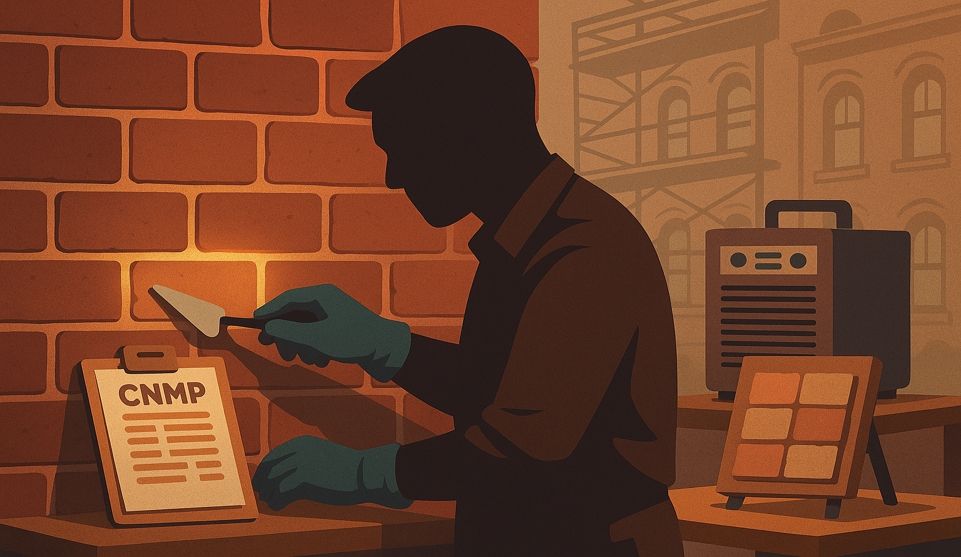
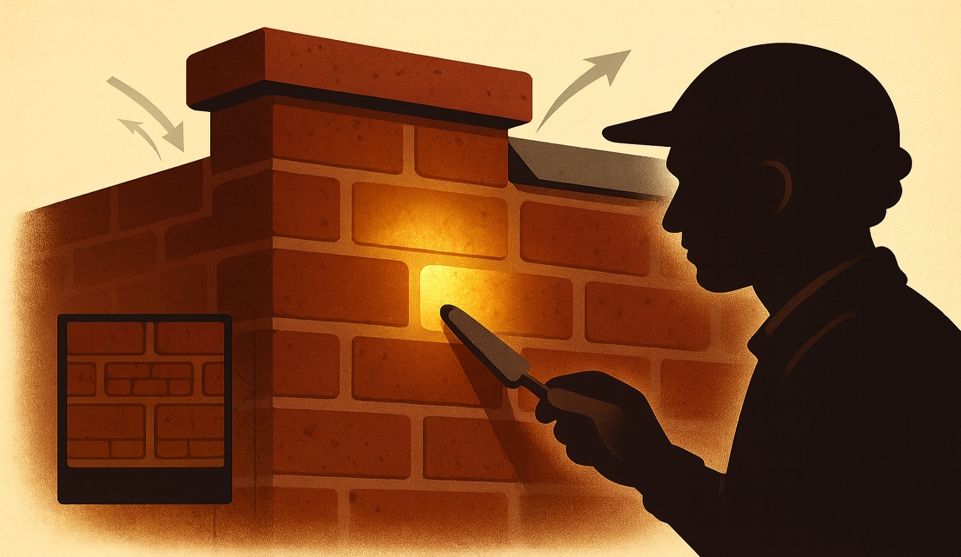
Initial Assessment and Preparation Your contractor begins with detailed scaffolding installation and comprehensive documentation of existing conditions. Professional crews photograph problem areas and test mortar composition to ensure proper matching.
Mortar Removal Phase Using specialized tools, workers carefully remove deteriorated mortar to appropriate depths. This stage generates significant dust, but experienced crews use containment methods to minimize disruption.
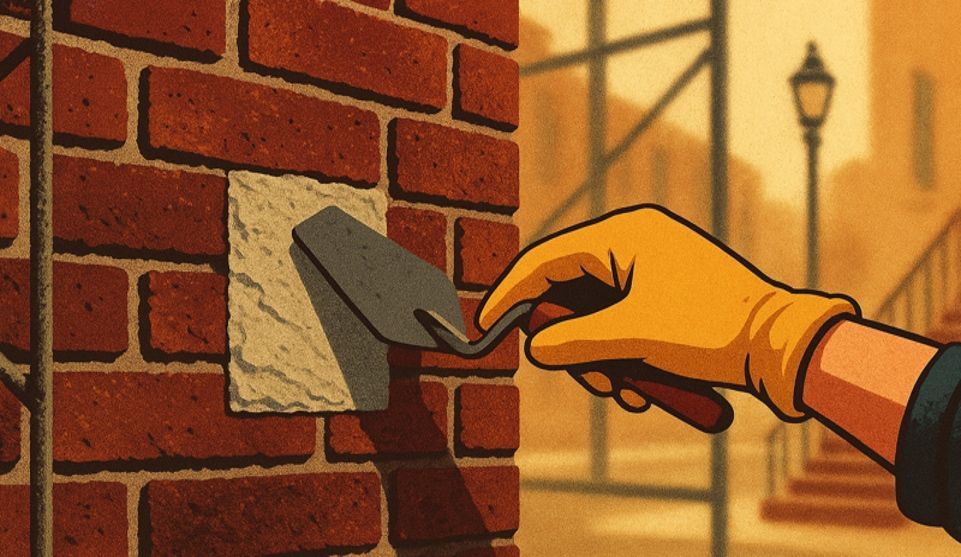
Mortar Mixing and Application Fresh mortar, properly matched to your building's original composition, gets mixed in small batches and applied by hand. This isn't assembly-line work—each joint requires individual attention to achieve proper density and weather resistance.
Finishing and Cleanup The repointing process concludes with joint finishing, where the mortar surface gets shaped to match your building's original profile. Professional teams coordinate daily cleanup and final site restoration.
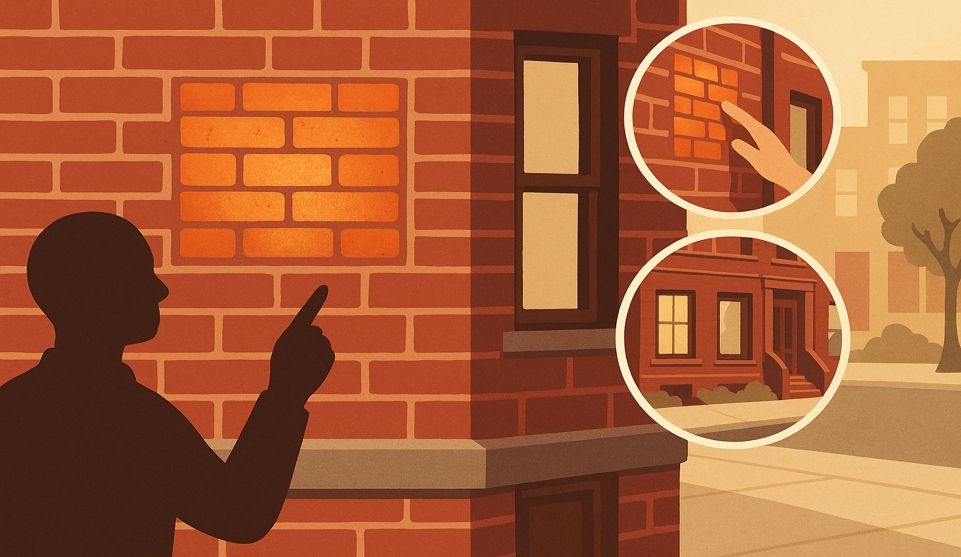
Properly executed repointing enhances your brownstone's curb appeal while maintaining its authentic character—a combination that neighboring property owners consistently notice and appreciate.
Most homeowners report feeling overwhelmed during the initial assessment phase, followed by a huge sense of relief once work begins and they see their contractor's systematic approach firsthand.
The Critical Step: How to Hire a Historic Masonry Contractor and Avoid Disaster
A thorough vetting framework prevents hiring unqualified contractors—and this checklist gives you the specific questions and warning signs you need to make a confident decision.
The Contractor Vetting Framework
Essential Questions to Ask Every Contractor:
- "Can you show me completed brownstone projects in Brooklyn from recent years?" Look for: Specific examples you can verify, before/after photos, and willingness to provide references.
- "What type of mortar will you use, and how do you determine the correct mix?" Correct answer: Should mention lime-based mortars, testing existing mortar composition, and avoiding Portland cement on historic brick.
- "Are you licensed and insured for masonry work in New York City?" Verify: Request license numbers and current insurance certificates.
- "How do you handle dust control and site protection?" Look for: Specific containment methods, daily cleanup protocols, and protection for adjacent properties.
- "What's included in your warranty, and how long does it last?" Look for: Clear warranty terms covering workmanship with reasonable duration.
Critical Red Flags:
- Quotes significantly lower than others (often indicates corner-cutting on materials or methods)
- Inability to explain mortar selection rationale
- Pressure for immediate decisions or cash-only payment terms
- No verifiable local references or completed projects
- Vague timeline estimates or reluctance to provide written contracts
Green Flags That Signal Quality:
- Asks detailed questions about your building's age and construction
- Provides written scope of work with material specifications
- Discusses potential complications and how they'd be addressed
- Shows genuine interest in historic preservation principles
- Offers to explain their process step-by-step
This framework transforms what feels like guesswork into a systematic evaluation process. Use it during initial consultations to quickly separate qualified professionals from those who might put your investment at risk.
Expert Q&A
Question: What are the first signs I should look for that indicate I need to repoint my brick house?
Answer: The earliest signs are often hairline cracks in the mortar joints, followed by visible crumbling or gaps you can fit a dime into. You may also see a fine, sand-like powder on the ground below the wall or notice dark patches on the brick, which can indicate moisture is being trapped by failing mortar.
Common Pitfalls to Avoid When Repointing a Historic Brooklyn Home
Even well-intentioned homeowners can make costly mistakes when they don't understand the unique requirements of historic masonry restoration.
Pitfall #1: Using Modern Cement Mortar on Soft, Historic Brick
This represents one of the most expensive mistakes in historic masonry repair. Modern Portland cement creates a mortar that's harder than older bricks, fundamentally reversing the intended structural relationship.
When freeze-thaw cycles occur (every winter in Brooklyn), the expansion forces that should damage the replaceable mortar instead crack your irreplaceable historic bricks. The repair cost for damaged original brick can significantly exceed typical repointing project budgets.
Prevention Strategy: Always verify that your contractor understands lime-based mortar systems and can explain why softer mortars protect historic masonry.
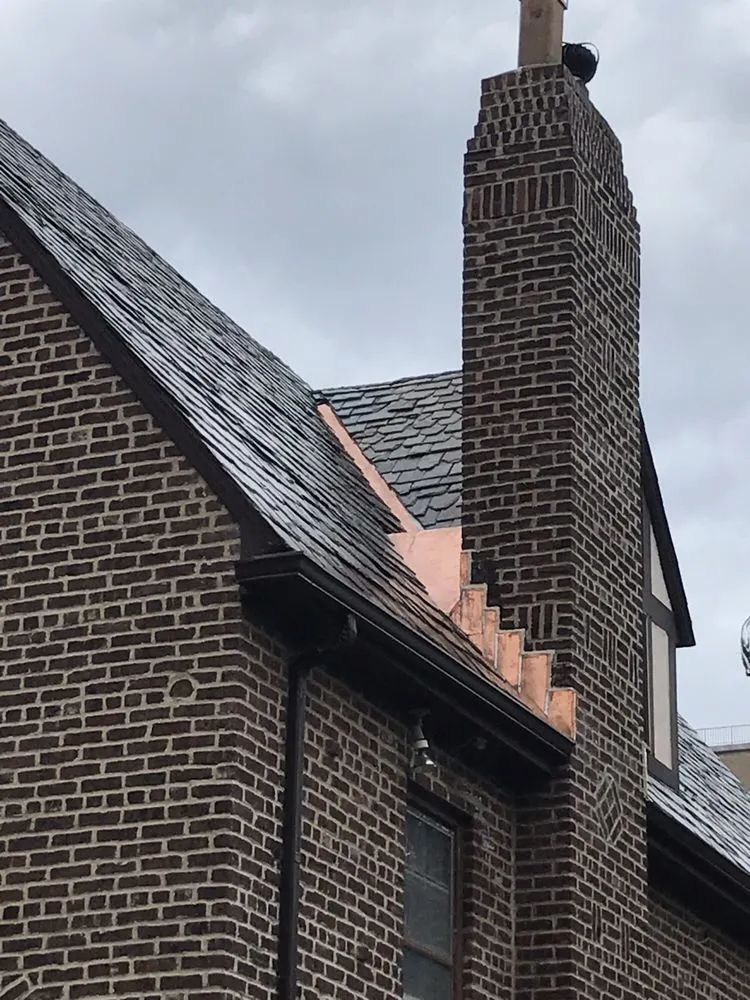
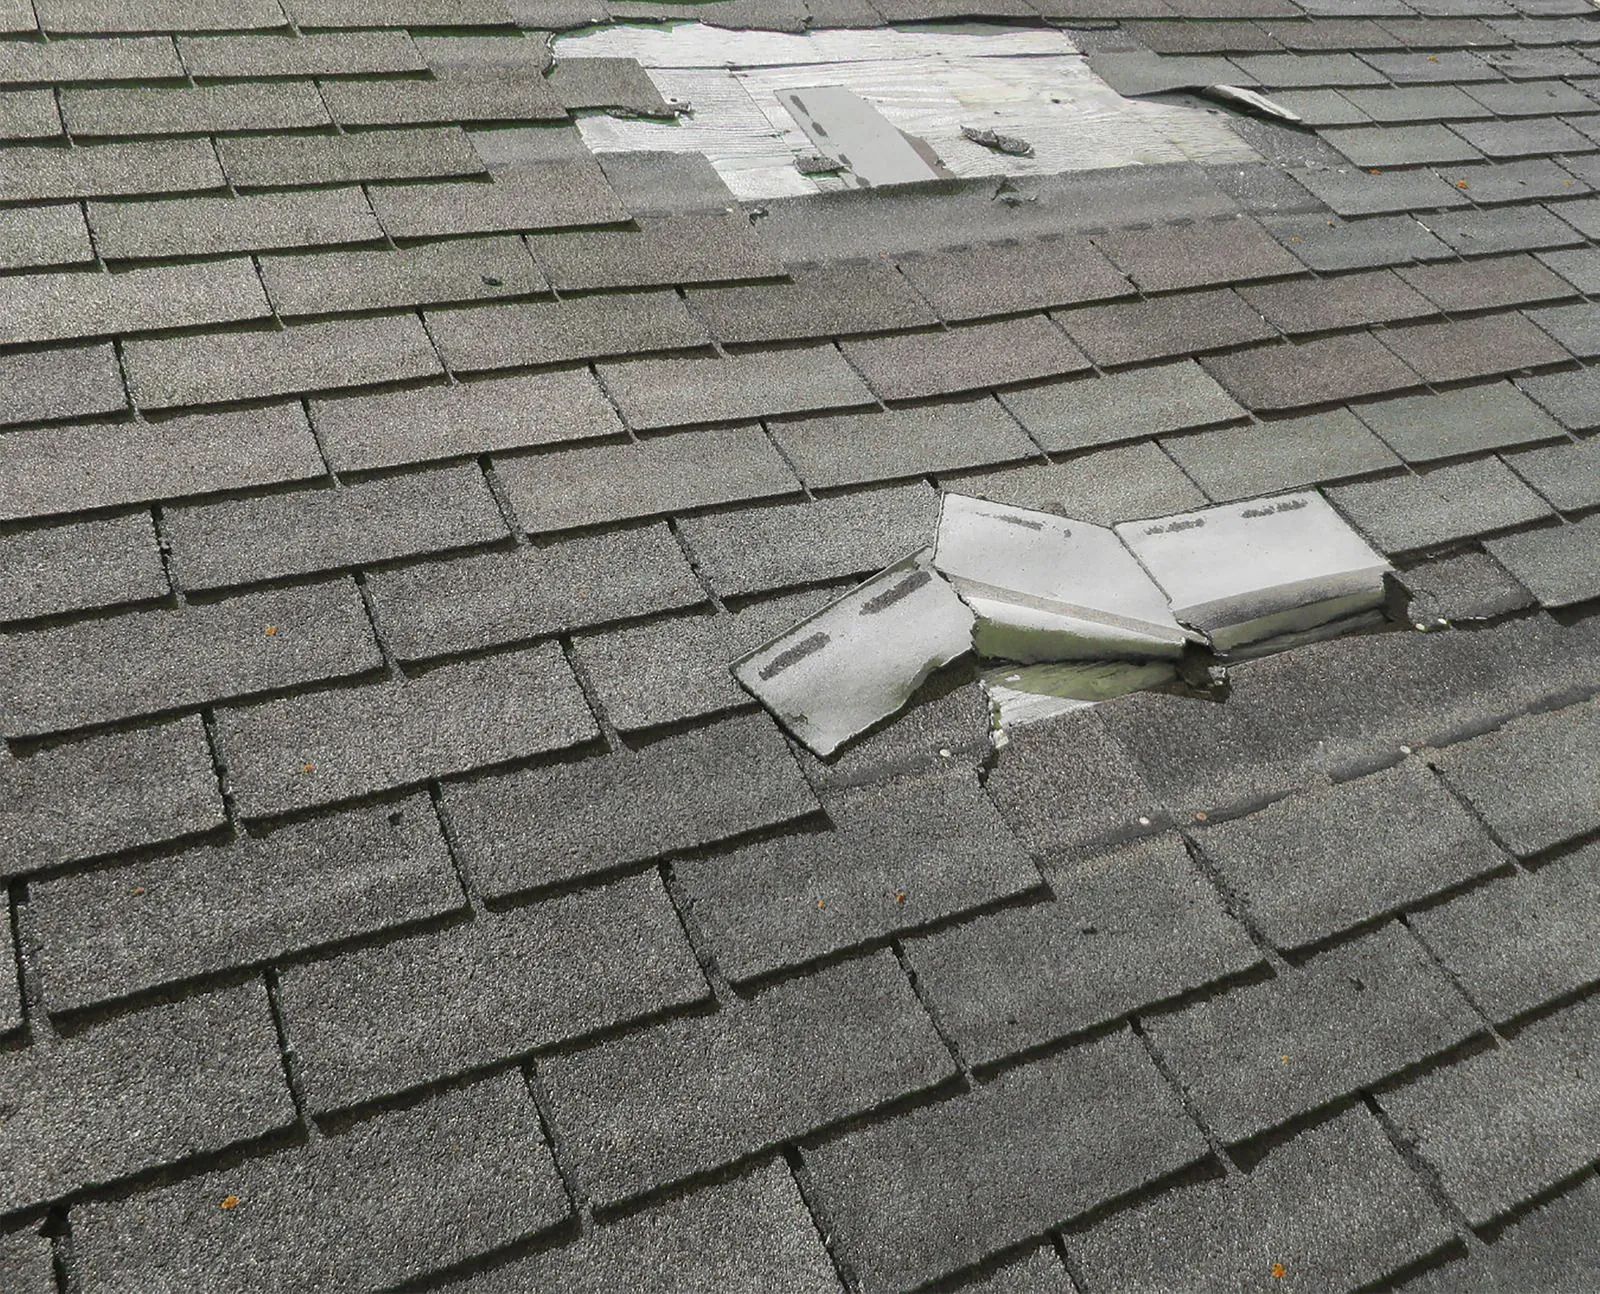
Pitfall #2: Overlooking Water Intrusion as the Root Cause
Focusing solely on visible mortar damage without addressing underlying water management issues creates a cycle of repeated repairs. Many brownstone owners discover this pattern after multiple repointing projects.
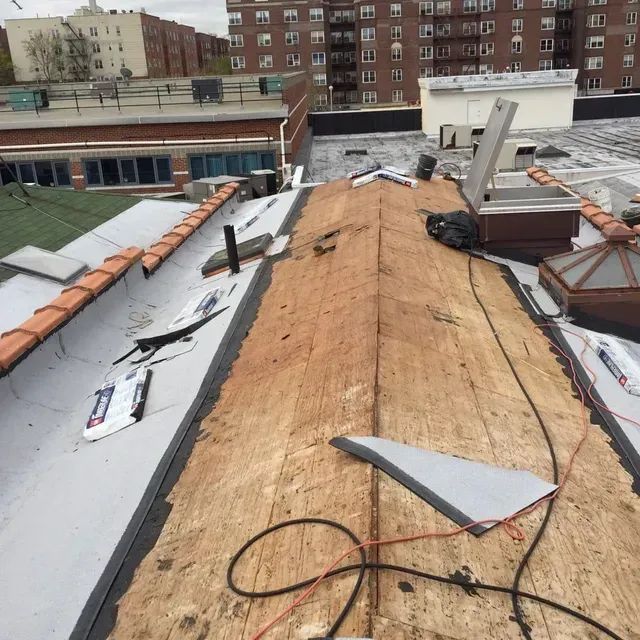
Water infiltration often originates from roof issues, damaged window lintels, or compromised building drainage—problems that must be resolved before repointing can provide lasting protection.
Prevention Strategy: Request a comprehensive building assessment that identifies all potential water sources before beginning mortar repairs.
"On a historic home, the cheapest quote is often the most expensive one in the long run."
What If...? Planning for the Disruption of a Major Home Project
The anxiety about living through a major restoration project is completely understandable—you're essentially having surgery performed on your home while you're still living in it.
Professional masonry crews minimize disruption through key strategies that give you back a sense of control over the process:
Clear Communication Protocols: Established contractors provide regular progress updates and advance notice of particularly disruptive phases. You'll know when scaffolding arrives, when the dustiest work occurs, and when normal access resumes.
Dust and Debris Management: Experienced teams use containment barriers, vacuum systems, and daily cleanup routines that prevent work debris from becoming a household problem. The difference between amateur and professional approaches becomes obvious quickly.
Coordinated Scheduling: Quality contractors coordinate with your household schedule, avoiding problematic timing and ensuring safe pedestrian access throughout the project.
Professional crews understand that your home remains your sanctuary during restoration work. Established contractors maintain clear safety protocols and respect your family's daily routines while completing the necessary preservation work.
Most families report that the anticipated disruption feels much more manageable once they see their contractor's systematic approach to site management and communication.
Conclusion: From Anxious Homeowner to Confident Preservationist
The knowledge you've gained through this guide transforms you from someone who feels helpless when facing masonry problems into a homeowner who can confidently navigate the restoration process. You now understand what those crumbling mortar joints mean, why the right materials matter so much, and exactly how to evaluate contractors who claim expertise in historic preservation.
More importantly, you have practical tools—particularly the Contractor Vetting Framework—that turn subjective decisions into objective evaluations. When you can ask the right questions and recognize both red flags and quality indicators, the hiring process becomes significantly less stressful.
The investment you make in proper repointing today preserves not just your building's structural integrity, but its authentic character for the decades ahead. You're not just maintaining a house; you're continuing the stewardship of Brooklyn's architectural heritage.
Looking ahead, this foundational knowledge positions you to become the neighborhood resource that other historic homeowners turn to when they face similar preservation challenges. Your experience navigating this process—armed with the right information and evaluation tools—naturally evolves into the kind of practical expertise that benefits your entire community of preservation-minded neighbors.
Our Editorial Process
This guide was drafted with AI assistance and has been reviewed, fact-checked, and edited by the expert humans on our Insights Team to ensure accuracy and clarity.
About the City Suburb Insights Team
The
City Suburb Insights Team is our dedicated engine for synthesizing complex topics into clear, helpful guides. While our content is thoroughly reviewed for clarity and accuracy, it is for informational purposes and should not replace professional advice.