Mortar Before Makeover: Why Brick Pointing Sets the Fate of a Historic Façade
📌 Key Takeaways
Coating over failing mortar joints doesn't hide the problem—it traps moisture and accelerates the very damage you're trying to conceal.
- Sequence Determines Survival: Diagnose moisture sources, repoint with compatible mortar, allow full cure, then evaluate whether coatings are even needed.
- Chemistry Outweighs Cosmetics: Mortar permeability and softness protect historic brick long-term; color matching alone won't prevent spalling if the mix is incompatible.
- Test Panels Prevent Expensive Regrets: Small on-wall trials show the actual joint profile and color at street-viewing distance before committing to the entire facade.
- Hard Mortar Destroys Soft Brick: When mortar is harder than the historic brick, freeze-thaw forces transfer into the brick face, causing spalling and structural loss.
- Patch Jobs Plus Coatings Equals Failure: Incompatible spot repairs under vapor-blocking coatings concentrate moisture and create new damage within one winter cycle.
Compatible mortar first, cosmetics second—durability over decoration.
Brooklyn and NYC brownstone owners will find the core preservation principles here, guiding them into the mortar-first framework detailed in the sections that follow.
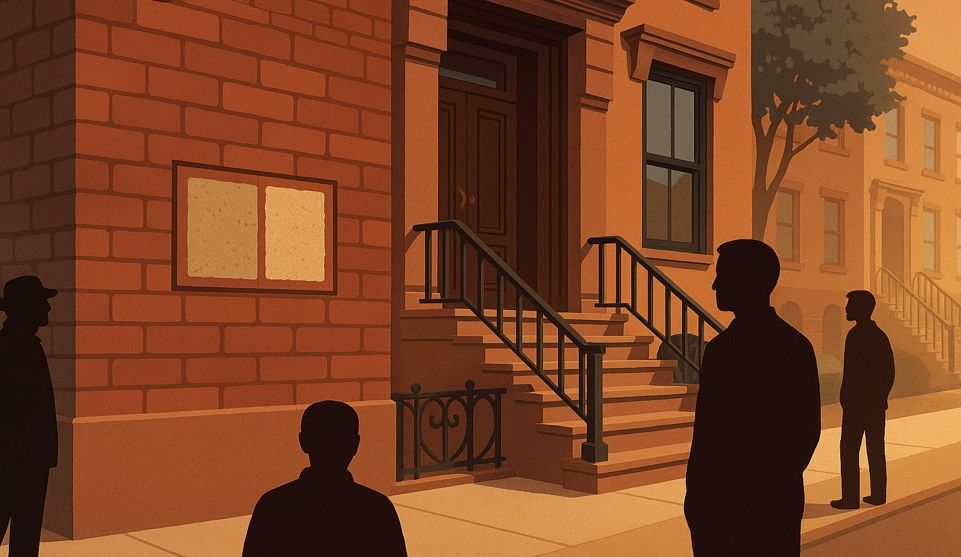
When a Brooklyn brownstone's facade starts looking shabby, the instinct is simple: paint it, coat it, make it look new.
Property owners across historic neighborhoods have stood on sidewalks, staring up at weathered brick, thinking a fresh coating will solve everything. It's understandable. Paint is familiar. It's how we refresh wood siding and trim.
But brick isn't wood. And that shortcut—coating over failing mortar joints—doesn't just fail to fix the problem. It traps moisture inside the wall, accelerates deterioration, and guarantees you'll be back out here in two years doing it all over again, this time with spalled brick and corroded lintels to fix first.
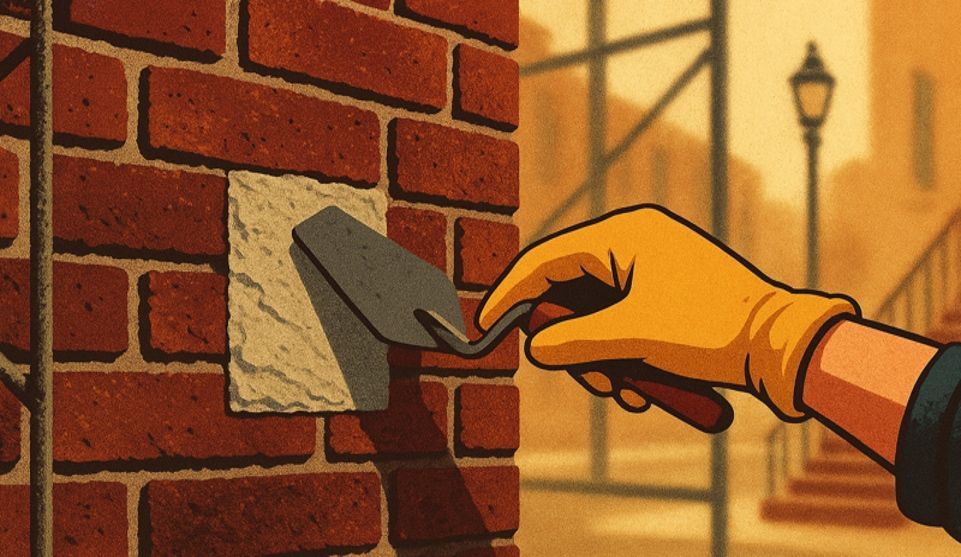
Compatible mortar and proper brick pointing must happen before any paint or coating—otherwise, you're sealing in the problem.
The Costly Myth: "Just Paint It to Make It Look New"
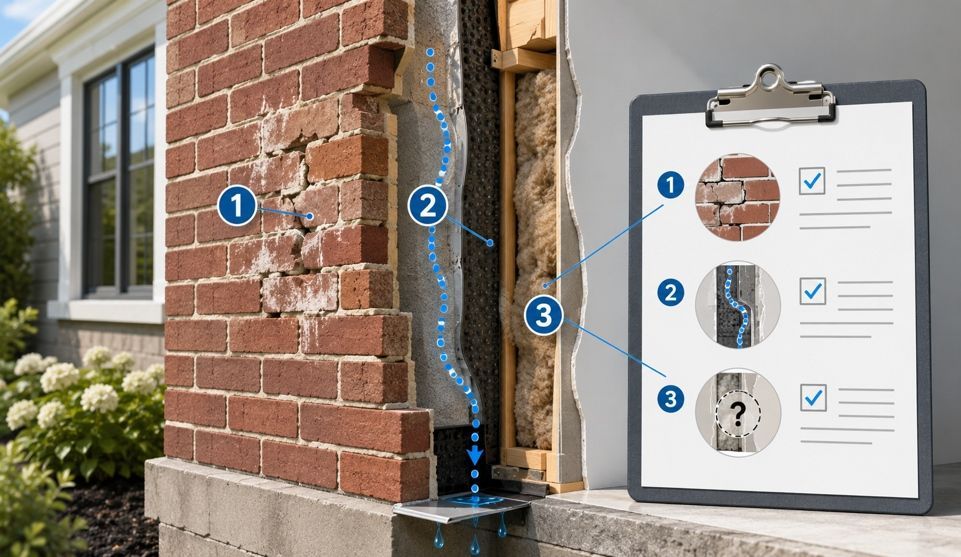
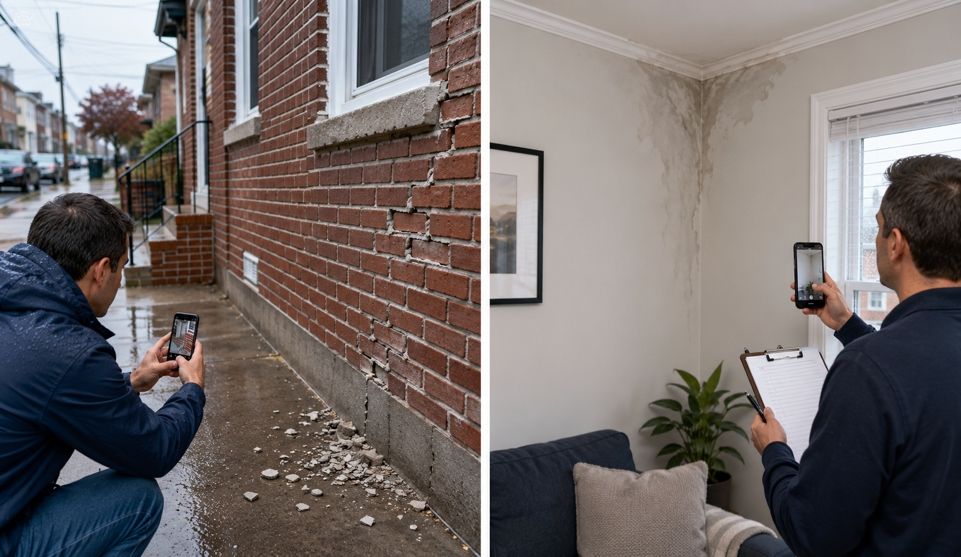
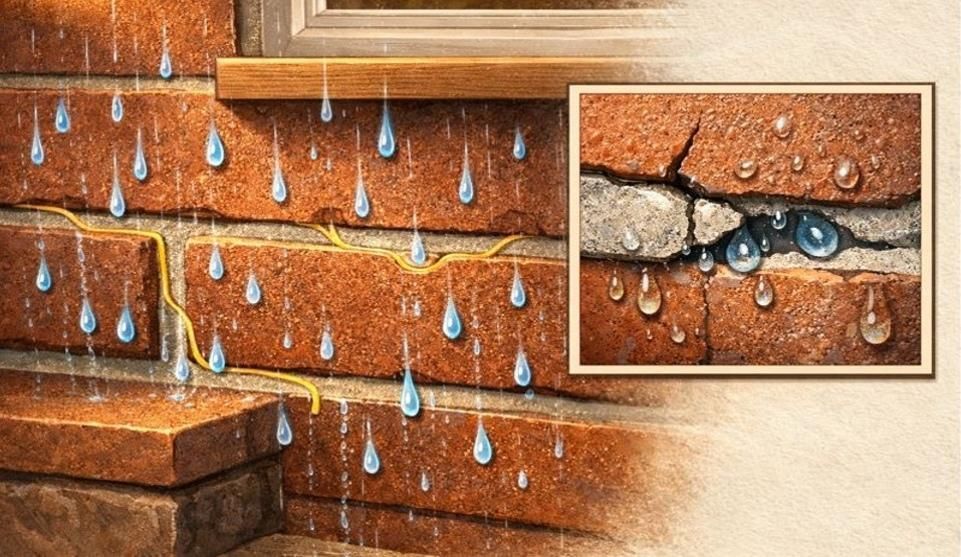
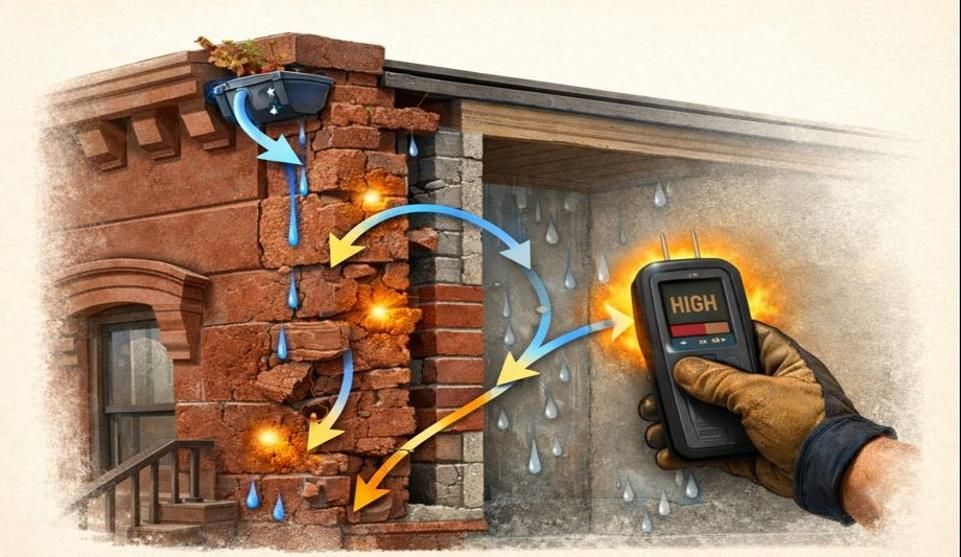
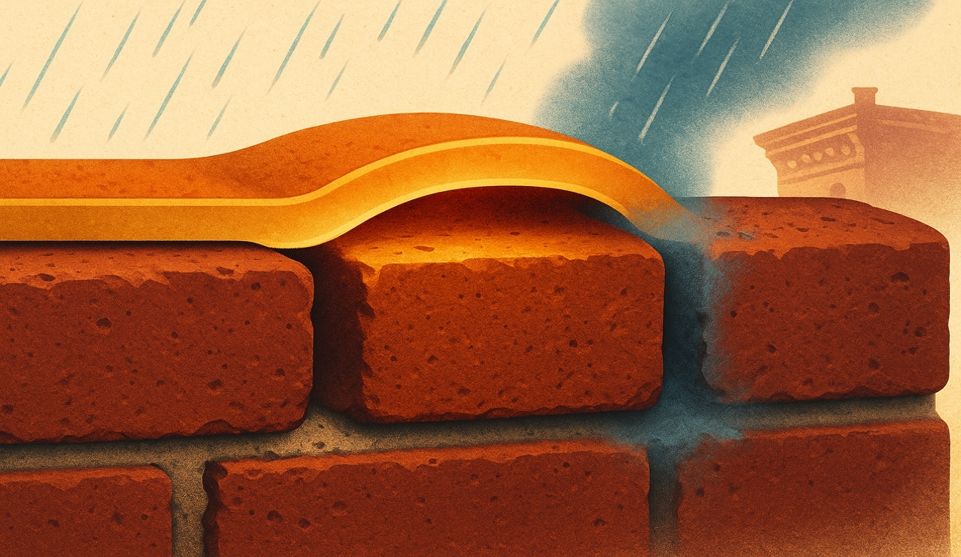
Here's what happens when coatings go on before the joints are right. The mortar between bricks isn't just filler. It's the wall's pressure-relief valve. When those joints crack or erode, water gets in. That's not the worst part. The worst part is when water can't get back out.
A coating—whether traditional paint or elastomeric films—creates a vapor barrier. Any moisture that enters through failed joints, roof leaks, or defective parapet walls becomes trapped. Freeze-thaw cycles begin their work. Ice expands inside the brick. You'll see the early warnings: shadow lines where moisture is moving behind the coating, blistering on the surface, white efflorescence blooming through.
Coatings aren't structural. Joints are. When you cover up compromised joints without fixing them first, you've just painted over the leak in your roof and called it waterproofing.
Can You Paint Brick Without Repointing First?
Technically, yes—you can apply paint to brick with failing mortar. Practically, you're setting up a cascade of failures. Paint won't bond properly to unstable, eroding mortar. Within months, sections will peel where water is working its way out. You'll have the expense of the coating plus the expense of fixing what should have been fixed first.
Mortar First: The Compatibility Equation
This is where most quick fixes fail, and where the sequence matters most.
Why "Hard and Strong" Mortar Destroys Historic Brick
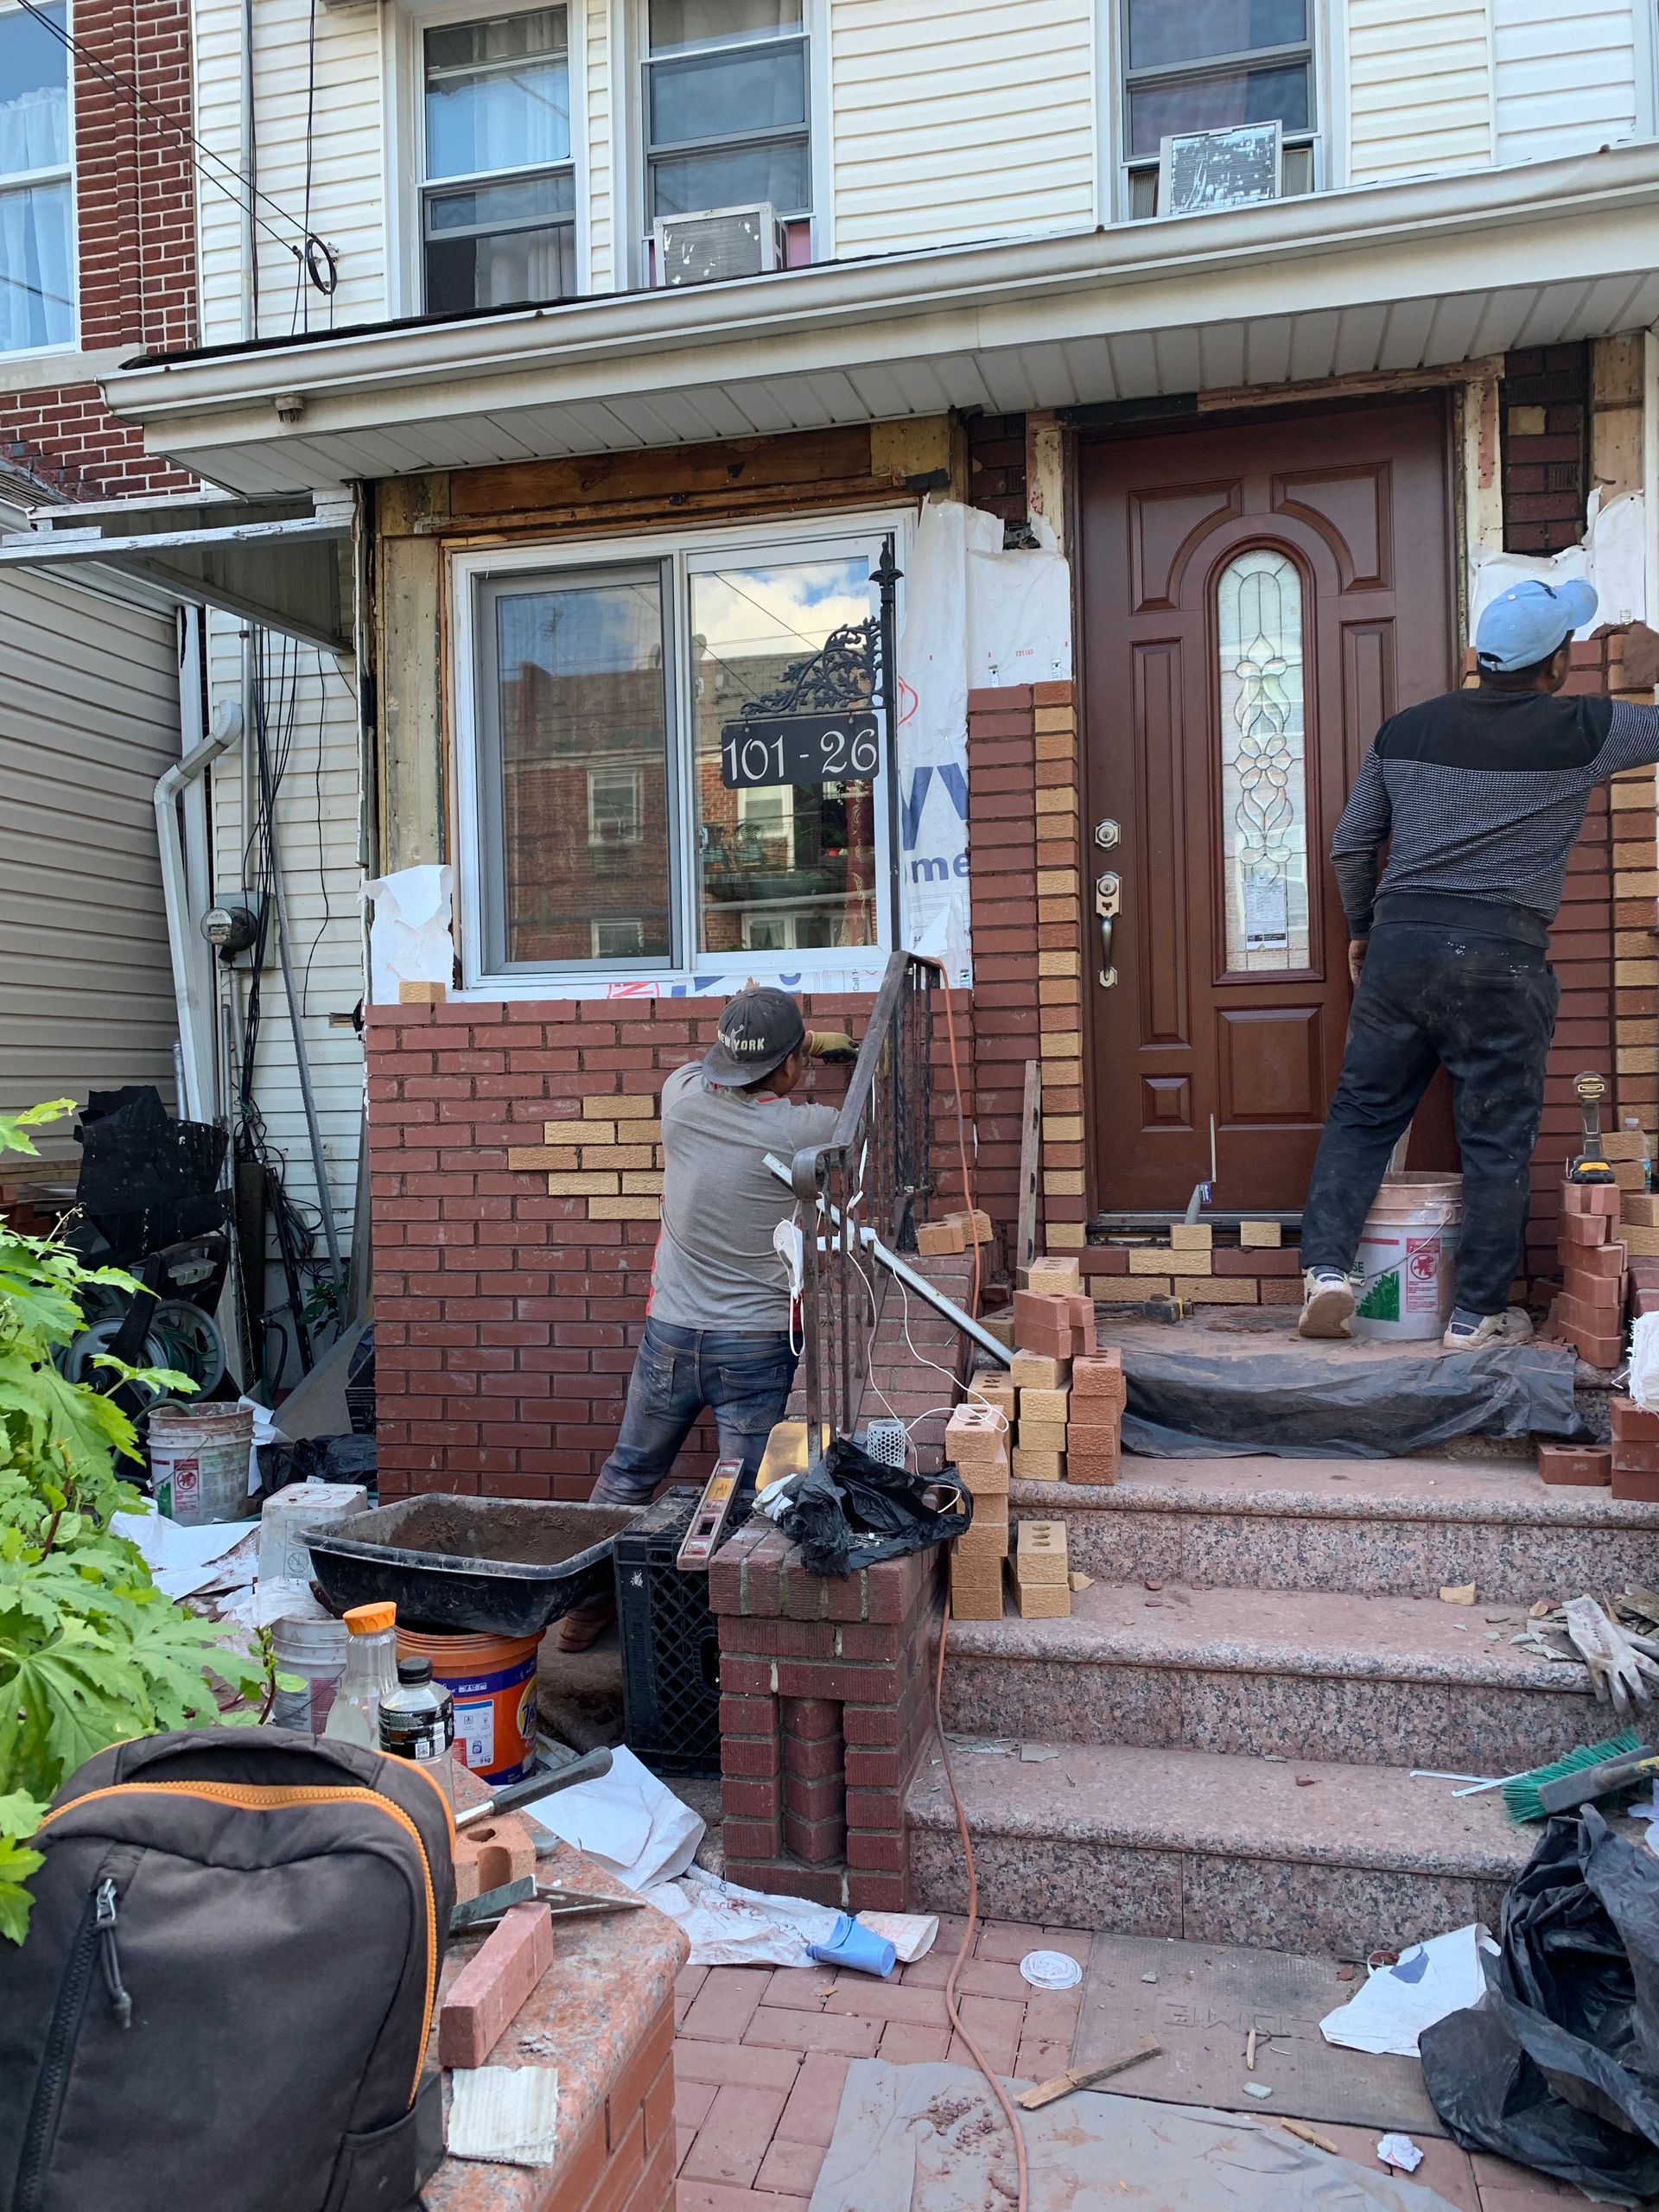
Modern Portland cement mortar is significantly harder than the brick used in pre-war construction. When the mortar is harder than the brick, freeze-thaw stress and salt movement transfer into the brick face rather than the joint. The brick spalls—its face fractures and flakes off. This isn't a cosmetic problem. It's structural deterioration.
Historic brick needs mortar that's softer and more permeable. Lime-based mortars compress slightly under stress and allow water vapor to escape through the joint rather than forcing it through the brick. According to the National Park Service's guidance on repointing historic masonry, the mortar should be "softer or more permeable than the masonry units" to protect the brick and allow the wall to breathe.
This is the chemistry of compatibility. Get it wrong and you'll see accelerated deterioration even if the work looks fine initially.
What Happens If Mortar Is Stronger Than Historic Brick?
The brick becomes the sacrificial element. During freeze-thaw cycles, expansion forces follow the path of least resistance. With overly hard mortar, that path is through the softer brick. You'll see faces pop off, edges crumble, and entire bricks become structurally compromised. The wall stops breathing through the joints. Replacing brick is significantly more expensive than repointing with the correct mortar from the start.
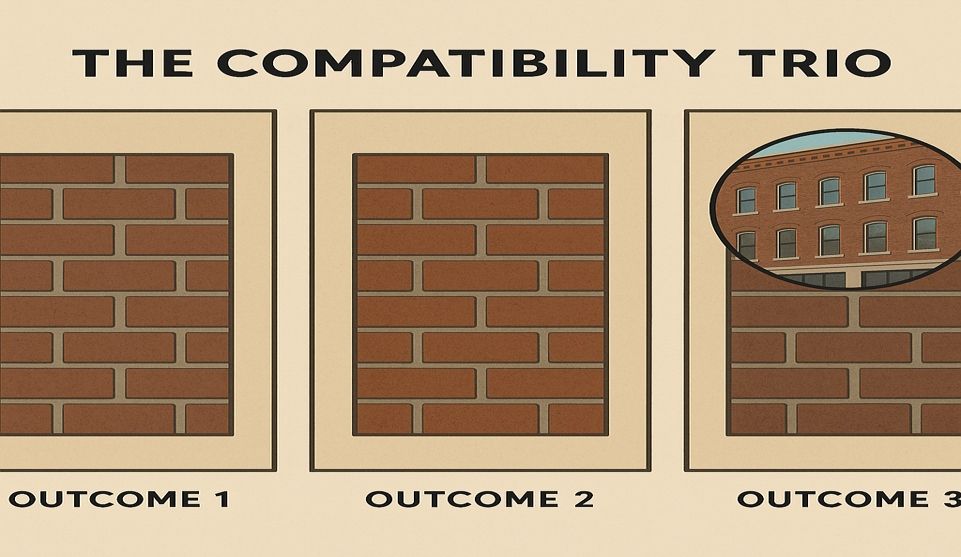
Joint Profile and Color Shape the Look; Chemistry Governs Longevity
From the sidewalk, much of what reads as "beautiful brickwork" is actually the joint: its profile, width, and color. The visual impact is striking. Yet the chemistry—the mortar's composition, permeability, and compatibility with the existing brick—is what primarily determines how long the work lasts, especially when combined with proper workmanship and attention to other moisture sources.
A pointing job can match the color perfectly and still fail within five years if the mix is wrong. Conversely, properly compatible mortar with a slightly different color will protect the wall for decades. You're not choosing between aesthetics and performance. You're choosing performance first, then refining aesthetics through test panels.
A Safe Sequence That Prevents Rework
Getting the order right is simpler than fixing it later.
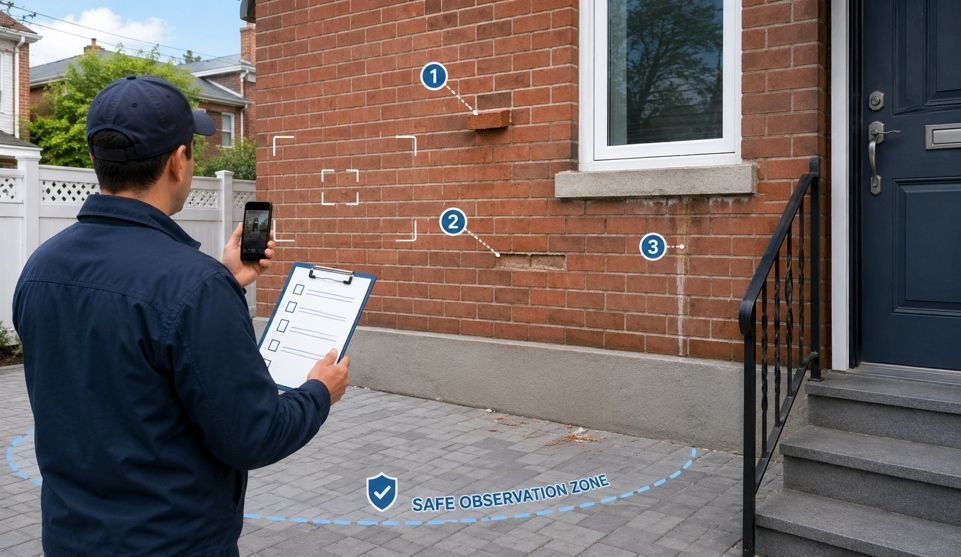
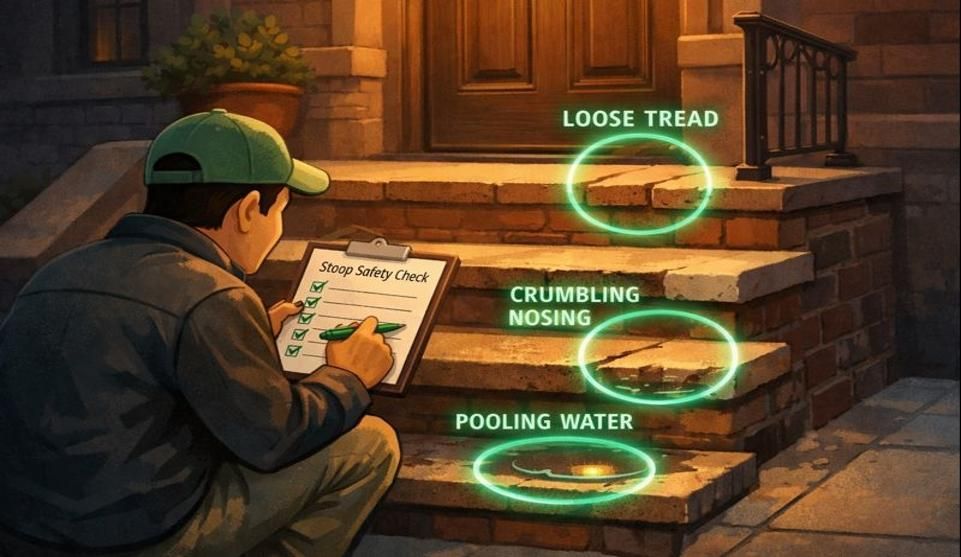
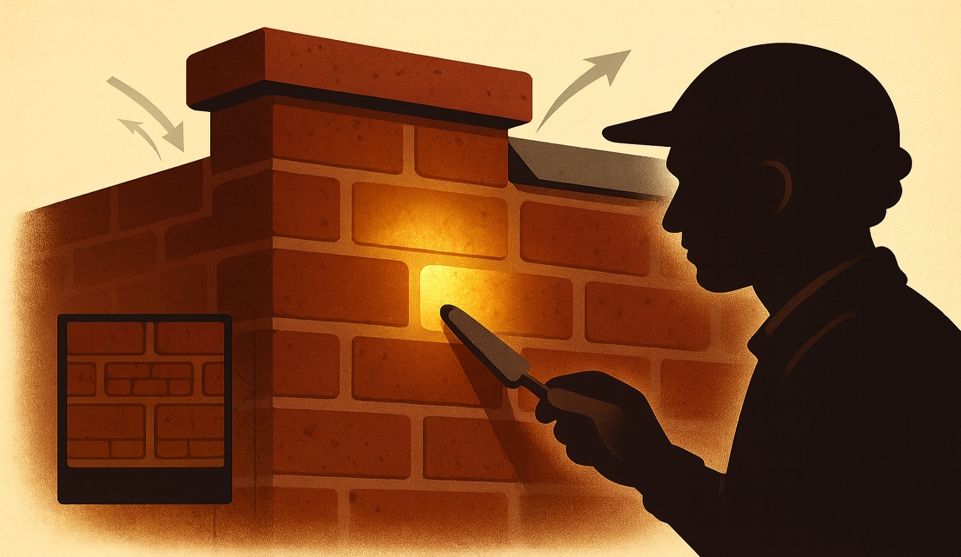
Diagnose All Moisture Sources First
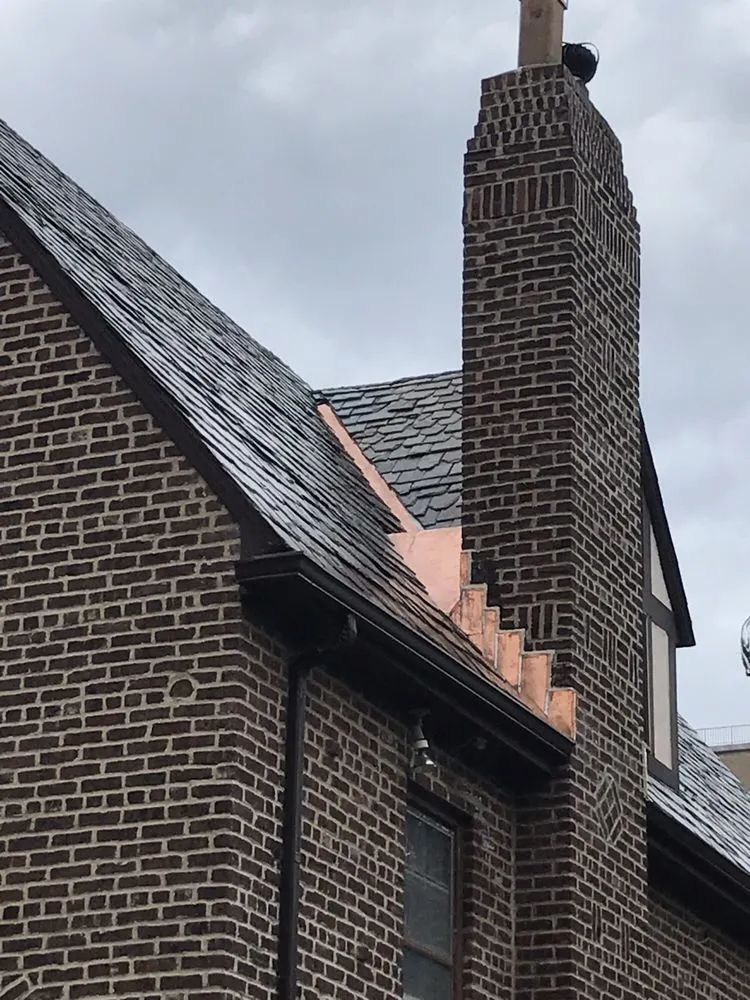
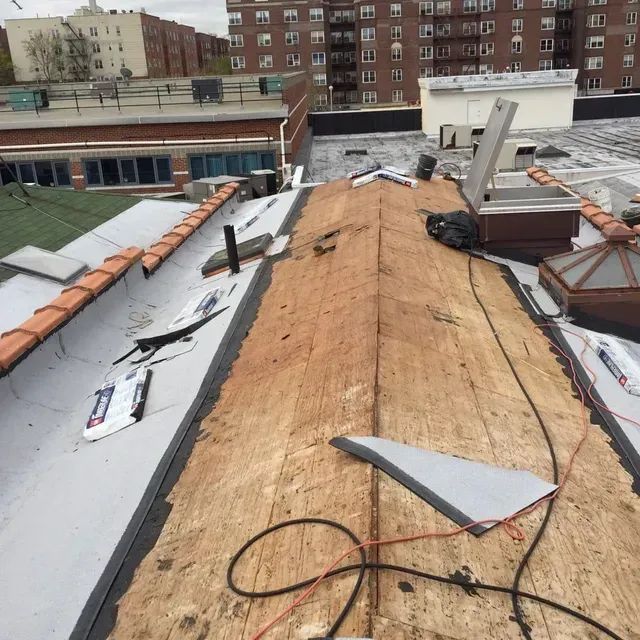
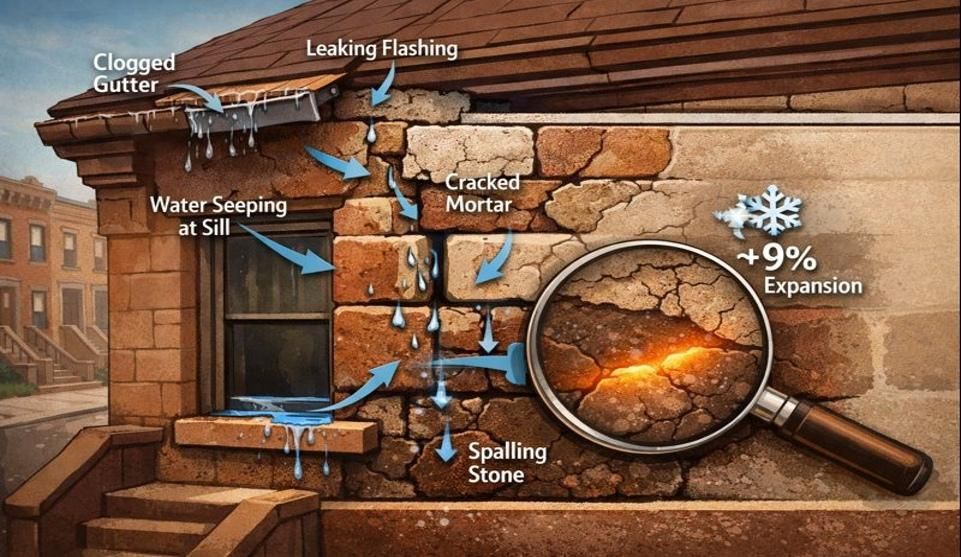
Before any brick pointing begins, identify where water is entering. Common culprits in Brooklyn and NYC historic buildings include:
- Deteriorated lintels and shelf angles above windows, especially where rust expansion has occurred or weeps have become blocked
- Failed parapet wall coping and flashing
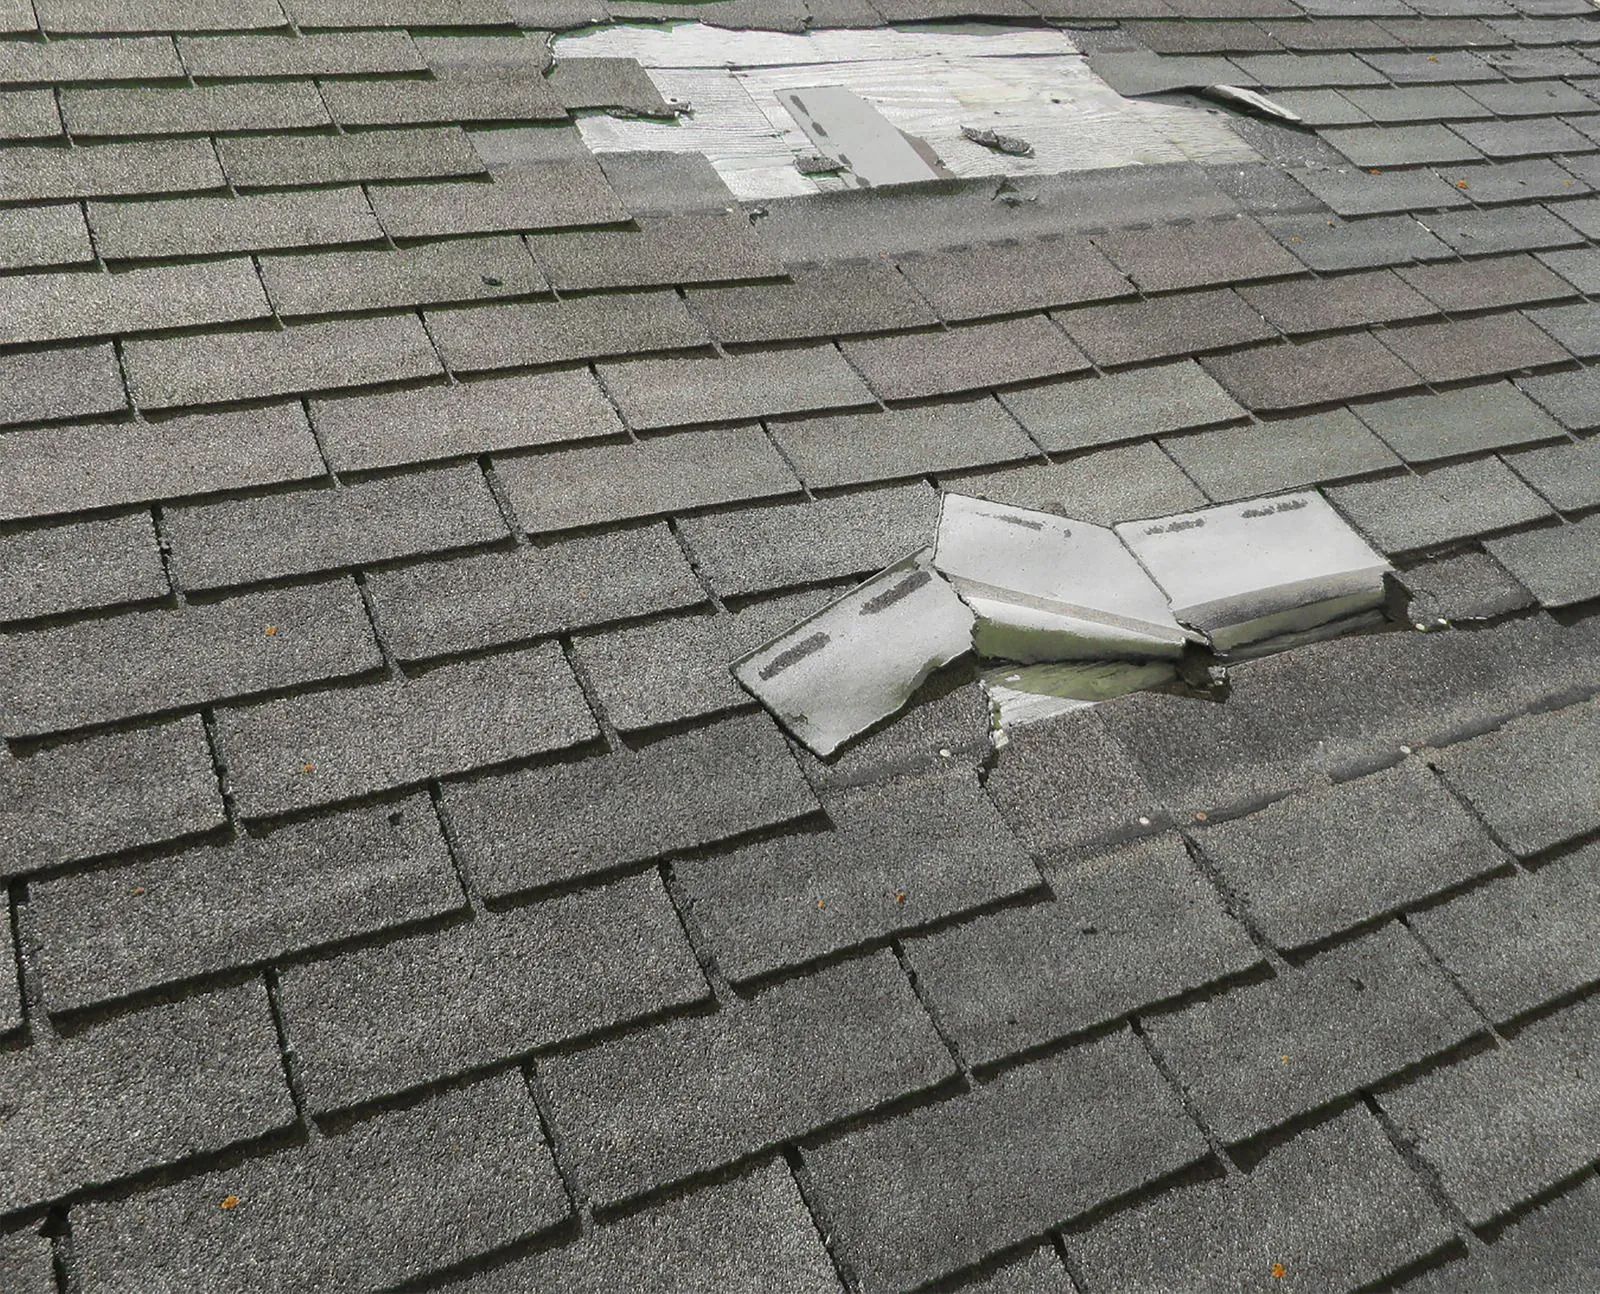
- Compromised roof flashing and drainage
- Hairline cracks in brick at sills, stringcourses, and previous patch locations
Repointing over an active leak is pointless. Fix the source. Then address the joints.
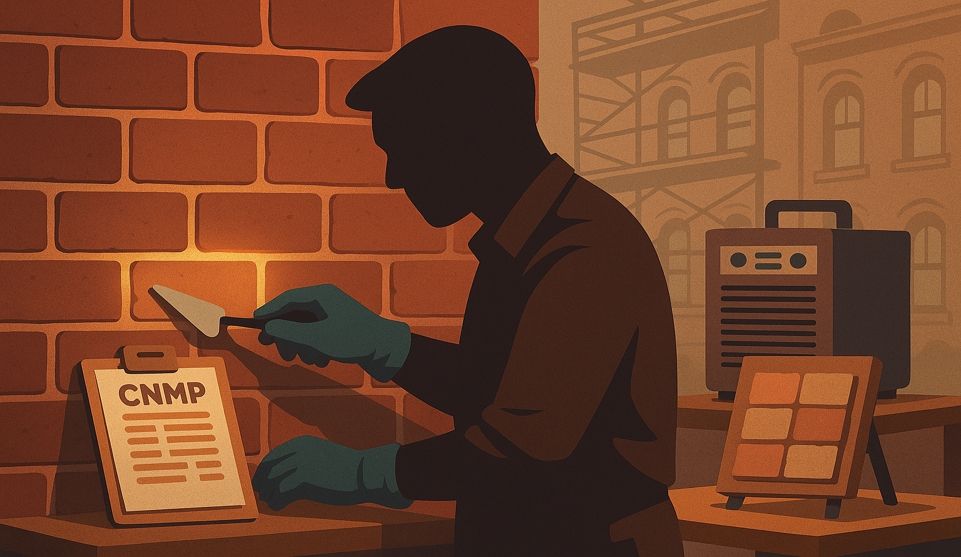
Repoint With Compatible Mortar and Allow Proper Cure Time
Once moisture sources are controlled, repointing can proceed with mortar matched to the existing historic mix. This typically means a lime-based formula for pre-1930 Brooklyn buildings.
Cure time matters. Lime mortar cures through carbonation—a chemical reaction with carbon dioxide in the air—not just evaporation. This takes weeks, not days. Applying coatings before the mortar has fully cured traps moisture and solvents, leading to bond failure and discoloration.
How Long Should You Wait After Repointing Before Coating?
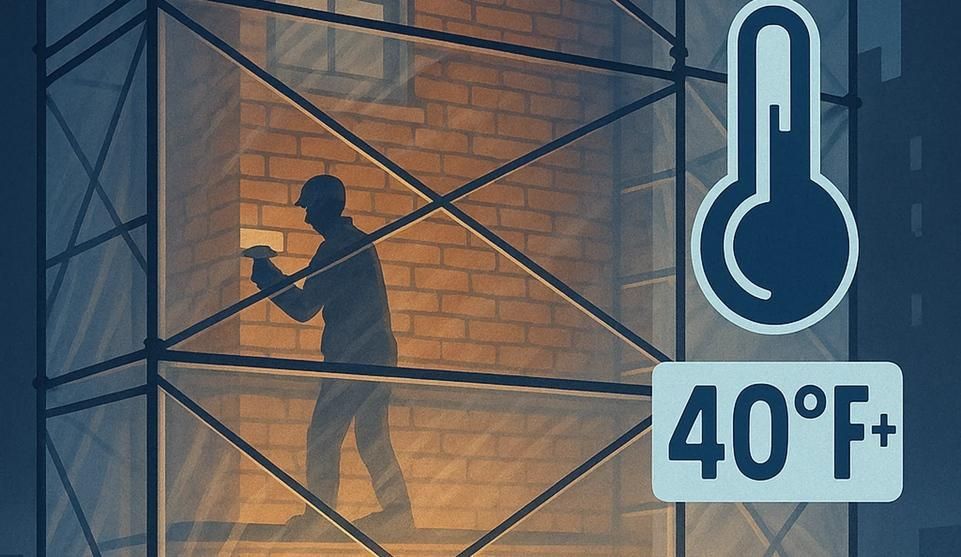
Cure time varies by mortar mix and weather conditions. Lime-rich mortars cure more slowly than Portland cement blends. The principle is consistent: coat only after full cure and verified drying behavior. For many lime-based mixes in typical conditions, this means waiting four to eight weeks minimum. Rush this step and you compromise the bond and breathability you just paid to restore.
Then Consider Finishes—Only If Appropriate
Many historic facades were never meant to be coated. If, after repointing and proper drying time, a finish is still being considered, evaluate breathability carefully. Creating a less-permeable outer skin over more-permeable masonry can drive damage inward rather than solving it.
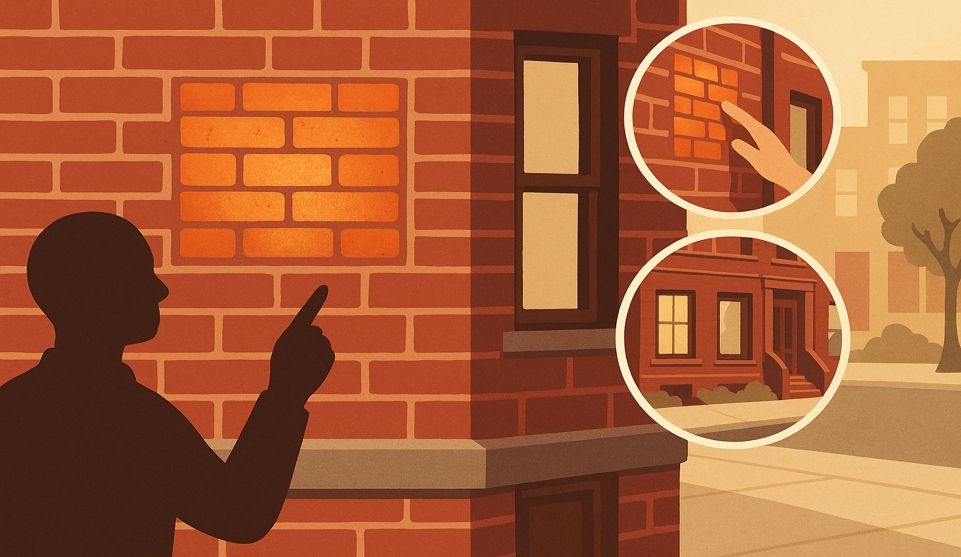
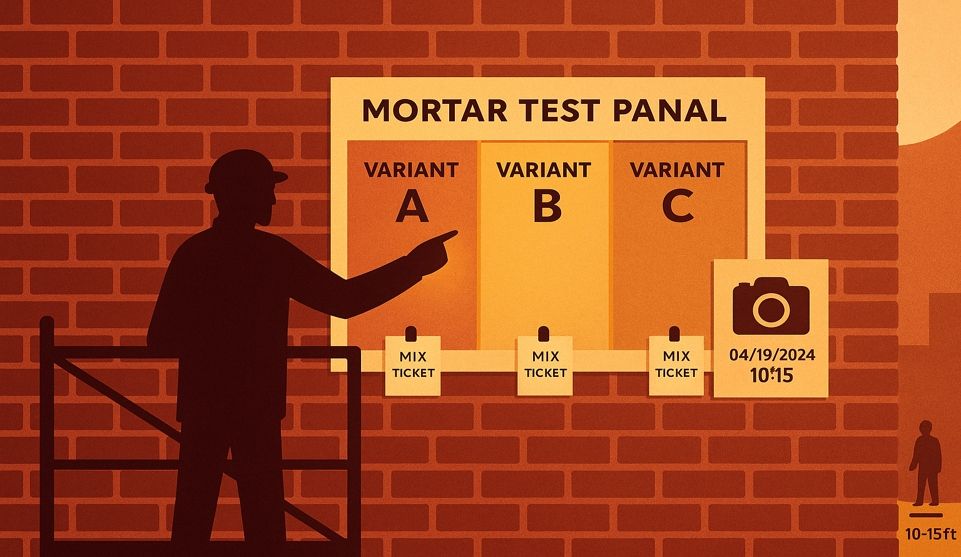
Approvals Without Anxiety: Use Test Panels
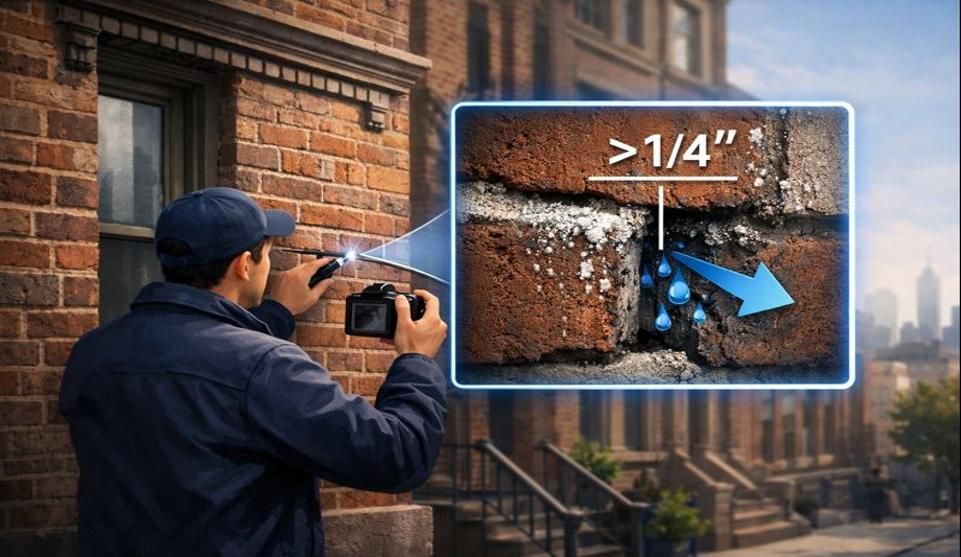
Color and texture are subjective. What looks acceptable in a sample chip looks different on the wall at scale. This is where test panels solve a problem before it becomes one.
A test panel is a small section—typically three to four square feet—of repointing work done on the actual building. It allows you to see the joint profile, color, and texture in real lighting conditions before committing to the entire facade.
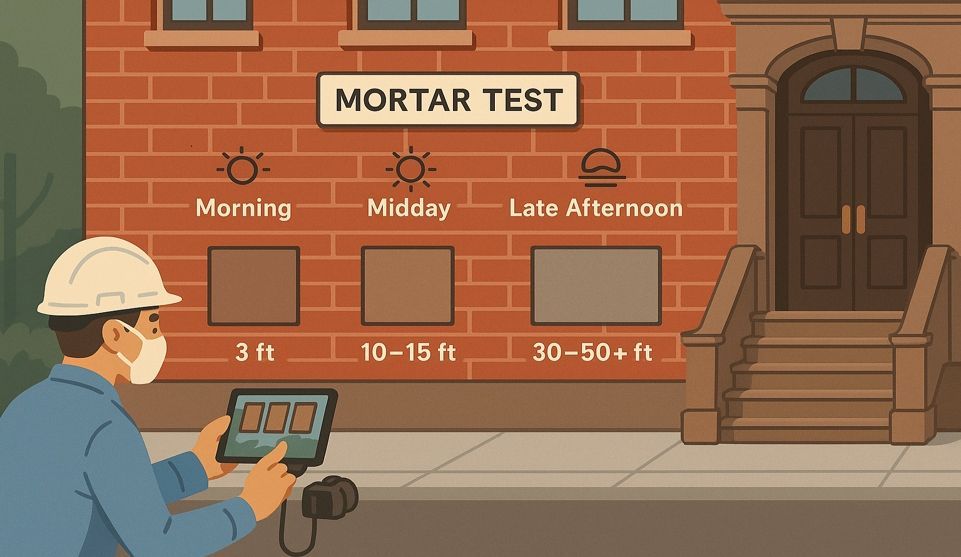
How Do Test Panels Work for Brick Pointing?
The contractor prepares several mortar variations, then applies them to different test areas on your building. You review them over several days, ideally in different lighting. The key is viewing distance: what you see at three to five feet—standing right at the wall—will look different than what you see at ten to fifteen feet from the sidewalk.
Most people focus too closely on small details. Step back. The facade is meant to be seen from across the street, not from a ladder. This approach eliminates surprises and sets clear expectations. It also gives the contractor a physical reference to match throughout the project.
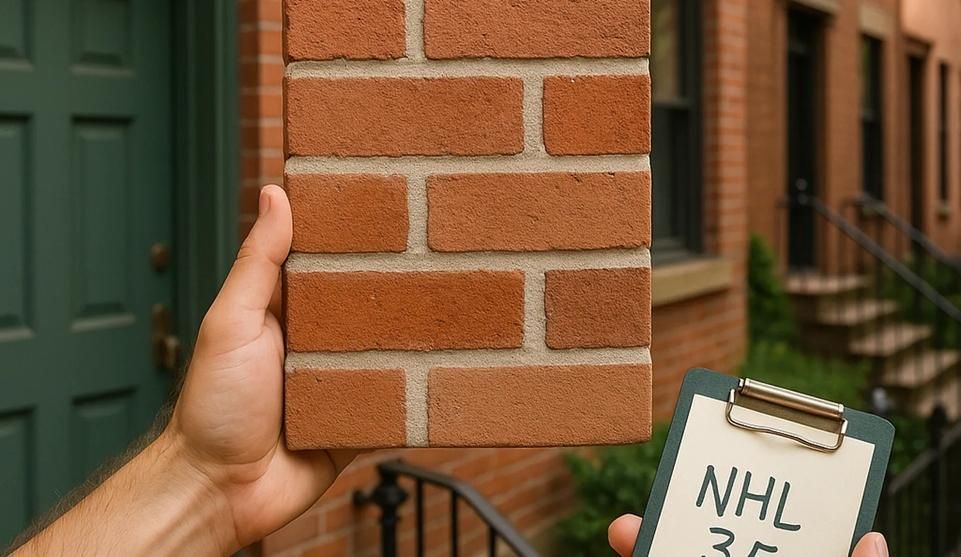
Is Lime Mortar Required for Brooklyn Brownstones?
For buildings constructed before 1930, lime-based mortar is typically the compatible choice. Brownstones and brick rowhouses from this era were built with softer bricks and lime mortars. Matching that original composition prevents the incompatibility problems discussed earlier. Many historic brick buildings benefit from lime-rich mortars because of their permeability and flexibility, though exact formulations depend on the original materials and site conditions.
When Patch Jobs Backfire
Partial fixes combined with coatings create a failure pattern that's both predictable and expensive.
Here's the sequence: A few bad joints get patched with whatever mortar is convenient—usually too hard. A coating goes over everything to "unify the look." The incompatible patches create hard spots that prevent the wall from breathing. Water that enters anywhere in the wall migrates to these hard spots and gets trapped behind the coating. One freeze-thaw cycle later, you have new spalling around the patch areas, coating failure, and often damage to the brick that wasn't compromised before.
The false economy is clear. A cheap patch plus a coating costs less initially than proper comprehensive repointing. But after one winter, you're paying for coating removal, brick replacement, and doing the pointing work correctly anyway. The cheap fix just added steps.
This pattern is why quick-fix pointing approaches fail so consistently. The materials and sequence both have to be right.
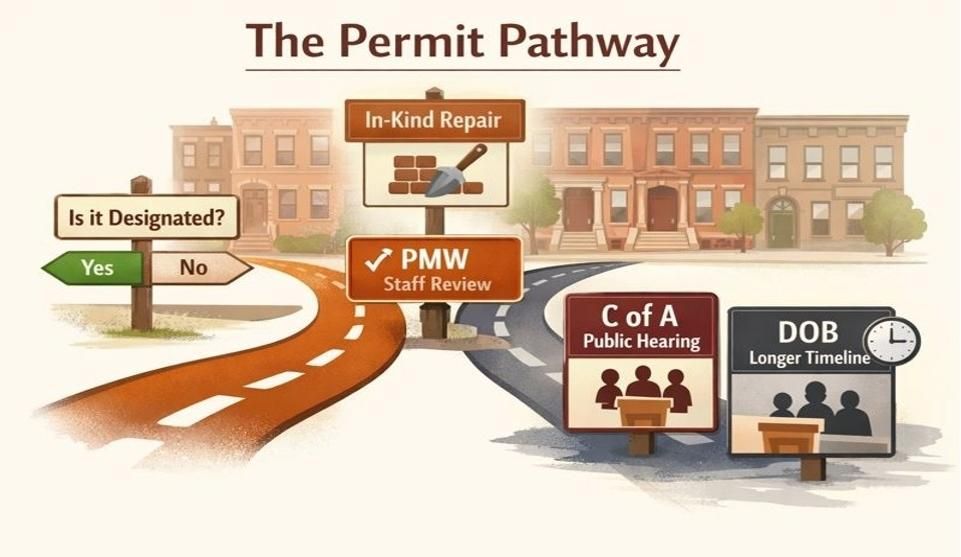
Permits and Landmarks in Brooklyn and NYC
Before starting exterior masonry work on historic properties, check whether your building requires Landmarks Preservation Commission approval. Designated properties in New York City typically need LPC permits for repointing, facade repairs, and any coating or paint changes visible from the street.
The process varies by building designation and scope. Staff-level approvals are available for many routine maintenance projects. You can review requirements in the LPC Permit Guidebook and submit applications through the LPC Portico portal.
Starting work without required permits can result in violations and stop-work orders. Check your building's status and permit requirements before any facade work begins.
Next Best Step for Historic Properties in Brooklyn and NYC
If your building shows deteriorating mortar, don't start with paint. Start with a compatibility assessment that evaluates your specific brick type, existing mortar composition, and moisture conditions.
Request an on-site review that includes test panel options. This lets you see proposed solutions on your actual building before making decisions. For historic Brooklyn and NYC properties, working with experienced masonry contractors who understand compatibility requirements prevents the rework cycle.
The goal isn't just a better-looking facade. It's a facade that lasts—one where the mortar protects the brick, water can escape, and future maintenance is straightforward rather than crisis-driven.
Call to schedule a compatibility assessment and test panel review for your property. The consultation identifies moisture sources, evaluates mortar compatibility, and shows you options before any work begins.
Disclaimer: This article provides general guidance on masonry preservation principles for historic buildings. Specific requirements vary based on your building's age, construction, landmark status, and local regulations. Always consult with qualified professionals and verify compliance with applicable building codes and preservation guidelines before beginning work.