Historic Brick Repointing in Brooklyn & NYC: A Mortar-First Framework to Stop Leaks and Preserve Character
📌 Key Takeaways
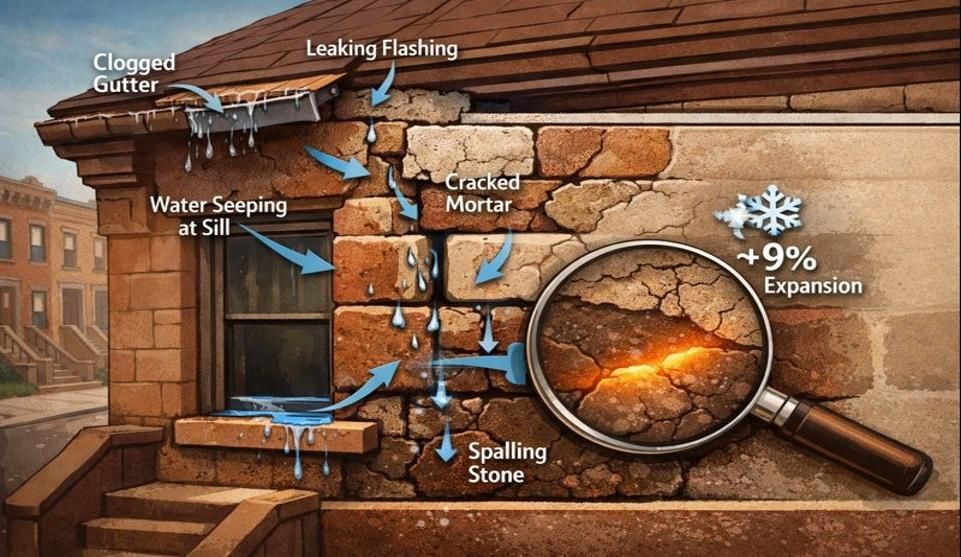
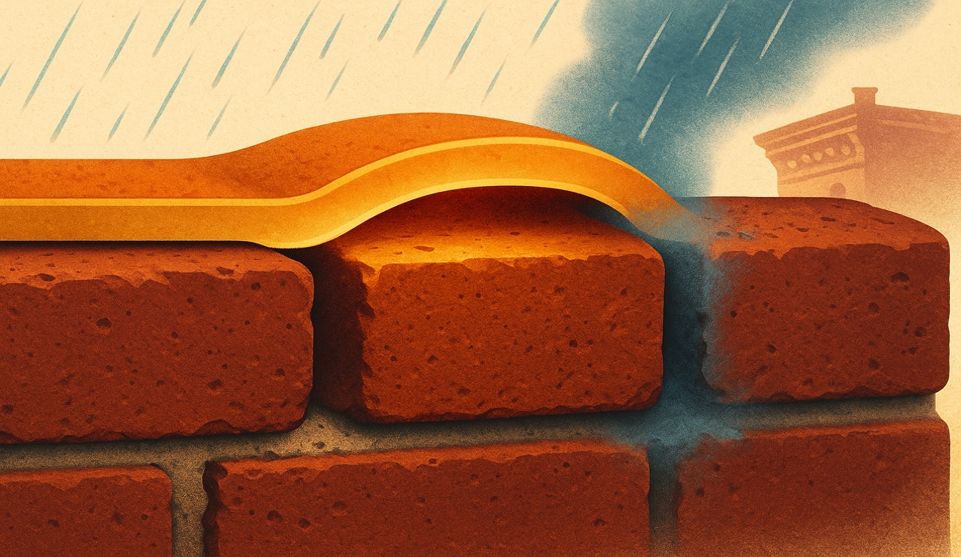
Mortar is your facade's first defense—when it fails, water finds every weakness and compounds the damage through freeze-thaw cycles that crack brick and rot framing.
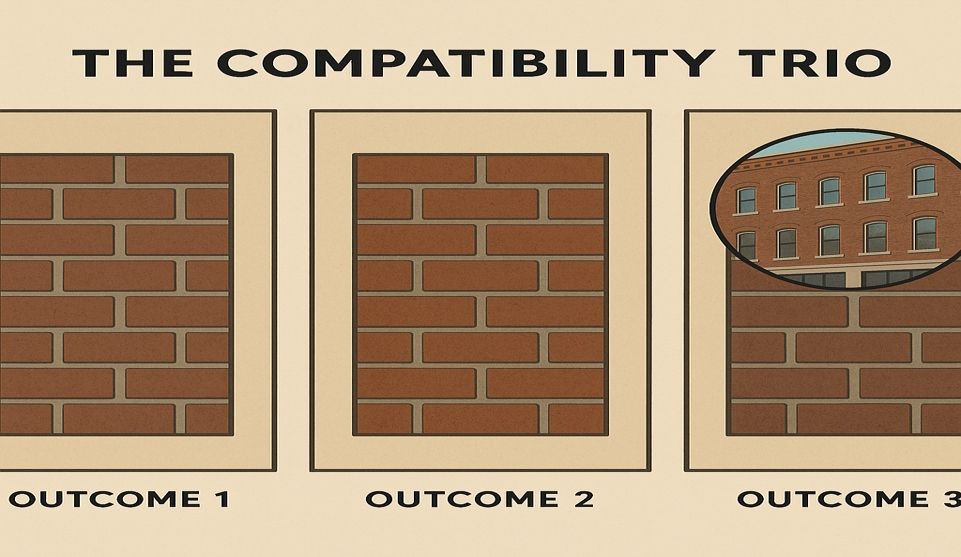
- Compatibility Over Strength: Historic brick demands lime-forward mortar that's weaker and more vapor-permeable than the masonry itself—hard Portland cement traps moisture inside the brick face, causing spalling and accelerated deterioration.
- Start at the Top: Most facade leaks originate at parapets, copings, and flashing transitions, not through solid brick—diagnose and repair these details first before repointing lower elevations or you'll waste money chasing symptoms.
- Removal Depth Determines Bond: Cutting joints to at least twice their width (ideally 2–2.5×) ensures new mortar achieves mechanical grip—shallow face-work fails within years because it lacks sufficient tooth into the cavity.
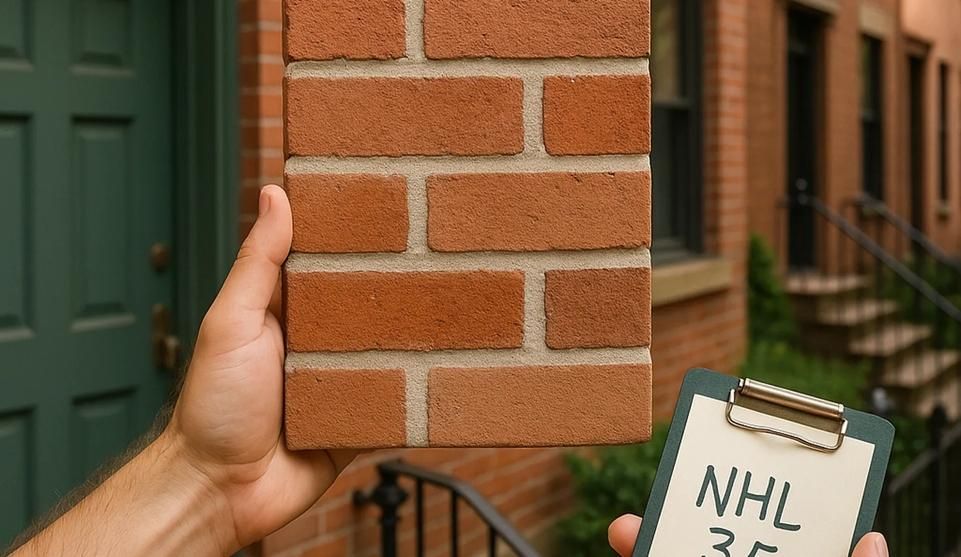
- Compliance Protects Your Investment: NYC Landmarks Preservation Commission approval hinges on sample panels that prove mortar color, aggregate, and tooling match the original—skipping this step invites stop-work orders and costly do-overs mid-project.
- Bundle Related Repairs: Once scaffolding is erected, address corroded lintels, parapet rebuilds, and gutter issues in the same mobilization—solving the full water-intrusion system prevents fresh joints from failing prematurely.
Fix joints right once: compatible mortar, proper depth, and dry conditions from above equals decades of protection.
For Brooklyn, Manhattan, Queens, Bronx, and Long Island property owners managing pre-war townhouses and landmarked buildings who need to stop leaks while preserving historic character and navigating NYC compliance requirements.
Water stains bloom across your parlor ceiling. Again.
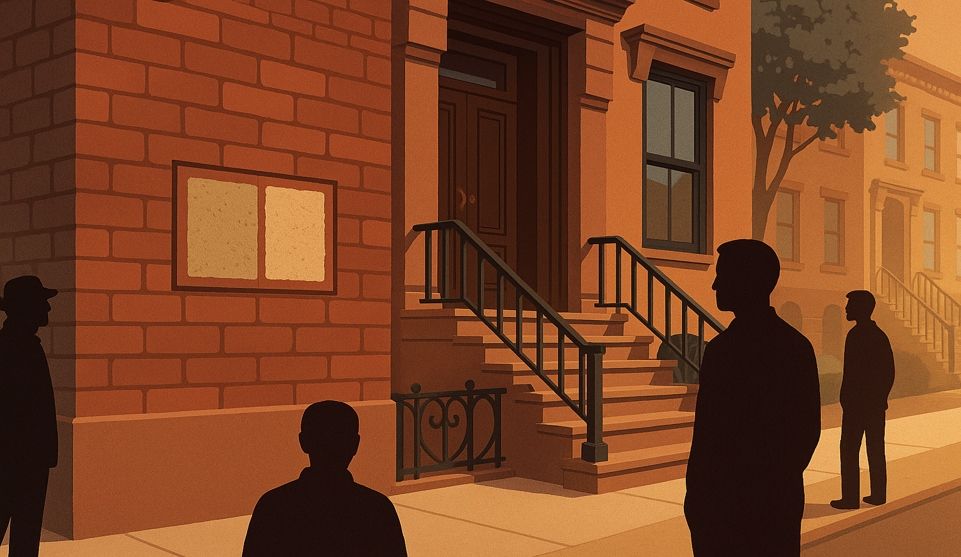
You've watched efflorescence creep up your brownstone's façade for two seasons now. The previous owner painted over the joints—a Band-Aid that lasted maybe eighteen months before the brick started flaking. Now you're standing on the sidewalk, wondering if repointing will actually fix this or if you're about to spend thousands on another temporary patch.
Here's what most property owners discover too late: the mortar between your bricks isn't just decorative grout. It's a carefully engineered system that must be weaker and more breathable than the brick itself. When contractors use the wrong mix or apply modern Portland cement to soft historic masonry, they create a vapor trap that accelerates the very damage you're trying to prevent. This article explains why compatible, lime-forward mortar—paired with period-appropriate tooling—protects your investment and how to navigate NYC's compliance requirements so the work is done correctly the first time.
What "Mortar-First" Repointing Means (and Why NYC Historic Brick Needs It)
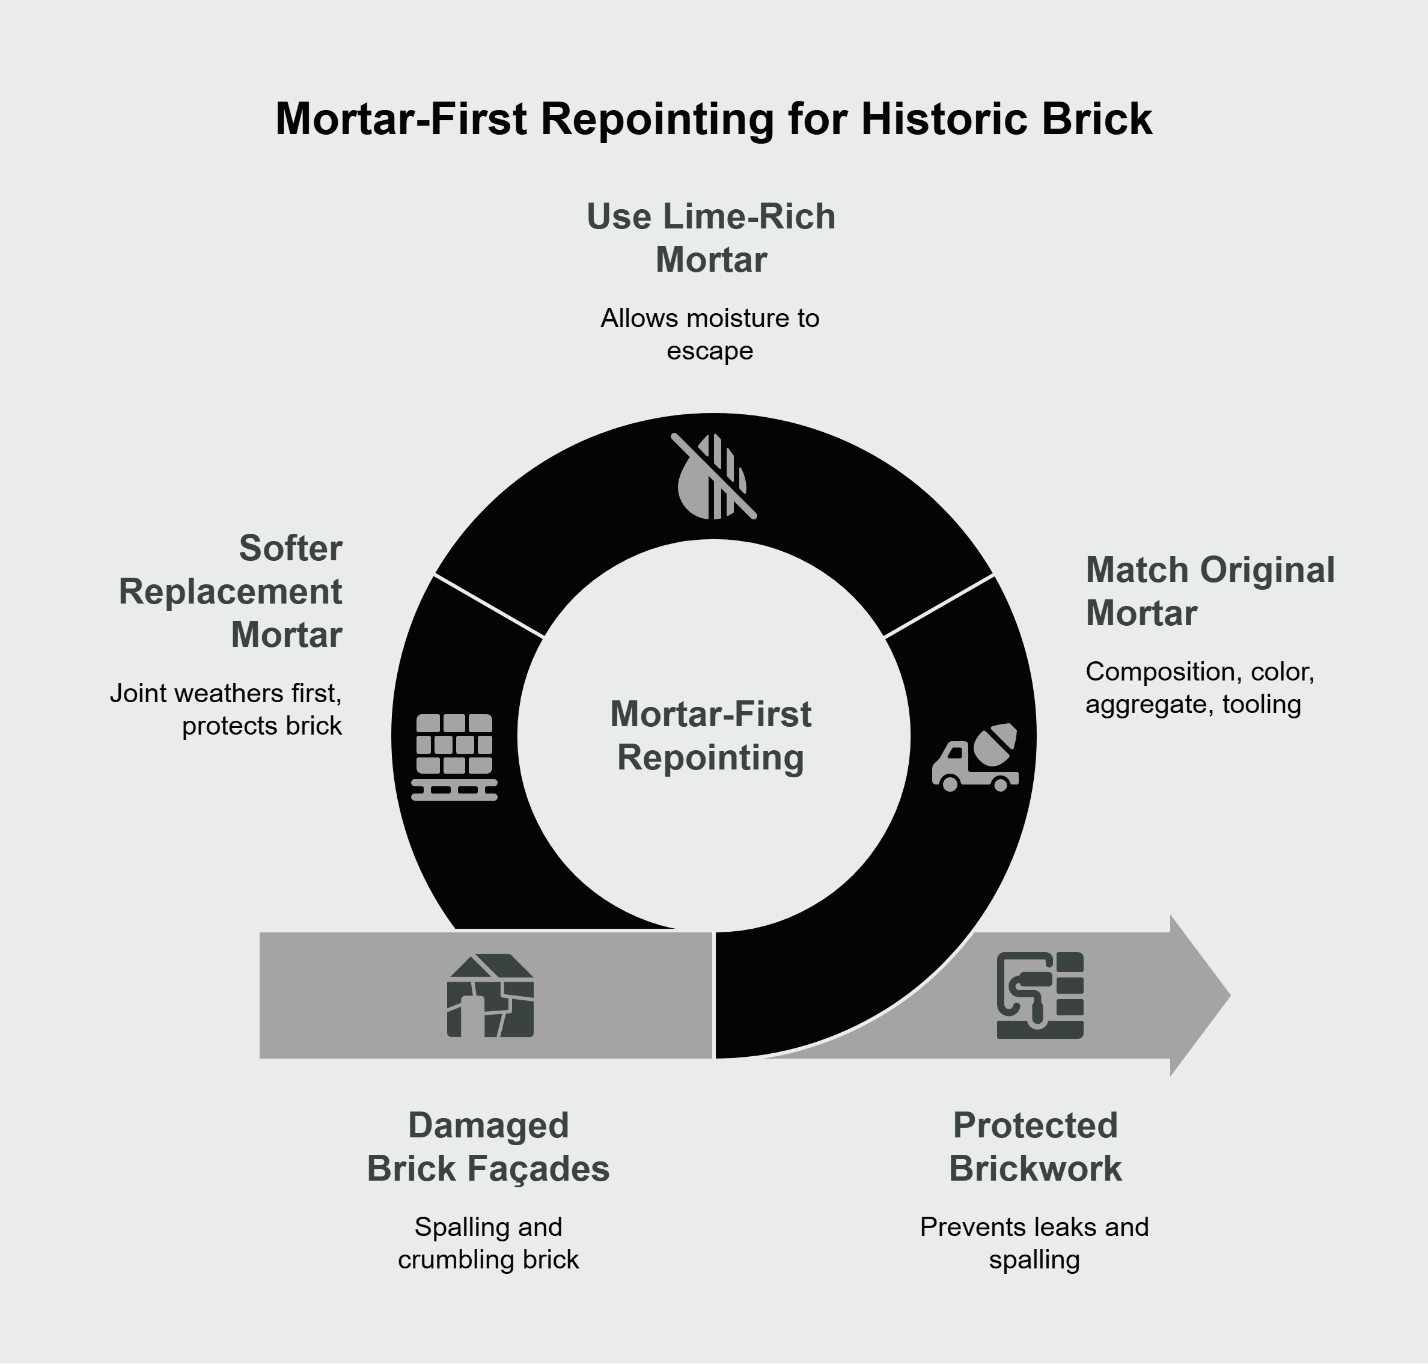
Mortar-first repointing prioritizes matching the original mortar's composition, color, aggregate, and tooling profile so joints shed water properly and protect the soft, historic brick underneath—preventing both leaks and spalling.
Most NYC townhouses and rowhouses built before 1920 used lime-rich mortar that allowed moisture to escape through the joints rather than through the brick face. When water vapor migrates outward during seasonal freeze-thaw cycles, it needs an exit path. Hard, cement-heavy mortars block that path, forcing moisture to travel through the brick. The result: the brick face spalls, crumbles, or develops that characteristic flaking you see on poorly maintained façades across Brooklyn and Manhattan.
The National Park Service's Preservation Brief 2 establishes the fundamental principle: replacement mortar must be softer than the surrounding masonry. This ensures the joint remains the sacrificial element—it weathers first, protecting the more valuable and harder-to-replace brick units.
Repointing vs. Tuckpointing—Clear Definitions and Outcomes
Repointing removes deteriorated mortar and replaces it with compatible material, restoring the joint's weatherproofing function. Tuckpointing is a decorative technique that uses two contrasting mortar colors to create the visual illusion of fine joints, common in high-style Victorian architecture. Most NYC preservation work requires straight repointing—functional repair that matches the existing joint width and profile without adding decorative ribbons.
Confusing the two leads to mismatched scope proposals and frustration when contractors quote different approaches.
How Wrong Mixes Trap Moisture and Damage Brick
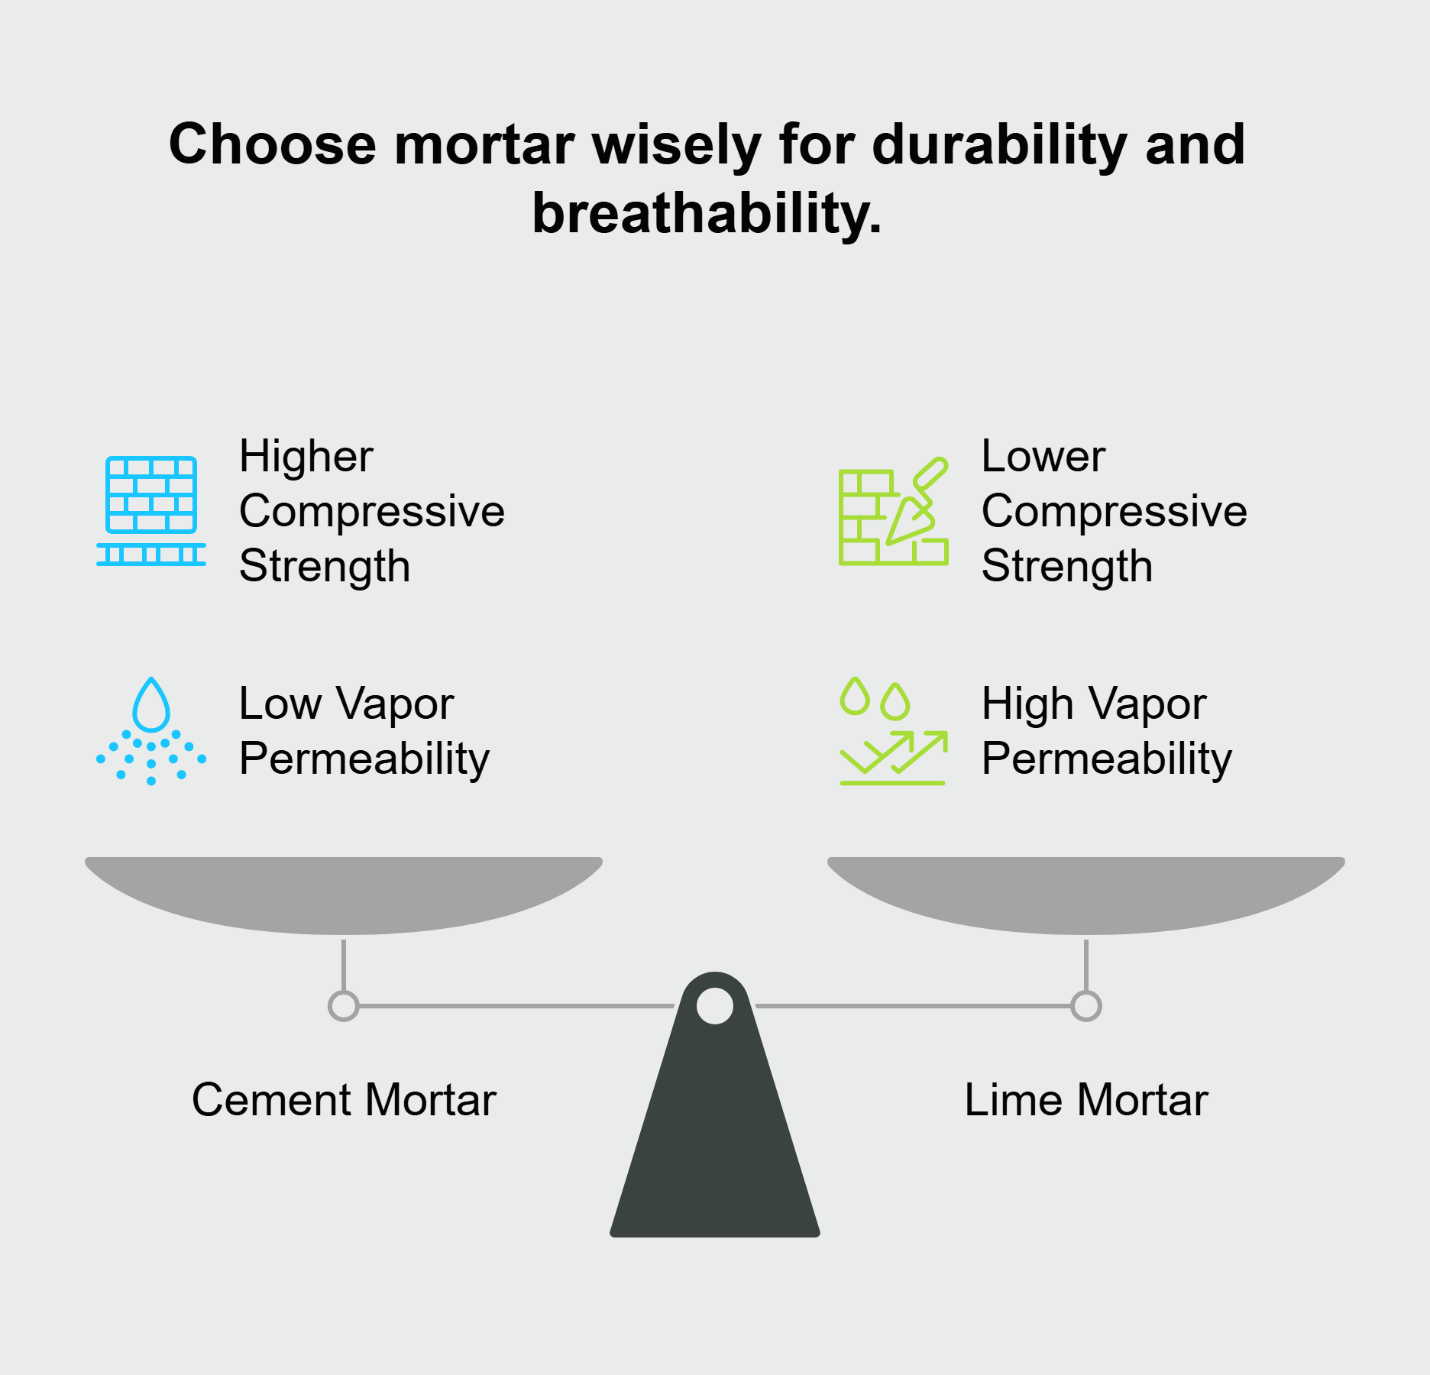
Modern Type N or Type S Portland cement mortars achieve compressive strengths of 750 to 1,800 psi. Historic lime mortars typically tested between 50 and 400 psi. When you install a harder material against softer brick, physics dictates that stress concentrates in the weaker element. During thermal expansion, the rigid mortar doesn't flex—the brick cracks instead.
Vapor permeability follows similar logic. Cement-based mortars have low permeance ratings, often below 5 perms. Lime mortars range from 15 to 40 perms, allowing water vapor to escape before it condenses inside the wall assembly. This vapor-open behavior is why lime mortars have served historic buildings for centuries in climates far harsher than New York's.
When Repointing Is the Right Fix vs. When to Rebuild
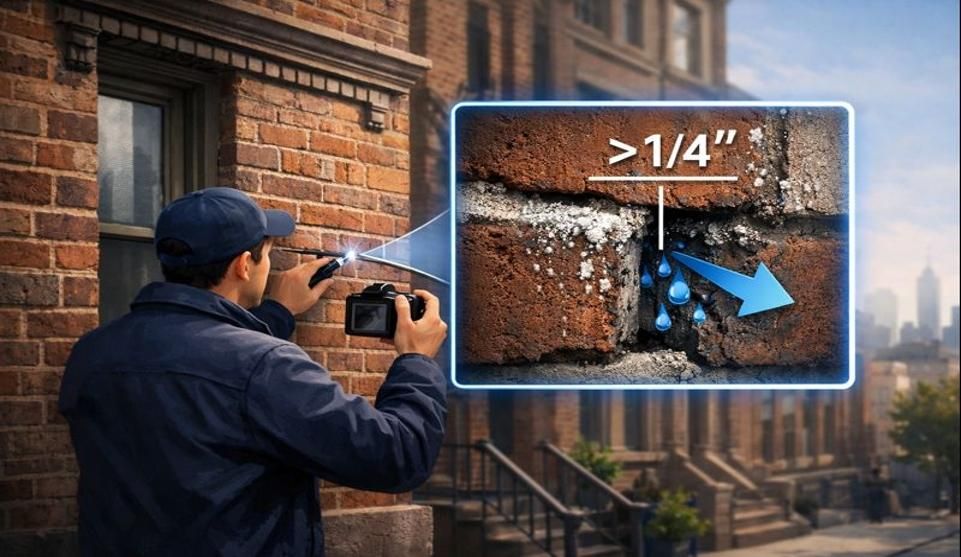
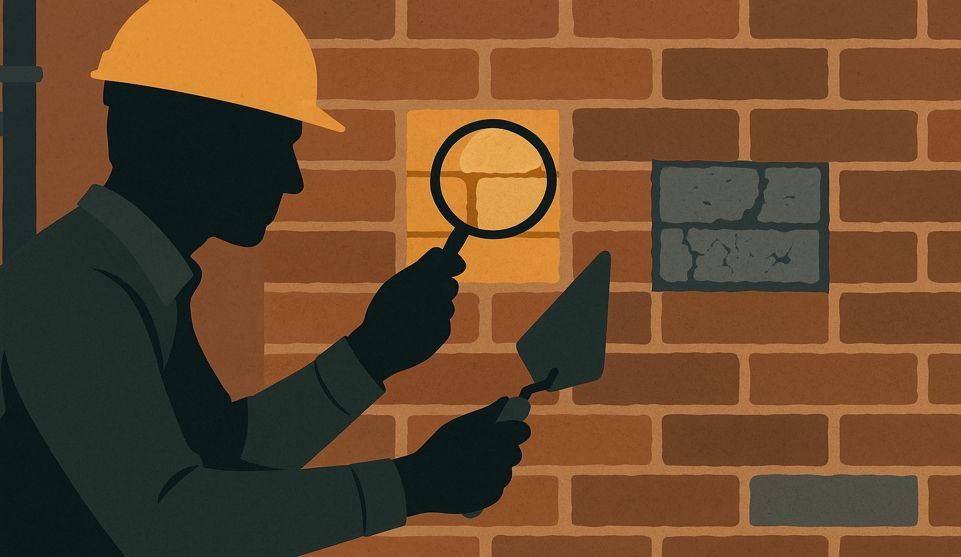
Repointing works when the brick units remain structurally sound and only the joints have deteriorated. You'll know joints need attention when you can scrape out loose material with a pen knife, when joints are recessed more than half an inch from weathering, or when you see pervasive cracking in a mortar-on-mortar pattern across the façade.
Rebuilding becomes necessary when brick faces have spalled beyond cosmetic damage, when structural settlement has caused out-of-plumb conditions exceeding one inch per story, or when entire sections show active bulging. If you can push a brick and feel movement, the problem extends beyond the mortar. At that point, parapet wall reconstruction and repair or partial wall rebuilds are the appropriate scope.
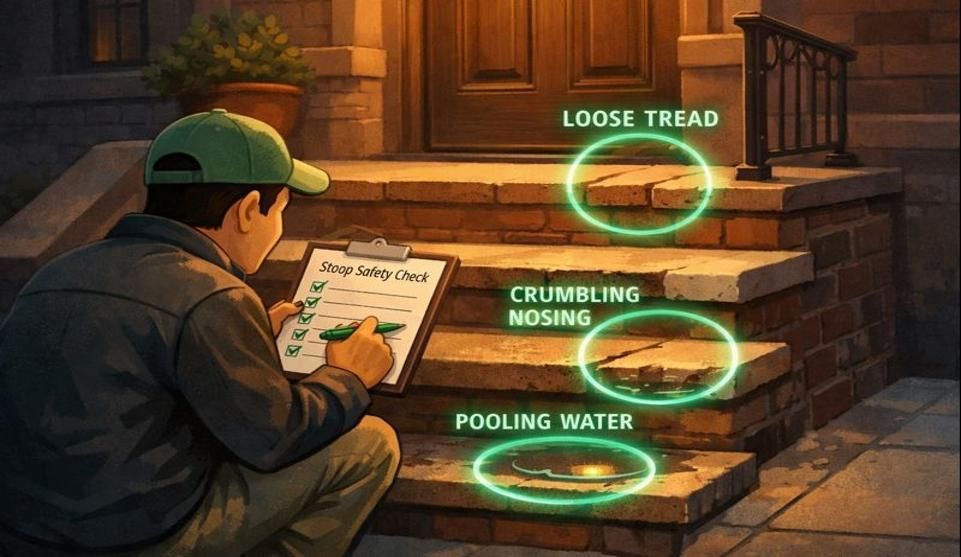
How to Diagnose Leak Pathways in Brick Façades
Most leaks originate at failed joints, parapets, copings, and transitions—start with these details before assuming waterproofing paint will solve the problem.
Water follows gravity and exploits the path of least resistance. In masonry assemblies, that path is rarely a straight line through solid brick. Instead, leaks travel through degraded mortar joints, compromised flashing, and transitional details where dissimilar materials meet. Understanding this hierarchy helps you allocate repair budgets to the actual source rather than chasing symptoms.
Where to Look First: Parapets, Chimneys, Penetrations
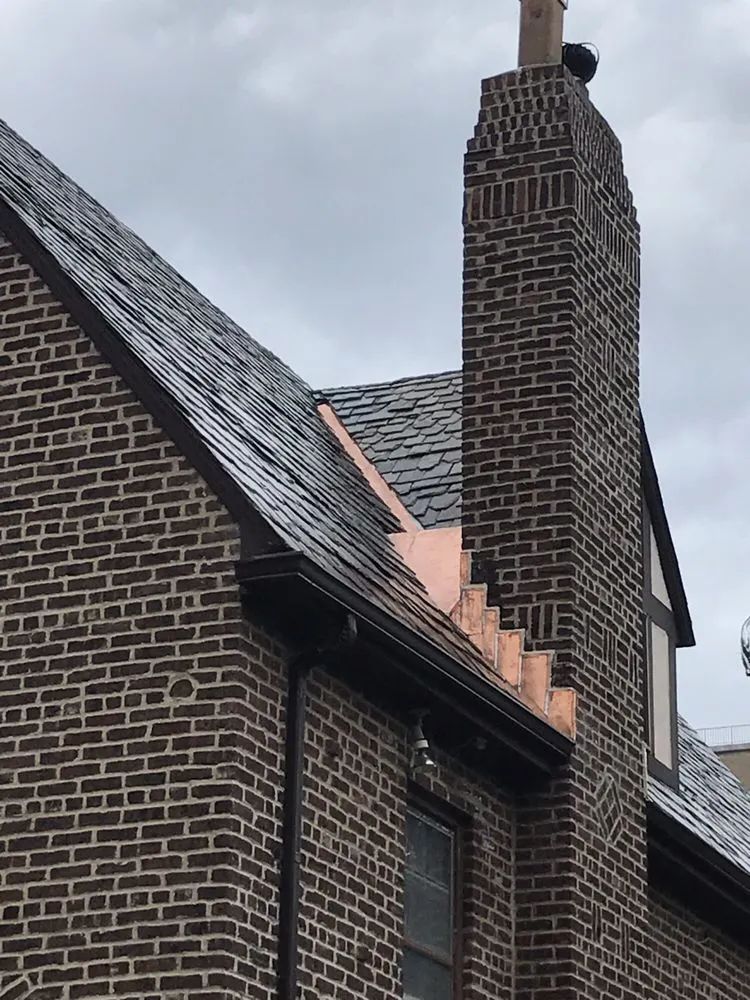
Parapets take the worst abuse. They're exposed to weather on three sides, experience severe freeze-thaw cycling, and often lack adequate coping protection. Inspect the top course first. If the coping stones have separated from the brick or if mortar joints at the cap are missing entirely, water infiltrates from above and migrates downward through the wall assembly.
Chimneys present similar vulnerabilities. The crown—the sloped mortar cap at the top—cracks from thermal stress as the flue heats and cools. Once compromised, water enters the flue cavity and saturates the surrounding brick. Interior stains near chimneys almost always trace back to failed crowns or deteriorated flashing where the chimney penetrates the roof plane.
Window heads and sills deserve scrutiny. The lintel replacement above openings often corrodes when water bypasses failed head joints, causing the steel to expand and crack the surrounding masonry. Sills that lack proper drip edges or that have eroded tooling allow water to wick backward into the wall rather than shedding outward.
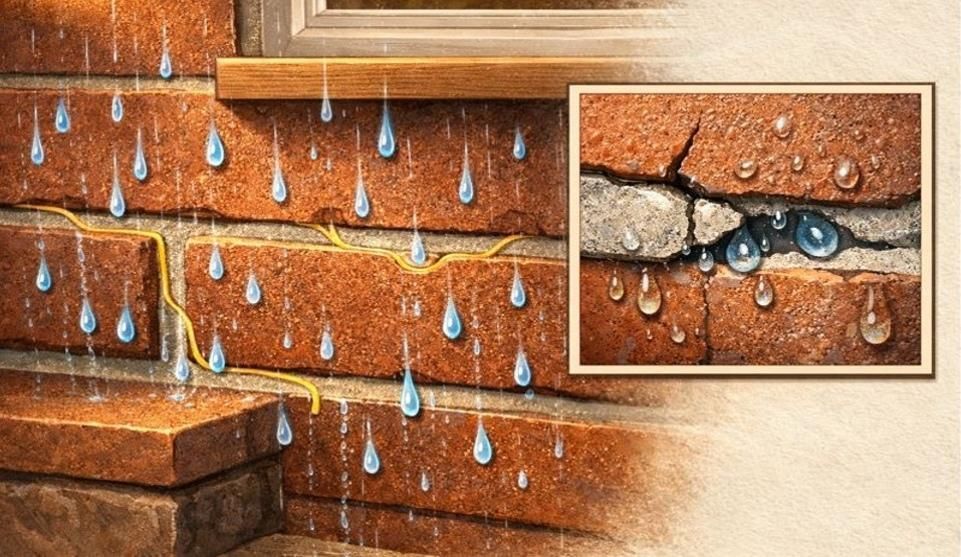
Reading Efflorescence and Hairline Cracking
Efflorescence—those white, powdery deposits on brick surfaces—signals active moisture movement. It's not the problem itself but evidence that water is traveling through the assembly, dissolving salts, and depositing them as it evaporates at the surface. Persistent efflorescence after heavy rain indicates a chronic leak path, not a one-time event.
Hairline cracks in brick often follow mortar joints in a stair-step pattern. This suggests differential movement, either from settlement or from moisture-induced freeze-thaw expansion. Cracks that cut straight through brick units, however, point to structural issues—lintel failure, foundation movement, or inadequate bearing—that repointing alone won't address.
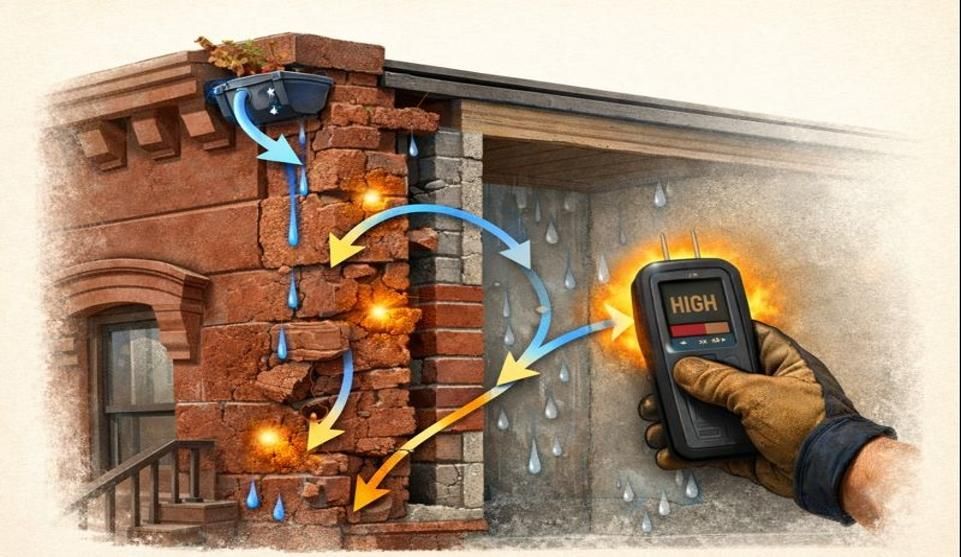
Moisture Mapping & Test Cuts (When Needed)
For complex diagnostics, especially in landmarked buildings where interior finishes are historic, moisture meters provide non-invasive assessment. Readings above 15% moisture content by weight suggest active leaks requiring immediate attention. Thermal imaging can locate cold spots where insulation is saturated or where air infiltration paths exist behind the façade.
Test cuts—removing a small section of mortar to examine the joint depth, existing mortar composition, and brick condition—inform repair specifications. If you encounter black, tarry material, it's likely an early 20th-century coal-tar pitch repair. If the joint is only a quarter-inch deep before you hit solid material, someone applied a skim coat rather than properly repointing, and the scope just expanded.
Selecting the Right Mortar for Historic NYC Brick
Use a lime-forward, compatible mortar that is weaker and more vapor-permeable than the surrounding masonry; match color and sand aggregate to the original.
The General Services Administration's historic masonry guidelines and NYC Landmarks Preservation Commission technical bulletins both emphasize the same principle: let the joint fail first. A properly specified mortar sacrifices itself over decades, protecting the brick from damage that would require far costlier replacement.
Mix Design Basics for Soft Brick
A typical preservation-grade mortar for NYC brownstone uses a ratio of roughly 1 part lime putty to 2.5 or 3 parts clean, well-graded sand, with minimal or zero Portland cement. Some specifications allow up to 10% white Portland cement by volume to improve early-strength handling, but higher percentages compromise vapor permeability and long-term flexibility.
Lime putty—calcium hydroxide that has been slaked and aged—provides the workability and self-healing properties historic mortars are known for. As lime mortar cures, it undergoes carbonation, slowly converting back to calcium carbonate (limestone) over months or even years. This slow cure allows minor shrinkage cracks to self-seal through additional carbonation, a property cement mortars lack entirely.
Sand selection matters as much as the binder. Historic mortars used local sand with a range of particle sizes, from fine dust to coarse grains. This gradation creates a dense matrix with minimal voids. Modern concrete sand, uniform and often crushed, produces mortars that look flat and contemporary even if the color matches.
Color and Aggregate Sampling
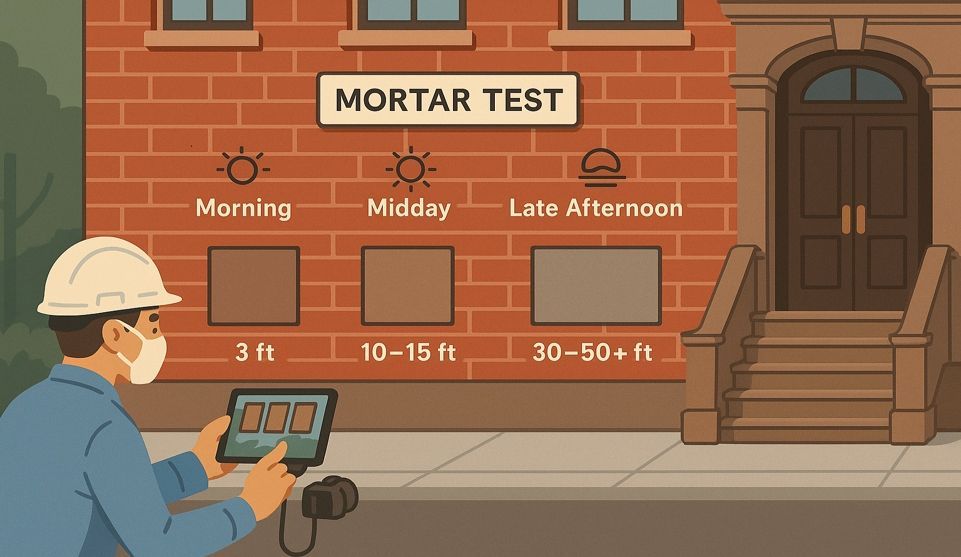
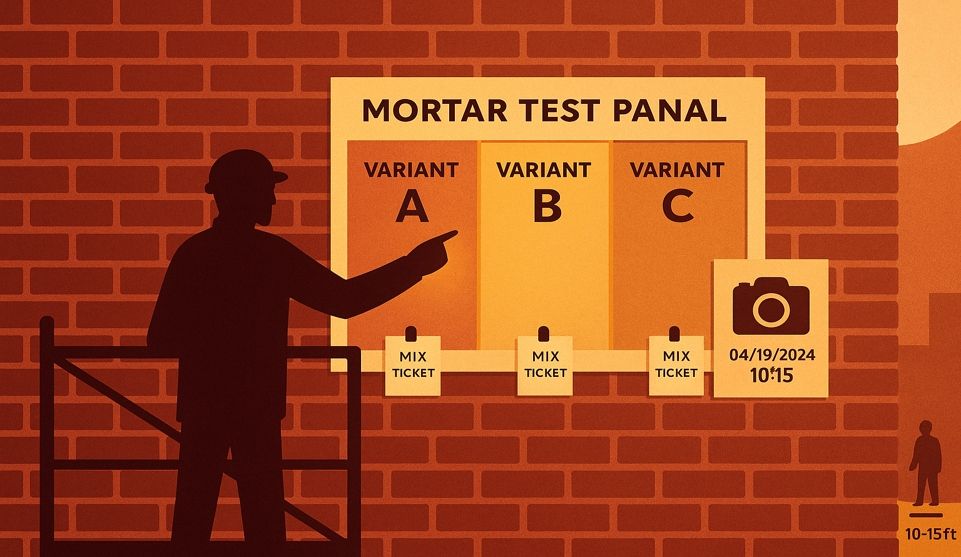
Matching mortar color requires physical samples, not photographs. Lighting conditions, weathering, and efflorescence all distort how joints appear in images. The standard process involves creating at least three sample panels on inconspicuous sections of the façade—typically a rear elevation or a basement-level area—and allowing them to cure for several weeks.
During curing, mortar lightens as moisture evaporates and carbonation progresses. A mix that looks perfect when wet often dries two shades lighter. Experienced masons anticipate this shift, but first-time property owners are sometimes alarmed when the fresh work appears too dark. Patience through the curing window prevents premature rejection of otherwise appropriate mixes.
Sand color contributes as much as pigment. Brownstone joints often contain buff or tan sands with subtle red or brown iron-oxide tints. Matching requires sourcing sand from the same geological region or blending multiple sands to approximate the original's complexity. Off-the-shelf "brownstone mortar" from big-box stores rarely captures this nuance.
Tooling Profiles (Weathered/Flush/Concave) and Why They Matter
Joint profile affects water-shedding performance and visual character. Weathered joints—where the mortar is recessed slightly and struck at an angle to form a slope—direct water outward and downward, minimizing the time moisture sits against the brick. This profile is common on parapets and exposed elevations where weather exposure is severe.
Flush joints sit even with the brick face, offering a clean, modern appearance but providing minimal water-shedding advantage. Concave joints—tooled with a rounded jointer to create a slight dish—compress the mortar at the face, improving density and weather resistance while maintaining a traditional look favored in 19th-century urban construction.
Matching the original profile isn't just aesthetic preference. NYC Landmarks Preservation Commission staff-level approvals often hinge on demonstrated profile consistency with historic photographs or surviving sections. Deviation from the original invites permit delays or, worse, stop-work orders mid-project.
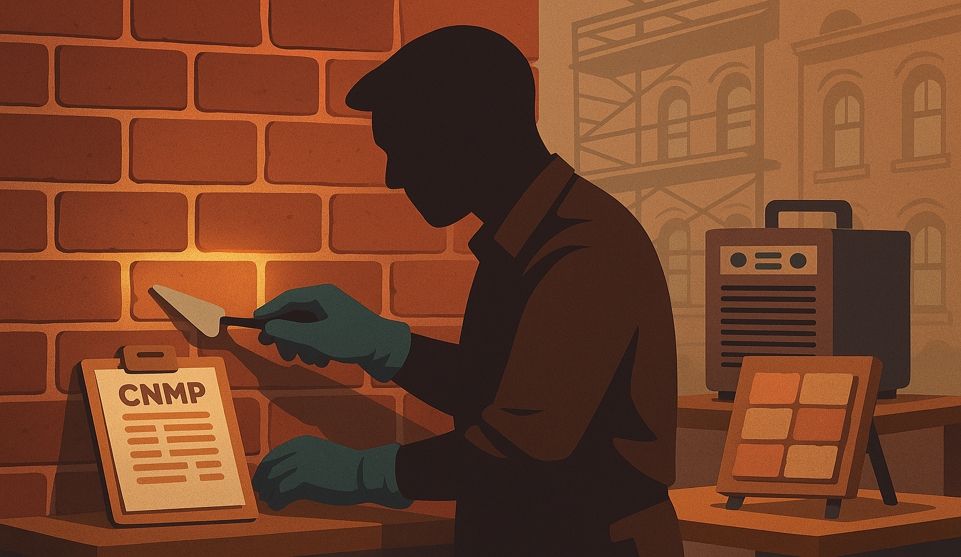
The Step-by-Step Repointing Process We Follow
We cut out deteriorated joints, clean thoroughly, pre-wet, place compatible mortar in lifts, tool to match the approved profile, and cure under weather protection—finishing with QA checks against the sample panel.
This sequence represents industry best practice as outlined by preservation standards from the National Park Service and adapted for NYC's climate and regulatory environment. Each step builds on the previous one, and skipping or rushing any phase compromises the final outcome.
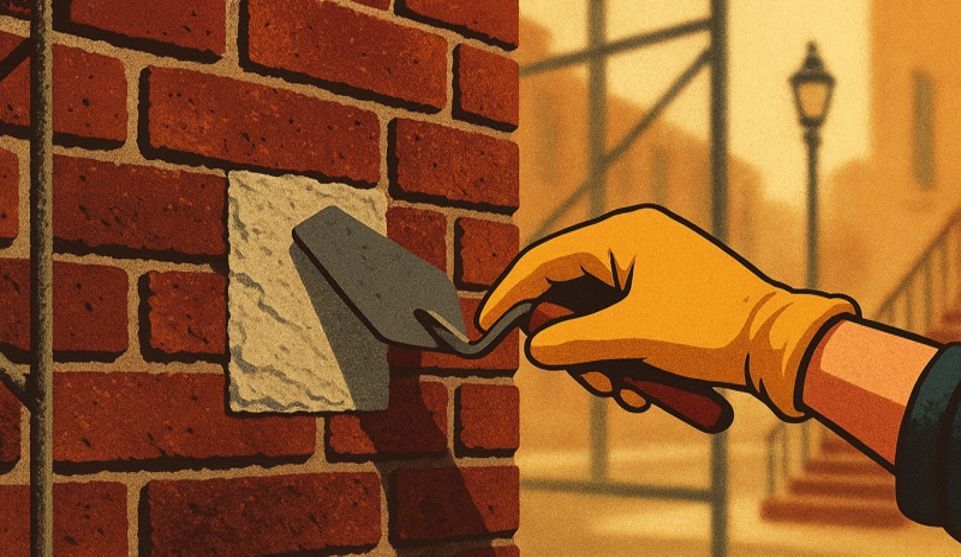
Safe Removal (No Grinders That Widen Units)
Mortar removal should never damage the brick face or widen the joint beyond its original dimension. The target depth is typically two to two-and-a-half times the joint width—enough to ensure adequate mechanical bond when the new mortar is placed. Angle grinders, while fast, create two problems: they frequently nick brick edges (called "smiling" when the joint widens in the middle), and they generate heat that can micro-fracture the brick face. Hand chisels and pneumatic hammers with narrow chisels remain the gold standard for historic work.
Shallow repointing, where only the face mortar is removed, fails within a few years because the new material lacks sufficient tooth into the joint cavity.
Joint Prep, Lifts, Curing & Weather Protection
After removal, the joint cavity must be cleaned of all dust and debris. Compressed air or soft brushes remove loose particles. Pre-wetting the joint with a fine mist prevents the dry brick from sucking moisture out of the fresh mortar too quickly, which would cause cracking and weak bond.
Mortar is placed in layers, or lifts, rather than filling the entire joint at once. Each lift is roughly three-eighths of an inch thick, allowed to firm slightly, then the next lift is added. This layering technique reduces shrinkage cracks and ensures the mortar compacts fully into the joint cavity, eliminating voids where water could later collect.
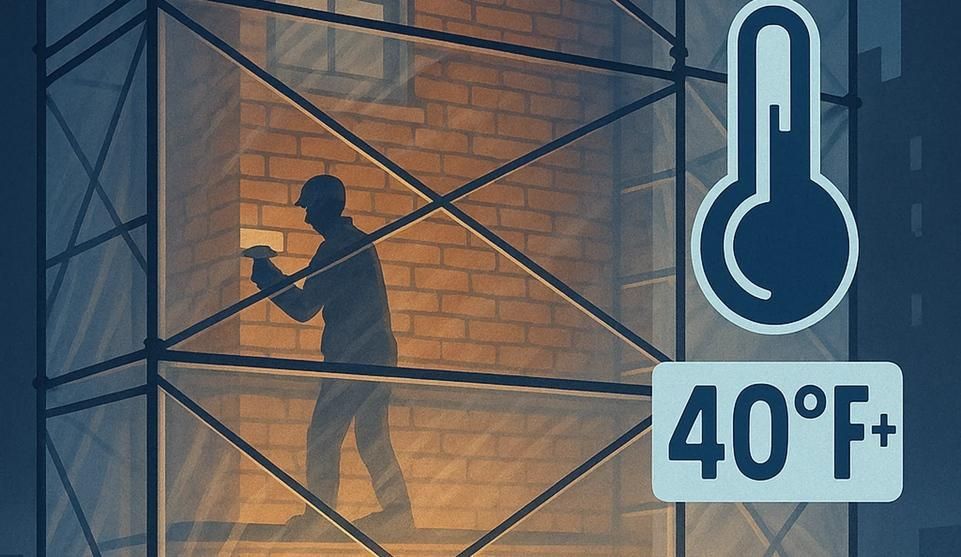
Curing protection is non-negotiable. Fresh lime mortar must cure slowly to achieve full strength. Rapid drying—from sun, wind, or low humidity—causes surface crazing and reduces carbonation. Burlap or polyethylene sheeting draped over the work area maintains moisture during the first week. In freezing weather, work stops entirely; lime mortar doesn't gain strength below 40°F and will fail if it freezes before curing.
Site Cleanliness and Neighbor Protections
Masonry work generates dust, chips, and debris that must be controlled. Sidewalk sheds protect pedestrians from falling material. Drop cloths catch mortar droppings before they stain stoops or adjacent properties. Misting during joint removal suppresses dust, a courtesy that also reduces conflicts with neighbors.
At the end of each workday, scaffolding platforms should be swept, tools secured, and any open joints temporarily protected if rain threatens overnight. Professional execution extends beyond the mortar itself to the overall impact on the building and its surroundings
Permits, Compliance, and Working on Landmarked Façades
For many exterior masonry scopes, NYC Landmarks Preservation Commission permits or staff-level approvals apply; test panels and documentation help approvals move faster.
Understanding when permits are required and what documentation satisfies reviewers can mean the difference between a project that flows smoothly and one that stalls for months mid-construction.
When Permits Are Required
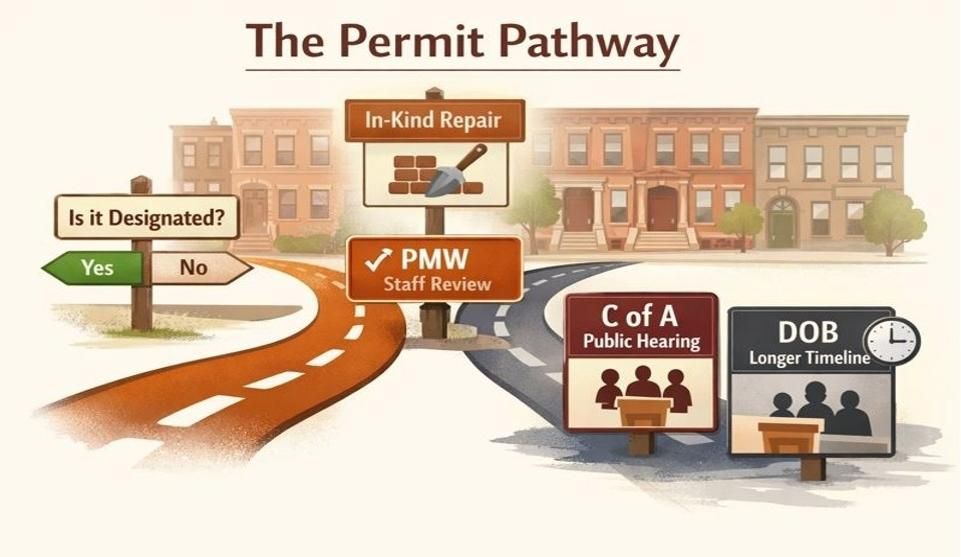
If your property is located within an NYC Landmarks Preservation Commission designated historic district or is an individual landmark, virtually all exterior masonry work requires LPC review. The level of review—staff-level approval versus full commission hearing—depends on scope and visibility.
Repointing that matches existing materials and profiles typically qualifies for staff-level review, a streamlined process completed within weeks rather than months. However, if the proposal changes joint color, widens joints, or introduces incompatible materials, it escalates to a full commission hearing with more stringent documentation requirements.
Buildings outside historic districts but constructed before 1940 may trigger New York City Department of Buildings review if the scope includes structural repairs or facade work exceeding a certain square footage. The NYC Department of Buildings homeowner resource page provides current permit guidance for residential work. While DOB doesn't enforce aesthetic standards the way LPC does, they do require licensed contractors and engineers to certify structural adequacy.
Documentation: Test Panels, Scopes, Sample Approvals
LPC reviewers expect to see test panels—or mockups, as they're sometimes called—before approving full-building scopes. These panels, typically 4 feet by 4 feet, demonstrate mortar color, aggregate texture, joint width, and tooling profile. They're installed in an inconspicuous location, photographed from multiple angles and distances, and submitted with the permit application.
Scope narratives should describe the existing condition (deteriorated joint depth, spalling patterns, water damage), propose the repair methodology (removal depth, mortar specification, tooling technique), and justify why the approach aligns with preservation standards. Referencing authoritative guidelines like NPS Preservation Brief 2 adds credibility.
Sample approvals streamline execution. Once the reviewer signs off on the test panel, that becomes the benchmark. Any deviation during full-scale work must be re-approved, so getting it right the first time avoids costly mid-project changes.
Insurance and Code Basics for Occupied Buildings
Contractors working on occupied residential buildings must carry general liability and workers' compensation insurance. Certificates of insurance should name the property owner as an additional insured, protecting them if accidents occur during the work.
Scaffolding permits from the NYC Department of Buildings are required for any staging that encroaches on the sidewalk or extends above the first floor. Inspections ensure scaffolding is structurally sound and adequately braced. Failing to secure these permits can result in stop-work orders and fines that delay the project.
Costs, Timelines, and What Affects Both
Access, extent, height, landmark status, and test-panel iterations drive budget and duration more than the mortar itself.
Repointing costs in NYC range widely—from $15 to $40 per square foot of façade area—depending on variables that compound quickly across multi-story buildings.
Scaffolding vs. Boom Access
Scaffolding rental represents a significant portion of total project cost, sometimes 30% or more. Full-building scaffolds for a typical four-story brownstone can run $15,000 to $25,000 for a three-month rental. Boom lifts offer flexibility for spot repairs or buildings with limited sidewalk frontage, but they can't reach rear façades hemmed in by gardens or adjacent structures.
Buildings with complex roof geometry, cornices, or shared lot lines require custom scaffolding engineering, adding both time and expense. This is where early site assessment proves valuable—identifying access constraints before signing contracts prevents disputes over cost overruns.
Typical Townhouse Scopes vs. Corner Buildings
A standard 20-foot-wide townhouse with repointing needed on the front and one side might represent 1,200 to 1,600 square feet of façade. At $25 per square foot, the repointing itself costs $30,000 to $40,000. Add scaffolding, permits, sample panels, and bundled repairs (lintels, parapets), and the total approaches $60,000 to $80,000.
Corner buildings expose two full façades to weather, doubling the square footage and increasing scaffolding complexity. These projects can easily reach six figures, especially if landmark review requires multiple sample-panel iterations or if structural issues surface during joint removal.
Seasonality and Curing Windows
Lime mortar requires temperatures above 40°F for at least a week after placement to cure properly. This constrains exterior masonry work to late spring through early fall in New York's climate. Attempting winter work courts disaster—frozen mortar crumbles within its first season.
Peak season (May through September) means higher contractor demand and longer lead times. Securing a reputable masonry contractor in Brooklyn for summer work often requires booking in late winter or early spring. Off-season consultations and permit approvals, however, can proceed year-round, allowing projects to mobilize quickly once weather permits.
Related Fixes That Often Accompany Repointing
Parapet stabilization, lintel replacement, waterproofing transitions, and gutter repairs often bundle to solve leaks fully.
Façade work rarely isolates to joints alone. Once scaffolding is erected and deteriorated mortar is exposed, related deficiencies become apparent—and economical to address in the same mobilization.
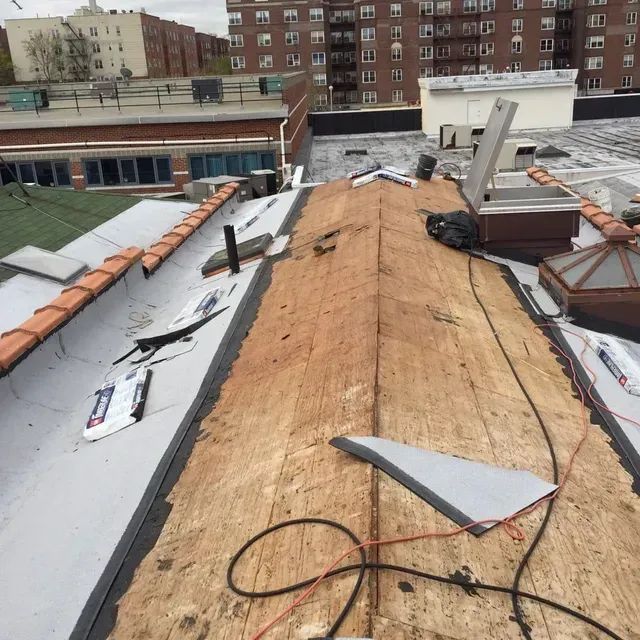
Parapet Wall Brick Replacement
Parapets suffer accelerated weathering because they lack the protection of overhanging eaves. Freeze-thaw cycling and wind-driven rain attack from three sides simultaneously. When joints fail at the parapet, water infiltrates the wall core, saturating insulation and rotting roof framing below.
Full parapet rebuilds may be necessary if the top three or four courses show extensive spalling, if the coping has detached entirely, or if the wall has begun to lean outward. This scope involves dismantling the defective masonry, inspecting the underlying structure, and rebuilding with matching brick and properly detailed coping that includes drip edges and through-wall flashing.
Lintel Replacement and Flashing
Steel lintels above windows and doors corrode when water bypasses failed head joints, causing the metal to expand and crack the brick soldier course above the opening. Once cracked, more water enters, accelerating corrosion in a destructive cycle.
Replacing corroded lintels requires temporarily supporting the masonry above the opening, removing the failed steel, installing new galvanized or stainless steel lintels with proper bearing at each end, and rebuilding the disturbed brickwork. Through-wall flashing installed above the lintel directs water outward before it can reach the steel, a detail often missing in buildings constructed before modern building codes.
Downspout/Gutter Tie-Ins
Gutters that overflow or downspouts that discharge directly against the façade defeat even perfect repointing. Water cascading down the wall face saturates joints faster than they can dry, leading to premature mortar erosion and efflorescence.
Gutter cleaning, realignment to proper pitch, and extending downspouts to discharge at least five feet from the foundation are minor investments that protect major masonry work. In cases where basement waterproofing has failed, addressing roof drainage often solves what initially appeared to be a foundation leak.
How City Suburb Delivers Preservation-First Repointing in NYC
Our approach is sample-led and compliance-aware, with transparent scopes, mortar matching, and documented quality assurance—so the job is done once, the right way.
We start every project with a detailed site assessment, not a price quote. Understanding existing conditions allows us to scope accurately and avoid the change-order disputes that plague fixed-bid contracts based on insufficient investigation.
Our Test-Panel Workflow
Before any full-scale work begins, we install test panels in collaboration with the property owner and, if required, the LPC reviewer. These panels aren't sales tools—they're quality benchmarks that establish expectations for color match, aggregate texture, joint width, and tooling profile.
We prepare multiple mix variations, adjusting sand proportions and lime-to-cement ratios until the result satisfies both historic accuracy and performance requirements. Once approved, that mix becomes the project standard. Every batch mixed on-site references the approved sample, ensuring consistency across the entire façade.
Quality Control & Photo Logs
Each section of completed work is photographed before scaffolding is removed. These images document joint condition, profile accuracy, and overall workmanship, providing the owner with a permanent record and protecting both parties if questions arise years later.
We maintain daily logs noting weather conditions, mortar batch numbers, work areas completed, and any deviations from the original scope. This level of documentation supports warranty claims and provides transparency that builds trust throughout multi-week projects.
Warranty and Aftercare
Our standard warranty covers workmanship and material defects for five years following substantial completion. This warranty explicitly excludes damage from building movement, owner-caused alterations, or failure of adjacent building systems (such as roof leaks that saturate freshly repointed walls), but it does cover premature mortar erosion, cracking, or adhesion failure that results from our work.
Aftercare guidance includes recommendations for gutter maintenance, seasonal inspections of parapets and high-exposure areas, and protocols for addressing minor hairline cracks that may appear during the first year as the mortar completes its carbonation cure. Proactive monitoring catches small issues before they require expensive remediation.
FAQs
How long does repointing last?
Properly executed repointing using compatible lime mortar can last 50 to 80 years in NYC's climate, depending on exposure, maintenance, and the quality of adjacent building systems. Joints on south- and west-facing façades weather faster due to increased sun and wind exposure, while north- and east-facing walls protected by neighboring buildings often exceed the upper end of that range.
Can you match my original joint profile?
Yes, provided sufficient evidence exists to document the historic profile. This evidence can include surviving sections of original mortar on less-weathered areas, historic photographs, or comparison with similar buildings from the same era and architect. When evidence is inconclusive, we default to weathered joints on high-exposure areas for their superior water-shedding performance, consulting with LPC staff if the building is landmarked.
Do I always need a permit?
If your building is within an NYC Landmarks Preservation Commission historic district or is an individual landmark, yes—exterior masonry work requires LPC review. Buildings outside historic districts typically don't require permits for in-kind mortar repairs unless the scope includes structural modifications or exceeds thresholds that trigger Department of Buildings review. Verify your property's status using the LPC's online map tool before starting work to avoid violations.
Will repointing stop interior leaks immediately?
Repointing eliminates the entry pathway, but existing moisture trapped in wall cavities can take weeks or even months to fully dry, especially in thick masonry walls with limited ventilation. Interior stains may persist temporarily even after exterior joints are sealed. Persistent interior moisture after several months suggests additional leak sources—failed flashing, roof defects, or plumbing issues—that require separate investigation.
What's the difference between repointing and resurfacing?
Repointing removes and replaces deteriorated mortar within the joints, addressing the root cause of water infiltration. Resurfacing—often marketed as "parge coating" or "skim coating"—applies a thin layer of material over the entire brick face and joints, essentially painting the façade with mortar or proprietary coatings. Resurfacing is almost never appropriate for historic masonry because it traps moisture, obscures original brick texture, and fails to address the underlying joint deterioration. Preservation standards universally reject it for buildings of any historic significance.
Disclaimer
Guidance provided is general for NYC façades; site conditions, landmark regulations, and Department of Buildings requirements vary by address and project scope. Property owners should verify permit requirements specific to their building before commencing work.
Our Editorial Process
We research authoritative sources including National Park Service preservation briefs, NYC Landmarks Preservation Commission technical guidance, and General Services Administration historic masonry procedures. All content aligns with established preservation standards, undergoes expert review, and is fact-checked for accuracy and compliance with current NYC regulations.


Protecting Tenants and Pedestrians: A Framework for Scaffolding and Site Safety During Facade Repair