NYC Test Panels: How to Review Color, Texture & Joint Finish in Daylight Before You Approve
📌 Key Takeaways
Test panels reveal how your mortar will actually look on your building before you commit to full-scale work—eliminating the guesswork that leads to patchwork facades.
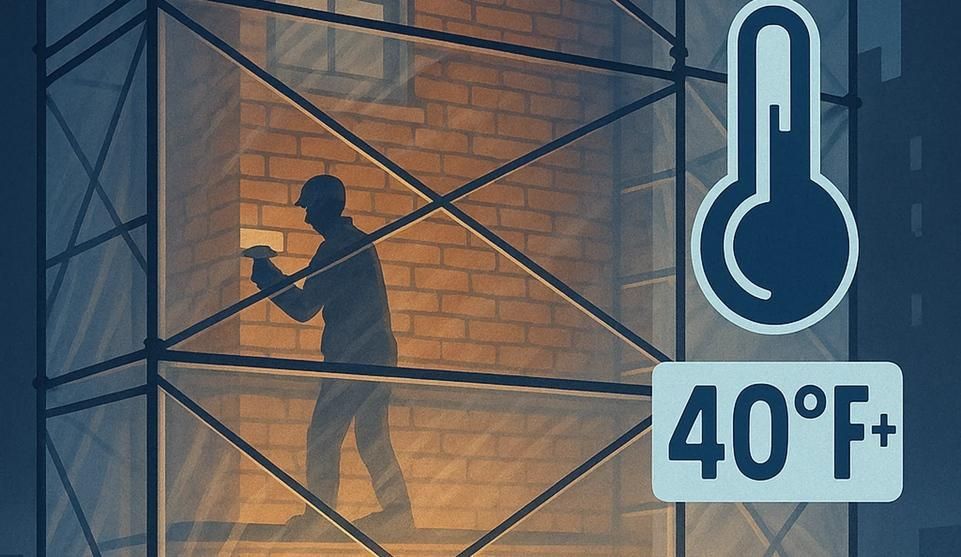
- Daylight Changes Everything: Mortar that matches perfectly indoors can read completely different under natural light, which is why reviewing samples at multiple times of day catches problems a single viewing will miss.
- Distance Matters as Much as Color: What looks seamless at arm's length might stand out as a distinct patch from across the street, making multi-distance evaluation essential for facades meant to be viewed from the sidewalk and beyond.
- Joint Profile Creates the Shadow Pattern: The way mortar is finished—flush, struck, weathered, or raked—changes how light hits the surface and can make even perfectly color-matched mortar appear lighter or darker than the original work.
- Documentation Prevents Approval Delays: Photographing test panels with consistent lighting, distances, and angles creates the objective comparison record that landmark boards and property owners need to make confident decisions.
- Small Tweaks Beat Major Reformulation: When a sample is close but not quite right, adjusting sand gradation or joint finish often resolves the mismatch without changing the mortar mix itself, saving time and iteration cycles.
Test panels transform approval anxiety into documented confidence—one daylight review at a time.
Historic property owners in landmarked NYC districts will find this framework essential here, preparing them for the detailed daylight review protocol that follows.
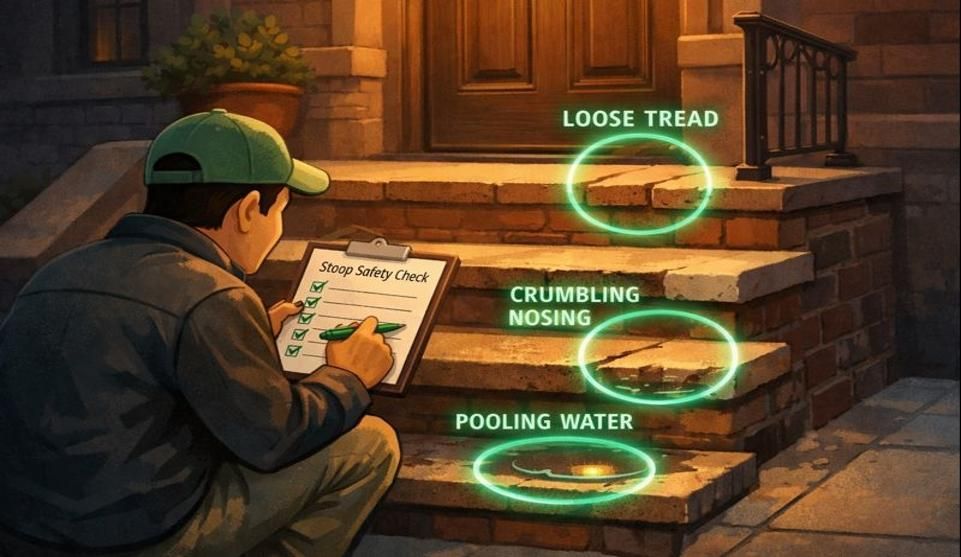
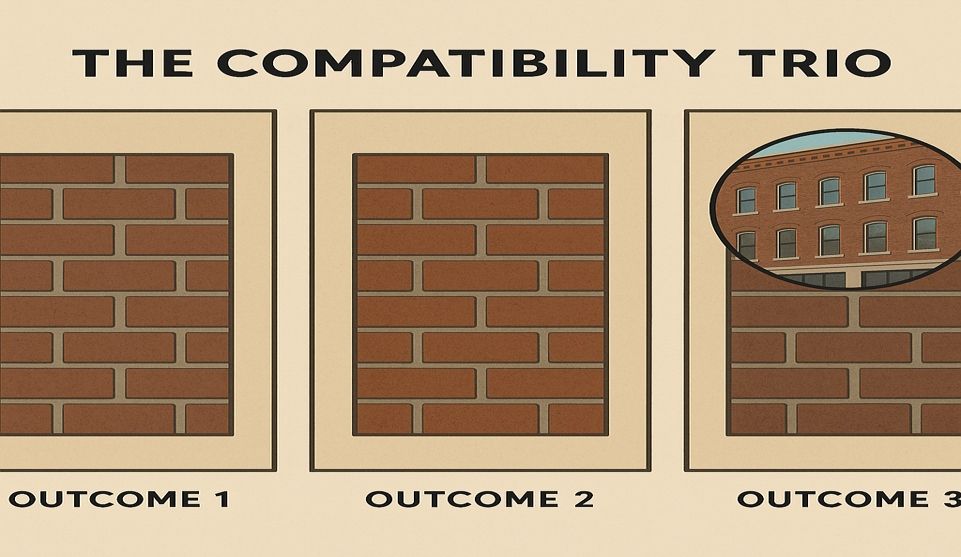
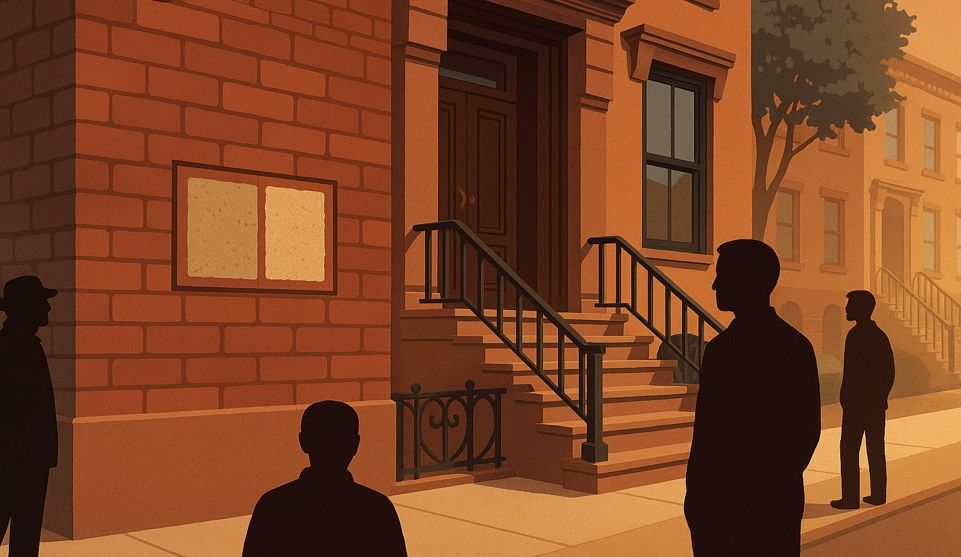
Picture standing on your Brooklyn stoop, looking up at your freshly repointed brownstone. The mortar looks perfect up close, but from the sidewalk something's off. The new joints read lighter than the old facade, creating a patchwork effect visible from across the street. This scenario plays out more often than it should, and it's entirely preventable.
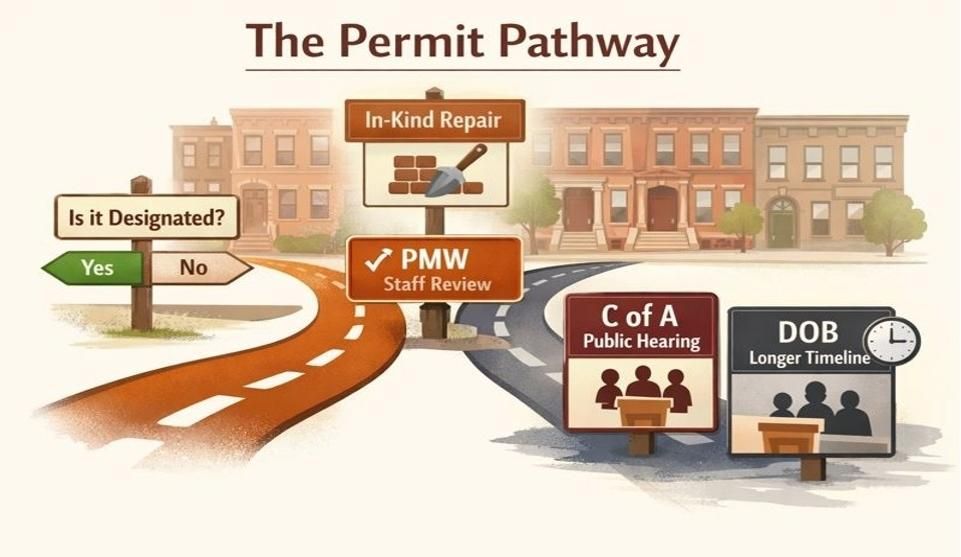
Test panels aren't just a formality—they're your opportunity to see exactly how your mortar will perform under real conditions before committing to a full-scale project. When the Landmarks Preservation Commission reviews applications for historic properties, they often condition approvals on installed samples that demonstrate compatibility. For property owners in landmarked districts throughout Brooklyn Heights, Park Slope, and the Upper West Side, getting this review process right the first time saves both time and money.
Why Test Panels Decide the Fate of Your Facade
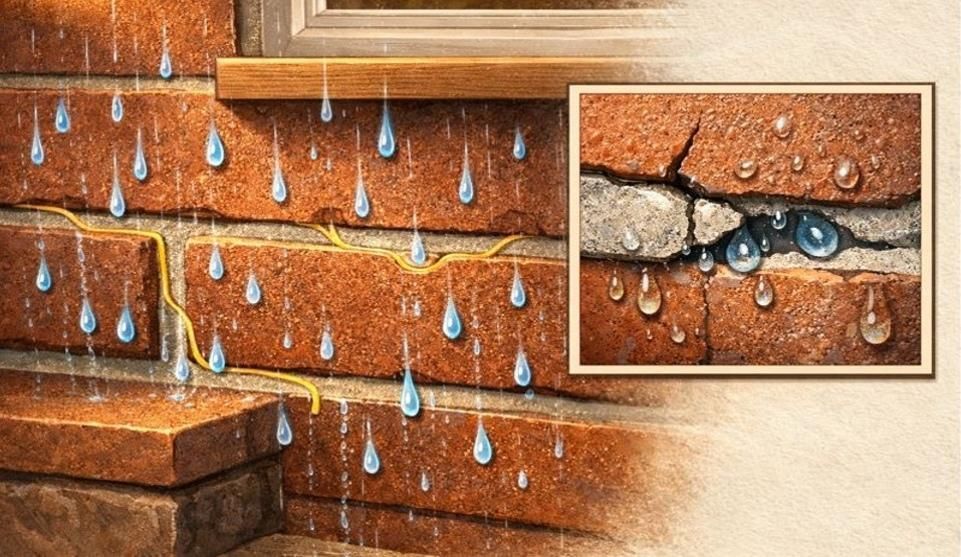
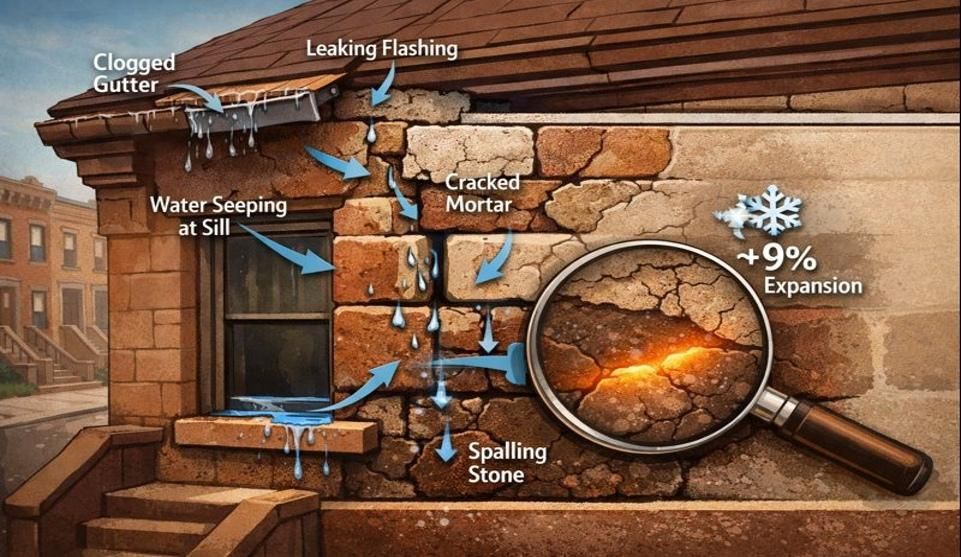
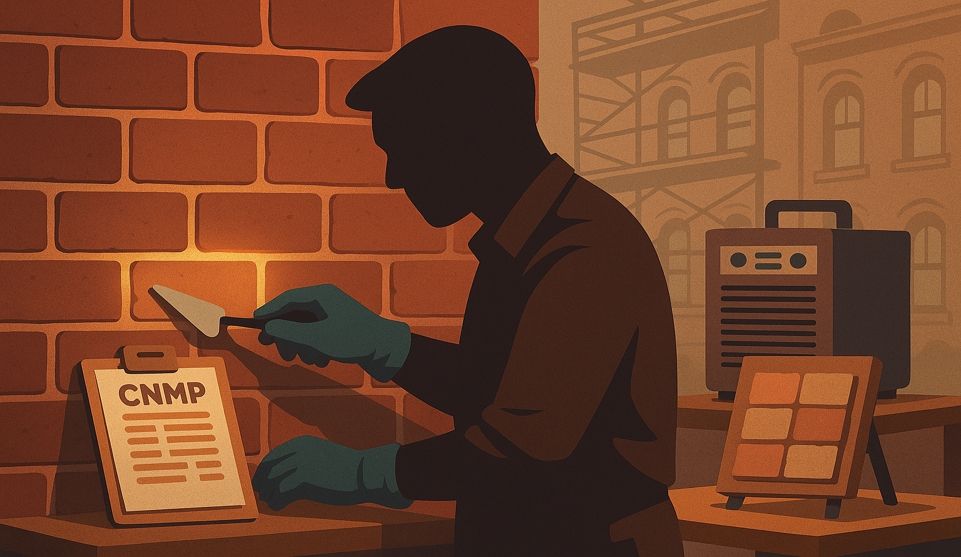
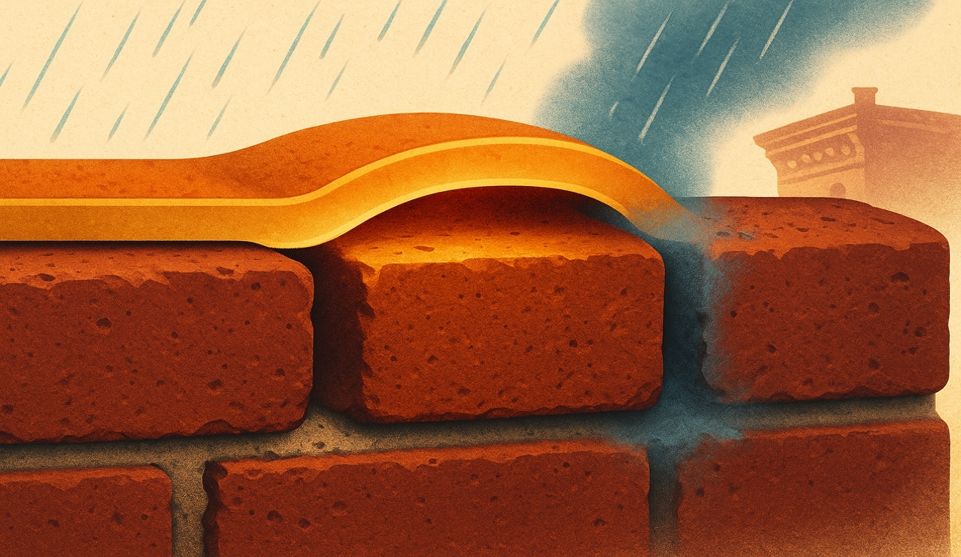
The strongest mortar isn't always the right mortar. Historic masonry requires compatibility over compressive strength—a principle emphasized in preservation standards. Softer lime-based mortars protect brick by allowing moisture to escape through the joints rather than forcing it through the brick face, which prevents spalling and long-term damage.
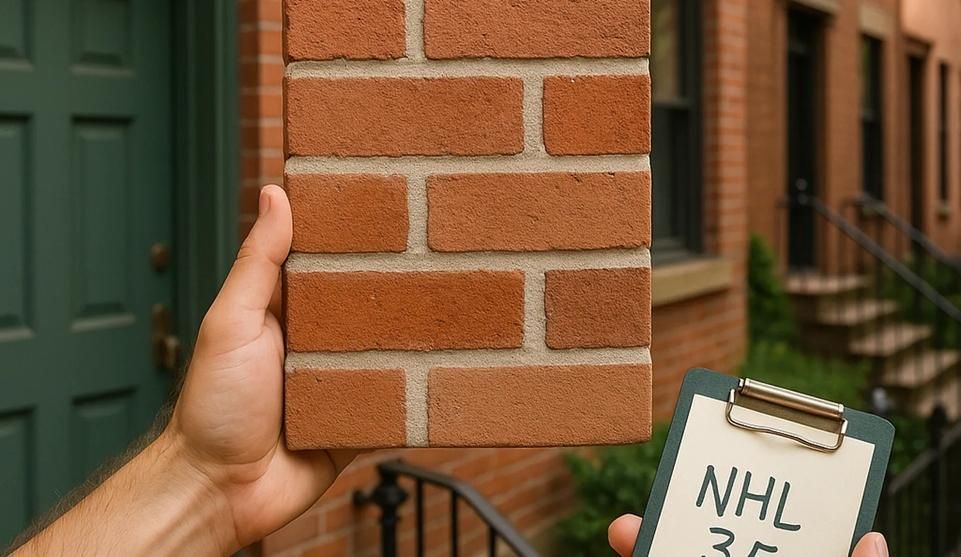
Test panels let you evaluate this compatibility before work begins across your entire building. You're making decisions about color, texture, and joint profile based on actual installed samples rather than theoretical mixtures or catalog swatches. When the NYC Landmarks Preservation Commission requires samples or mockups under Title 63 of their rules, they're looking for evidence that your proposed work will maintain the building's historic character while addressing structural needs. These samples can directly influence staff-level decisions by demonstrating real-world appearance before full-scope work begins.
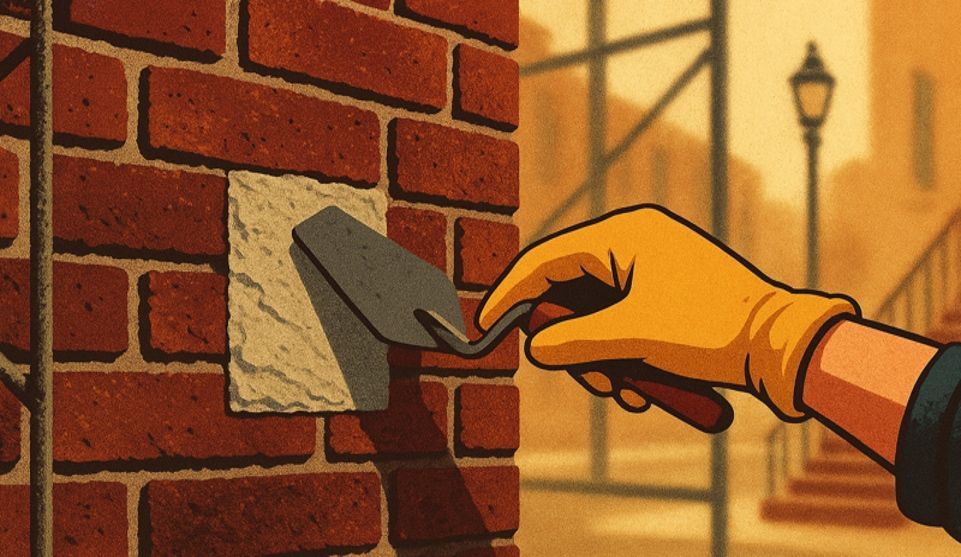
Think of test panels as paint swatches for masonry. Just as you wouldn't paint an entire room based on a two-inch chip under fluorescent lights, you shouldn't approve mortar based on a trowel sample viewed in ideal conditions. The panel shows how the mortar actually reads when installed—how it catches light, how shadows develop throughout the day, and how it relates to the surrounding original work.
The Daylight Review: A Simple 3×3 Matrix
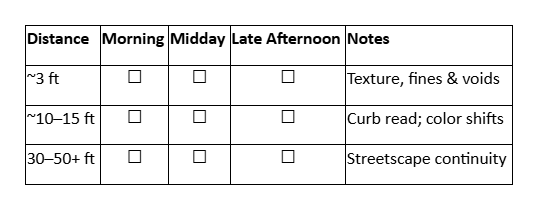
Professional assessment happens at multiple distances and times because perception changes dramatically with viewing conditions. Your review should cover three distances, three lighting angles, and three times of day. This creates a systematic evaluation that catches issues invisible under any single condition.
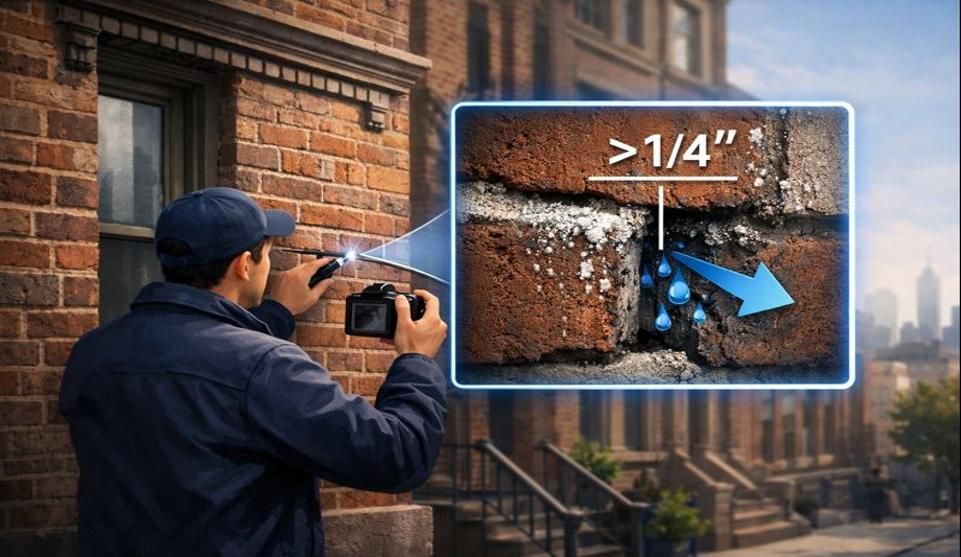
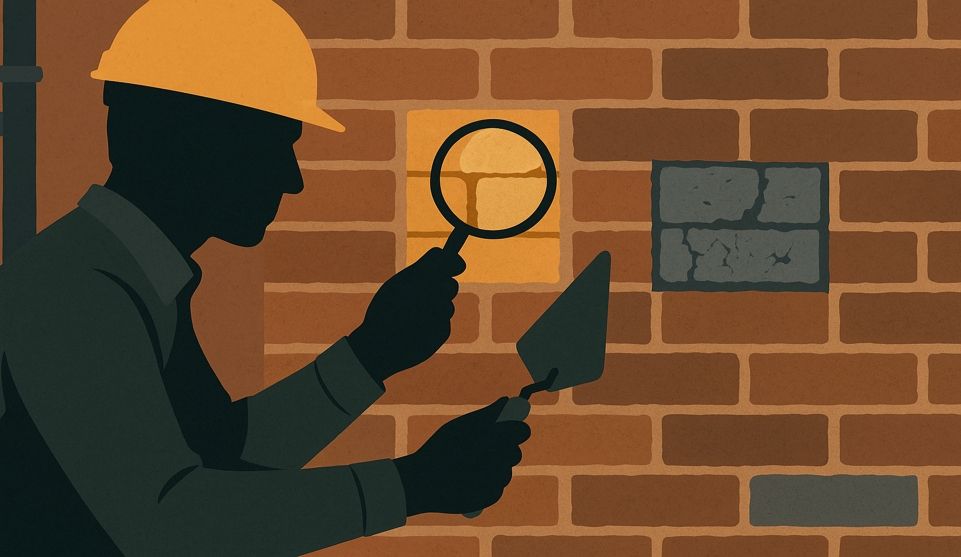
Close inspection distance (~3 feet): At arm's length, you're evaluating surface texture—the actual finish quality of the joints. Look at how the trowel work reads. Notice the aggregate gradation in the mortar. Small voids or surface variations that won't matter from the street become visible here. This distance reveals craftsmanship but doesn't show you how the repair will read in context.
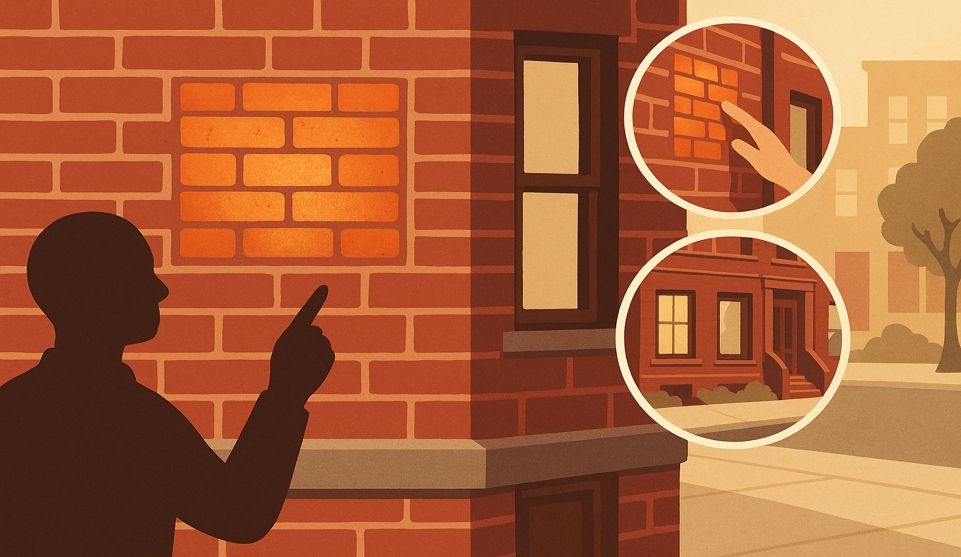
Curb distance (~10-15 feet): This is where color relationships become clear. Mortar that looked like a perfect match at close range might appear noticeably lighter or darker when you step back. The interplay between joint profile and shadow starts to matter here. A slightly recessed joint creates more shadow, which can make even a perfectly color-matched mortar appear darker than intended.
Street distance (~30-50+ feet): From across the street, individual joints disappear. You're seeing the overall character of the facade. Does the repointed section blend seamlessly, or does it stand out as a distinct patch? Texture differences become apparent at this distance—even subtle variations in sand gradation affect how light scatters across the surface.
Morning light, typically softer and coming from an angle, creates different shadow patterns than harsh midday sun directly overhead. Late afternoon brings yet another perspective as raking light emphasizes texture. Raking light—illumination that hits the surface at a low angle—exaggerates texture differences and makes joint finish variations more visible. What looks acceptable in morning light might reveal problems when the sun hits it differently three hours later.
For each distance, capture images from three angles: front-lit, side-lit, and raking light positions. This combination ensures you're seeing how the mortar performs under the full range of natural lighting your building will experience.
What to Look For: Color, Texture, Joint Finish
Color isn't just pigment—it's the cumulative effect of aggregate, binder, joint profile, and lighting. A mortar mix containing the same pigments can read completely differently depending on the sand used. Coarser sand catches more light and can make the overall appearance lighter. Finer sand creates a denser surface that might appear darker or more uniform.
Texture affects how light scatters across the joint surface. The sand size and binder composition influence light behavior, which means coarser sands can actually make mortar read darker at distance even when pigments are identical. Smooth-finished joints reflect light differently than rougher, more heavily textured surfaces. This isn't purely aesthetic—the texture relates to how the mortar was applied and finished, which affects its long-term performance.
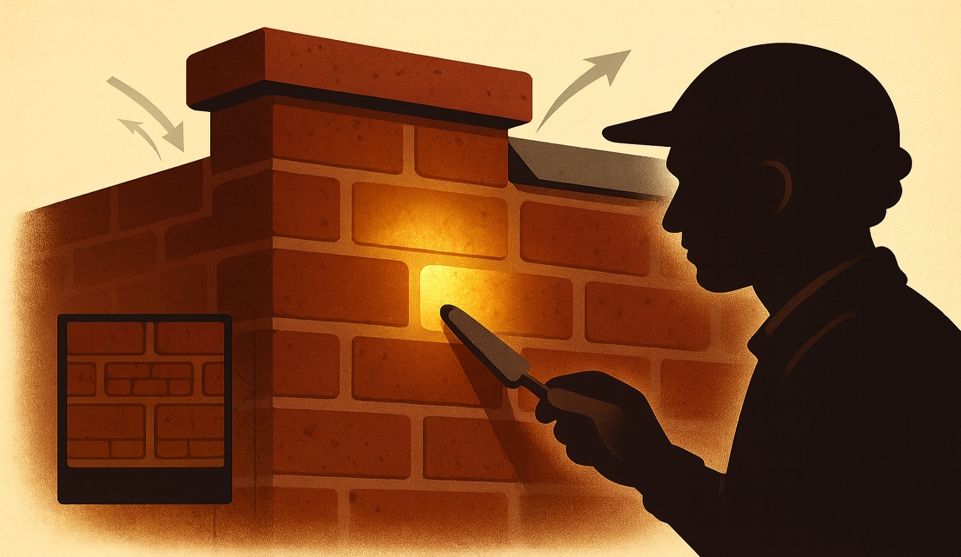
Joint profile fundamentally changes how a facade reads. Flush joints create minimal shadow and can appear lighter at distance. Struck or weathered joints—where the mortar slopes inward—add a shadow line that visually darkens the joint while also improving water-shedding behavior. Raked joints, where the mortar is recessed, emphasize the coursing pattern and may appear significantly darker. Use raked profiles with care on facades where you're seeking a uniform read, as they highlight every brick and can make even minor irregularities more visible.
The profile you choose should match your building's original character while serving structural needs. Consider a row of brownstones in Fort Greene where original joints were finished with a slight rake. New flush joints, even in perfectly matched mortar, would read as distinctly different because the shadow pattern changed. The eye picks up on these profile inconsistencies before it registers subtle color variations.
Photo Parity Rules: Compare Apples to Apples
Documentation ensures everyone—property owners, contractors, and review boards—evaluates the same information. But photographs lie unless you control the variables. Your comparison shots need consistent methodology.
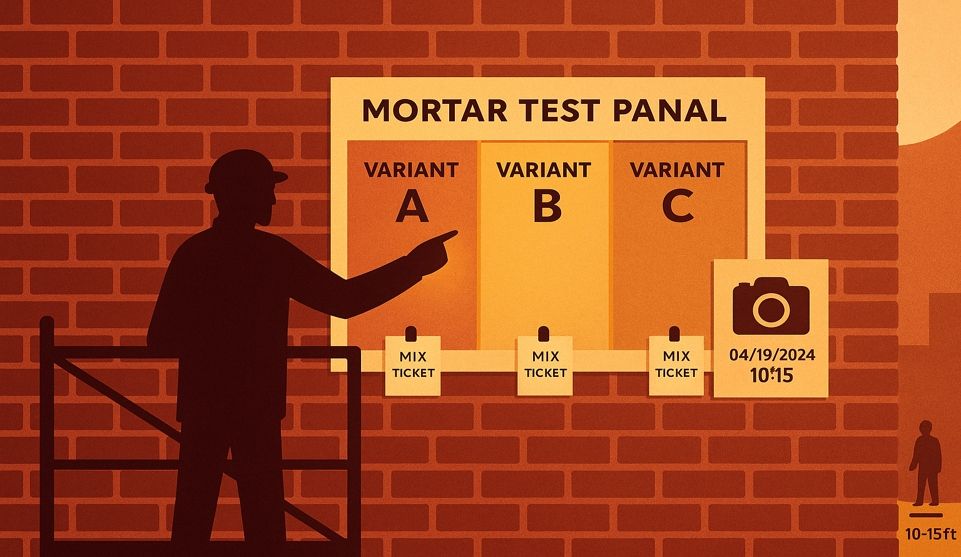
Match your shooting parameters across all samples. Use the same device, same time of day, same distance, and same angle for each test panel you're evaluating. If you photograph panel A at 10 AM from 12 feet away, photograph panel B and C under identical conditions. Otherwise you're comparing results influenced by different lighting rather than actual material differences.
Disable HDR mode and automatic enhancement features. These computational photography tools adjust exposure, contrast, and color balance in ways that make real-world comparisons impossible. Shoot in RAW format if your device allows it—you'll have the original data if questions arise later. Keep EXIF data intact so you have a record of when and how each photo was captured.
Include a scale reference in every shot. A ruler, a standard-size card, or any object of known dimensions provides context that helps reviewers understand what they're seeing. Professional practice often includes a neutral gray card in the frame to establish a color reference point, though this isn't essential for basic homeowner documentation.
Label everything clearly. If possible, label directly in-camera using your device's annotation features, or photograph a slate or card showing the mix designation, joint profile, time, and distance for each shot. For review packets submitted to landmark boards, consistent labeling makes the approval process smoother. Keep a shared photo album that all stakeholders can access—you don't want to be hunting for that one crucial image when someone has a question.
From Sample to Scope: Approve, Iterate, or Pause
Your test panel review leads to one of three decisions, and each has different implications for moving forward.
Approval means the sample meets your expectations and any regulatory requirements. Document this decision explicitly. Note which specific mix, joint profile, and application technique you're approving. Reference your review photos with timestamps and conditions. If you're working with NYC LPC permit requirements, ensure your approved sample photos and supporting documentation align with staff-level materials and any conditions noted in the permit or correspondence. Clear approval language prevents confusion when work scales up.
Iteration means the sample shows promise but needs adjustment. Maybe the color reads slightly too light at street distance. Perhaps the joint finish needs refinement. Small changes often resolve near-matches—slightly finer sand gradation or a different joint finish can correct the read without altering pigments at all. Request a second test panel incorporating these changes and repeat your full evaluation protocol. Common adjustments include modifying sand gradation slightly, adjusting the ratio of components within acceptable compatibility ranges, or refining the tooling technique for the joint profile.
Pause means stepping back to reassess fundamental assumptions. If multiple iterations haven't produced acceptable results, the issue might be conceptual rather than technical. This decision is also appropriate if weather conditions have been inconsistent—heavy rain, persistent overcast, or unusual lighting during your review period. Re-shoot your full matrix under more representative conditions before making a final call. You might need to reconsider your target color, choose a different joint profile that better suits the building's character, or bring in additional expertise to evaluate compatibility concerns.
Don't rush this decision. The test panel investment—both time and cost—is minimal compared to the expense of large-scale work that doesn't meet expectations. Property owners who invest patience in the sample phase consistently report higher satisfaction with final results.
Next Step: Book a Sample/Photo Estimate
City Suburb Inc approaches test panel work as a collaborative process. Our teams bring low-impact raking equipment that minimizes disturbance to surrounding areas while accessing the test location. For rowhouses and townhouses in densely built neighborhoods throughout Brooklyn, the Bronx, and Long Island, this neighbor-friendly approach matters.
Sample installation includes establishing your daylight photo protocol. We'll mark optimal shooting positions at each distance, help you identify the best times for capturing lighting variations, and ensure scale references are in place. The goal is creating documentation you can use confidently for approvals and future reference.
Our approach reflects what we call mortar-first problem solving—selecting materials based on compatibility and long-term performance rather than immediate aesthetics or cost minimization. Test panels embody this philosophy by putting compatibility testing before commitment.
Ready to get started? Schedule your free on-site inspection or call us at (718) 849-8999. We'll assess your building's needs, discuss test panel locations, and outline a timeline that respects both your schedule and optimal weather conditions for mortar work.
Sample Approval Checklist
- ☐ Three times of day photographed (same device/settings)
- ☐ Front/side/raking angles captured
- ☐ Mix/joint profile labeled in-frame
- ☐ Scale card present
- ☐ Side-by-side comparison against existing facade
- ☐ Decision recorded: Approve / Iterate / Pause
Frequently Asked Questions
Do NYC Landmarks require test panels or mockups?
Often yes—the LPC can condition approvals on samples or mockups to confirm appearance before full-scope work begins. This requirement appears most commonly for prominent facades, buildings with distinctive original mortar character, or projects where proposed materials differ significantly from existing conditions.
Is 'tuckpointing' the same as repointing?
They're often used interchangeably in conversation, but tuckpointing is technically a decorative technique involving contrasting mortar colors to create the appearance of fine joints. This article addresses repointing for historic compatibility—removing deteriorated mortar and replacing it with properly matched material that protects the masonry structure.
Why not specify an exact mortar recipe online?
Historic brick varies block to block, even within the same building. Agencies advise compatibility testing over one-size-fits-all ratios. Your building's specific conditions—brick hardness, original mortar composition, exposure to weather—all influence what mixture will perform best. On-wall trials and documented approvals ensure the final specification matches your actual needs.
Learn more about our brick pointing services throughout Brooklyn and NYC, or explore our comprehensive masonry services. For properties requiring specialized historic preservation expertise, our team at City Suburb Inc brings decades of combined experience to landmark and pre-war buildings across the five boroughs.
Editorial Note: Every technical statement in this article is checked against primary sources including the National Park Service, NYC Landmarks Preservation Commission, and General Services Administration preservation guidelines. We avoid prescriptive mixes in public content, emphasizing compatibility testing and documented approvals. All links are verified for accessibility and currency at publication.