Prove It Small: The Homeowner’s Case for Test Panels on Historic Brick
📌 Key Takeaways
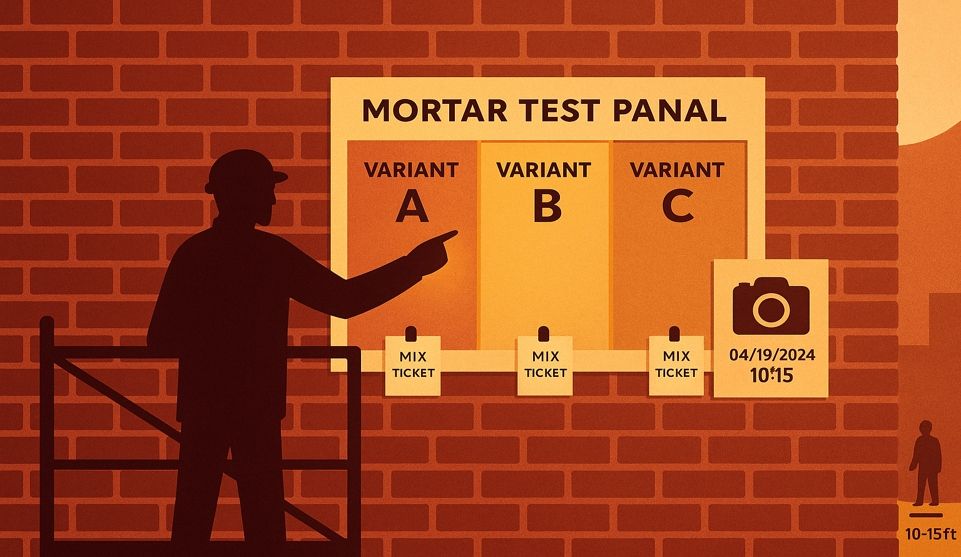
Test panels eliminate guesswork by proving mortar compatibility on your actual brick before committing to full-scope repointing—turning abstract specifications into visible, reviewable reality.
- Distance and Light Reveal Truth: Review test panels at 3 feet for texture detail, 10 feet for overall tone where most decisions happen, and 25 feet for street integration—under morning, noon, and afternoon light to catch how appearance shifts throughout the day.
- Compatibility Trumps Color Matching: Historic brick demands mortar that breathes at similar rates, stays softer than the masonry units, and uses sand that reproduces original texture—getting these right matters more than perfect color alone.
- The Five-Step Framework Reduces Risk: Diagnose existing conditions, trial candidate mixes on small panels, approve after proper curing and multi-condition review, execute the approved specification exactly, and protect through regular inspection.
- Documentation Satisfies Boards and Landmarks: Photograph panels at consistent distances with surrounding context brick visible, label specifications unobtrusively, and use simple approve-iterate-reject language that creates clear approval records for co-ops and LPC reviewers.
- Small Investment Prevents Expensive Corrections: Test panels cost a modest fraction of total project expense while catching incompatibilities early—before repointing entire facades with mortar that reads wrong from the street or damages historic brick.
NYC homeowners of pre-war and landmarked rowhouses will find the practical review methods here, preparing them for the detailed preservation framework that follows.
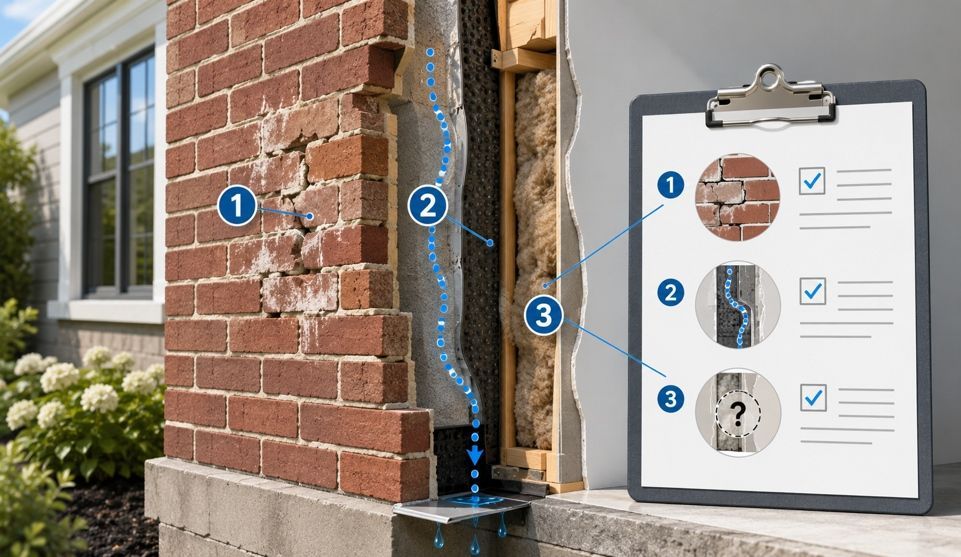
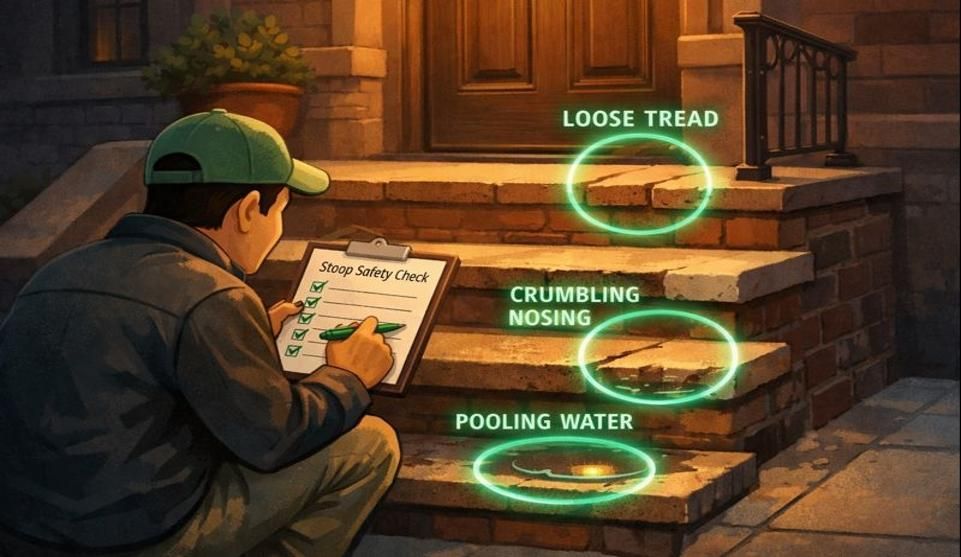
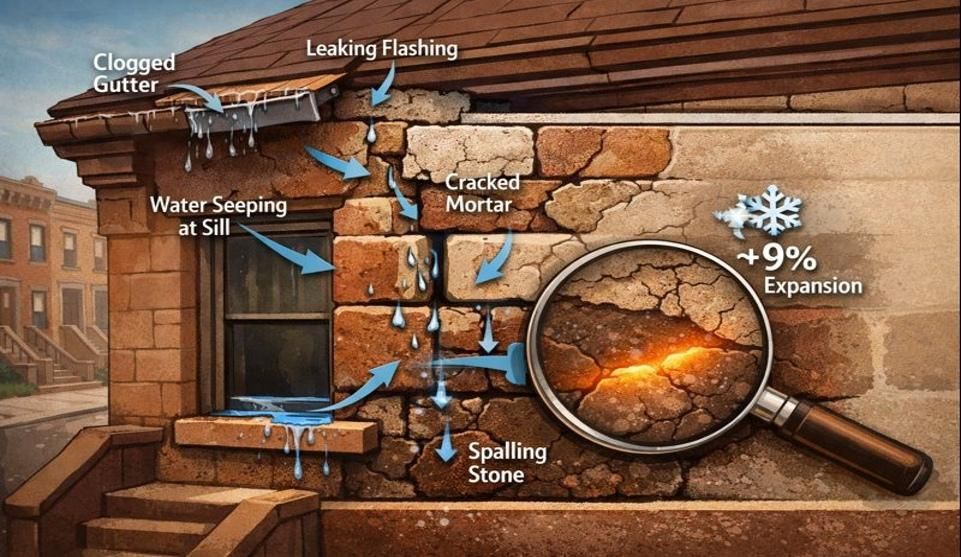
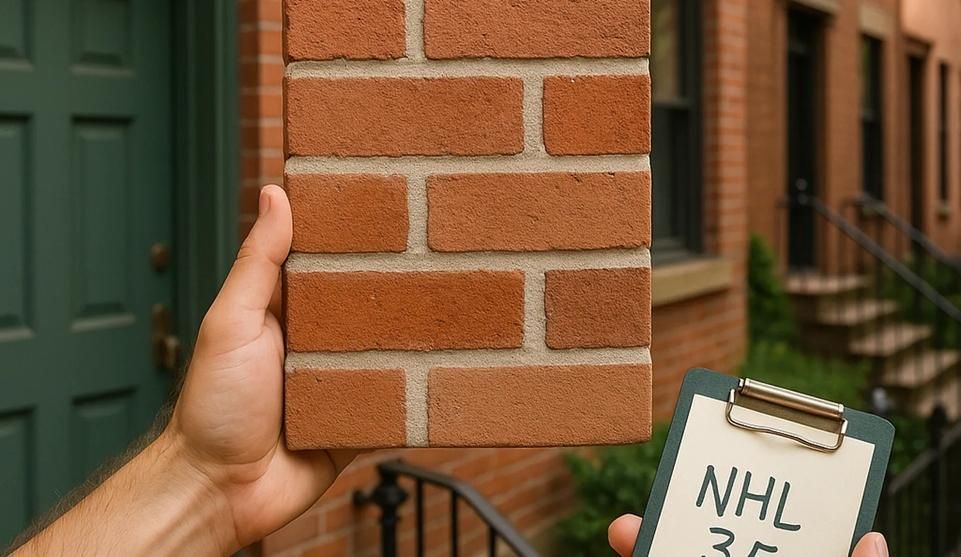
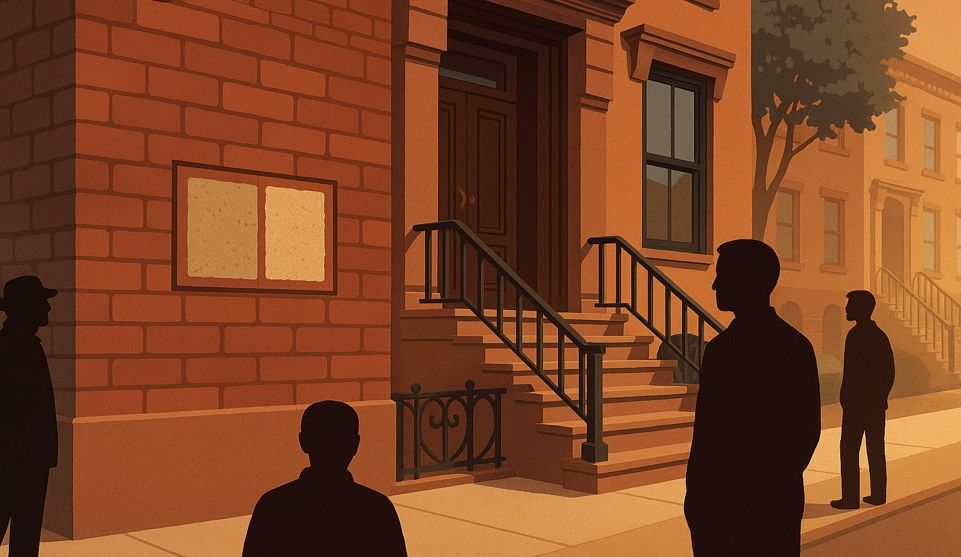
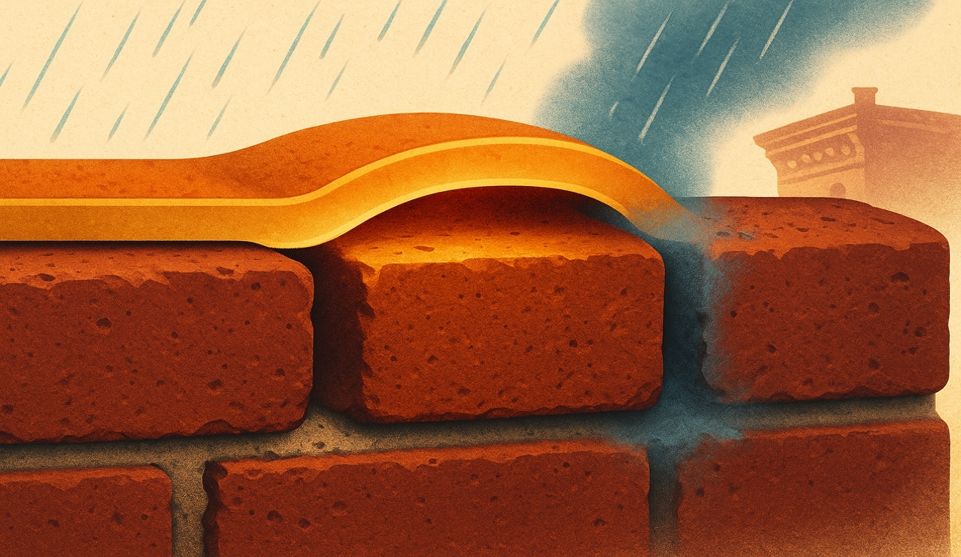
When water stains appear behind parlor walls or mortar crumbles at a touch, Brooklyn homeowners move from everyday maintenance concerns to genuine leak anxiety. The brownstone needs repointing—that much is clear. What's uncertain is whether the contractor's proposed mortar will match the 1920s character, satisfy the Landmarks Preservation Commission, or hold up through another decade of freeze-thaw cycles.
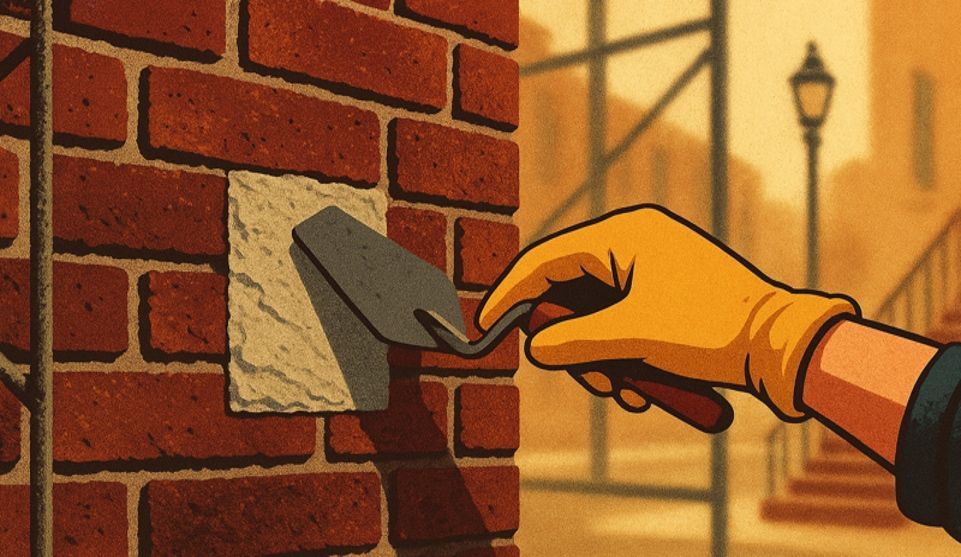
Test panels bridge this gap, moving homeowners from leak anxiety to approval confidence. A small section of repointing—typically 4-6 square feet—demonstrates how the proposed mortar performs on the building itself. The color shifts as it cures. The texture becomes apparent against adjacent brickwork. The joint profile either creates appropriate shadow lines or reveals itself as mismatched. This approach transforms an abstract specification into a visible decision point before committing to full-scope work.
What a Masonry Test Panel Proves (and Why NYC Homeowners Should Ask for It)
A test panel answers three questions that product data sheets cannot resolve: Does this mortar match the building's existing work? Will it perform appropriately given the brick's characteristics? Does the finished appearance meet expectations when viewed from the street?
Repointing vs. Tuckpointing—Clear Definitions
Repointing removes deteriorated mortar and replaces it with new material matched to the original joint width and depth. The goal is structural integrity and weather resistance while maintaining the building's existing appearance. Tuckpointing involves filling joints with mortar color-matched to the brick, then creating thin contrasting lines to simulate fine joints—a decorative technique that addresses both structural needs and aesthetic refinement.
Most Brooklyn brownstones require repointing rather than decorative tuckpointing. The distinction matters because tuckpointing demands additional skill and time, affecting project scope and cost. A test panel clarifies which approach suits the building.
The Compatibility Trio: Permeability, Compressive Strength, Texture/Aggregate
Historic brick requires mortar that's softer than the masonry units themselves—a principle established in National Park Service preservation guidance. When mortar is harder than brick, stress concentrates in the brick rather than the joints, causing spalling and face delamination.
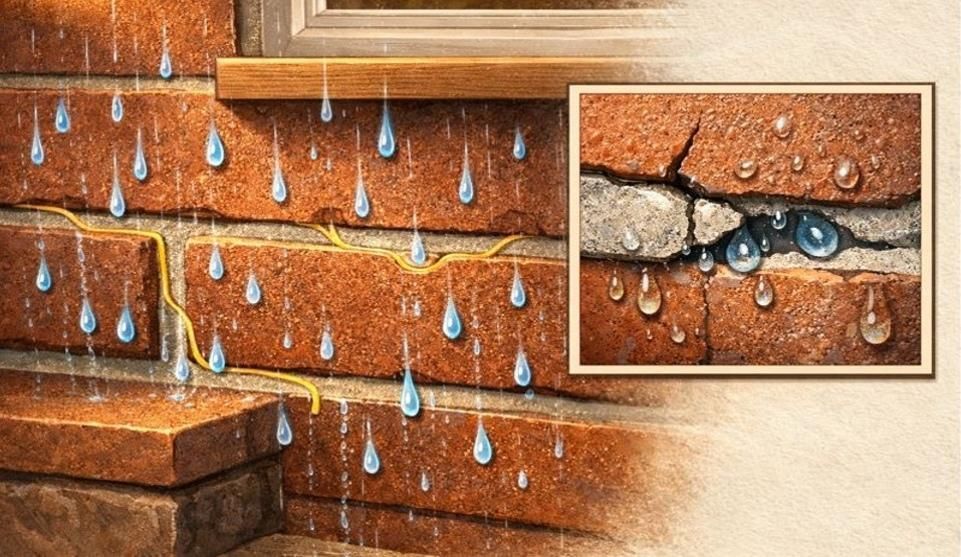
A compatible mortar typically breathes at a rate similar to the brick so moisture can escape, stays softer than the masonry to remain the sacrificial element, and uses sand and aggregate that reproduce the original look and texture. Pre-war brick buildings were constructed with lime-rich mortars that allow vapor transmission. Replacing these joints with dense cement mortars traps moisture inside walls, where it causes freeze-thaw damage. A test panel reveals whether the proposed mix maintains appropriate breathability.
Texture and aggregate content affect both appearance and weather resistance. The sand source and aggregate size determine whether the cured mortar matches the building's original work. Color shifts during curing make assessment impossible without an actual on-wall sample that's weathered for at least seven days.
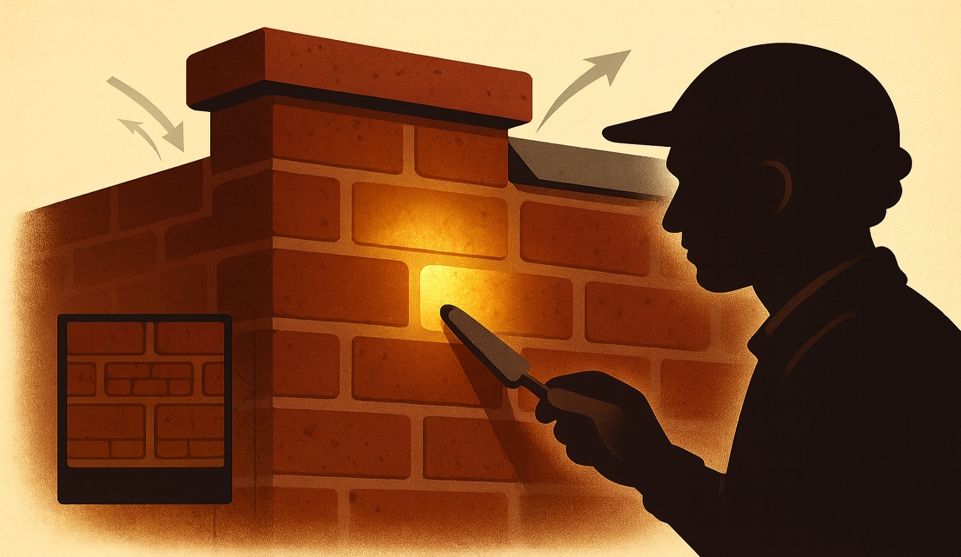
Joint Profile & Tool Finish: How Shadow Lines Change Street-Read
Joint profile—raked, flush, weathered, or beaded—dramatically affects how the facade reads from the sidewalk. Raked joints cast strong shadows that emphasize individual bricks. Flush joints create minimal shadow lines and present a uniform surface. Weathered and beaded profiles offer variations that affect both appearance and water-shedding performance.
Historic buildings often feature specific joint profiles that contribute to their architectural character. In neighborhoods like Park Slope and Brooklyn Heights, raked joints are commonly found, though profiles vary building to building based on original construction era and the mason's preferences. What matters most is matching your specific building's original profile rather than neighborhood assumptions. This approach maintains the building's historic integrity and ensures compliance with LPC requirements for landmarked properties.
A test panel allows evaluation of joint finish before the contractor tools hundreds of linear feet. If the profile reads too heavy or too subtle from street level, adjustments happen immediately rather than after substantial work is complete. For brick pointing in Brooklyn, this preview step prevents expensive corrections.
Mortar-First Decision Framework (5 Steps)
This framework structures repointing around material validation before scope commitment.
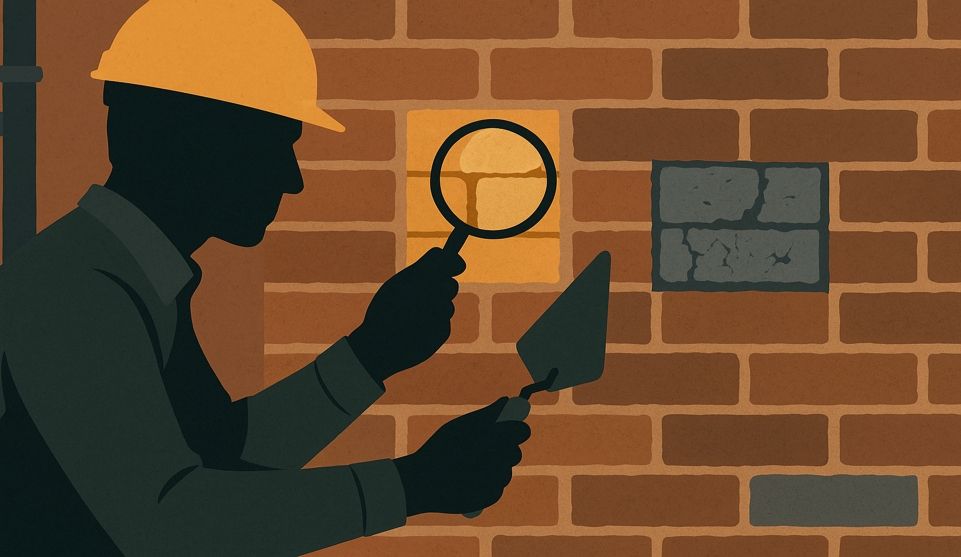
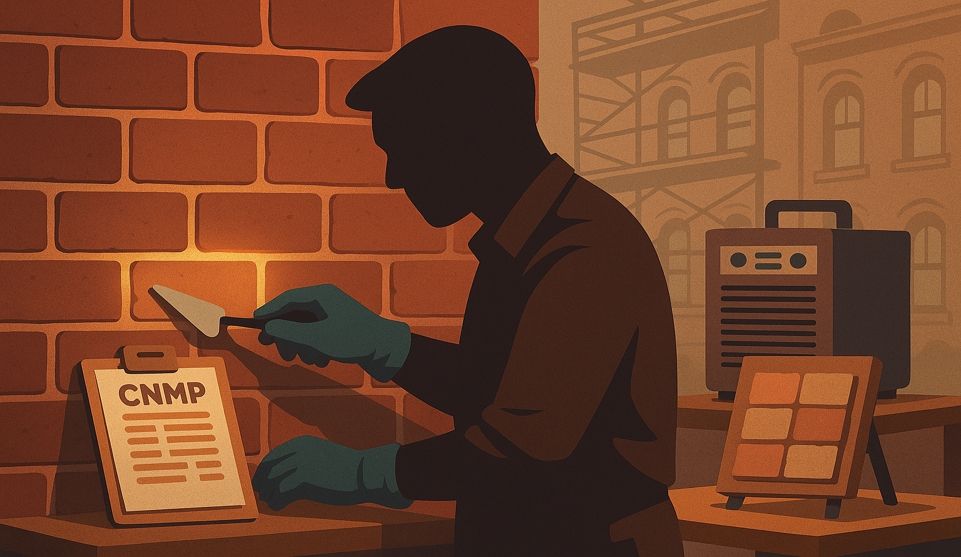
Diagnose existing mortar and brick condition through careful examination. Document joint deterioration patterns, identify brick types, note structural movement or water infiltration, and assess whether the building requires LPC approval.
Trial the proposed mortar specification by installing test panels in representative locations. Select areas with different sun exposures if possible—north-facing sections cure differently than south-facing walls. The contractor should install 4-6 square feet minimum.
Approve test panels after appropriate curing time and thorough evaluation. This requires viewing the work at different times of day and from distances ranging from arm's length to across the street. Color, texture, and joint profile become apparent only after mortar cures and can be compared against adjacent original work.
Execute the full scope following the approved specification exactly. The test panel becomes the quality standard against which all subsequent work is measured.
Protect completed work through appropriate maintenance and regular inspection. Annual visual inspections and detailed examination every five years help maximize the investment's longevity.
Quick Reference:
- Diagnose: Document conditions, brick type, deterioration patterns, regulatory requirements
- Trial: Install 4-6 sq ft panels in representative locations with varied exposure
- Approve: Review after 7-14 day cure at multiple distances and lighting conditions
- Execute: Follow approved specification; test panel serves as quality benchmark
- Protect: Annual inspection; detailed assessment every 5 years
How to Review Test Panels in Daylight (Before You Approve)
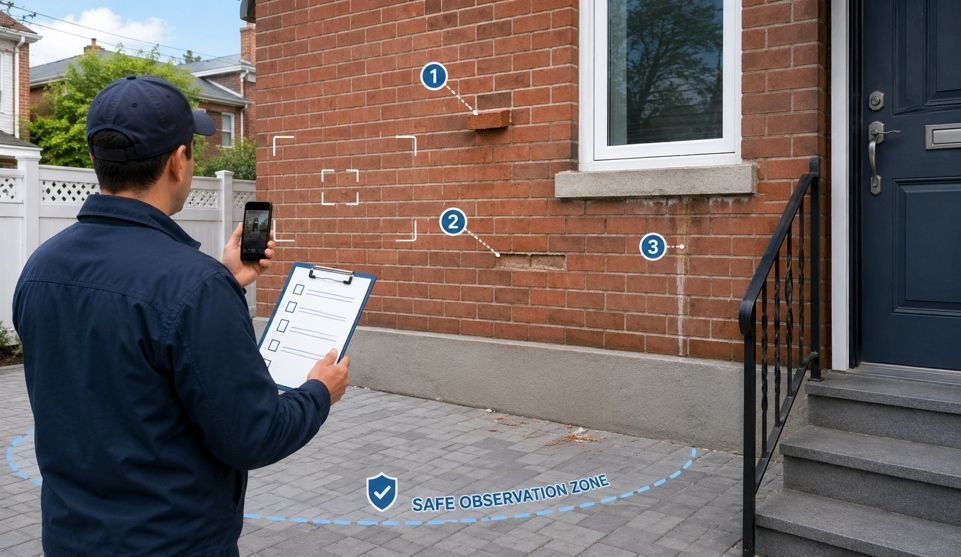
Test panel evaluation requires systematic assessment under varying conditions. Mortar appearance changes substantially based on viewing distance, lighting angle, and weather.
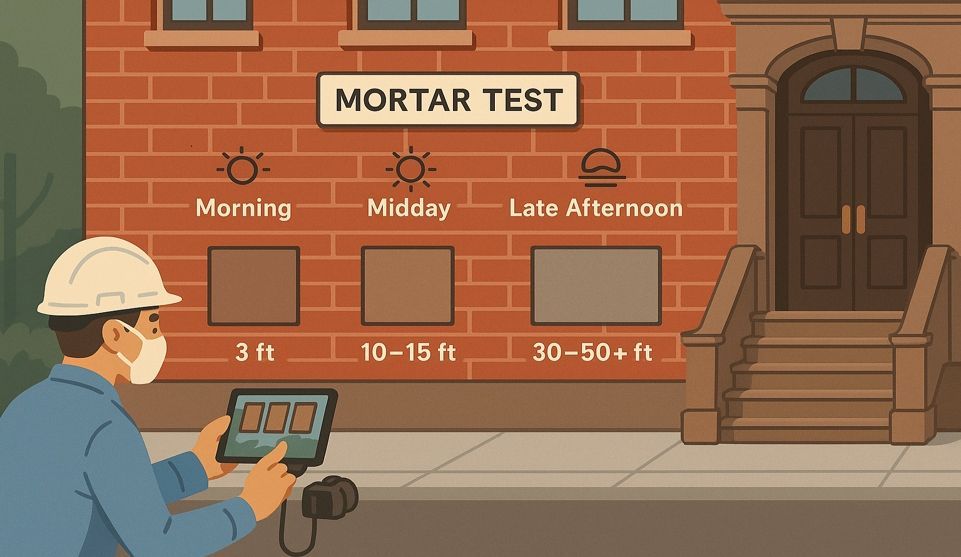
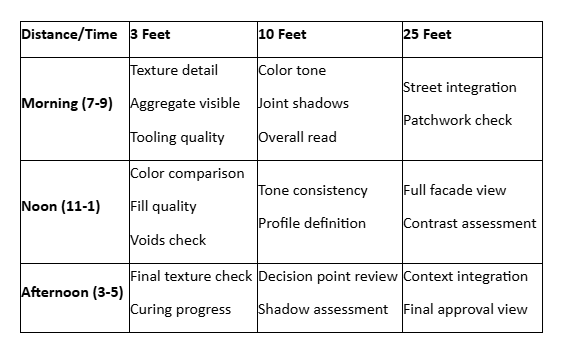
Distances: 3 ft / 10 ft / 25 ft
Close examination at three feet reveals texture, aggregate distribution, and how thoroughly joints are filled. This distance shows whether mortar surface has been properly tooled and whether any voids exist.
Mid-range viewing at ten feet approximates the distance from which co-op board members or neighbors evaluate the work—where most owners make the final call. At this distance, overall color tone becomes the dominant characteristic. Joint profile creates shadow lines that either emphasize or minimize the mortar's presence.
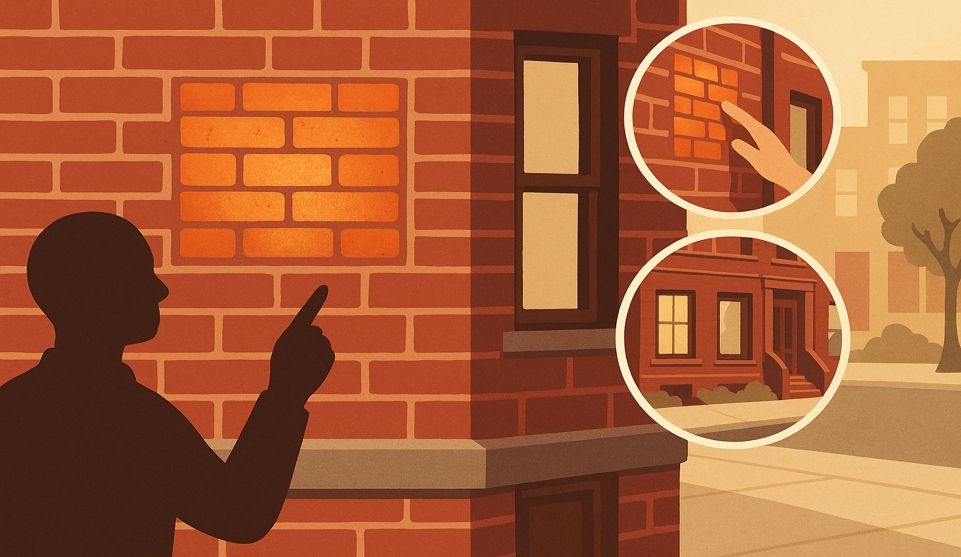
Street-level assessment at twenty-five feet shows how work integrates with the full facade. From across the street, test panels should blend with surrounding original work rather than announcing themselves as new construction.
Lighting: AM / Noon / PM; Overcast vs. Sunny
Morning and afternoon light with oblique angles exaggerate joint shadows and may shift color appearance warmer or cooler. Noon's flatter light is useful for comparing tone without strong shadows. Overcast conditions soften contrast and help judge color consistency. Sunny weather accentuates tooling and profile—important for street-read assessment.
North-facing walls receive consistent indirect light throughout the day. South-facing sections experience the most intense light and greatest temperature variations, both affecting how mortar cures and weathers.
Schedule at least three review sessions: morning light, midday, and late afternoon. If possible, view the test panel on both a sunny day and an overcast day.
Color vs. Texture & Joint Profile
Color receives disproportionate attention during test panel review, but texture and joint profile matter equally. Mortar that's too smooth reads as modern even if color matches perfectly. Conversely, slightly off-color mortar with appropriate texture and properly executed joint profile often integrates better.
Evaluate texture by comparing mortar surface directly against adjacent original joints. Look for similar aggregate visibility and comparable surface roughness. Joint profile assessment requires viewing from at least ten feet back. Shadows cast by recessed joints should match the depth and character of original work. For masonry repointing services, getting this profile match correct prevents the patchwork appearance that diminishes property value.
Document mix ID, sand source, joint finish, installation date, weather conditions, and approval decision.
LPC-Friendly Documentation & Board Sharing
Co-op boards and the Landmarks Preservation Commission require clear documentation showing that proposed work respects the building's historic character. Test panels provide this evidence when properly photographed and presented.
Photo Standards: Same Angles, Context Brick, Unobtrusive Labels
Photograph test panels from three feet, ten feet, and twenty-five feet using consistent camera angles. Include surrounding original brickwork in each frame for comparison. Take photos in natural daylight—morning, midday, and afternoon—to document appearance changes.
Label photos clearly but unobtrusively with location, date, time, and weather conditions. This documentation proves systematic evaluation rather than casual approval.
Simple Approval Wording
Approve: "Test panel approved as shown. Proceed with full scope using this exact specification."
Iterate: "Test panel shows correct joint profile but reads too light. Request adjustment: slightly darker mix using same aggregate source."
Reject: "Test panel does not meet requirements. Mortar too smooth compared to original work. Restart with different mix design."
Board Communication Template
Subject: Test Panel Review – [Address] Brick Repointing
Attached photos document mortar test panels installed on [date] at [location]. Panels have cured for [X] days and were photographed under varied lighting.
Specifications: Mix [ID], sand source [specify], joint profile [raked/flush/weathered], installed by [contractor]
Assessment: Photos show panels from 3 ft, 10 ft, and 25 ft in morning, midday, and afternoon light. Work [meets/does not meet] expectations for color match, texture compatibility, and joint profile.
Decision: [Approve and proceed / Request iteration / Reject and restart]
Neighbor-Friendly Work: Dust, Noise & Access
Brick repointing generates silica dust, requires scaffolding that blocks sidewalks, and produces grinding noise. Professional contractors minimize disruption through careful planning and consistent communication.
Dust Control, Hand Raking, and Daily Housekeeping
Removing failed mortar generates the most dust. NYC DEP regulations and NIOSH silica safety protocols require dust control measures. Professional masons use grinders with water suppression or vacuum attachments rather than dry-cutting methods.
Hand raking with chisels produces less dust than mechanical methods while providing better control. This approach takes longer but reduces risk of damaging brick faces. Containment systems keep dust and debris on-site. Daily cleanup—sweeping platforms, consolidating debris, dampening work areas—maintains professional standards.
Staging, Access & When to Alert Neighbors
Scaffolding and lifts occupy sidewalk and parking spaces. Professional contractors coordinate with NYC DOT for sidewalk shed permits. Alert neighbors about project timing before work starts, particularly for adjacent townhouses sharing party walls.
Masons typically work 7 AM to 6 PM weekdays. The noisiest activities—mortar raking and joint preparation—occur early in each phase. Daily wrap procedures include covering exposed areas where mortar was removed but not yet replaced and securing tools and materials.
Disruption Management Checklist:
- Low-impact raking method confirmed
- Containment set and inspected daily
- Walkways and stoops protected
- Dust and debris housekeeping at lunch and end-of-day
- Communication plan for neighbors (noisy days flagged)
- Secure wrap every evening
- Next-day access verified
Mini Case Cards: How Small Trials De-Risk Big Decisions
Test panels work because they transform theoretical specifications into observable reality before significant investment occurs.
Problem: Mixed, mismatched patches from prior work on a brownstone facade
Trial: Three mixes with different sand sources; two joint profiles tested
Approved Spec: Mid-tone mix with slightly coarser sand; flush-tooled joint
Outcome: Street-level tone unified at 25 ft; prior patches visually receded
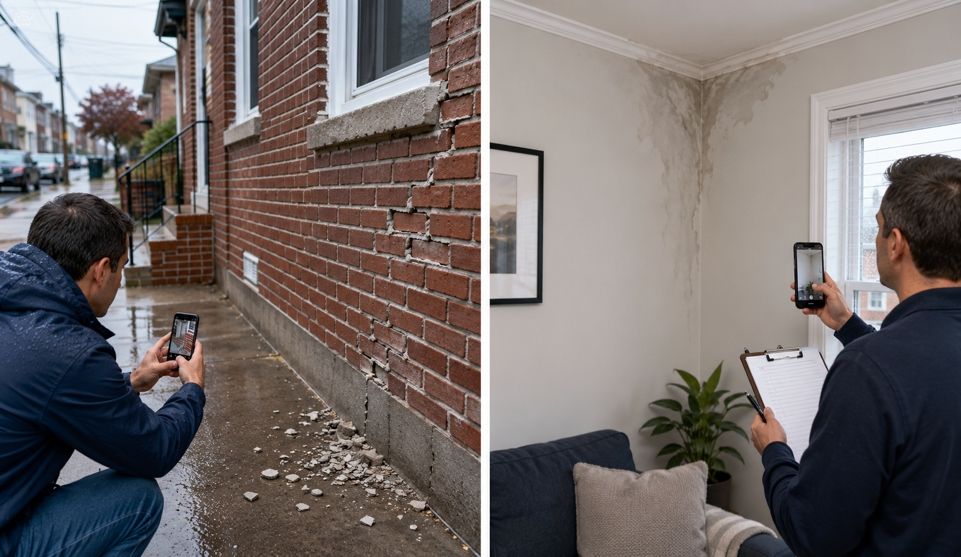
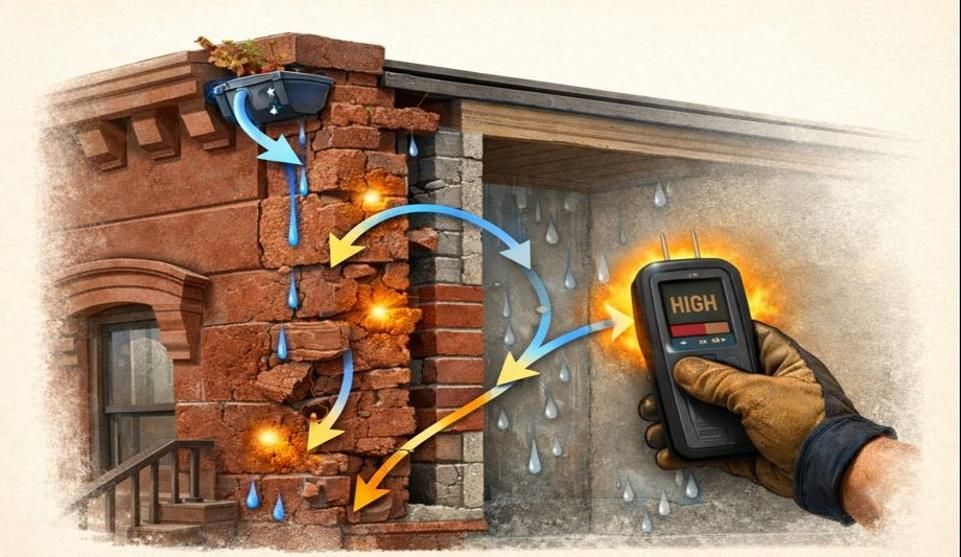
Problem: Moisture showing on interior parlor wall after storms
Trial: Test panel beneath cornice where joints had eroded; profile option to shed water
Approved Spec: Lime-rich mix with weathered joint at suspect courses
Outcome: Reduced water tracking; follow-up inspection scheduled after freeze-thaw season
Problem: Board concerns about visible change on block of intact rowhouses
Trial: Two visually similar mixes; raked vs. flush joints tested side-by-side
Approved Spec: Slightly warmer mix, raked joint; documented with labeled photos
Outcome: Smooth approval; work proceeded with clarity on finish expectations
What If… (Risk Mitigations)
Test panels occasionally reveal problems requiring specification adjustments before proceeding.
Panel reads too light/dark? Adjust the sand blend or binder ratio in a new small panel. Compare against sheltered original joints that better represent the mortar's original color before weathering.
Texture mismatch? Try different sand source or grading to match the original texture. Consider gentle tooling adjustments. Coarser sand with larger aggregate creates more visible texture; finer sand produces smoother finish.
Joint profile off? Retest with the desired tool finish—flush, raked, weathered, or beaded. Confirm under oblique light where shadow lines are obvious. Profile errors usually result from incorrect tooling depth rather than mortar formulation.
Brick spalls at sample? Stop immediately and reassess. A test panel is doing its job if it reveals incompatibility early. If brick faces delaminate during panel installation, either the brick is too deteriorated or previous repointing used inappropriate materials harder than the brick itself. Extra-careful hand removal becomes essential to prevent further damage.
Next Steps
Test panels prove whether proposed repointing will deliver appropriate results. The process requires modest upfront investment while preventing expensive corrections after substantial work is complete—corrections that often cost many times more than the original test panel.
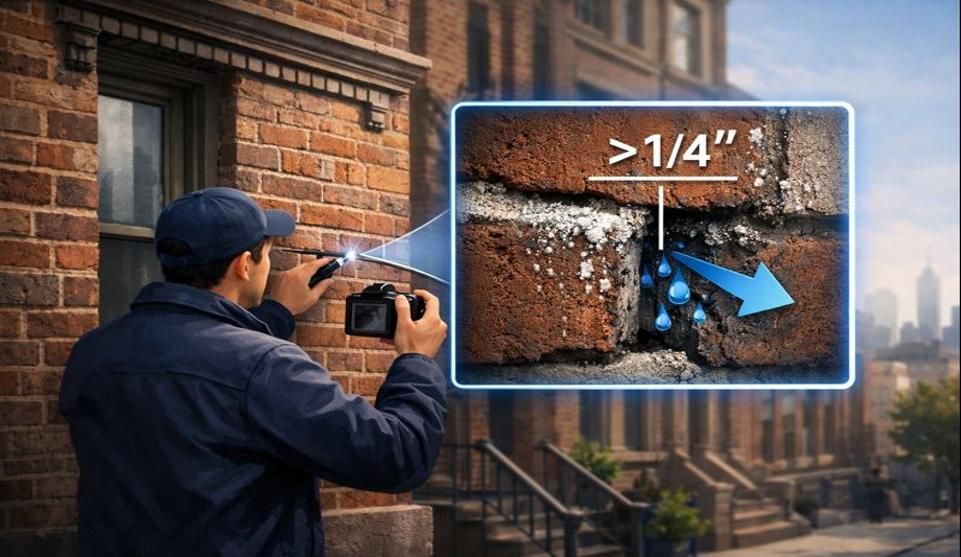
Free Photo Estimate
Initial assessment can proceed based on clear photographs showing current conditions. Capture images from straight-on angles at 10-15 feet, include full-story vertical sections showing deterioration patterns, and photograph both sunny and shaded exposures. Include close-ups of deteriorated joints, spalling brick, and water staining.
On-Site Inspection
Detailed assessment requires examining the building in person. Contractors tap joints to assess soundness, identify structural movement patterns, check lintels and flashings, and determine scaffolding requirements. For properties in historic districts, on-site inspection should include discussion of LPC approval requirements. Experienced Brooklyn masonry contractors familiar with preservation requirements identify potential regulatory issues early.
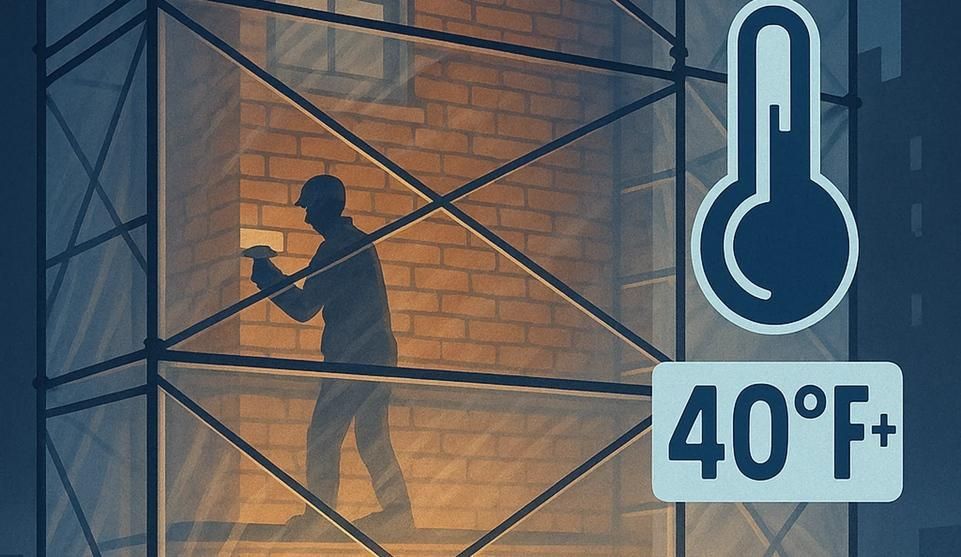
Schedule Test Panel Window with Clear Weather
Test panel installation requires at least 48 hours of dry weather for proper curing. Fall and spring offer the most favorable conditions in the NYC metro area. Plan for 7-14 days between installation and final approval to allow adequate curing time and multiple review sessions. For homeowners following the Mortar-First framework, test panels represent the critical transition from planning to execution.
Schedule Your Free On-Site Inspection | Call (718) 849-8999
Frequently Asked Questions
Do I need LPC approval for brick repointing test panels?
Properties within NYC historic districts or with landmark designation may require LPC approval before repointing work begins, including test panels. Consult with the contractor about whether preliminary panels can be installed in less visible locations before formal submission, or whether full review is required. Always refer to NYC Landmarks Preservation Commission resources for current guidance.
How long should a test panel cure before review?
Minimum seven days, ideally 10-14 days for thorough evaluation. Mortar color and texture continue changing as curing progresses, with most dramatic shifts occurring in the first week. Reviewing panels too early leads to approval based on appearance that won't represent the final result.
What's the difference between repointing and tuckpointing?
Repointing replaces deteriorated mortar in joints without changing appearance or width. Tuckpointing involves filling joints with mortar color-matched to the brick, then creating thin contrasting lines that simulate fine joints—primarily an aesthetic technique for high-style historic buildings where this finish was part of original construction.
Will test panels damage my historic brick?
Properly executed test panels pose no greater risk than full repointing. If brick is so deteriorated that panel installation causes damage, this reveals a condition that would have emerged during full-scope work anyway—better discovered early when adjustments remain possible.
How do I evaluate color vs. texture vs. joint profile?
View test panels from multiple distances and lighting conditions rather than relying on single close-up examination. Use the Daylight Review Grid at 3 ft, 10 ft, and 25 ft in morning, midday, and afternoon light. Prioritize overall integration with existing work. Sometimes slightly imperfect color with correct texture and profile produces better results than perfect color with wrong texture.
What if my board wants more samples?
Additional test panels showing varied specifications provide valuable comparison points. The cost of installing 2-3 panels remains minimal relative to total project expense while demonstrating the contractor's commitment to meeting expectations. Use the board review process to build consensus before proceeding.