NYC Mortar Matching & Test Panels: The Approval-Ready Path to Seamless Historic Repointing
📌 Key Takeaways
Repointing a landmarked NYC building without proper mortar matching and test panel approval is an expensive gamble that often ends in rejection and costly rework.
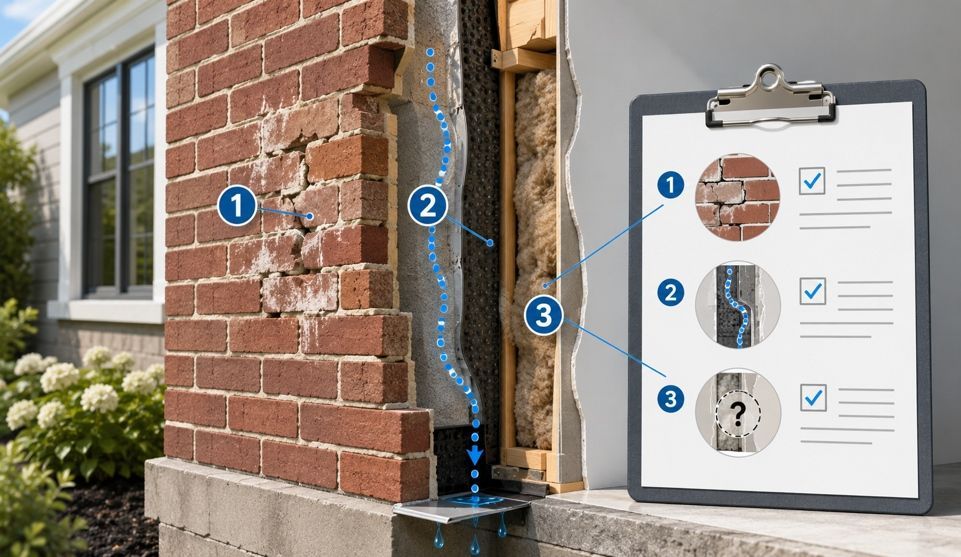
- Test Panels Prevent Patchwork Facades: On-wall samples reviewed at 10 to 15 feet under varied lighting conditions catch color and texture mismatches before full-scale installation begins, eliminating the guesswork that creates obvious repairs.
- Compatibility Protects Your Investment: NYC LPC rules require replacement mortar to be weaker and softer than historic brick—lime-based formulations allow moisture to escape through joints rather than forcing it into the masonry, preventing spalling damage that develops over years.
- Tooling Is Part of the Color Match: Joint profile and surface finish affect how mortar reflects light at viewing distance, meaning production crews must replicate the exact tooling method used on approved test panels to maintain visual consistency.
- Documentation Speeds Approvals: Comprehensive mix tickets, time-stamped photos showing wet-versus-cured states, and multi-distance imaging create the permit packages LPC staff expect, reducing review cycles and project delays.
- Upfront Investment Prevents Rework Costs: Test panel development adds 3 to 6 weeks and $1,500 to $3,000 to project timelines, but removing and replacing rejected mortar costs 150 to 200 percent of the original repointing price—making prevention the only economically rational approach.
Prepared = seamless restoration and protected property value. NYC historic property owners and building boards will find practical, compliance-focused guidance here, preparing them for the detailed approval process that follows.
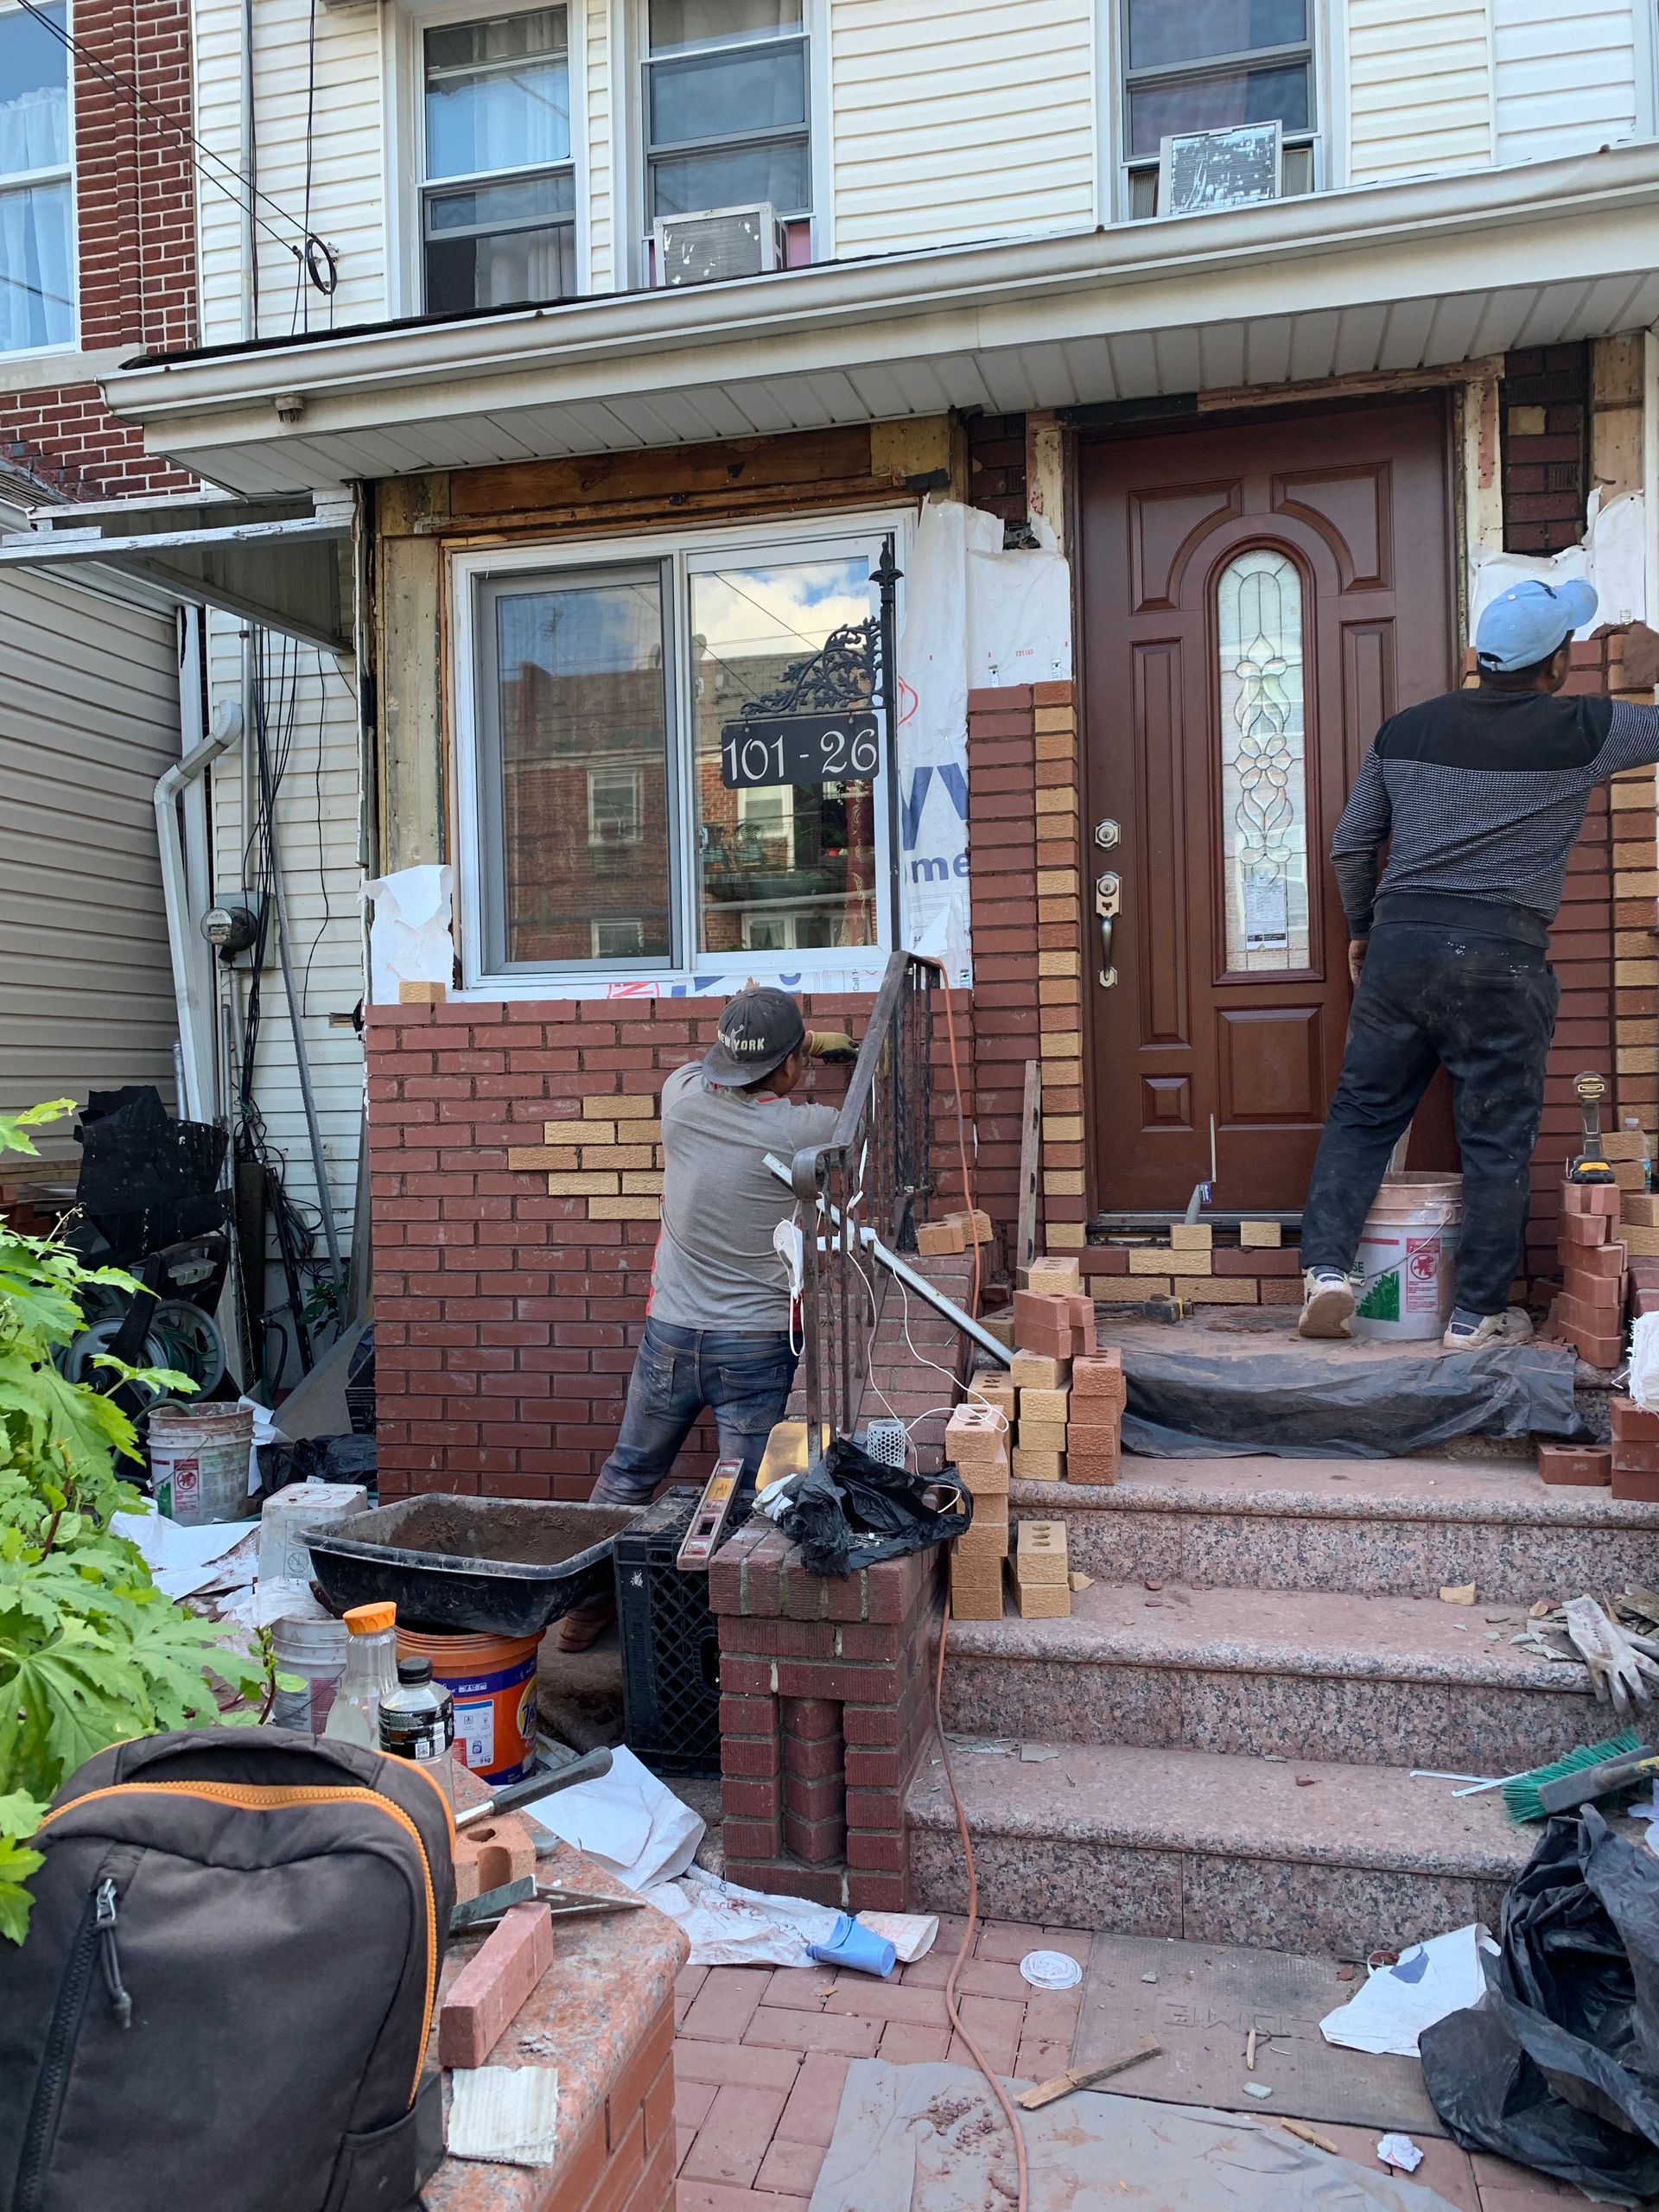
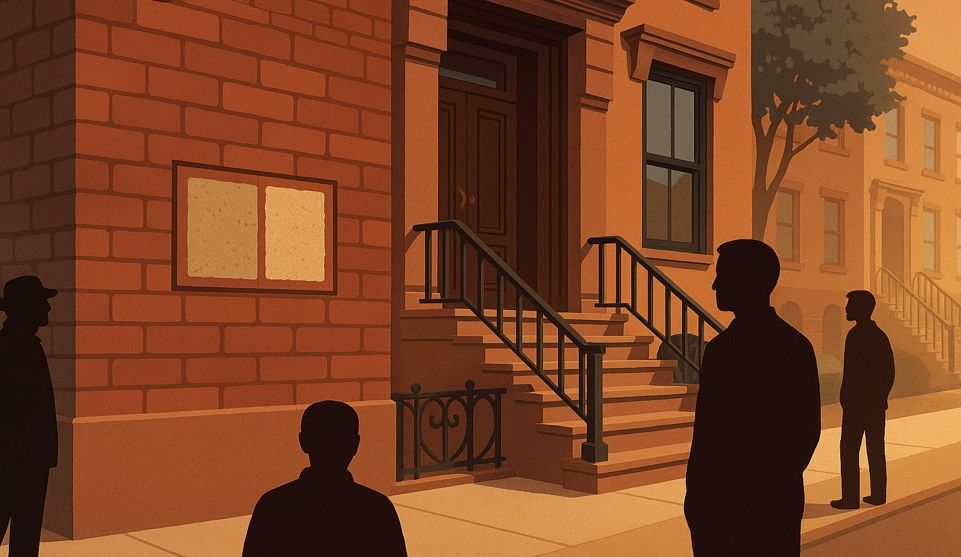
Repointing a landmarked townhouse in New York City means navigating a rigorous approval process where mortar matching isn't just about aesthetics—it's about meeting Landmarks Preservation Commission standards while protecting your brick from long-term damage. The difference between a smooth restoration and costly rework often comes down to test panels reviewed at proper viewing distances before the scaffolding goes up.
Why Approval-Ready Mortar Matching Prevents Costly Re-Work
Getting mortar compatibility right the first time protects both your investment and your building's structural integrity. When contractors skip proper matching protocols or rush through test panel reviews, property owners face expensive do-overs and potential compliance issues that delay projects by months.
Compatible Lime Mortars Reduce Spalling Risk Compared With Over-Hard Mixes
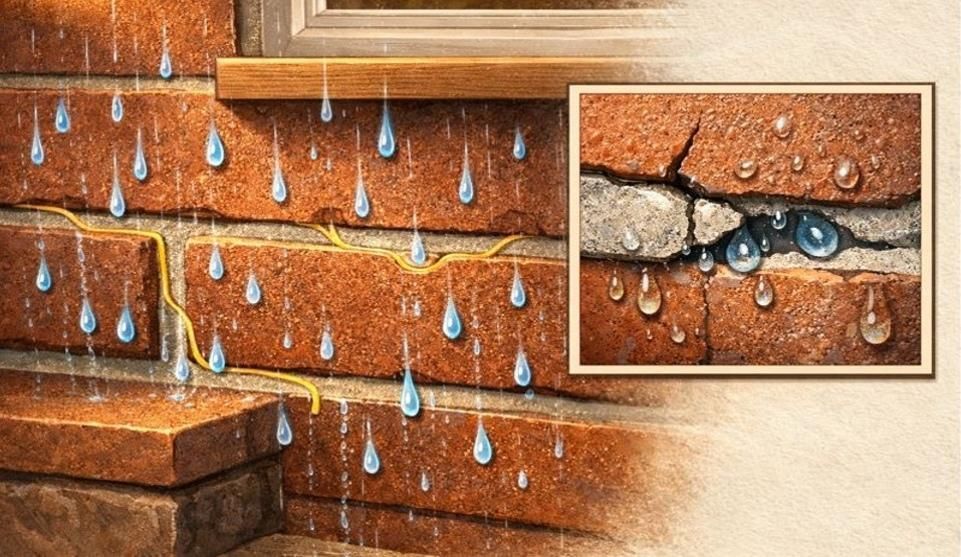
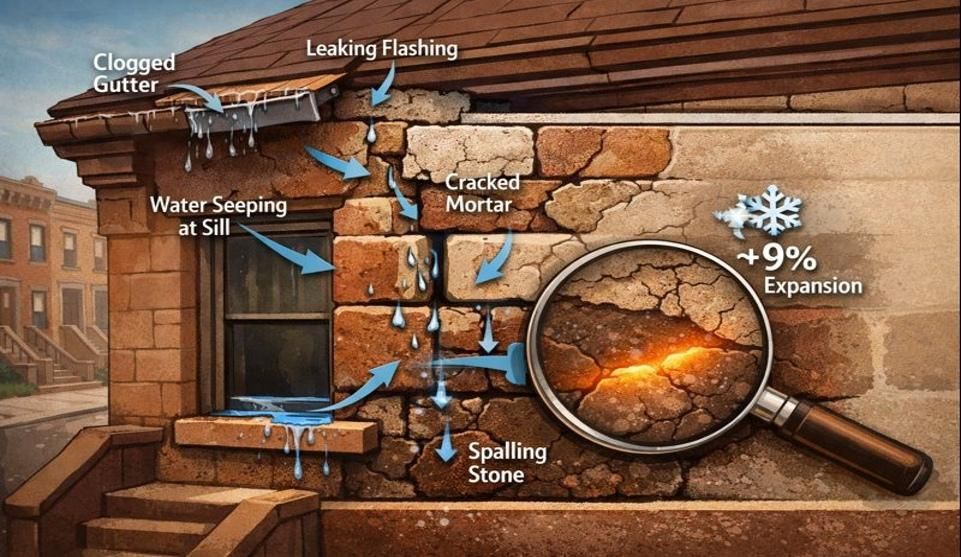
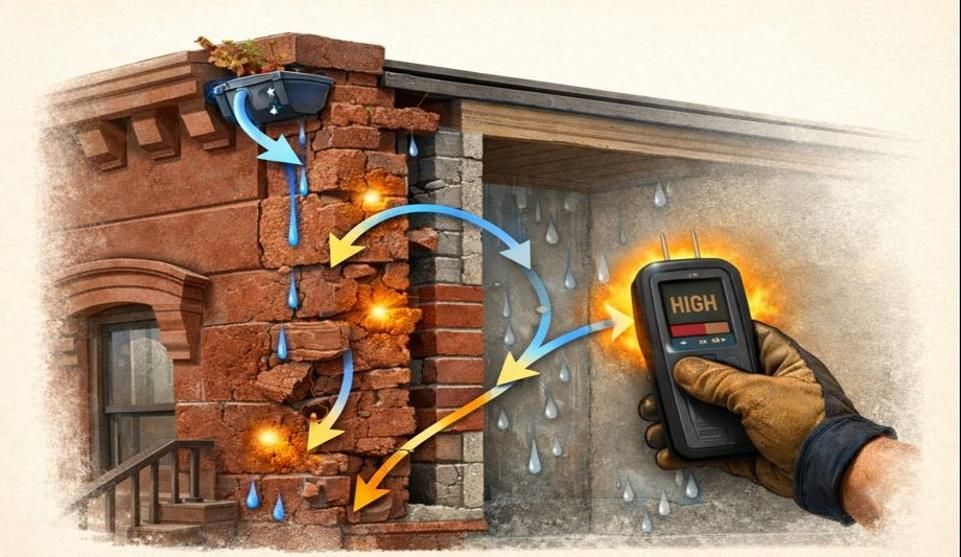
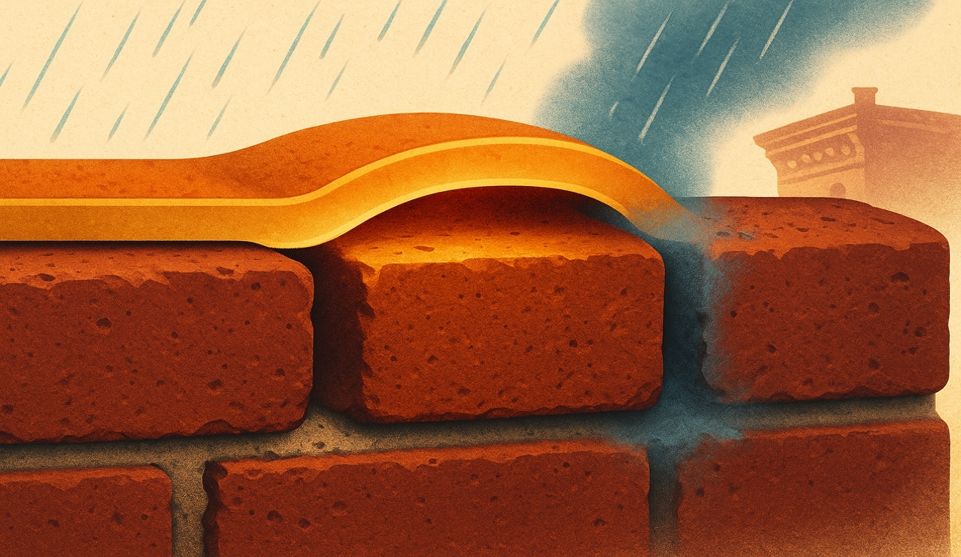
Historic masonry requires mortar that's softer than the brick itself. NYC Landmarks Preservation Commission Rules Title 63, §2-11 explicitly requires replacement mortar to be weaker and softer than the masonry units and comparable to the original composition—a standard that aligns with established preservation practice nationwide. According to the National Park Service's preservation guidance, lime-based mortars allow moisture to escape through joints rather than forcing it through the brick face, which causes spalling and deterioration. Modern portland cement mixes create a rigid barrier that traps water inside the masonry, leading to freeze-thaw damage during NYC winters.
The compatibility equation balances three factors: compressive strength, vapor permeability, and thermal expansion. Your brick—whether it's Baltimore common brick from the 1880s or Kreischer fire brick from Staten Island—has specific mechanical properties. The replacement mortar must be weaker and more porous to function as the "sacrificial" element that protects the masonry units themselves.
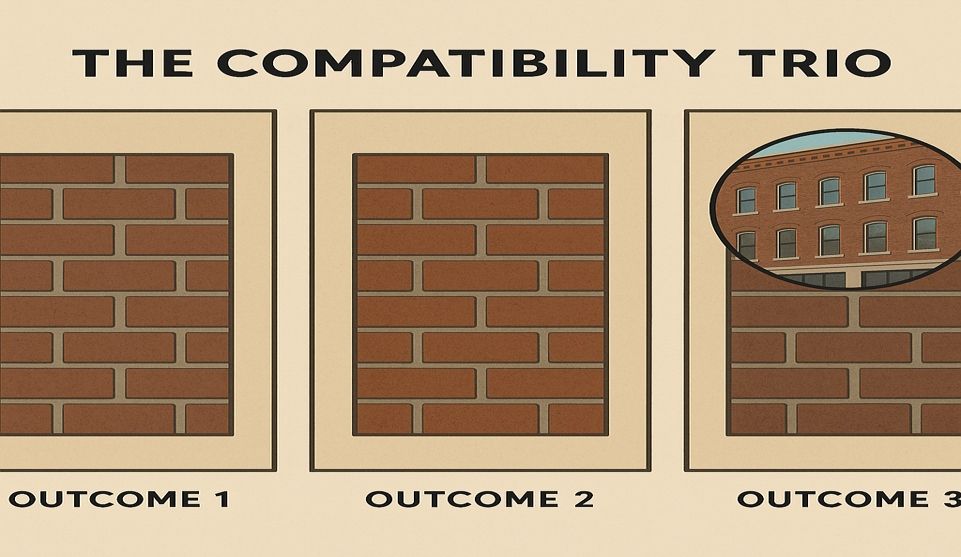
Test Panels Surface Color and Texture Mismatches Before Full-Scale Work
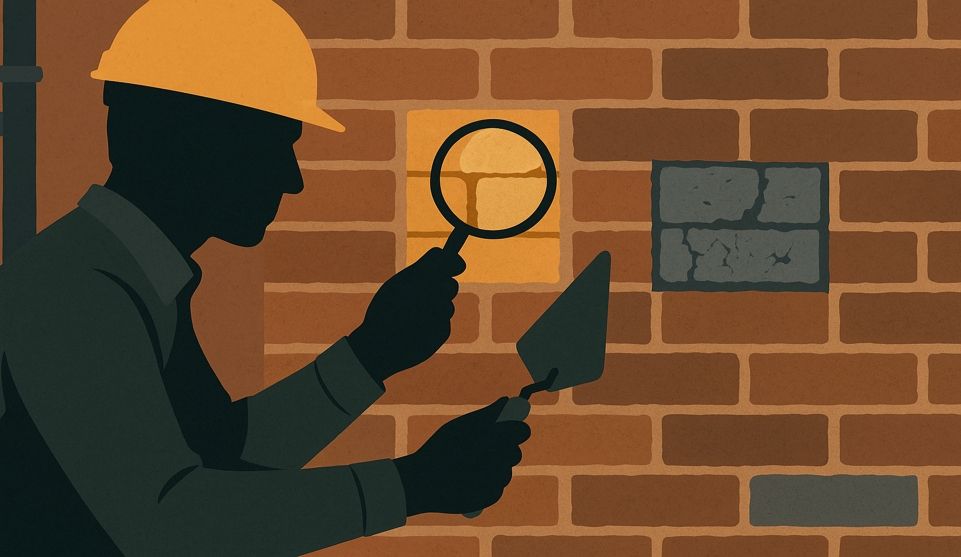
On-wall test panels catch discrepancies invisible in lab samples or small hand-mixed batches. Color shifts dramatically as mortar cures—what looks perfect when first tooled may dry several shades lighter or reveal unexpected undertones. Sand gradation affects both color and texture; using the wrong aggregate size creates joints that read darker or shinier than historic work when viewed from street level.
Property owners reviewing test panels need to assess them under multiple lighting conditions. Morning light reveals different color temperatures than afternoon sun, and overcast days show yet another variation. The wet-versus-cured comparison is equally critical—most mortars lighten significantly as they dry, sometimes by two or three shades. What appears to be a perfect match on a rainy Tuesday may look conspicuously different by Friday afternoon.
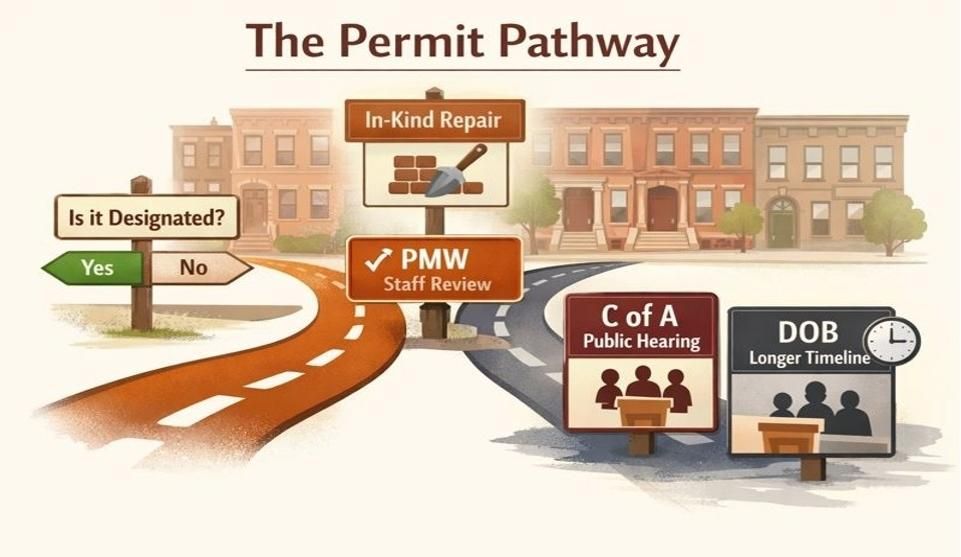
How NYC LPC Evaluates Mortar Matches & Test Panels
The Landmarks Preservation Commission's review process focuses on visual compatibility with the building's original character. The NYC LPC Permit Guidebook outlines how to structure permit applications for restoration work, emphasizing materials documentation, sample submissions, and photographic evidence as essential components of compliant filings.
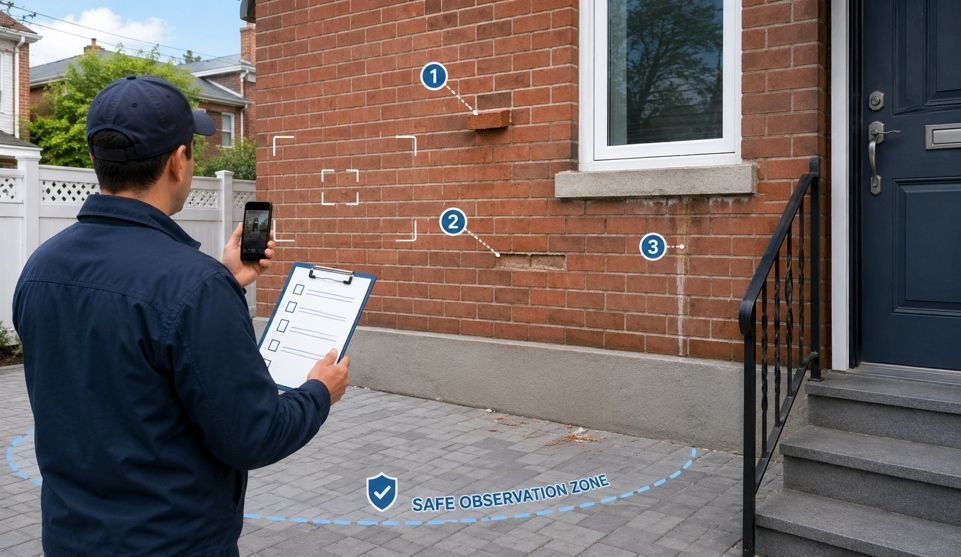
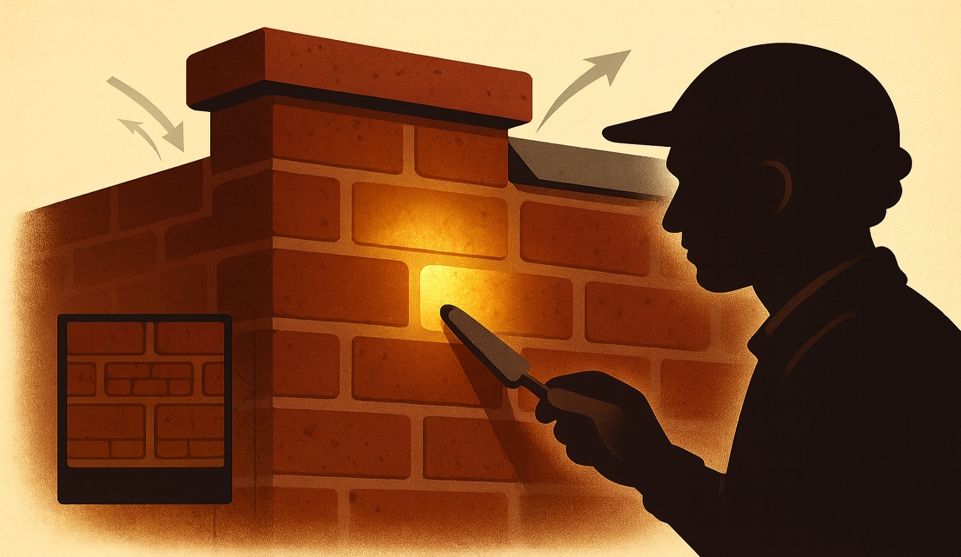
The On-Wall Sample Process and Viewing Distances
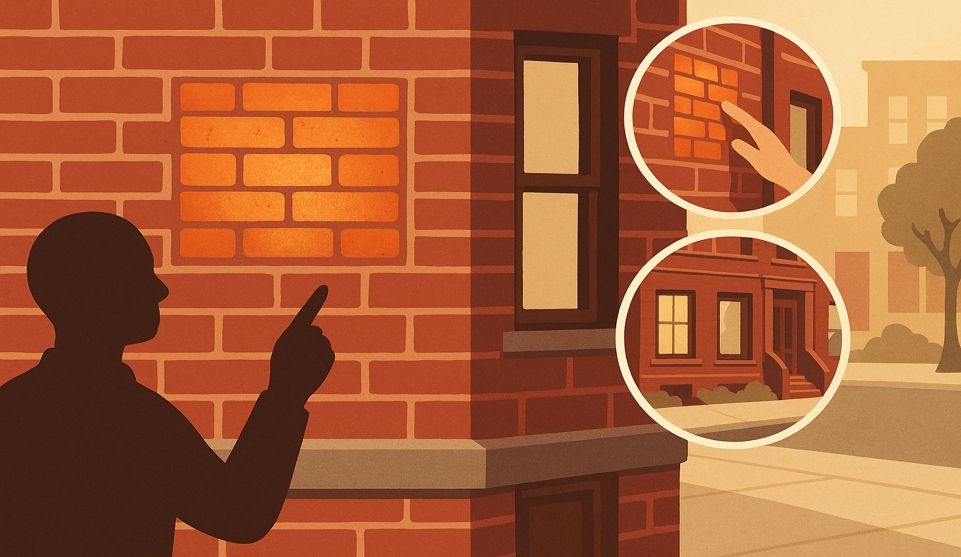
Test panels must be installed on the actual building, not on sample boards. The industry standard practice calls for reviewing mortar samples from 10 to 15 feet away—a practical convention that simulates how most observers actually see the building from the sidewalk. This realistic viewing distance reveals how color, texture, and tooling combine to create the overall visual effect that matters for preservation approval.
Choose panel locations on representative areas of the façade. South-facing walls receive different weathering than north exposures, and sheltered areas under cornices age differently than sections directly exposed to rain. Installing test panels only on a single elevation may not capture the full range of existing mortar variations across your building.
What Inspectors Look For: Color, Sand Gradation, Joint Profile, Finish
Color matching extends beyond simple hue—it includes value (lightness or darkness) and saturation. Historic mortars often contain multiple sand colors creating subtle variation within each joint. Modern single-source sands may appear flat or monotonous by comparison. Inspectors evaluate whether the proposed mortar captures this natural complexity rather than creating a uniform, "new" appearance.
Sand gradation affects the joint's final texture. Fine sands produce smooth, dense surfaces while coarser aggregates create rougher textures with visible grain. The gradation curve—the distribution of particle sizes—determines how the mortar reflects light and how it will weather over time.
Joint profile refers to the tooling finish. Flush joints sit even with the brick face, while slightly recessed joints create subtle shadow lines. Struck joints (angled) and weathered joints (recessed and sloped) each produce distinct visual effects. The profile must match the historic treatment, as changing the joint geometry alters the building's character and affects the perceived color at viewing distance.
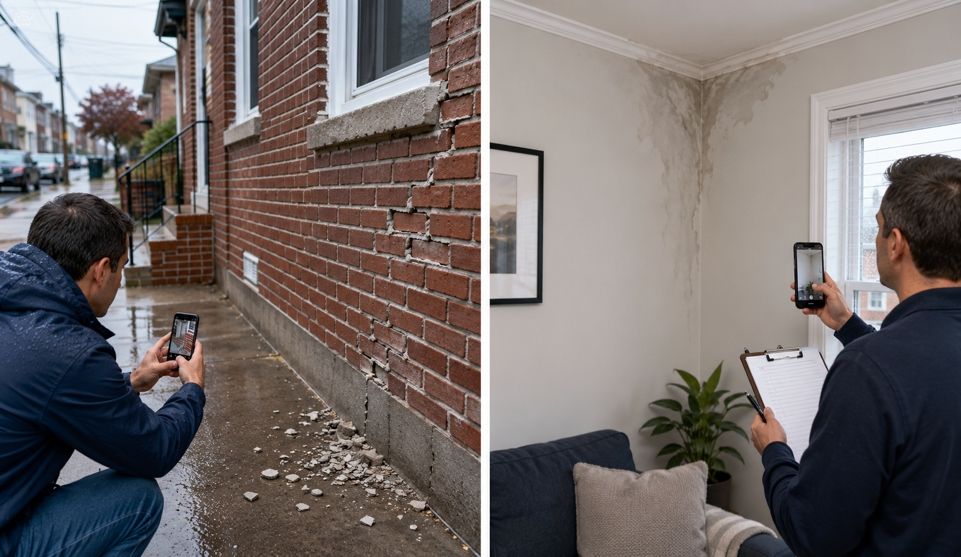
Required Documentation and Photo Angles To Capture Before Approval
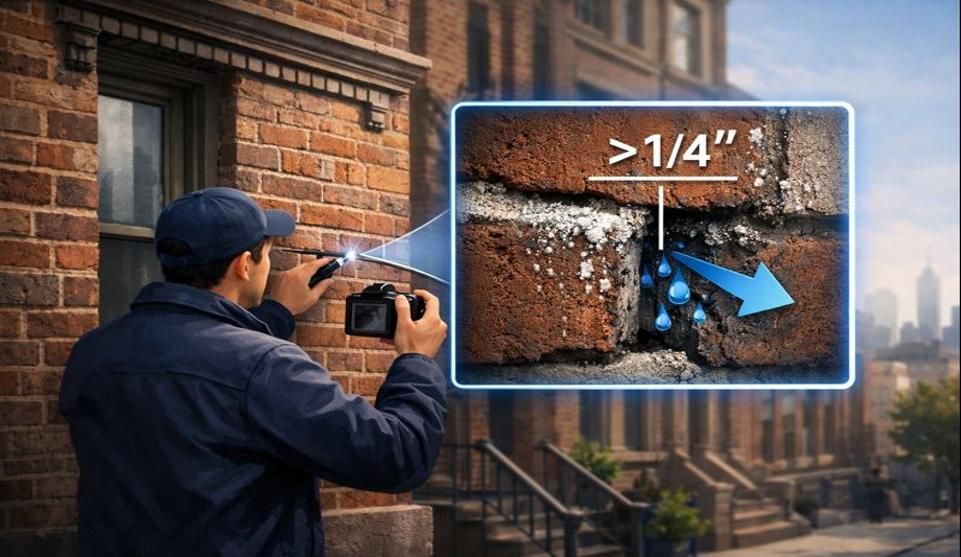
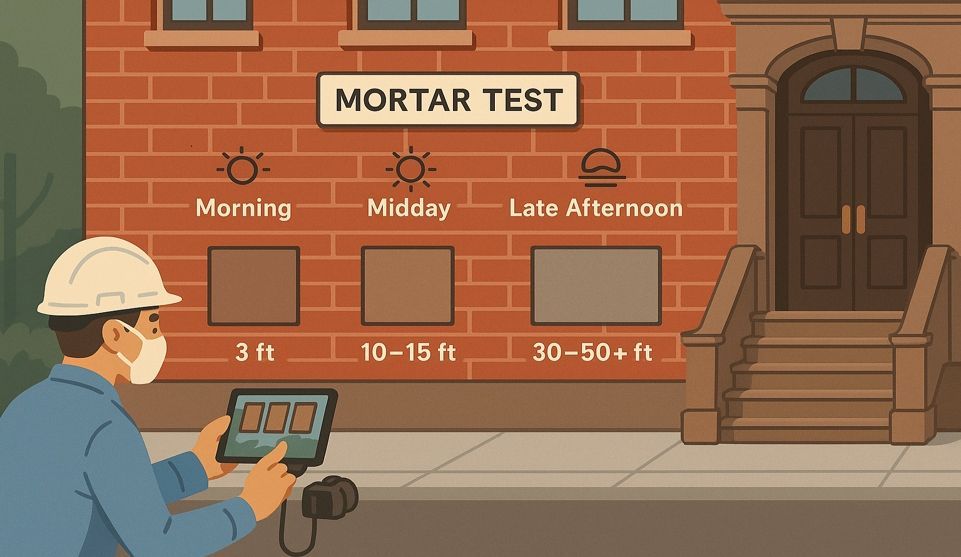
Comprehensive documentation packages include photos from multiple distances and angles. Take detail shots at 12 to 18 inches showing sand gradation and tooling texture. Mid-range photos from 8 to 10 feet demonstrate how individual joints read together. Street-level shots from 20 to 30 feet show the overall façade appearance that defines the building's character.
Photograph test panels when wet and after full curing (typically 28 days minimum for lime mortars). Include shots under different sky conditions—direct sun, overcast, and dusk lighting all reveal different aspects of the color match. Time-stamped images create a dated record showing the mortar's appearance evolution, which supports the approval narrative. The NYC LPC Permit Guidebook provides specific guidance on structuring submittals and what LPC staff expect in well-prepared applications.
Designing a Mortar Match That Reads as Original at Curb Distance
Successful mortar matching requires understanding that color is a function of multiple variables working together. The binder type, sand selection, pigments, and tooling method all influence the final appearance, and each must be calibrated to reproduce the original mortar's visual character when viewed from realistic distances.
Start With Composition: Binder Type, Sand Blend, Pigments, Admixtures
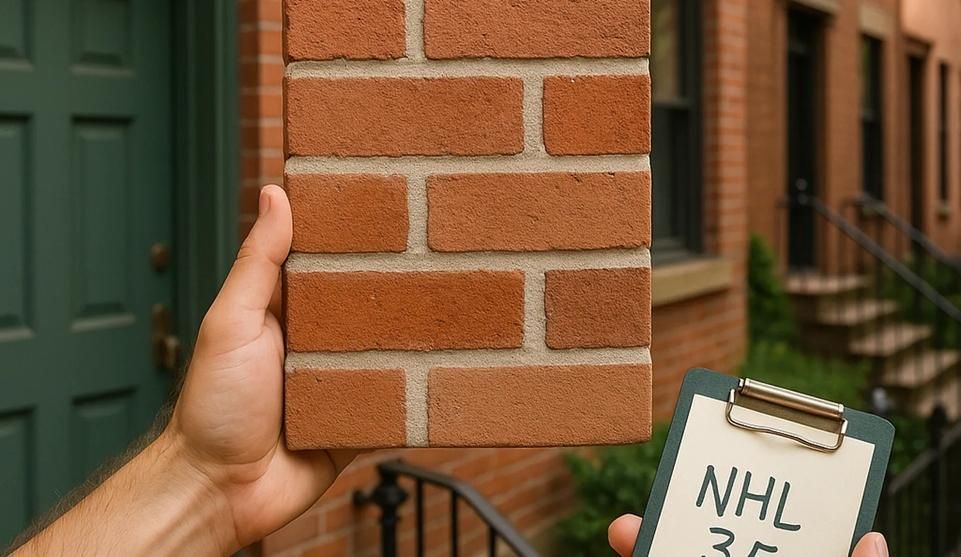
Traditional lime mortars used natural hydraulic lime or hot lime putty combined with local sand. Modern pre-bagged "Type N" mortars contain portland cement that creates incompatible strength profiles. Custom-batched mortars using natural hydraulic lime (NHL 2, 3.5, or 5 depending on exposure) provide appropriate strength while maintaining vapor permeability.
Sand sourcing determines 60 to 70 percent of the mortar's final color. Historic mortars typically used local river sand with natural color variation—Hudson River sand differs from Long Island sand, and both differ from Connecticut River sand. Specifying sand by geographic origin ("Hudson River sand") often produces better matches than specifying only color, because origin determines not just hue but also the subtle multi-tone character of the aggregate.
Mortar analysis helps identify original composition. The National Park Service has published research on mortar investigation methodologies that preservation professionals use to understand historic binder-to-aggregate ratios, sand characteristics, and the presence of additives or pozzolans. This analytical foundation informs compatible replacement formulations.
Pigments adjust the binder color to match the sand-aggregate combination. Natural earth pigments—ochres, umbers, siennas—work with lime chemistry without creating compatibility issues. Avoid using pigments to entirely color the mortar; they should fine-tune the match by tinting the lime to complement the sand color. Excessive pigment can reduce strength and create uneven color as the mortar cures.
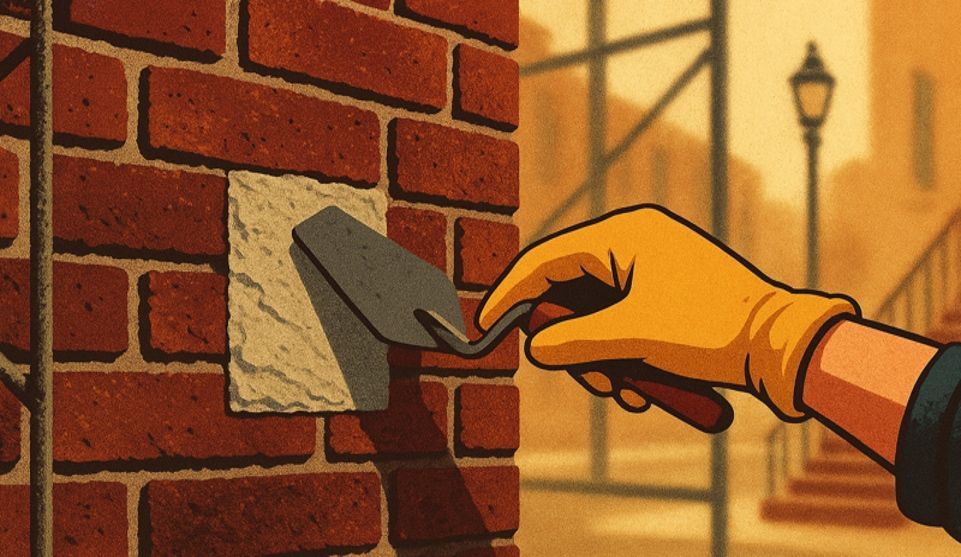
Tooling and Finish: Why Joint Profile and Texture Are Part of the Color
The tooling method compacts the mortar surface, affecting how it reflects light and therefore how it appears from viewing distance. A smooth trowel finish creates a dense, sometimes slightly burnished surface that reads darker than a rougher texture. A whisk broom finish opens the surface, exposing more sand aggregate and generally reading lighter.
Timing matters critically. Tooling too early, when the mortar is still plastic, smears the surface and may pull sand particles out of position. Tooling too late, after initial set, can burnish the surface excessively or fail to achieve proper compaction. The "thumbprint test"—when mortar holds a thumbprint without excess paste squeezing out—indicates optimal timing for most tooling operations.
Consider matching not just the joint profile but also the irregularities of hand-tooled historic work. Nineteenth-century masons didn't create perfectly uniform joints; slight variations in depth and texture are part of the building's character. Attempting to create machine-perfect uniformity may actually create a visual mismatch even with correctly colored mortar.
Curing and Lighting: Why Day-2 and Fully Cured Reads Differ
Lime mortars undergo a chemical transformation as they cure. The carbonation process—where calcium hydroxide in the lime reacts with atmospheric carbon dioxide to form calcium carbonate—takes months to complete. During this time, the mortar's color continuously lightens as the lime content becomes less translucent and the sand aggregate becomes more visible.
Day-2 color typically shows the mortar at its darkest point. Moisture in the mix darkens both the lime paste and the sand. As the mortar dries over the next week, it lightens noticeably. Further lightening occurs over the following months as carbonation progresses. Experienced contractors formulate mortars knowing that the final cured color will be significantly lighter than the freshly tooled appearance.
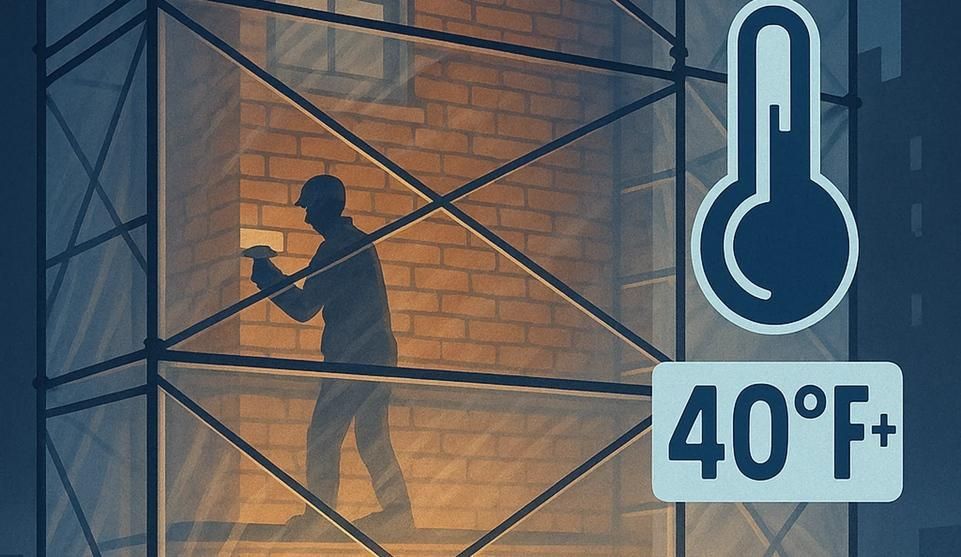
Environmental factors influence curing rates and color development. High humidity slows drying, which can temporarily darken mortar appearance. Direct sun accelerates drying but may create color variations between exposed and shaded areas of the same joint. Winter repointing introduces additional complexity as cold temperatures dramatically slow carbonation, potentially delaying full color development until the following spring.
Step-By-Step: Build, Review, and Approve Your Test Panel
Creating approval-ready test panels requires systematic documentation and review across multiple conditions. This process frontloads quality control, ensuring that mix designs, tooling techniques, and color matches meet both LPC standards and your expectations before committing to full-scale work.
Prepare 2-3 Variants With Documented Mix Tickets
Develop multiple test formulations varying sand source, lime type, or pigment loading. Label each variant clearly and maintain detailed mix tickets documenting all components by weight. Record the specific sand supplier and gradation, the hydraulic lime classification, any pigment additions with quantities, and the water-to-binder ratio used.
NYC LPC rules require material documentation and sample submissions for visible masonry work on designated landmarks, making thorough mix ticket records essential for permit compliance. Install each variant in a separate section of test panel, typically 3 to 5 square feet per formulation. This size provides enough area to show how the mortar reads collectively rather than as individual joints.
Space variants across different wall exposures if possible—one on a south elevation, one on a north elevation—to preview how they'll perform under varying weathering conditions. Photograph each variant immediately after tooling, then again at 24 hours, 7 days, 14 days, and 28 days minimum. This photographic series documents the color evolution and helps predict long-term appearance.
Review Under Different Light and Weather Conditions
Schedule review sessions under varied conditions rather than approving based on a single observation. View panels on both sunny and overcast days—direct sunlight emphasizes texture and can reveal undertones, while diffuse light shows overall color value more neutrally. Early morning and late afternoon light have warm color casts that differ from midday's neutral white light.
Wet the test panels and observe how color shifts when saturated. Rain will periodically wet the repointed façade over its lifetime, so understanding this color shift prevents surprise. Some mortars darken significantly when wet; others barely change. If the wet appearance creates unacceptable contrast with adjacent original work, reformulation may be necessary.
Bring stakeholders—building owners, board members, architects—to the site for in-person review at the appropriate 10 to 15-foot viewing distance. Photographs are useful for documentation but cannot replace direct observation for final approval decisions. Human eyes perceive color relationships differently than cameras, and viewing distance dramatically affects appearance in ways photos don't capture.
Capture Owner and Board Feedback, Then Schedule the Approval Review
Document all stakeholder comments systematically. Create a simple evaluation form asking reviewers to rate each variant's match quality, note any concerns, and select their preference. This structured feedback prevents the "design by committee" problem where vague comments lead to endless revisions.
Common concerns to explicitly address: Does the mortar appear too light or too dark? Does it look too "new" or does it read as compatible with the existing façade? Are texture and tooling appropriate? Does the joint profile match adjacent historic work? Having reviewers answer specific questions produces actionable feedback rather than general impressions.
Once internal stakeholders approve a formulation, document the selected variant comprehensively. Prepare a submission package including mix ticket details, the photographic series showing color evolution, images from various distances and lighting conditions, and written confirmation of stakeholder approval. Submit this package to the LPC following their specific requirements for mortar sample review as outlined in the LPC Permit Guidebook.
Do you match historic mortar?
Yes. Custom mortar formulation begins with composition analysis or visual inspection of existing joints to determine binder type, sand characteristics, and color components. Test panels are then prepared on the building itself, reviewed under multiple lighting conditions, and adjusted as needed. Once approved by both the property owner and the Landmarks Preservation Commission, the final recipe is documented and used for production repointing.
Common Mistakes That Trigger Re-Work and How To Avoid Them
Understanding typical failure modes helps contractors and property owners prevent expensive corrections. Most problems stem from rushing the approval process, using inappropriate materials, or allowing inconsistencies between test panels and production work.
Skipping Lab or Field Match Leads to Patchwork Facades
Starting repointing without validated test panels risks creating obvious repairs rather than seamless restoration. Even experienced masons cannot reliably match historic mortar color by eye-mixing batches on scaffolding. Batch-to-batch variation in sand moisture content, mixing time, and proportioning creates color shifts visible across the façade.
The "we'll match it as we go" approach particularly fails on large projects where multiple masons work simultaneously or where work proceeds over several months. Each mason's interpretation of the correct color differs slightly, and materials from different production runs may not match each other. By the time the problem becomes obvious—when the scaffolding comes down and the full façade is visible—correction requires removing and replacing significant quantities of work.
Pre-approved test panels establish the standard that all production batches must match. Maintaining color consistency requires weighing all materials, using sand from the same quarry run, and mixing for consistent times. Random field checks comparing production joints to the approved test panel catch drift before it becomes widespread.
Over-Hard Mixes Drive Moisture Into Brick Leading to Spalling
Using mortar stronger than the brick reverses the intended failure mode. Masonry is designed as a system where joints act as the weak, sacrificial element that erodes gradually rather than allowing the more valuable brick units to fail. When modern portland cement mortars create joints harder than the brick, moisture seeking to escape the wall concentrates stress within the brick itself.
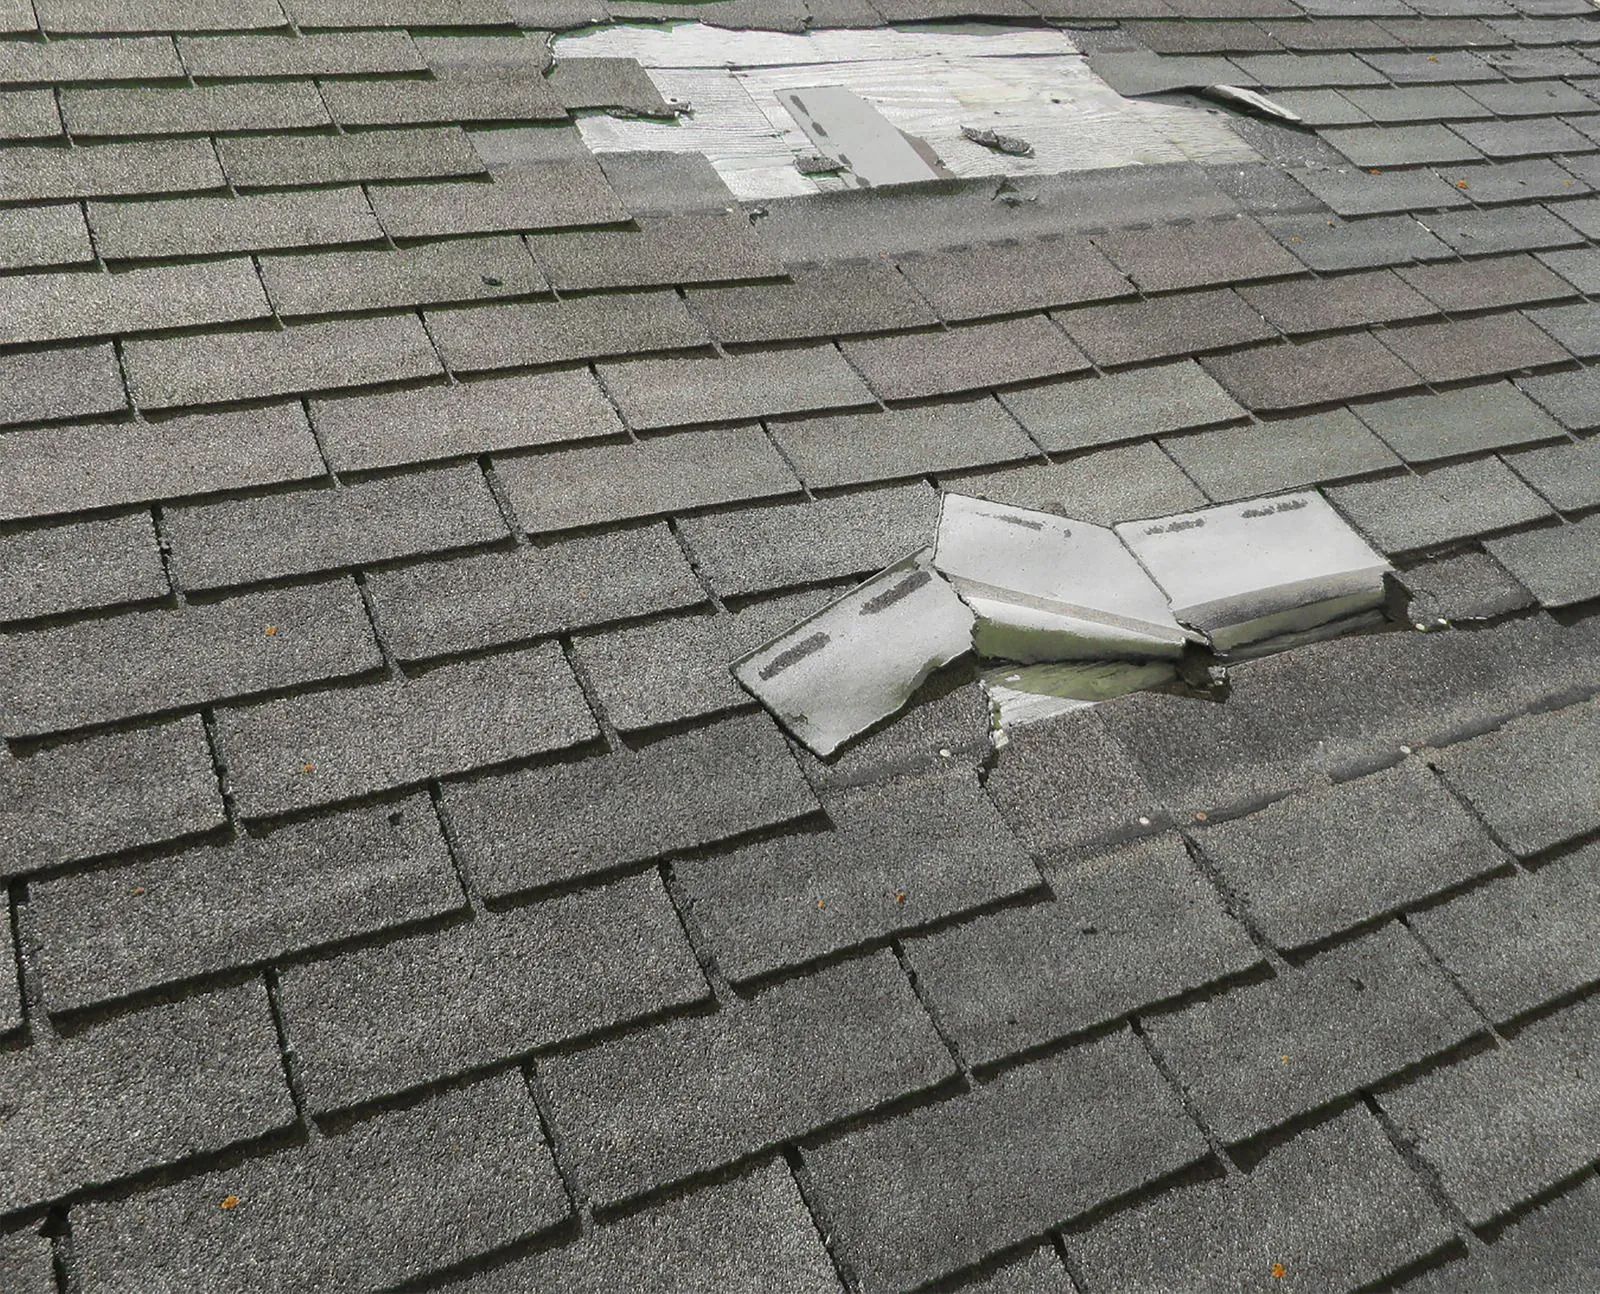
The failure pattern appears as spalling—the brick face detaching in thin layers, sometimes called "shaling" or "delamination." This damage is particularly insidious because it develops over several years, well after the repointing project is complete. By the time spalling becomes visible, dozens or hundreds of brick faces may be compromised, requiring costly brick replacement rather than simple repointing.
Proper material specification prevents this failure mode. Natural hydraulic lime mortars (NHL) remain softer and more permeable than historic brick. ASTM C270 Type O mortar provides appropriate strength for most above-grade residential repointing. Type N mortar, while suitable for new construction, often proves too strong for historic brick, particularly softer 19th-century units. Understanding different mortar types helps property owners and contractors select appropriate formulations.
Inconsistent Tooling Between Panel and Production
Achieving an approved color match during test panels means nothing if production tooling differs from the panel technique. Tooling compacts the mortar surface, controlling density and texture. Heavy compaction with a steel jointer creates a smooth, dense surface that reads darker. Light pressure with a wooden tool or brush finish leaves a rougher, more open texture that reads lighter.
Different masons bring different tooling habits. One may tool joints while mortar is still quite plastic; another waits until initial set begins. These timing differences create texture variations that translate to color differences at viewing distance. Establishing standard operating procedures—specifying tool type, tooling pressure, and timing relative to initial set—helps maintain consistency.
Periodic quality checks comparing production joints to the approved test panel verify consistency. Take photos of production work from the same distance and under similar lighting as test panel approval photos. If drift becomes apparent, adjust mixing or tooling procedures before the problem propagates across large areas. Prevention is far more economical than correction after the fact. For more context on why shortcuts undermine restoration quality, see Why 'Quick-Fix' Pointing Fails.
Cost, Schedule, and Neighbor-Friendly Planning in NYC
Mortar matching and test panel development adds time and cost to repointing projects, but this investment prevents far more expensive rework while ensuring LPC compliance. Understanding how the approval process affects budgets and timelines helps property owners plan realistic schedules.
How Test Panels Affect Bids and Timeline
Budget 3 to 6 weeks for test panel development and approval before full-scale repointing begins. This includes time for initial material selection, panel installation, curing observation, stakeholder review, and LPC submission and response. Rush projects attempting to compress this timeline risk approval issues that ultimately cause greater delays.
Cost implications vary based on project scope and complexity. Simple repointing projects might add $1,500 to $3,000 for test panel development—a modest increment on projects typically ranging from $30,000 to $100,000 or more. Buildings with highly complex historic mortars or strict LPC oversight may require additional iterations and testing, increasing both time and cost.
The investment prevents rework expenses that dwarf initial test panel costs. Removing and replacing rejected mortar—after scaffolding, materials, and labor have been committed—easily costs 150 to 200 percent of the original repointing price. Test panels also help contractors estimate real production rates and material quantities with greater accuracy, reducing the contingency allowances that inflate bids. Insurance typically doesn't cover aesthetic rejection or LPC compliance failures, making prevention the only economically rational approach.
Detailed brick pointing projects in Brooklyn, Manhattan, and other NYC boroughs benefit from experienced masonry contractors in Brooklyn who integrate test panel development into standard project workflows, minimizing schedule impacts while ensuring regulatory compliance.
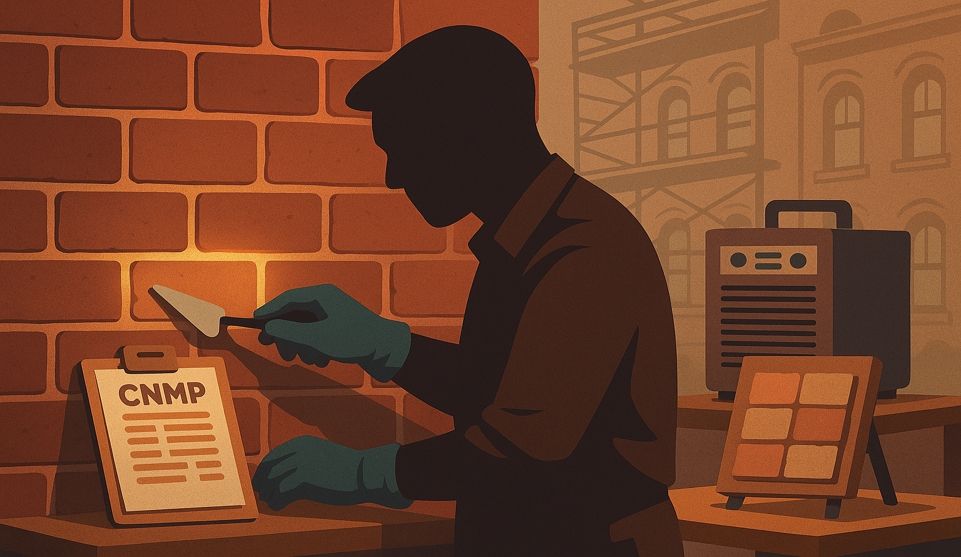
Dust, Noise Windows, CNMP Filings, and Access Planning
Repointing generates significant dust from joint grinding and produces noise from power tools. NYC Department of Environmental Protection regulations require Construction Noise Mitigation Plans (CNMP) for projects near residential buildings. These filings specify work hours, noise reduction measures, and neighbor notification procedures.
Standard construction hours run 7 AM to 6 PM on weekdays. Work outside these hours requires special permits and typically proves impractical for residential projects. Plan production schedules assuming 8-hour workdays with potential weather delays—NYC's climate prevents repointing during freezing conditions and heavy rain, effectively limiting the working season.
Scaffolding occupies sidewalk space requiring NYC DOT permits and sidewalk shed installation in most cases. Coordinate with neighbors early regarding access impacts, parking restrictions during material deliveries, and dust control measures. Installing sidewalk protection and posting clear signage about project duration and contact information prevents most neighbor complaints before they arise.
Water for mixing and cleanup requires on-site access or tank truck deliveries. Buildings without operational hose connections need temporary water service arrangements. What to expect during brick repointing in NYC provides comprehensive guidance on managing these logistical challenges while maintaining good relationships with neighbors and complying with city regulations.
Resources
Additional guides addressing related aspects of historic masonry restoration:
- What 'Compatible Mortar' Really Means — Detailed explanation of compatibility principles governing material selection for preservation repointing
- Why 'Quick-Fix' Pointing Fails — Analysis of common shortcuts that compromise both aesthetics and building performance
- The Definitive Homeowner's Guide to Brick Pointing — Comprehensive overview of the complete repointing process from planning through completion
Related façade work often identified during repointing inspection includes window lintel replacement and parapet wall reconstructionand repair, addressing water infiltration issues that accelerate masonry deterioration.
LPC Test-Panel & Mortar-Match Acceptance Checklist
Use this checklist to ensure your test panel development process covers all requirements for approval-ready mortar matching:
- Composition Documentation — Record complete mix tickets specifying binder type and source, sand gradation and supplier, any pigment additions with quantities, and water-to-binder ratios. This documentation enables consistent reproduction during production repointing.
- Multiple On-Wall Variants — Install at least two formulation variants (three preferred) on representative façade areas totaling 3 to 5 square feet per variant. On-wall testing captures the actual substrate interaction and weathering exposure that lab samples cannot replicate.
- Multi-Condition Review Protocol — Photograph and assess panels at 10 to 15 feet under sunny, overcast, and wet conditions at 24 hours, 7 days, 14 days, and 28 days minimum. This systematic observation documents color evolution and prevents approval based on temporary appearance.
- Joint Tooling Consistency — Match both joint profile depth and surface finish to adjacent historic work, using the same tool type and timing protocol that will be employed during production. Tooling affects both color and texture at viewing distance.
- Stakeholder Feedback Documentation — Capture written comments from building owners, board members, and architects noting specific concerns and variant preferences. Structured feedback prevents scope creep and endless revisions.
- LPC Submission Package — Prepare comprehensive documentation including mix tickets, photographic series showing color evolution, images from various distances and lighting conditions, and stakeholder approval confirmations following LPC-specific submission requirements.
- Production Standard Archive — Preserve approved test panel location and maintain reference photos for quality control during production repointing. Random production checks verify that field work matches the approved standard throughout the project.
From Panel to Seamless Restoration
NYC mortar matching and test panels transform historic repointing from a construction task into a preservation process. The upfront investment in composition analysis, on-wall testing, and systematic review prevents the patchwork appearance that marks amateur restoration work, while protecting brick from moisture-related deterioration caused by incompatible materials.
Property owners who master this approval-ready sequencing gain confidence in their restoration decisions and build the knowledge base for long-term façade stewardship. Today's attention to mortar compatibility and LPC approval procedures establishes a documented maintenance history that protects both your building's character and your property's value through successive ownership generations.
About the City Suburb Insights Team
Every piece is sourced from strategy, then rewritten, fact-checked, and enriched with first-hand insights by our Insights Team. City Suburb specializes in historic masonry restoration, repointing, and façade preservation throughout New York City's landmark districts.