5 Signs Your Brick Pointing Needs Immediate Attention (Before Water Damage Starts)
📌 Key Takeaways
Deteriorating mortar joints threaten your masonry's structural integrity long before interior damage becomes visible.
- Recessed Joints Signal Immediate Risk: Mortar eroded deeper than 1/4 inch compromises water resistance and requires professional assessment before the next storm.
- Efflorescence Reveals Hidden Moisture Pathways: White, chalky deposits that return after rain indicate water is actively traveling through your wall system.
- Stair-Step Cracks Indicate Structural Movement: Cracks following mortar joints in a stepped pattern suggest foundation settlement or thermal stress requiring investigation beyond simple repointing.
- Spalling Brick Follows Wrong Mortar Choice: Hard Portland cement on soft historic brick causes accelerated freeze-thaw damage because the brick fails when the mortar won't flex.
- Interior Moisture Means Exterior Failure Already Occurred: Damp plaster or musty smells indicate months of water infiltration through compromised joints before reaching your living space.
Early recognition prevents minor mortar repairs from escalating into costly brick replacement.
Brooklyn, Bronx, and Long Island homeowners with pre-war masonry will gain critical warning signs here, preparing them for the professional assessment guidance that follows.
A Quick Reality Check: Brick Pointing Is Your Wall's First Line of Defense
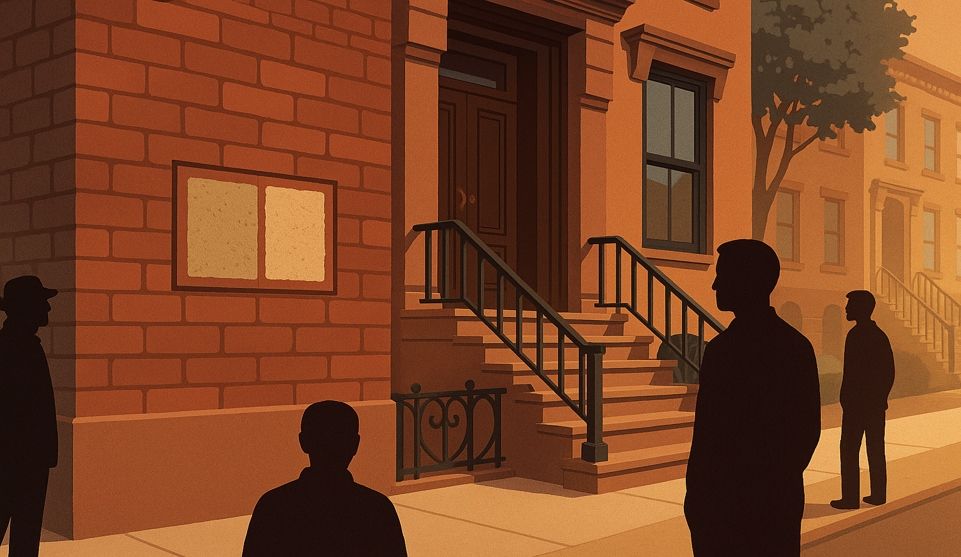
A small gap in the mortar. Probably nothing. But that gap wasn't there last spring.
You walk past it every day—the exterior wall of your Brooklyn rowhouse, your Bronx two-family, your Long Island colonial. The bricks look solid. But the mortar between them? That's different. It's receding. Crumbling. Leaving shadows where there should be smooth joints.
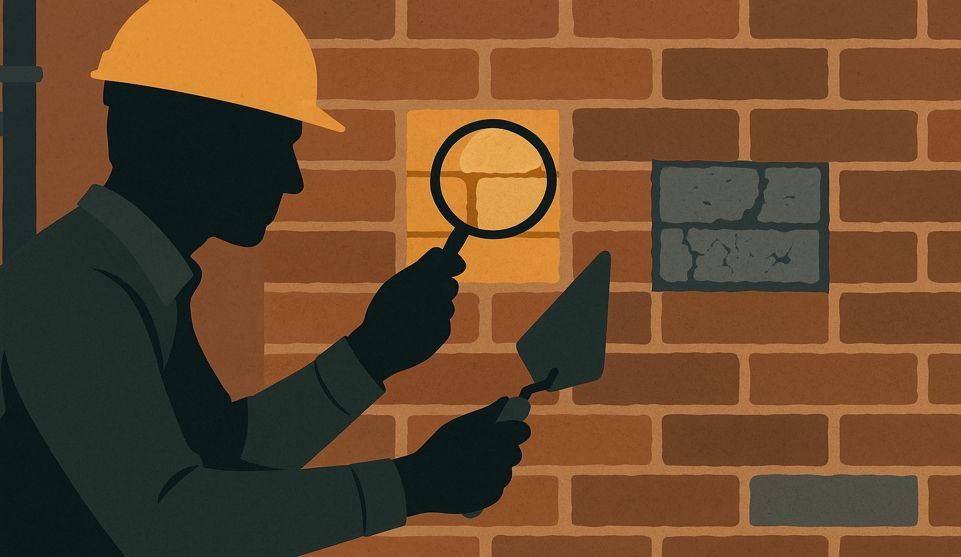
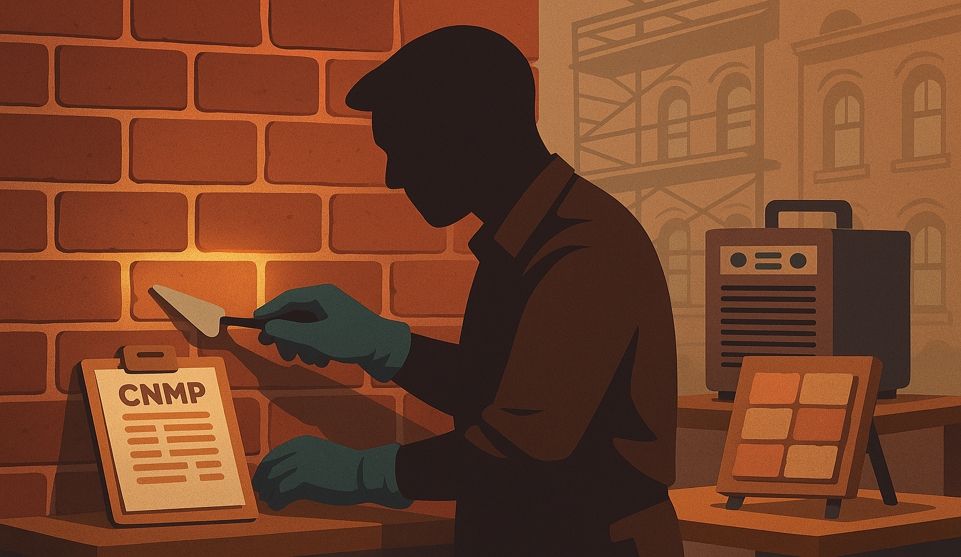
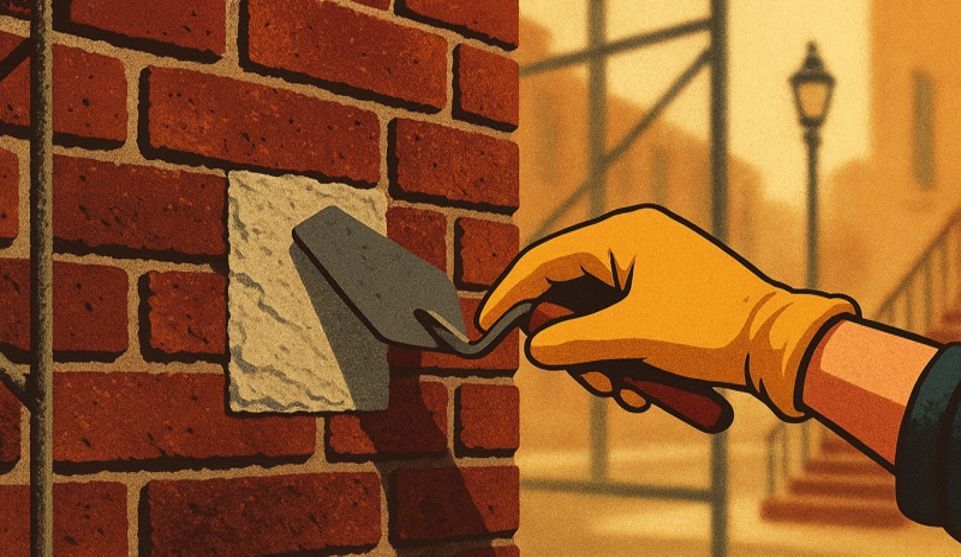
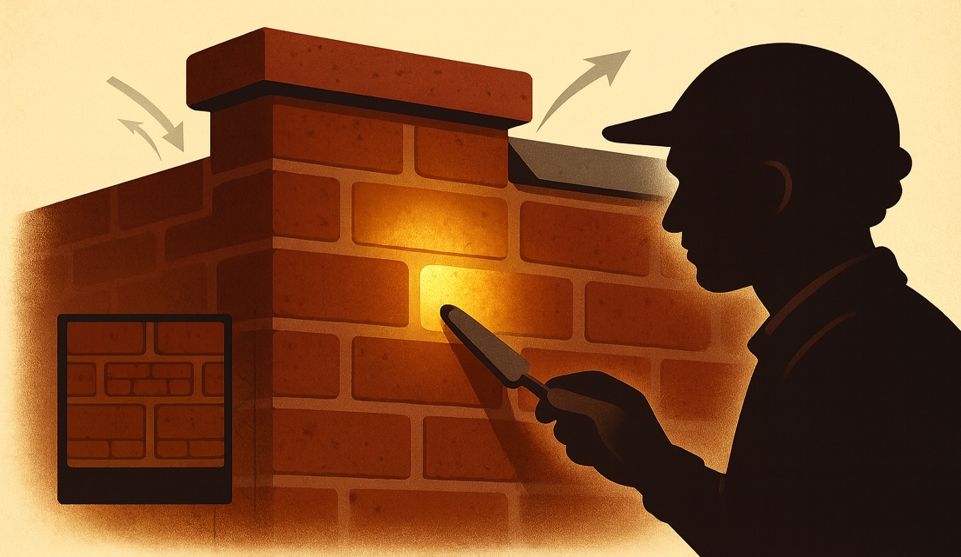
Here's what most homeowners don't realize: Brick Pointing is the specialized process of removing deteriorated mortar from masonry joints and replacing it with new, compatible mortar to restore the wall's structural and weather-resistant integrity. It's like re-grouting the tiles in your bathroom, but for the structural walls of your house—sealing the gaps to keep water out.
Your bricks are strong. But mortar is designed to fail first. It's supposed to be the sacrificial layer, absorbing moisture and thermal stress so the brick doesn't have to. When those joints start failing, water doesn't need a crack in the brick to get inside. It uses the gaps you already have.
And here's the part that catches people off guard: stronger isn't always better. Modern cement sounds tough, reliable. But when it's used on soft, historic brick, that "strength" becomes destructive. The brick starts spalling—faces popping off, corners crumbling—because the mortar won't budge and something has to give.
This guide walks you through five visible warning signs that your brick pointing has moved from "normal aging" into "call for an inspection" territory. Each sign includes what you're actually seeing, why it matters before the next big rain, and what a responsible contractor will look for during an assessment.
Why Mortar Fails First (And Why That's by Design)
Lime-based mortar—the kind used in most pre-war masonry—is softer than the brick. It's porous. It breathes. When water gets in, it evaporates through the mortar instead of getting trapped behind the brick face. When temperatures swing, the mortar flexes instead of transferring stress to the brick.
That's the point. The mortar protects the brick by taking the hit.
But protection has a lifespan. Decades of freeze-thaw cycles, wind-driven rain, and thermal expansion eventually turn those joints into crumbling sand. And once the mortar's gone, your wall's first line of defense is gone with it.
What 'Waiting' Usually Turns Into After the Next Big Rain
Water finds the path of least resistance. If your joints are open or recessed, rainwater flows straight into the wall cavity. It saturates the brick. It sits behind the facade. And when winter hits, that trapped moisture freezes, expands, and cracks things from the inside out.
By the time you see damp plaster or bubbling paint indoors, the water's been traveling for weeks—maybe months. The exterior damage you're looking at today is tomorrow's interior repair problem.
That's why recognition matters now. Not because every gap is an emergency, but because the signs you can see from the sidewalk tell you what's happening inside the wall before it shows up in your living room.
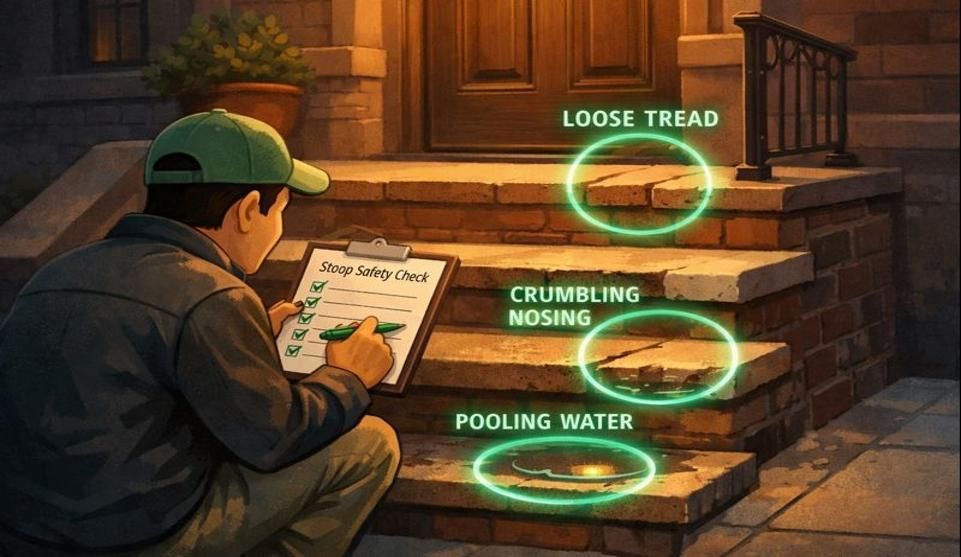
A 60-Second Walk-Around Checklist (Recognition Only)
Before you call for an inspection, take a quick visual survey:
- Scan the most weather-exposed walls first: corners, parapets, chimney areas, and upper courses where wind-driven rain hits hardest
- Look for repeating patterns: same staining line, same crack direction, same "sand" spot that appears after rain
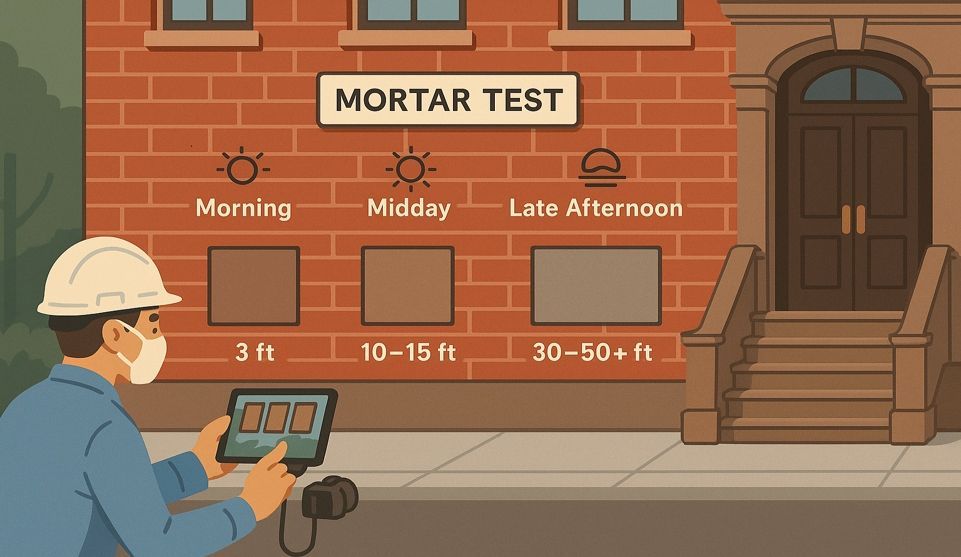
- Photograph the same areas now and again after the next storm: patterns that worsen with weather are patterns that need attention
No scraping, digging, or aggressive prying is necessary. A light touch is fine, but do not use tools to gouge the joints. The goal is to recognize risk early and schedule an assessment before minor deterioration becomes major damage.
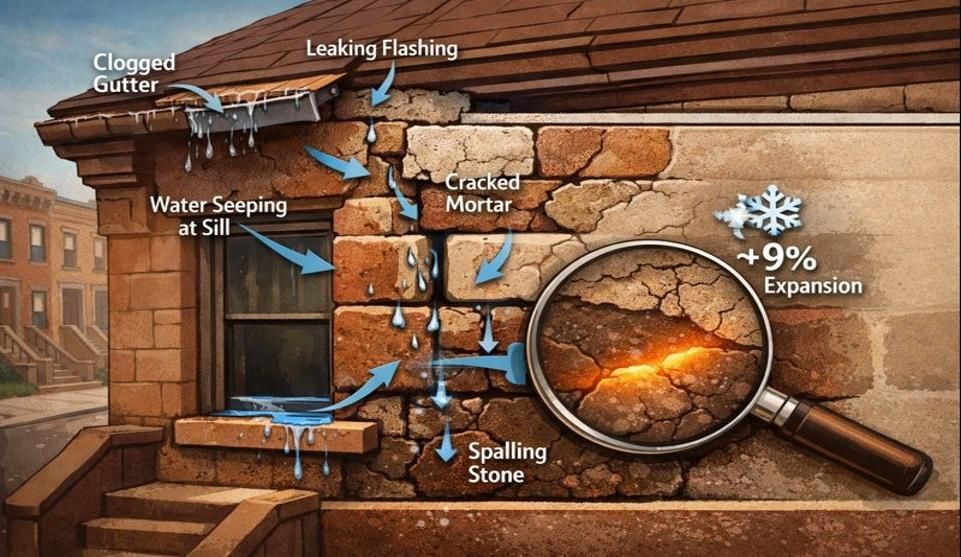
Sign #1: Mortar Is Missing, Recessed, or Crumbling Deeper Than 1/4 Inch

What It Looks Like (And Why It Matters)
Stand close to your wall. Look at the horizontal and vertical joints between the bricks. Healthy mortar sits flush with the brick face, creating a smooth, continuous seal.
But if you see shadowy, recessed channels—or worse, gaps where the mortar's completely missing—that's your first warning sign.
Sometimes it's obvious: chunks have fallen out, leaving open voids. Other times, it's subtler. The joint looks intact from a distance, but up close, it's crumbly. You can brush it away with your finger, and more comes off behind it. You might notice a fine, sandy grit collecting on your stoop or window ledges after a rainstorm.
If you see sand on your stoop, your wall is dissolving.
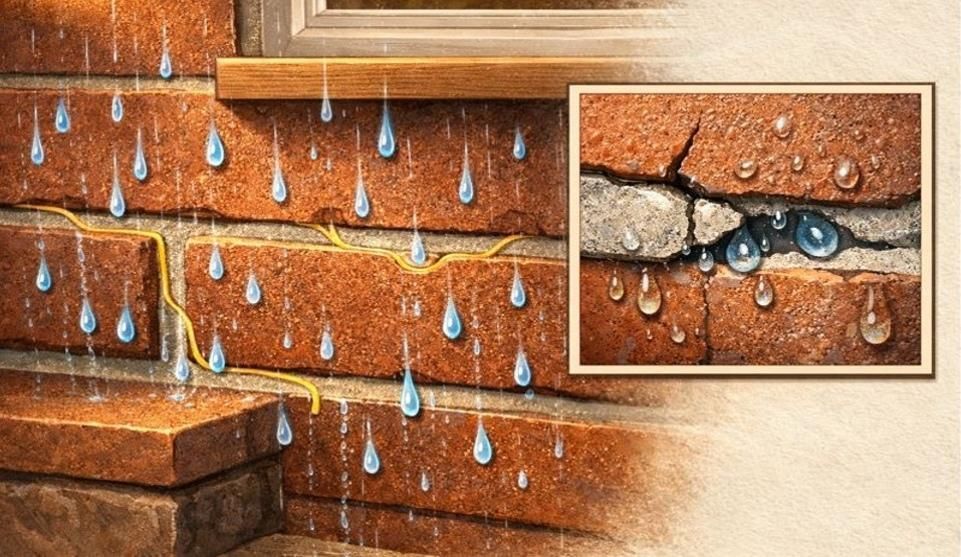
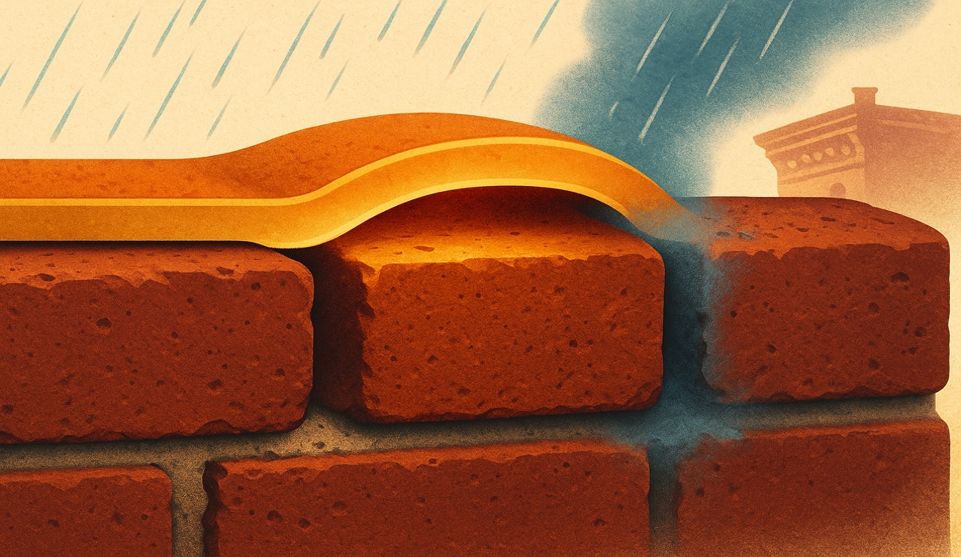
Here's why depth matters: According to preservation standards outlined by the National Park Service, repointing is necessary whenever mortar is eroding, crumbling, or cracked. A general industry rule of thumb is that if mortar is recessed more than 1/4 inch, the joint profile is compromised.
At this stage, the joint is no longer effectively shedding water. Instead, the recession creates a ledge that catches rain and snow, allowing moisture to seep into the masonry rather than washing off the surface.
The Brick Industry Association emphasizes that water penetration resistance in masonry walls depends heavily on complete joint filling and proper finishing. Open joints are an open invitation.
The Simple 'Key Test' Homeowners Can Do (No Tools, No Scraping)
You don't need to poke or prod. Here's a safe, non-invasive check: Take a house key and hold it horizontally against a suspect joint. If the joint is deep enough to catch the key's edge—meaning the key sits inside the recess—it's time to schedule an inspection.
This isn't about diagnosing the full scope. It's about recognizing when the condition has crossed from "keep an eye on it" into "get a professional assessment before the next storm."
What a Professional Inspection Focuses On
A qualified brick pointing contractor will do more than look. They'll measure joint depth and width with a gauge. They'll use a probe to test adhesion—seeing how easily the remaining mortar comes away. They'll map which elevations are most exposed to wind-driven rain and check the overall drainage system (gutters, downspouts, flashing) to identify where water's hitting the wall hardest.
That's the assessment you need. Not a guess from the sidewalk, but a methodical review of where the wall's weakest and what's causing the accelerated deterioration.
Need a professional assessment? Get Your FREE Photo Estimate to start the conversation, or explore our Project Gallery to see the kind of detailed work that protects historic masonry.
Sign #2: White Chalky Stains (Efflorescence) Keep Coming Back
Efflorescence vs. 'Normal Dirt'
You've probably seen it: a white, powdery bloom on the brick face, usually near the base of the wall or around window openings. You wipe it off. A week later, after a rain, it's back.
That's efflorescence. And it's not dirt.
Efflorescence forms when water moves through masonry, dissolving salts along the way. As the water evaporates at the brick surface, it leaves those salts behind as a white, chalky deposit. The bloom itself isn't the problem—it's the evidence of the problem.
Normal dirt is grayish, oily, stuck to the surface. Efflorescence is dry, powdery, almost crystalline. If you can brush it away with your hand and it comes back after the next rain, you're looking at a moisture pathway.
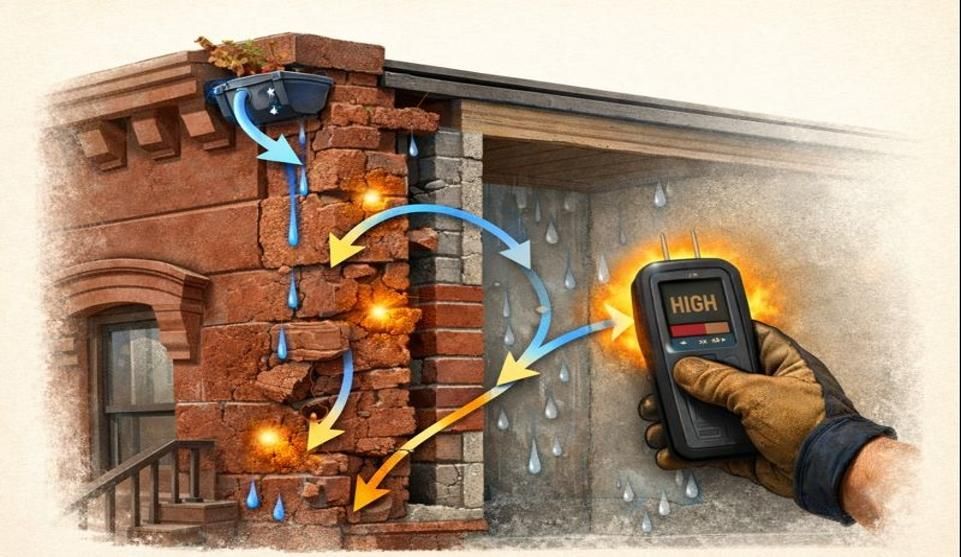
Why It's a Moisture Signal Even If You Don't See an Indoor Leak Yet
Efflorescence means water is traveling through your wall system. It's getting in somewhere—through failed joints, around flashing, behind a deteriorated sill—and it's migrating outward as it evaporates.
The fact that you don't see a leak indoors yet doesn't mean the moisture isn't there. Water can move laterally through a cavity wall, evaporating through the exterior face long before it saturates enough to show up on your plaster. But over time, that moisture cycle degrades mortar, promotes freeze-thaw damage, and eventually finds its way to the interior.
Common Water Sources to Check First (Gutters, Downspouts, Flashing)
Before you assume the mortar joints are the only culprit, check the obvious water management systems:
- Gutters and downspouts: Are they clogged, overflowing, or discharging too close to the foundation? Water that's supposed to go to the street shouldn't be pouring down your wall.
- Flashing: The metal strips around windows, doors, and chimneys are meant to redirect water. If they're missing, rusted through, or improperly installed, water goes straight into the wall.
- Grade and drainage: Is the ground (or pavement) sloping toward the foundation? In rowhouses, check that concrete backyards or sidewalks pitch away from the wall.
A professional inspection will identify whether efflorescence is coming from failed joints, compromised flashing, or a combination of both. The pattern of staining often tells the story—if it's concentrated below a window, the issue's likely above. If it's uniform across a large area, the joints themselves are probably the weak point.
Sign #3: Stair-Step Cracks Along the Mortar Joints
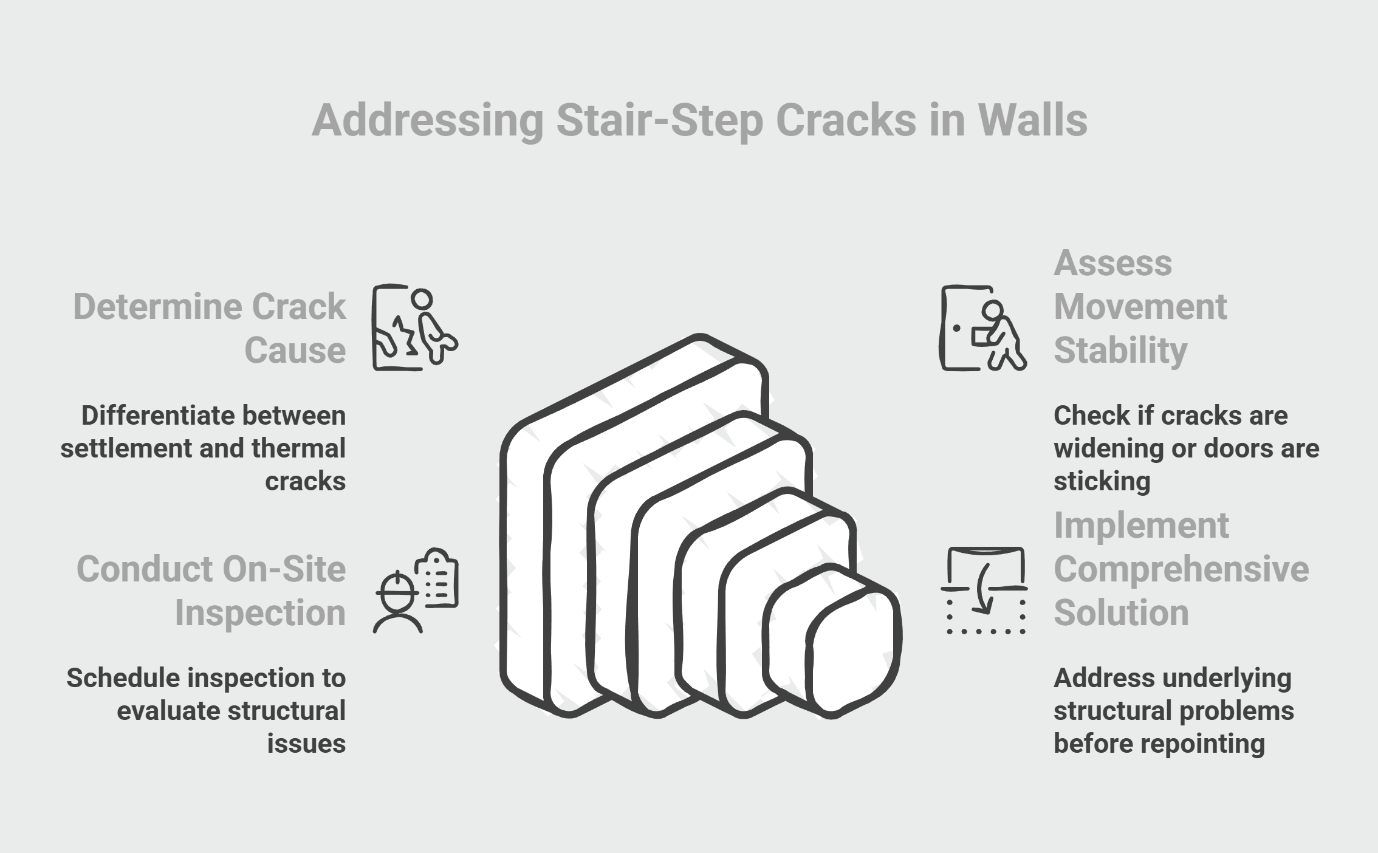
When a Crack Is More Than Cosmetic
Not all cracks are created equal. A hairline crack running through a single brick? Usually cosmetic, caused by minor settling or an isolated impact.
But a stepped crack—one that follows the mortar joints in a stair-step pattern, moving horizontally along one course and then vertically up the next—signals something more significant.
This pattern indicates movement. The wall is responding to stress, whether from foundation settlement, thermal expansion, or structural loading. The mortar joints are the natural weak points, so that's where the crack expresses itself.
Settlement vs. Thermal Movement: What the Pattern Can Tell You
Settlement cracks tend to be wider at the top and narrower as they move down, reflecting how the foundation has shifted. They often appear near corners or openings (doors, windows) where the wall's structural continuity is interrupted.
Thermal movement cracks are more uniform in width and often appear on south- or west-facing walls that experience the most dramatic temperature swings. These walls expand in the heat and contract in the cold, and over decades, that cyclical stress can fracture mortar joints.
Why Pointing Alone May Not Be the Whole Fix
Here's the crucial distinction: repointing the joints will seal the crack and restore the weather barrier. But if the underlying movement hasn't stabilized—if the foundation's still settling or the wall's still flexing—the crack may reappear.
That's why a step-crack pattern deserves more than a quick patch. Photograph it. Note whether it's getting wider. Check if doors or windows nearby are sticking or showing gaps in their frames. These are signs that the movement is ongoing.
A responsible contractor won't just repoint over a step-crack without investigating the cause. They'll assess whether structural reinforcement, foundation repair, or drainage corrections need to happen first. Pointing is the final step, not the first one.
If you're seeing this pattern, don't wait. Document it with dated photos and schedule an on-site inspection to determine whether the movement has stabilized or whether it requires a more comprehensive solution before repointing work can proceed.
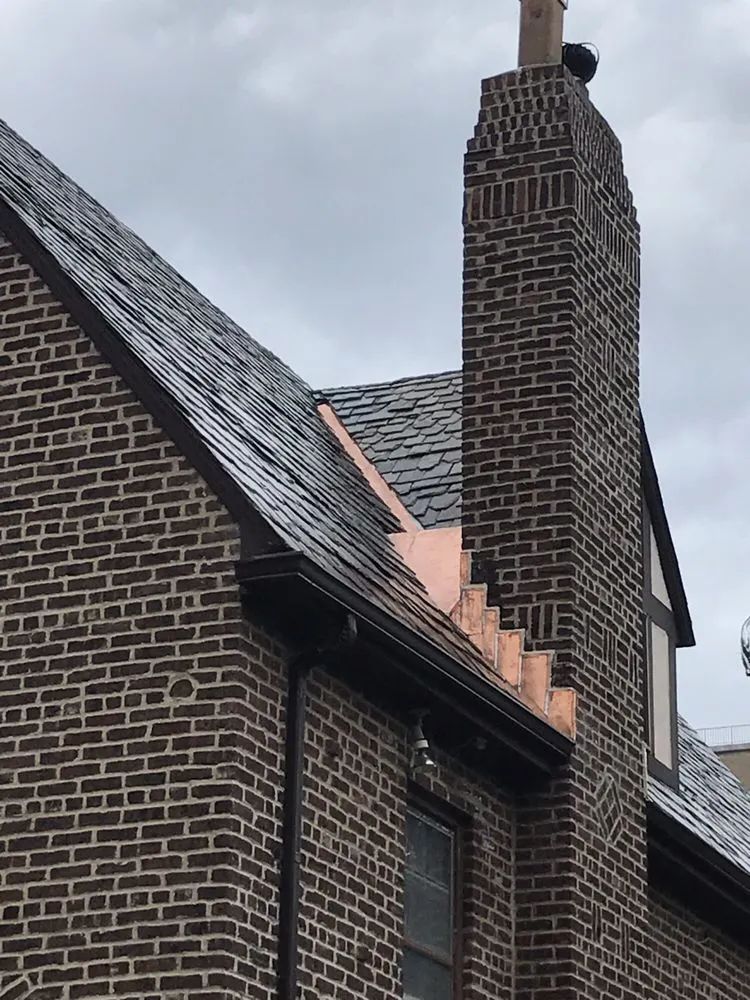
Sign #4: Bricks Are Spalling, Faces Are Popping, or You're Finding 'Brick
Sand' Below
Freeze-Thaw Damage: How One Winter Can Accelerate Deterioration
Water gets into the brick—either through open mortar joints or because the brick itself is porous and saturated. When temperatures drop below freezing, that water expands. The expansion creates internal pressure. And if there's nowhere for that pressure to go, the brick face pops off.
This is called spalling. You'll see it as flaking, where thin layers of the brick face peel away like old paint. Or as deeper chunks missing from corners and edges. Sometimes the entire face of a brick detaches, leaving a crumbling, eroded surface behind.
In the Northeast, freeze-thaw cycles are relentless. One hard winter—especially after a wet fall—can take a wall from "minor deterioration" to "urgent repair" if the water's already inside the masonry.
And here's what makes this particularly insidious: once a few bricks start spalling, the damaged surface becomes more porous. It absorbs even more water. The cycle accelerates.
The 'Wrong Mortar' Trap: When a Hard Patch Hurts Soft Brick
Here's where good intentions go wrong. A homeowner sees failing mortar, calls someone to "patch it up," and that person uses modern Portland cement because it's strong, fast, and readily available.
The problem? Historic brick—especially the soft, porous brick used in pre-war construction—needs mortar that's softer than the brick itself. That's the whole point of a sacrificial joint. When freeze-thaw pressure builds, the mortar should fail before the brick does.
But when you trap soft brick between hard cement joints, the brick has nowhere to go. The cement won't budge. So the brick fails instead. Faces pop off. Corners crumble. You end up with accelerated spalling and a repair bill that now includes brick replacement, not just repointing.
This is one of the common brick pointing mistakes that harm historic homes. Compatibility matters. Lime-based mortar allows the wall to breathe, flex, and shed moisture. Cement locks it in.
Why Early Repointing Can Prevent Brick Replacement
If you catch joint failure before significant water intrusion happens, repointing alone can restore the wall. You're replacing the deteriorated mortar with a compatible mix, resealing the joints, and stopping water before it saturates the brick.
But if you wait—if you let water sit behind the facade through multiple freeze-thaw seasons—the damage moves from the joints to the brick itself. At that point, you're not just repointing. You're removing and replacing individual bricks, which is more invasive, more expensive, and harder to match historically.
The grit you're finding on your stoop isn't just annoying. It's your wall telling you it's eroding. Treat it as time-sensitive.
Sign #5: You're Seeing Moisture Inside Near That Wall (Damp Plaster, Musty Smell, Paint Bubbling)
Why Interior Symptoms Often Lag Behind Exterior Damage
Water doesn't announce itself immediately. It enters through failed joints on the outside. It migrates through the wall cavity—sometimes traveling laterally along shelf angles or lintels. It saturates the interior wythe of brick, then the plaster substrate. Only after all of that does it finally show up as a damp patch, bubbling paint, or that unmistakable musty smell.
By the time you see interior damage, the exterior failure has often been happening for months. Maybe longer.
This lag is dangerous because it creates a false sense of security. Homeowners see failing mortar outside and think, "Well, there's no leak, so it's not urgent." But the leak is already there. It just hasn't traveled far enough yet to become visible indoors.
How Leaks Travel: What 'Mystery Moisture' Can Really Mean
Masonry walls are complex systems. While some mid-century homes feature 'cavity walls' with an internal air gap, most pre-war construction in Brooklyn, the Bronx, and Long Island relies on solid (mass) masonry. These walls consist of multiple layers (wythes) of brick bonded directly together without an empty space between them.
In these solid walls, water doesn't just drip down an open cavity; it saturates the masonry itself. If the exterior joints fail, the brick acts like a sponge, soaking up moisture until it travels all the way through to the plaster and lath. This means the damp spot you see isn't just a leak—it’s evidence that the entire wall thickness at that location has reached its saturation point.
When to Call Immediately (And What to Document for the Inspection)
If you're seeing interior moisture, this has moved past "schedule an inspection when convenient" into "call now" territory.
Here's what to document before the contractor arrives:
- Date-stamped photos of the damp areas, both inside and out. Note when the moisture first appeared.
- Weather correlation: Did the dampness show up after a specific storm? After a stretch of heavy rain?
- Location mapping: Which room is affected? Which exterior wall does it correspond to? Is it near a window, corner, or parapet?
This information helps the contractor trace the water's path and identify the entry point. Sometimes the exterior damage is obvious. Other
times, it's subtle—a small section of recessed joints, a gap around a window frame, a compromised chimney flashing—that wouldn't have seemed urgent on its own but is now clearly feeding water into the wall.
Interior moisture means the exterior defense has already failed. The next step isn't "wait and see." It's an immediate, on-site assessment to locate the breach and plan the repair before the damage spreads further.
Seeing moisture indoors? Don't wait for the next storm to make it worse. Schedule Your Free On-Site Inspection or call us now at (718) 849-8999 to speak with our team about what's happening and what comes next.
What to Do Next: Protect the Legacy Before Water Damage Spreads
You've walked the perimeter. You've noticed the signs. Now comes the decision: wait and hope it doesn't get worse, or act before the next freeze-thaw cycle turns "repair" into "rebuild."
If you're reading this, you already know the answer. The question isn't whether to address failing mortar joints—it's how to do it responsibly, with the right contractor, using the right materials, and without getting buried in jargon or upselling.
What a Responsible Contractor Will Do (And What to Avoid)
A professional brick pointing inspection starts with diagnosis, not demolition. Here's what the process should look like:
They'll assess the entire drainage system. Gutters, downspouts, flashing, grading—everything that controls where water goes when it hits your building. Failed joints are often a symptom, not the root cause. If water's pouring over a clogged gutter and straight down your wall, repointing won't solve the problem. The water will just find a new way in.
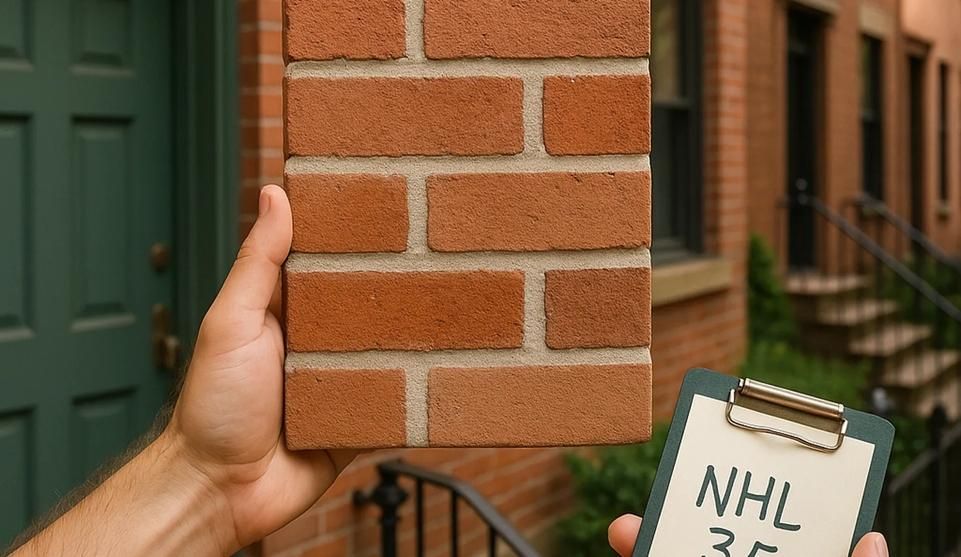
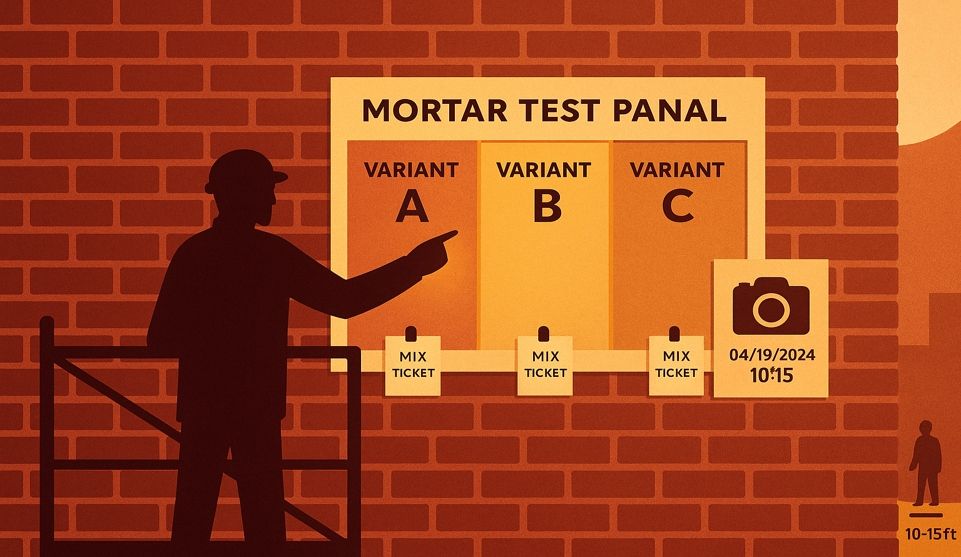
They'll test mortar compatibility. On historic brick, this means determining whether the original mortar was lime-based (it almost certainly was) and whether the existing joints contain any Portland cement from past "quick fix" repairs. Compatibility isn't negotiable. A proper repointing spec uses a softer, lime-rich mix that allows the wall to breathe and flex. Anything harder than the brick itself will cause more damage than it prevents.
They'll explain the scope in plain language. You shouldn't need a masonry degree to understand what's being proposed. A good contractor will walk you through which elevations need work, why certain areas are prioritized, and what the expected lifespan of the repair will be given your building's exposure and condition.
What to avoid:
- "Quick pointing" or spot-patching. Smearing mortar over a failing joint without removing the deteriorated material first doesn't fix anything. It just hides the problem for a season or two.
- Cement-heavy mixes. If the proposal mentions "strong," "fast-curing," or "waterproof" mortar for historic brick, that's a red flag. You want breathable, sacrificial mortar—not a concrete shell.
- Paint as a solution. Painting over spalling brick or failed joints traps moisture and accelerates deterioration. It's cosmetic, not structural.
How to Compare Proposals Without Getting Lost in Jargon
You'll likely get multiple estimates. Here's what to compare:
- Mortar type and mix design: Does the proposal specify lime content? Does it mention compatibility with historic brick?
- Joint preparation depth: Proper repointing requires removing old mortar to a depth of at least 2.5 times the joint width. Anything less won't provide adequate adhesion or weather resistance.
- Staging and access: How will they reach the work area? Are scaffolding, dust control, and neighbor considerations addressed?
- Timeline and curing: Lime mortar needs time to cure properly—it can't be rushed. Be wary of contractors who promise completion in a day or two for a full elevation.
If a proposal sounds too good to be true—if the price is dramatically lower or the timeline suspiciously fast—it probably is. Quality repointing is methodical, material-specific, and time-intensive. That's what makes it last.
For more guidance on what separates a responsible approach from a risky one, see our article on what to expect during brick repointing in NYC, which covers the practical realities of access, dust, and neighbor coordination.
Next Steps: Photo Estimate, Then On-Site Inspection
You don't need to commit to a full scope before you understand what you're dealing with. Here's a practical, two-step path:
Get Your FREE Photo Estimate. Send us clear photos of the areas you're concerned about—the recessed joints, the efflorescence, the spalling brick, whatever you're seeing. We'll provide an initial assessment and a ballpark scope based on the visible condition. No site visit required yet. No pressure. Just a starting point for the conversation.
Schedule Your Free On-Site Inspection. Once you have a sense of the scope, we'll come to the property, measure joint depths, assess drainage, test mortar adhesion, and map the elevations that need attention. This is where you get the full picture—not just what's failing, but why it's failing and what needs to happen to protect the building long-term.
From there, you'll have a detailed proposal, a clear timeline, and the information you need to make a confident decision. No shortcuts. No upselling. Just honest guidance on protecting a home that's meant to last for generations.
Ready to take the first step? Get Your FREE Photo Estimate, explore our Gallery to see completed work, or call (718) 849-8999 to speak with our team. Whether you're in Brooklyn, the Bronx, or Long Island, we're here to help you protect your legacy before water damage spreads.
For answers to other common questions, visit our FAQs page.
Frequently Asked Questions
Is crumbling mortar an emergency?
Not always, but it's time-sensitive. If the deterioration is isolated and shallow, you have some time to plan. But if joints are missing, deeply recessed, or you're seeing interior moisture, that moves into "call soon" territory. The next freeze-thaw cycle or major storm can turn a manageable repair into a much larger problem.
How do I know if I need repointing or just a small repair?
If the failing mortar is limited to a small, localized area (a few feet), a targeted repair may be sufficient. But if you're seeing deterioration across an entire elevation or multiple walls, full repointing is the responsible approach. A contractor can assess the extent during an on-site inspection and recommend the most cost-effective scope.
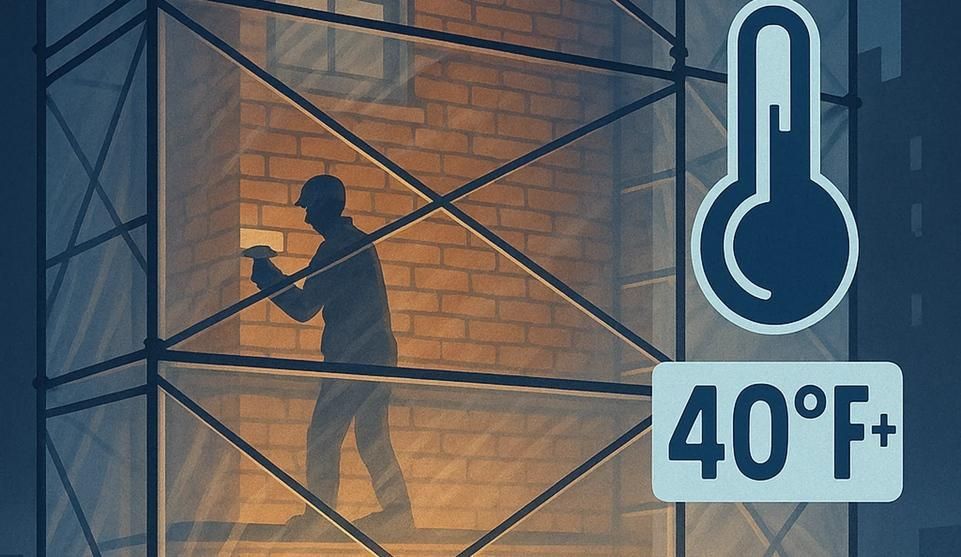
Can I repoint in winter in NYC?
Work planning depends on temperature and curing conditions. Lime mortar needs above-freezing temperatures to cure properly—ideally above 40°F, and certainly not below 32°F. If temperatures drop during the curing period, the mortar won't bond correctly and may fail prematurely. Because winter conditions vary, reputable contractors typically discuss timing, protection methods, and feasibility rather than forcing a one-size approach. Most recommend scheduling repointing work for spring through fall when conditions are stable.
What's the difference between repointing and tuckpointing?
Repointing is the process of removing deteriorated mortar and replacing it with new, compatible mortar to restore the joint's structural and weather-resistant function. Tuckpointing is a decorative technique where two contrasting colors of mortar are used to create the illusion of very fine joints—often seen in historic masonry where the visual effect was as important as the structure. For most residential brick repair, repointing is what you need.
Will repointing stop my leak?
If the leak is caused by water entering through failed mortar joints, yes—repointing will restore the weather barrier and stop the intrusion. But if the leak is coming from compromised flashing, a failed roof membrane, or poor drainage, repointing alone won't fix it. A proper assessment identifies all the water entry points so the repair addresses the actual cause, not just the symptom.
How long does good repointing last?
When done correctly with compatible lime mortar, repointing can last 50 to 100 years, depending on exposure, climate, and maintenance. The Northeast's freeze-thaw cycles and wind-driven rain are tough on masonry, but a well-executed repointing job protects the brick and allows the wall to function as it was originally designed.
Should historic brick be pointed with lime mortar or cement?
Lime mortar. Historic brick—especially the soft, porous brick used in pre-war construction—requires mortar that's softer than the brick itself. Lime mortar is breathable, flexible, and sacrificial, meaning it absorbs stress and moisture so the brick doesn't have to. Portland cement is harder, less porous, and can trap moisture, causing the brick to spall and fail prematurely. Compatibility is everything.
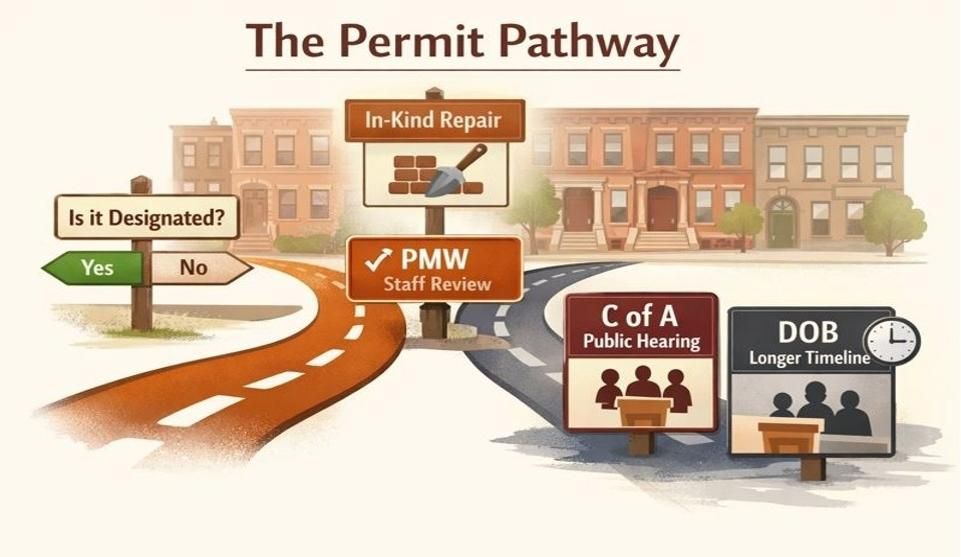
Do I need permits or LPC approval for pointing in a historic district?
If your property is located in an NYC Landmarks Preservation Commission (LPC) historic district or is an individually designated landmark, yes—you'll need LPC approval before starting masonry work. The NYC Landmarks Preservation Commission has specific guidelines on mortar type, joint profile, and color matching to ensure repairs are consistent with the building's historic character. Your contractor should be familiar with these requirements and can help navigate the approval process. For non-landmarked properties, a standard building permit may still be required depending on the scope of work.
Disclaimer: This article is for informational purposes only and does not constitute engineering, legal, or construction advice. For condition assessments, consult a qualified professional.
Our Editorial Process: Our articles are written by the City SuburbInc Insights Team and reviewed for practical accuracy. We draw on (1) field-adjacent trade knowledge, (2) manufacturer and standards documentation where appropriate, and (3) publicly available guidance from reputable industry and government sources. Final scope decisions should always be made after an on-site inspection.
By City SuburbInc Insights Team. The City SuburbInc Insights Team is our dedicated engine for synthesizing complex topics into clear, helpful guides. While our content is thoroughly reviewed for clarity and accuracy, it is for informational purposes and should not replace professional advice.


Protecting Tenants and Pedestrians: A Framework for Scaffolding and Site Safety During Facade Repair