Why is My Brownstone Peeling? Understanding Spalling and How to Fix It
📌 Key Takeaways
Brownstone spalling—where the outer stone layer peels away—occurs when trapped moisture freezes and expands, pushing the surface off, and it rarely stops without intervention.
- Winter Freeze-Thaw Drives Damage: Repeated freezing and thawing cycles, combined with street salt, generate internal pressure that literally pushes brownstone faces away from the substrate beneath.
- Hard Repairs Trap Moisture: Portland cement patches and pointing create vapor barriers that prevent walls from breathing, forcing trapped water through the softer brownstone and accelerating deterioration.
- Roof Drainage Failures Concentrate Exposure: Clogged gutters, failed downspouts, and splashback create localized saturation that drives spalling at basement and parlor levels.
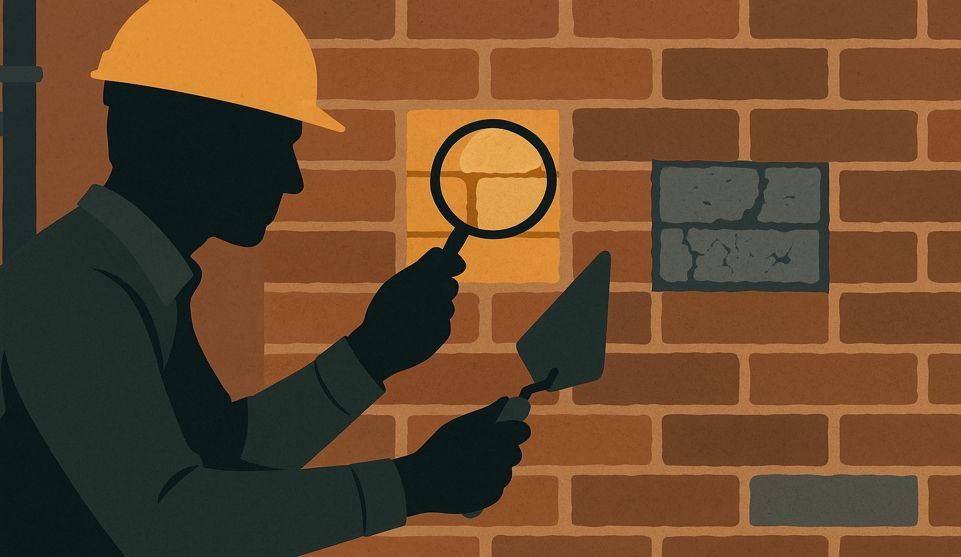
- Address Water Sources Before Patching: Effective repair requires diagnosing moisture entry points—roof drainage, failed joints, shifted coping stones—before any masonry work begins, or patches will fail repeatedly.
- Use Compatible Lime-Based Materials: Historic brownstones need softer lime mortars that match original formulations, allowing joints to act as sacrificial layers while permitting moisture escape.
Proper repair balances structural necessity with historic preservation, using breathable materials that work with the stone's natural behavior.
Brooklyn, Bronx, and Long Island brownstone owners facing façade deterioration will gain diagnostic clarity here, preparing them for the detailed assessment and repair methodology that follows.
The flakes on your stoop weren't there last month. Now they're accumulating after every rain, and rough patches are spreading across the façade. You run your hand along the surface and more material crumbles away.
This isn't just weathering. What you're seeing is spalling—a specific form of masonry failure where the outer layer of brownstone separates and peels away.
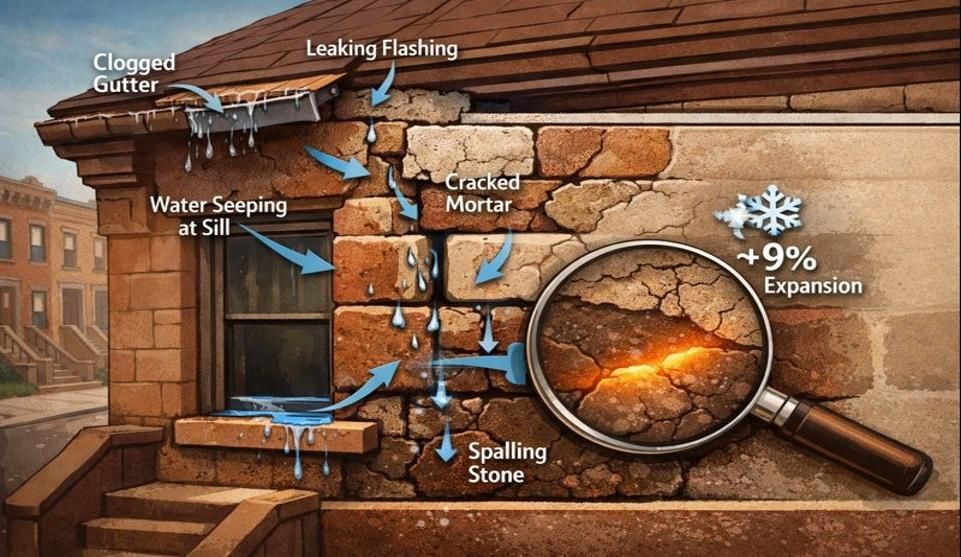
Brownstone "peeling" is usually spalling—when the outer layer breaks away because moisture gets into the stone (or behind a patch), then freezing temperatures and trapped water push that surface layer off. In NYC, the most common triggers are winter freeze-thaw cycles, poor roof drainage (gutters and downspouts), and hard past repairs or coatings that keep the wall from drying out.
In Brooklyn, the Bronx, and Long Island, this pattern appears on countless rowhouses each winter, and it signals that moisture has found its way into the stone. The good news: understanding what's happening helps you make informed decisions about protecting your home. The concern: spalling rarely stops on its own, and delay allows the damage to spread into larger sections that become more visible and more expensive to address.
Why Brownstone Is Especially Vulnerable
Brownstone behaves differently than brick. Think of it like treating a delicate skin condition—the surface needs to be carefully healed and sealed to stop the peeling and protect the layers underneath.
The stone's layered structure means that once the outermost layer begins to fail, the newly exposed surface becomes vulnerable to the same moisture and temperature cycles that damaged the original face. This progressive deterioration can accelerate rapidly once it starts, particularly in sections with northern or western exposure where sun rarely reaches to dry the surface.
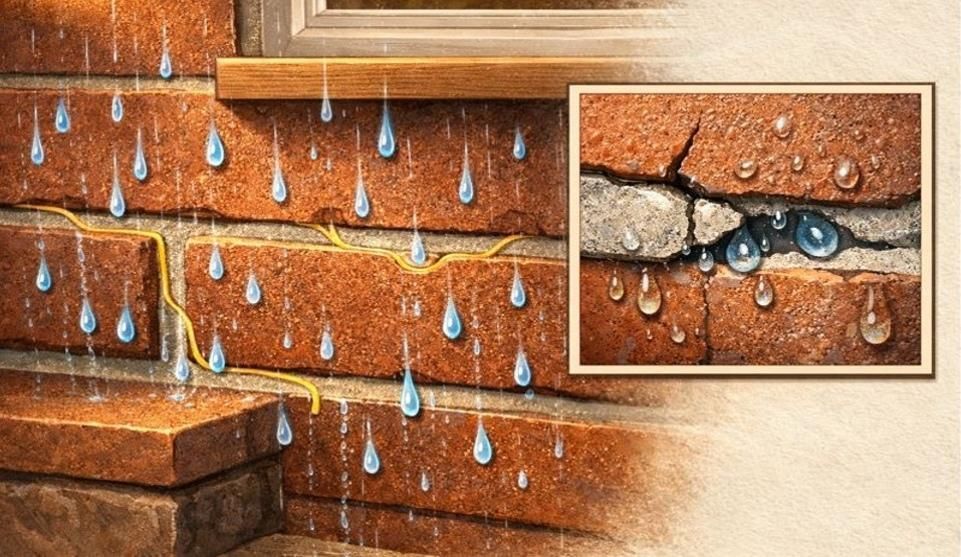
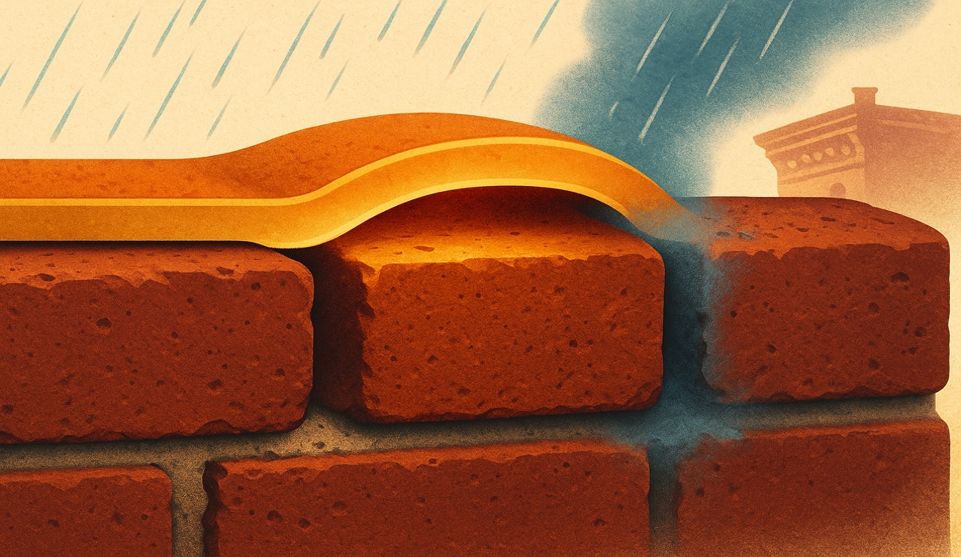
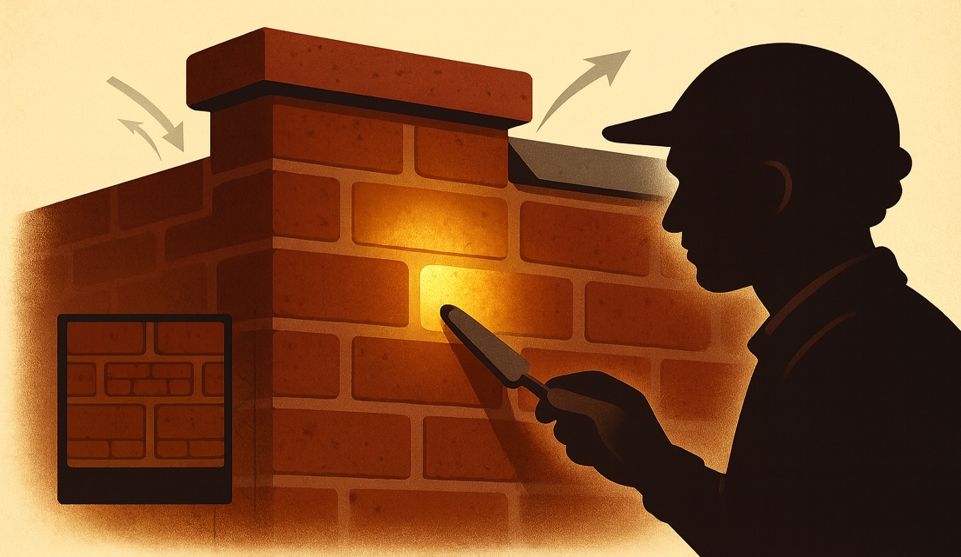
Sedimentary stone like brownstone absorbs moisture more readily than harder materials. When that moisture freezes, it expands by approximately nine percent. That expansion generates tremendous internal pressure—enough to literally push the face of the stone away from the substrate beneath. The thin flakes you see on the sidewalk are the visible result of countless freeze-thaw cycles working inside the material.
Historic brownstones were built with compatible lime-based mortars that allowed the entire wall assembly to "breathe." Moisture could move through the joints and evaporate, preventing the kind of trapped water that drives spalling. Many twentieth-century repairs replaced those soft mortars with harder cement-based materials that changed how the wall manages moisture—often for the worse.
Common Causes We See in Brooklyn, the Bronx, and Long Island
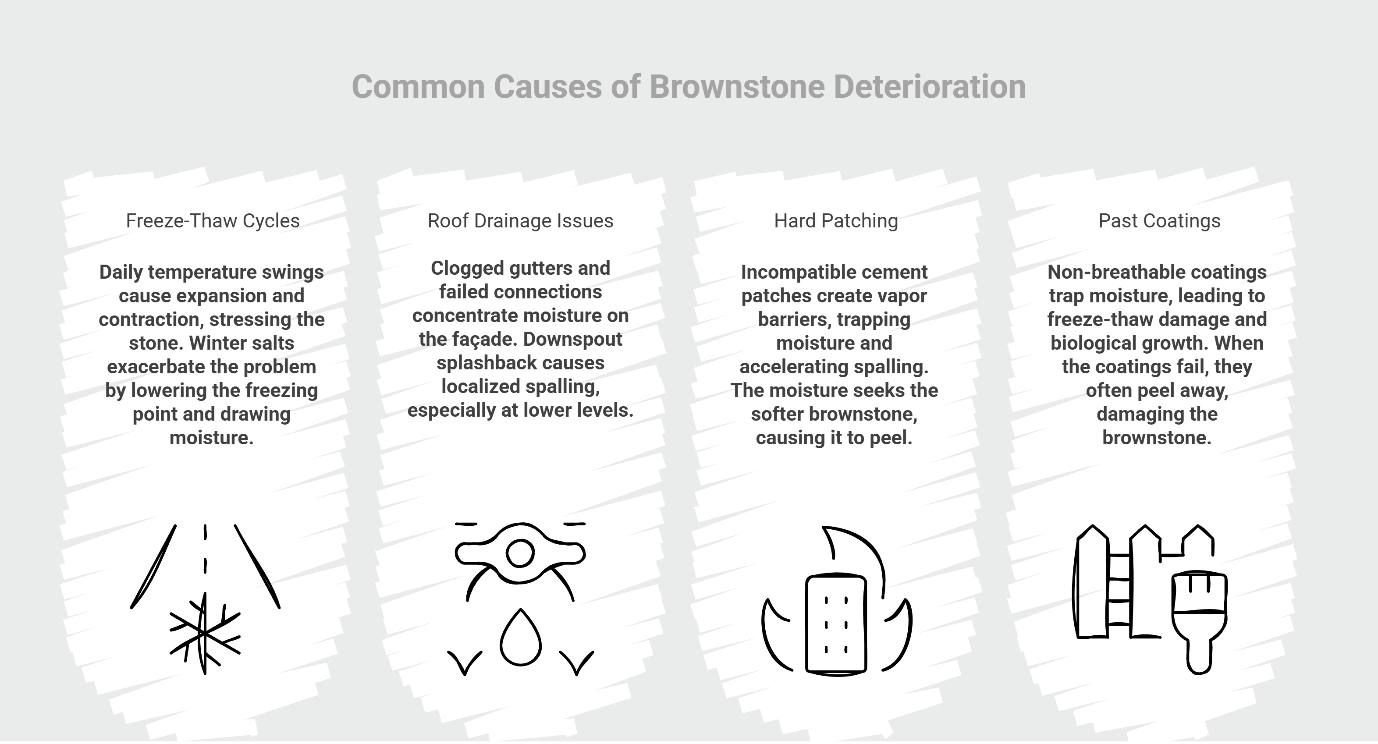
Freeze-Thaw Cycles and Winter Salts
Winter is the most destructive season for brownstone. Daily temperature swings above and below freezing create the conditions for repeated expansion and contraction. A single winter can produce dozens of these cycles, each one generating stress within moisture-saturated stone.
Street salt and sidewalk de-icing products compound the problem. Salt-laden water has a lower freezing point than pure water, which extends the temperature range where freeze-thaw damage occurs. The salt itself also draws moisture into the stone through hygroscopic action—meaning the material stays wetter longer, even during dry weather.
Properties near heavily salted streets or where de-icing products splash onto the façade show accelerated deterioration patterns. The white crystalline deposits (efflorescence) that often appear alongside spalling indicate salt migration through the masonry—a warning sign that moisture is moving through the material and carrying dissolved minerals to the surface.
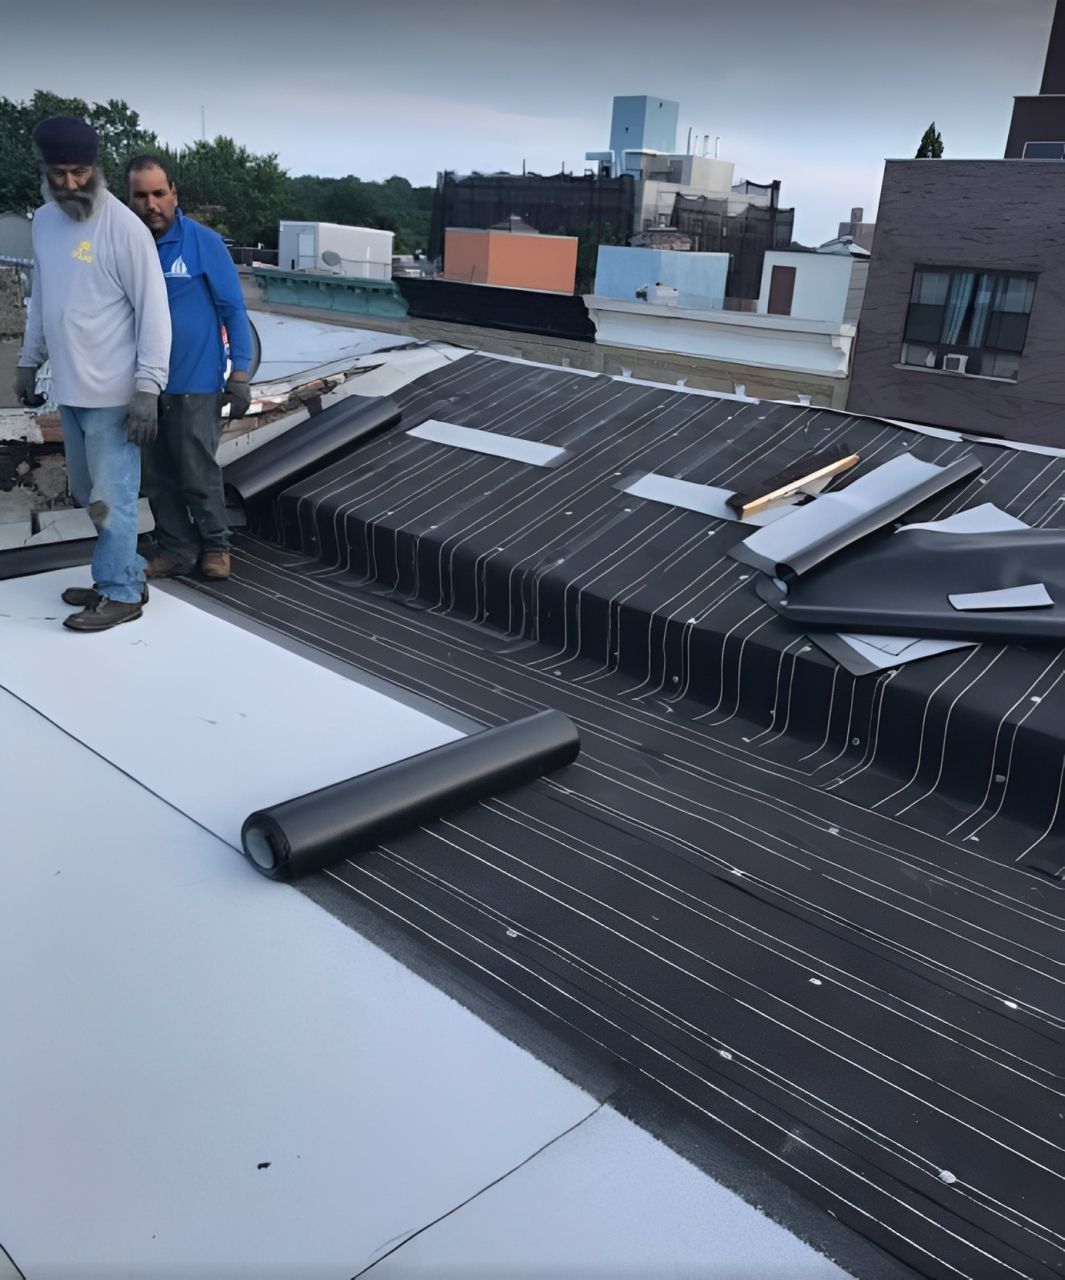
Roof Drainage Issues: Gutters, Downspouts, and Splashback
Water problems at the roof level create concentrated moisture exposure at the façade. Clogged gutters overflow during storms, sending sheets of water down the face of the building. Failed leader connections allow water to run behind the façade surface, saturating the wall from the inside out.
Downspouts that discharge directly at the building base create splashback—water hits the ground and rebounds onto the lower façade. This concentrated wetting in a single area drives localized spalling that often appears worst at the basement and parlor levels.
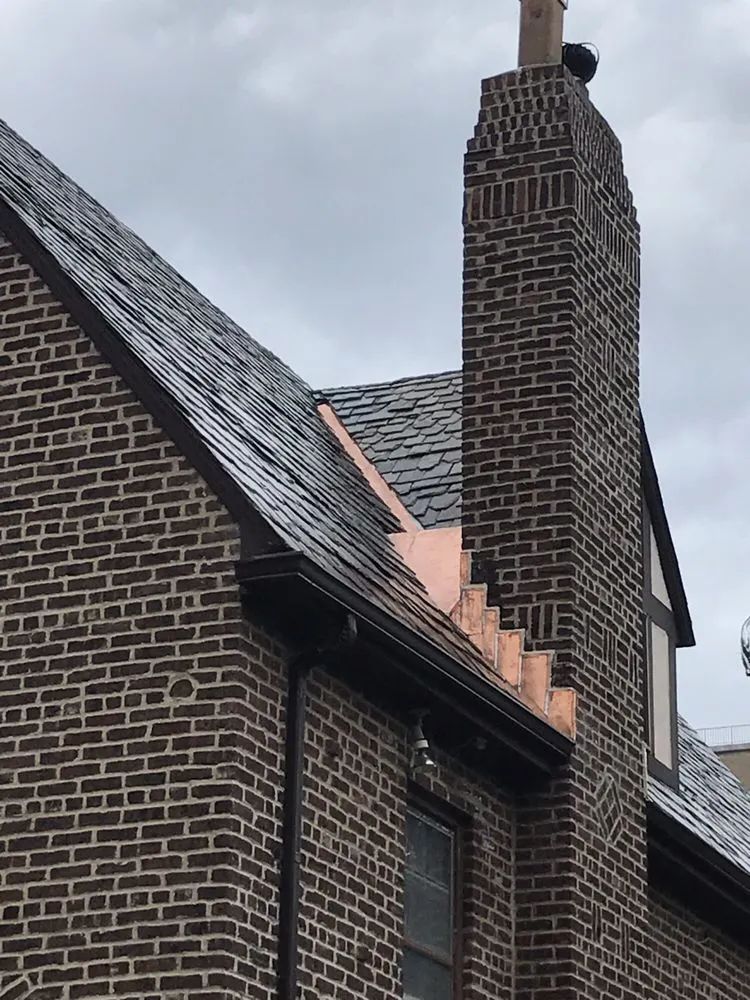
Parapet walls on flat-roofed buildings face extreme exposure. When coping stones shift or joints open at the top of the wall, water enters and travels down inside the wall assembly before appearing as dampness or spalling on the visible façade several feet below. This makes diagnosis challenging—the visible damage and the actual water entry point may be separated by considerable distance.
Hard Patching and Cement Pointing That Prevents Breathing
The most common accelerant of brownstone spalling comes from well-intentioned but incompatible past repairs. When previous contractors applied hard Portland cement patches or repointed joints with cement-based mortar, they created a vapor barrier that fundamentally changed how the wall manages moisture.
Picture your wall like lungs that need to breathe. Lime mortar contains larger pore structures than cement-based mortars. Water vapor molecules can pass through these larger pores easily, preventing moisture accumulation inside walls. Hard cement, by contrast, traps moisture behind its denser surface.
When soft historic brownstone sits behind a hard cement patch, the moisture that would normally evaporate through the joints gets trapped. That trapped water seeks the path of least resistance—which becomes the softer brownstone itself. The stone sacrifices its face to release the pressure, resulting in the characteristic peeling and flaking.
This moisture-trap dynamic explains why you'll often see spalling concentrated around older patch repairs or in sections where the building was repointed with incompatible materials. The repair itself became the cause of accelerated deterioration. For a deeper exploration of why material compatibility matters in historic masonry, see Lime Mortar vs. Cement: Why the Right Material Matters for Historic Brick.
Past Coatings or Paint That Trap Moisture
Non-breathable surface treatments create similar problems. Waterproof paints, synthetic sealers, and elastomeric coatings were often applied with good intentions—to "protect" the façade from water. But they prevent the wall from drying, which matters far more than preventing surface wetting.
Masonry naturally gets wet from rain. What matters is whether it can dry completely between wetting events. Coatings that trap moisture inside create conditions for freeze-thaw damage, biological growth, and salt accumulation. When these coatings begin to fail (as most eventually do), they often peel away and take the brownstone surface with them.
How to Tell If Peeling Is Minor—Or Urgent
Not all spalling requires immediate action, but knowing the difference between early warning signs and urgent conditions helps you plan appropriately.
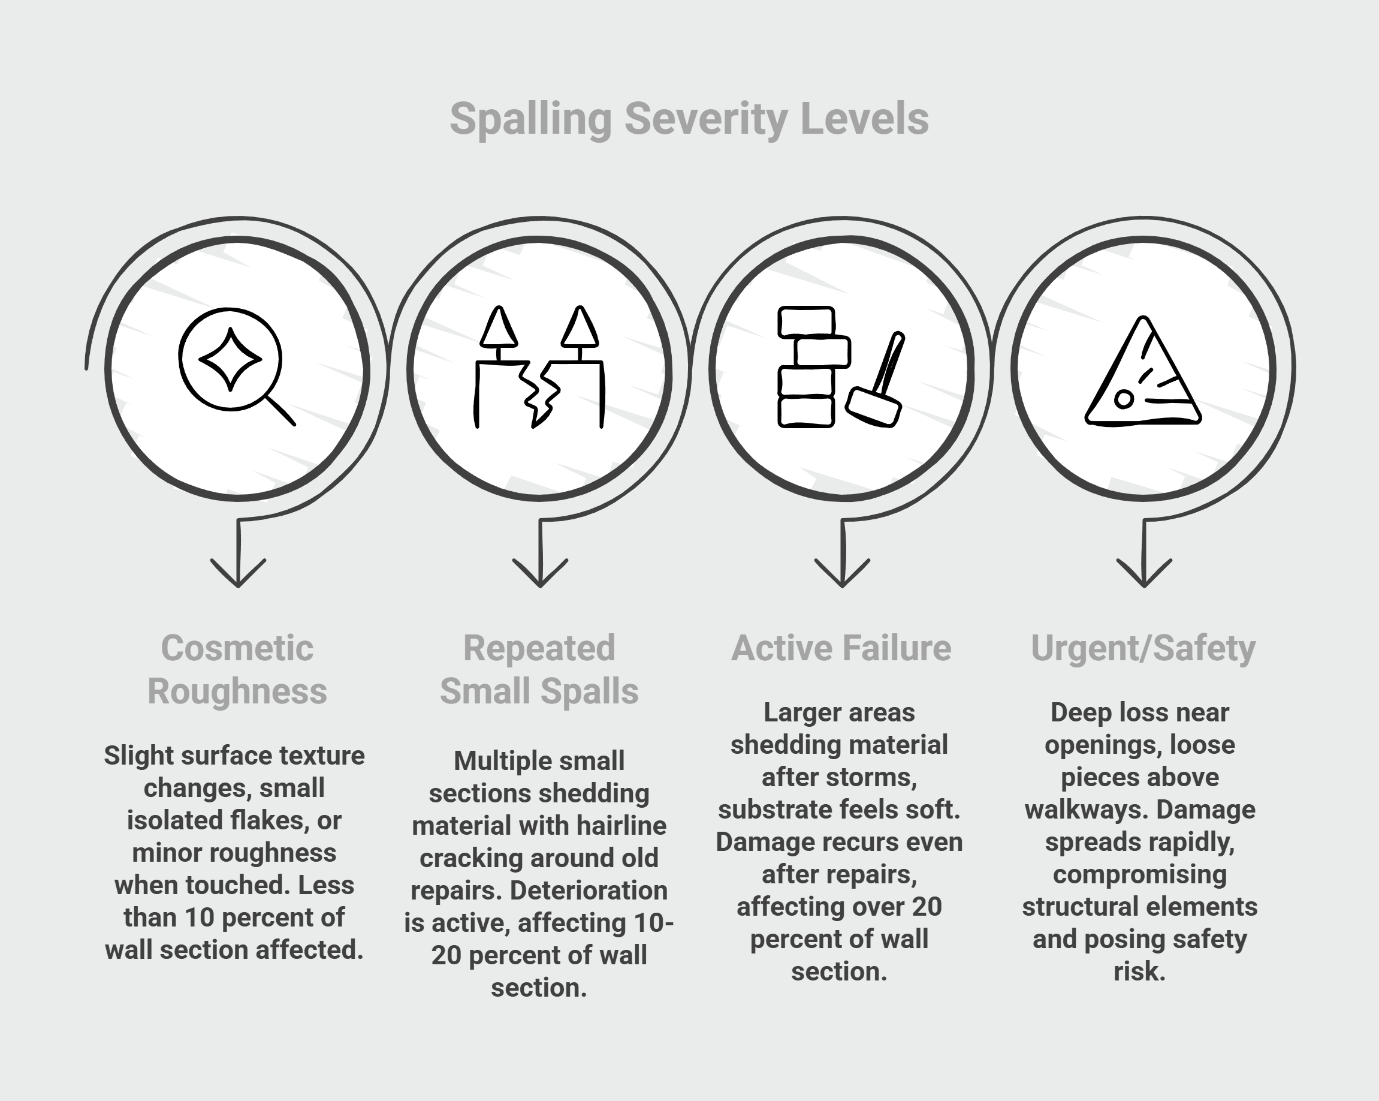
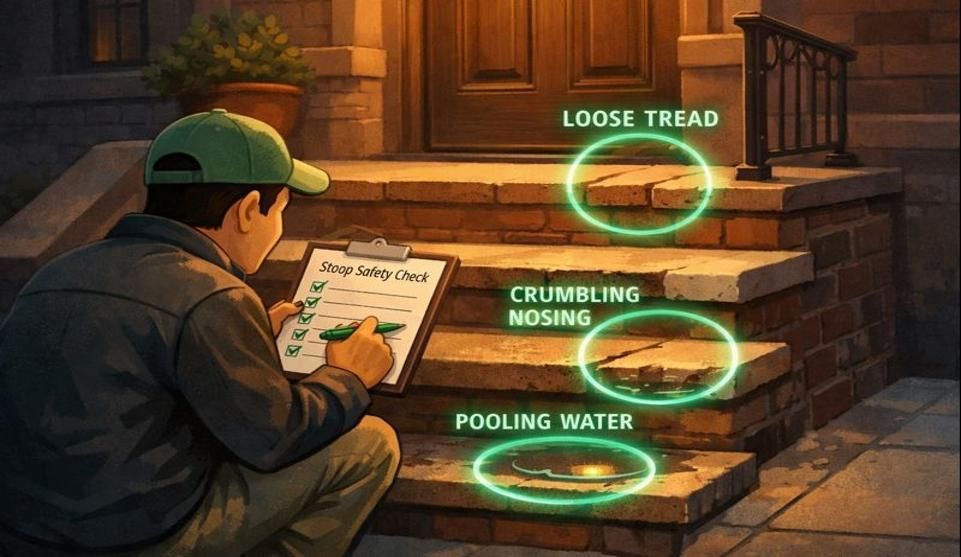
Level 1: Cosmetic Roughness You notice slight surface texture changes, small isolated flakes, or minor roughness when you touch the stone. The substrate beneath feels solid, and the affected area covers less than 10 percent of any given wall section.
What it usually means: Early-stage surface deterioration, possibly from a single severe winter or localized moisture exposure. The damage hasn't penetrated deeply yet.
Best next step: Monitor the area closely, ideally consulting a professional to confirm the substrate is sound. Document with dated photos. If the condition doesn't progress and no water infiltration is detected inside, continued monitoring may be sufficient. However, if the flaking exposes the softer inner core of the stone, waiting a full season may allow moisture to penetrate deeper. If new areas develop or existing areas worsen, move to assessment.
Level 2: Repeated Small Spalls Multiple small sections are shedding material. You see hairline cracking around old patch repairs. The pattern suggests the deterioration is active rather than stable. Affected areas total 10-20 percent of a wall section.
What it usually means: Moisture is moving through the masonry, and freeze-thaw cycles are actively causing damage. The problem will likely spread to adjacent areas during the next winter season.
Best next step: Schedule a professional assessment before the next freeze. Small interventions now—such as addressing a failed downspout or repointing isolated sections—can prevent the need for larger restoration later.
Level 3: Active Failure Larger areas are shedding material after each storm or freeze. The substrate beneath feels soft or chalky. Damage recurs in the same locations even after attempted repairs. More than 20 percent of a wall section shows deterioration.
What it usually means: The underlying cause (trapped moisture, failed drainage, incompatible repairs) hasn't been addressed. Surface patching alone won't solve the problem because water is actively moving through the assembly.
Best next step: Professional diagnosis is needed to identify the moisture source. Repairs must address the root cause, not just the visible damage. This often requires coordinated work—fixing drainage, removing incompatible materials, and rebuilding affected sections with compatible techniques.
Level 4: Urgent/Safety Deep loss is occurring near window or door openings. Loose pieces are present above sidewalks or entryways. The damage is spreading rapidly—visibly worse month to month. Structural elements (lintels, sills) are becoming exposed or compromised.
What it usually means: Structural integrity may be affected. Public safety is a concern if material could fall from height. Immediate action is needed to prevent injury and limit damage to the building envelope.
Best next step: Contact a professional masonry contractor immediately. Temporary protection (such as netting or plywood shields) may be needed while permanent repairs are planned. In some cases, Buildings Department notification may be required for unsafe façade conditions.
Safety note: If material is dropping from height or loose pieces exist above pedestrian paths, treat the condition as urgent regardless of the total area affected. Public safety takes precedence over preservation planning.
How Professionals Fix Spalling Without Ruining Historic Character
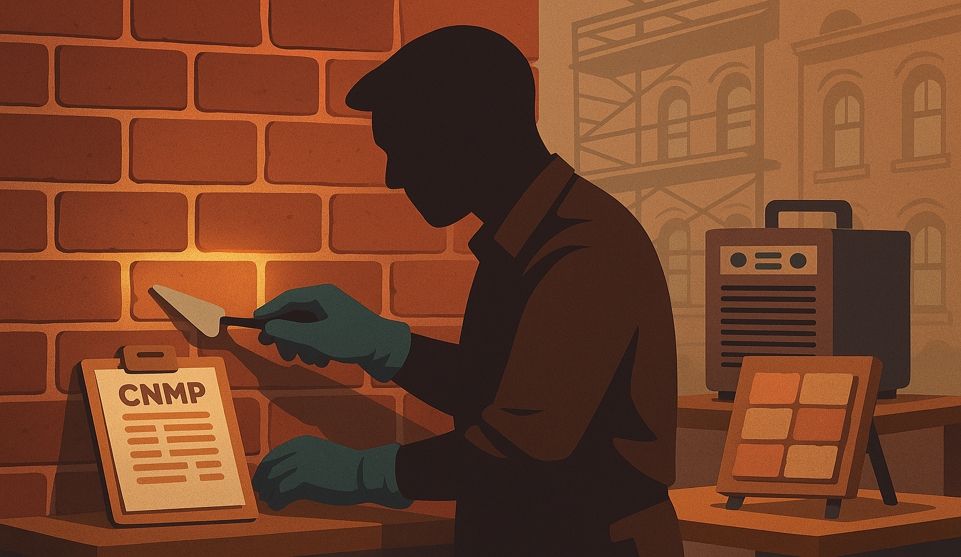
Effective brownstone repair follows a specific diagnostic and remedial sequence. Rushing to patch visible damage without understanding the underlying cause leads to recurring failures and wasted investment.
Diagnose and Stop the Water Source
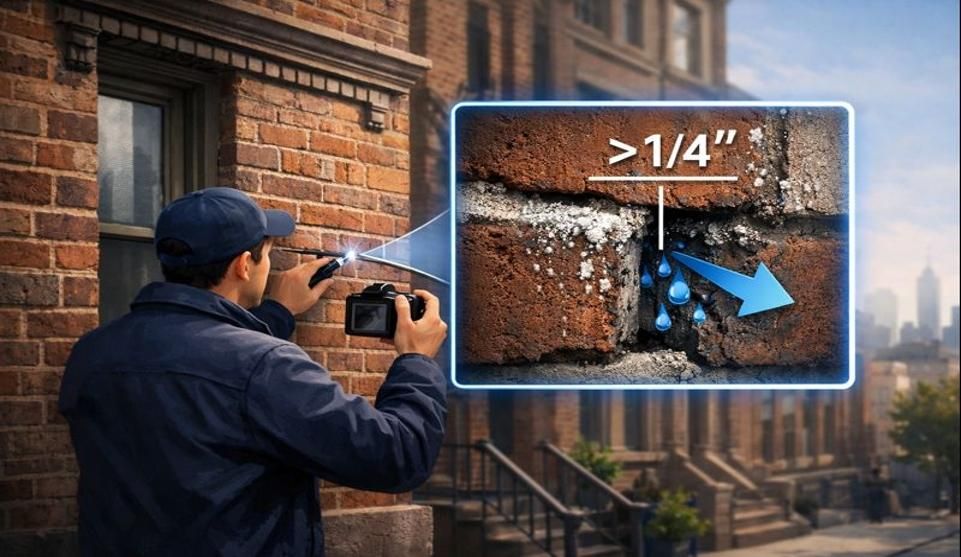
The real "first repair" happens before any masonry work begins. Professionals trace the moisture path—checking roof drainage, testing joints with moisture meters, looking for signs of water entry at parapets and window openings, and evaluating whether past repairs have created vapor barriers.
A comprehensive assessment identifies all the ways water reaches the problem area. Sometimes the fix is straightforward: reattach a disconnected downspout, reset a shifted coping stone, or redirect a splash issue. Other times, the solution requires coordinated work across multiple building systems—roof flashing, gutter replacement, and façade repairs all working together to manage water properly.
Skipping this diagnostic step means you're treating symptoms rather than causes. The new patch will fail just as the old one did because moisture continues moving through the assembly.
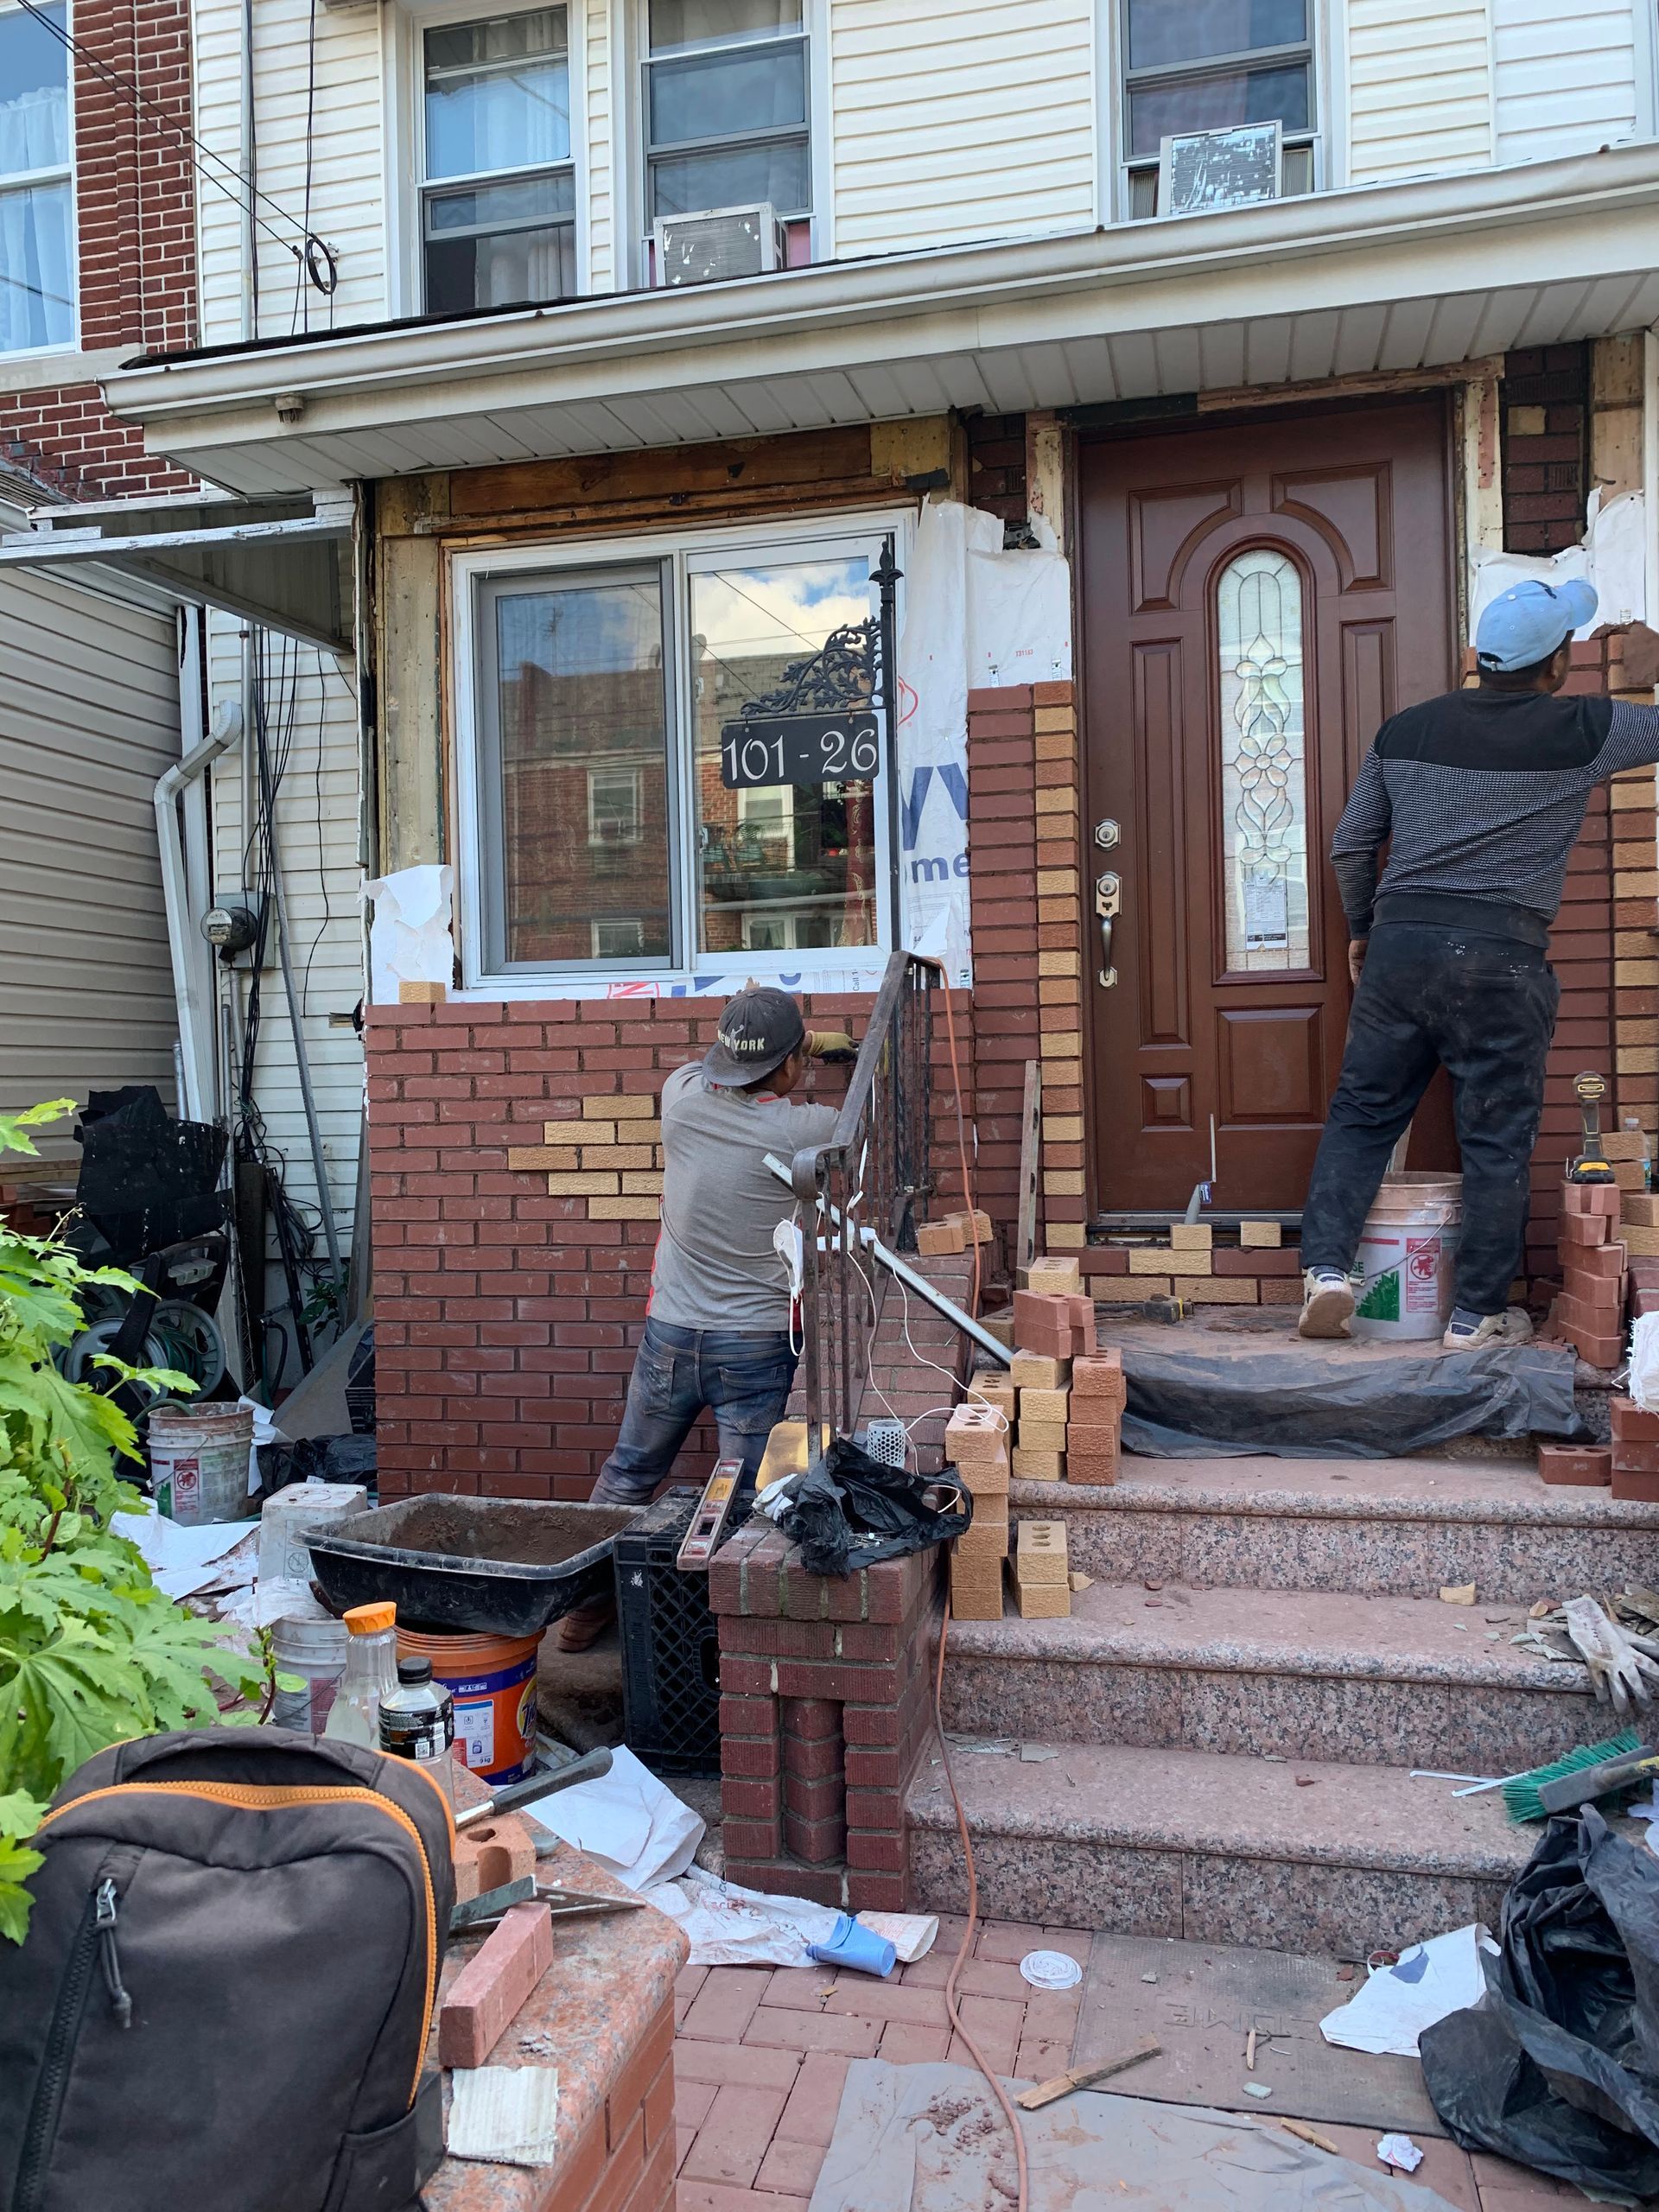
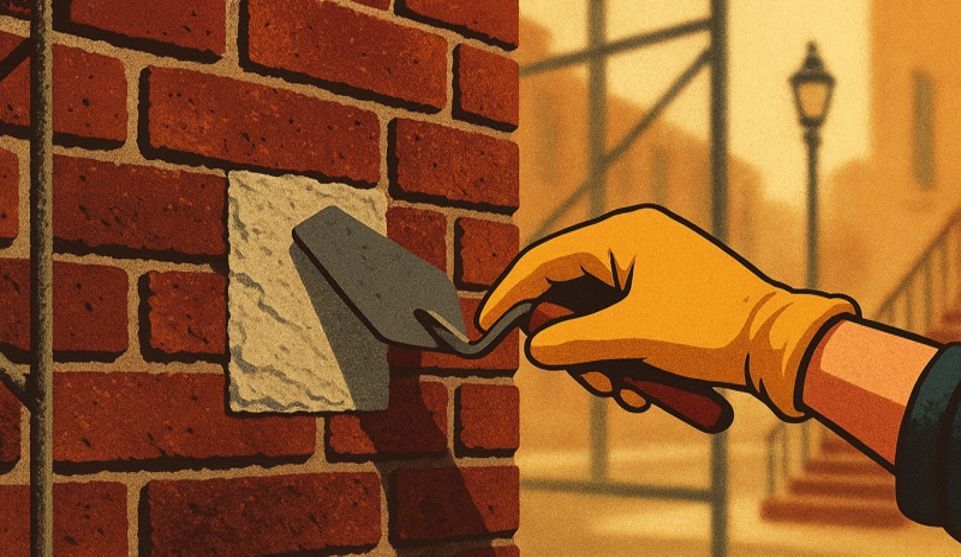
Stabilize and Remove Loose Material
Once the moisture source is understood and addressed, the next step involves careful removal of unstable material. This isn't demolition—it's surgical cleaning that removes only what has already failed or will fail imminently.
Sound brownstone that remains well-bonded to the substrate stays in place. The goal is to create a stable, clean surface that new material can properly adhere to. Professionals use hand tools and careful technique to avoid shocking the surrounding material with aggressive mechanical methods that could extend the damage zone.
This preparation phase also reveals the true extent of deterioration. What appears as minor surface loss sometimes extends deeper once the loose material is removed. Accurate assessment at this stage prevents surprises later in the project.
Patching vs. Resurfacing: What Changes the Decision
The choice between localized patching and broader resurfacing depends on several factors working together.
Patching is typically viable when damage affects a limited area—often cited by preservationists as less than 25 to 30 percent of a wall section, provided the surrounding brownstone is in good condition and color matching is achievable. Small, isolated repairs blend into the existing façade and preserve the maximum amount of original material—always the preferred approach in preservation work.
Resurfacing becomes the standard when damage is extensive (generally exceeding one-third of the surface area), previous patch repairs have created a visibly "quilted" appearance, or the aesthetic goal requires uniform color and texture across the entire wall section. Some projects blend both approaches—patching small areas while resurfacing larger damaged zones for visual cohesion.
The decision ultimately balances structural necessity with aesthetic outcome. A building owner might choose to resurface a highly visible street façade for uniformity while patching less visible rear walls to conserve budget and preserve original material where appearance matters less.
Address Compatible Pointing and Detailing
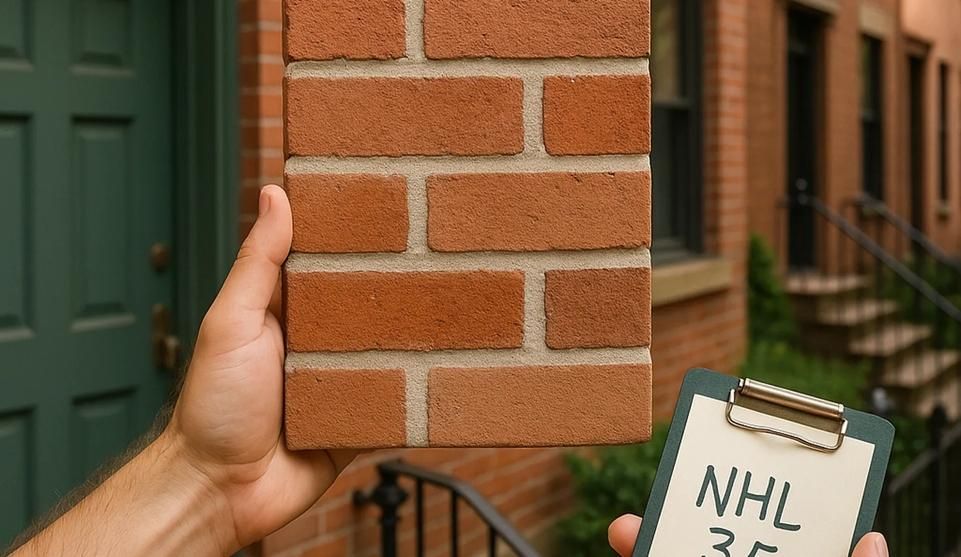
Joint work runs parallel to brownstone repairs. Failed mortar gets raked out to proper depth—typically two to three times the joint width. New mortar must be softer than the brownstone itself, allowing the joint to act as a sacrificial layer that protects the more valuable stone units.
Historic brownstone properties typically require lime-based mortars that match the original formulation in strength, texture, and permeability. These softer mortars accommodate building movement, permit moisture escape, and carbonate naturally over time to develop strength. The material choice isn't about aesthetics—it's about compatibility and long-term performance.
Joint profile matters too. The tooling technique affects how water sheds from the wall surface. Professionals replicate original profiles both for historical accuracy and for proper water management. A poorly struck joint can direct water into the wall rather than away from it. If you're considering joint work and want to understand what the process involves, see What to Expect During Brick Repointing in NYC. For guidance on selecting qualified professionals for this work, see Brick Pointing Brooklyn NY.
Protective Breathable Coatings: When Appropriate
Surface treatments remain controversial in preservation work, and their use must be carefully considered. When coatings are appropriate—typically on highly exposed sections or after major restoration—they must be vapor-permeable products specifically designed for historic masonry.
The key distinction: breathable coatings allow water vapor to escape while reducing liquid water absorption. They don't trap moisture the way older waterproof paints did. Modern mineral-based products, silicate treatments, and certain siloxane systems can provide protection without changing how the wall breathes.
But coatings are never a substitute for proper joint maintenance and moisture management. No surface treatment will stop spalling if water continues entering at failed drainage points or through open joints at the parapet level.
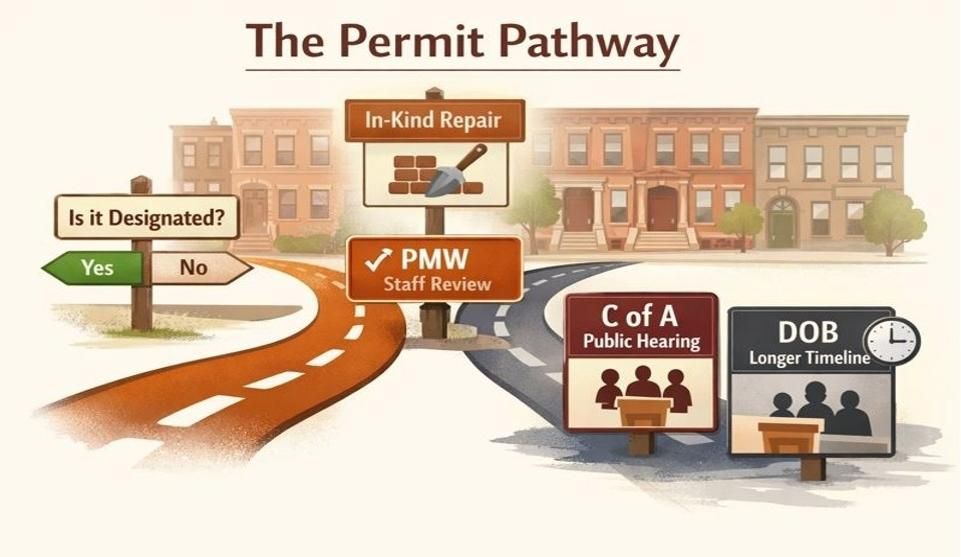
Permits and Landmarks: When NYC LPC Rules Might Apply
Properties in designated historic districts require Landmarks Preservation Commission review before exterior work begins. This includes most brownstone neighborhoods in Brooklyn and parts of the Bronx where historic district designations protect architectural character.
LPC review isn't about preventing necessary repairs—it's about ensuring that work respects the building's historic fabric. The process typically involves submitting an application that describes the scope of work, proposed materials, and repair methodology. For straightforward maintenance like repointing with compatible mortar, approvals often follow a streamlined administrative path.
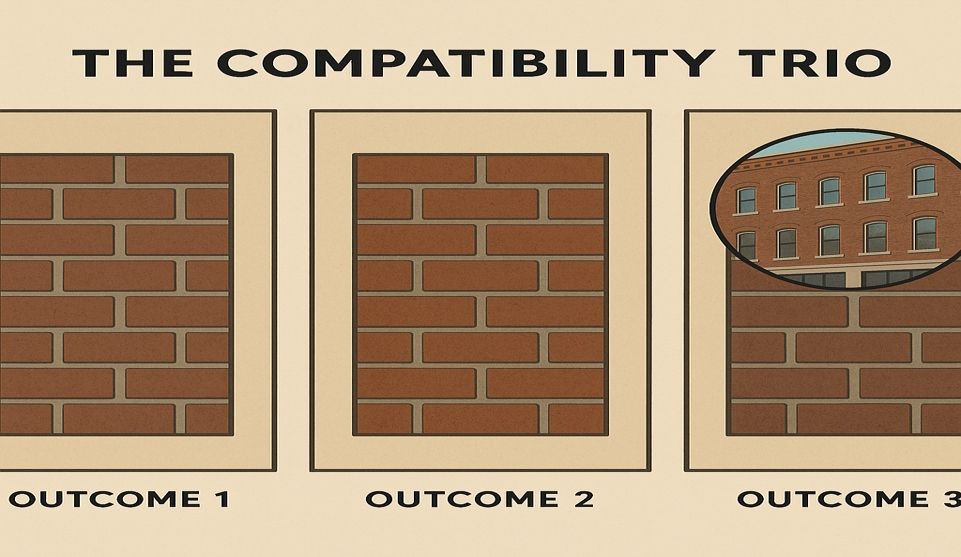
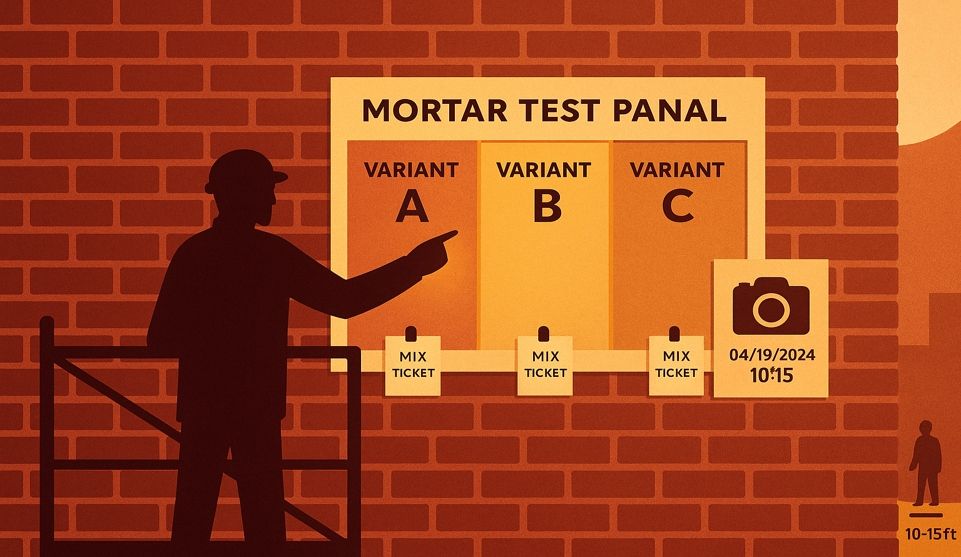
More extensive work—such as rebuilding deteriorated sections or resurfacing large areas—may require additional review, including the preparation and approval of test panels. These mockups allow LPC staff to evaluate color matching, texture, and technique before full-scale work proceeds.
The NYC Landmarks Preservation Commission provides detailed guidance on permits and making alterations as well as a comprehensive permit application guide. For broader preservation guidance and technical best practices, the U.S. National Park Service Preservation Briefs offer valuable reference materials for owners of historic buildings.
Why Experienced Contractors Help with the Paperwork
Professionals who regularly work in historic districts understand LPC requirements and procedures. They prepare compliant applications, coordinate test panel logistics, and can address technical questions that arise during review. This experience streamlines the approval process and prevents delays caused by incomplete submissions or non-compliant material specifications.
Property owners benefit from this familiarity. An experienced contractor navigates the administrative requirements while keeping the project on schedule. They understand what documentation LPC requires, which materials will receive approval, and how to present the work plan in terms that satisfy preservation standards.
Get the Façade Assessed Before the Next Freeze or Heavy Rain
Spalling follows a predictable pattern: it starts small, concentrates in vulnerable areas, then spreads as moisture exploits the weakened surface. The damage you see now will be more extensive after another winter of freeze-thaw cycles.
Professional assessment identifies both the visible damage and the underlying causes. You need to understand where water is entering, whether past repairs are contributing to the problem, and what scope of work will actually solve the issue rather than just covering it temporarily.
What to Ask During an Inspection
A thorough assessment should answer specific questions about your building:
Where is moisture entering? Is the problem coming from above (roof drainage), from the side (failed joints), or from below (ground splashback)? Identifying the path matters because the solution depends on controlling water at its source.
Are past repairs contributing to current problems? Many brownstones have accumulated layers of patches over decades, some executed with incompatible materials. Understanding what's already there—and whether it's helping or hurting—guides the repair strategy.
What's the extent of damage beyond what's visible? Surface spalling often signals deeper issues. Testing with moisture meters, probes, or exploratory removals reveals whether deterioration extends into the substrate or remains limited to the face layer.
What's the realistic timeline and staging? Some repairs can happen quickly with localized access. Others require scaffolding, extended curing times, and coordination with other trades. Understanding the schedule helps you plan accordingly.
What a Good Repair Plan Includes
Comprehensive proposals specify more than just labor and materials. They outline the diagnostic approach, explain the repair methodology, address color matching and aesthetic integration, establish curing and protection requirements, and provide a clear timeline with weather contingencies.
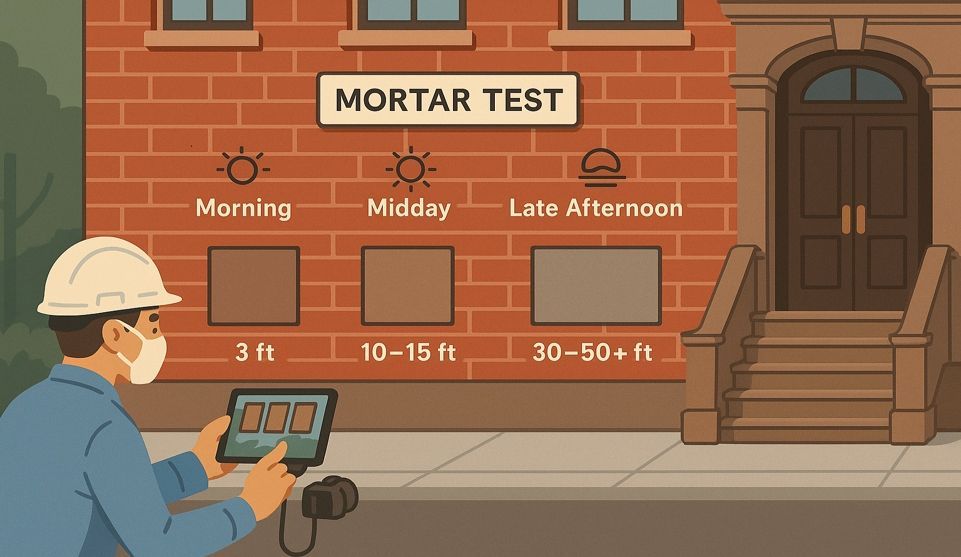
Mockups and test panels should be part of the process for any significant restoration. You need to see the proposed repair under actual conditions—full daylight, various viewing angles, and dry versus wet appearance. These previews prevent surprises and ensure you're satisfied with the aesthetic outcome before work scales to the entire façade.
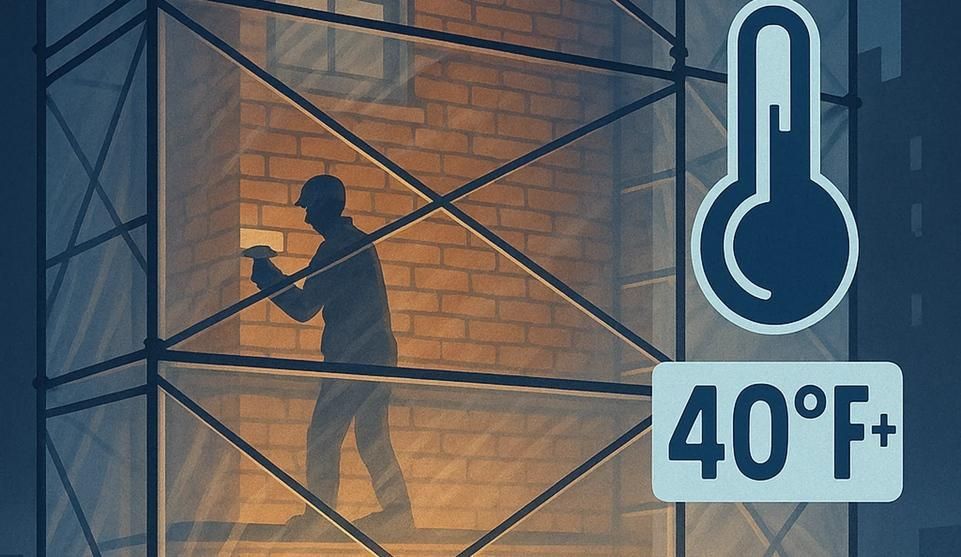
Good contractors also explain what happens after the visible work is complete. Brownstone repairs require proper curing—typically several weeks where new work must be protected from rain, kept from freezing, and allowed to develop strength gradually. The contractor should specify these requirements and explain how they'll be managed on your project.
The homes that define Brooklyn, the Bronx, and Long Island weren't built to be maintenance-free. They were built to be maintained properly—with compatible materials, informed techniques, and respect for how these assemblies manage moisture over decades of use. Your brownstone is resilient, but its surface needs the right care at the right time.
Seeing those flakes on your stoop isn't a failure of stewardship. It's a signal that conditions have changed—drainage patterns shifted, an old repair is no longer performing, or winter weather finally exceeded the material's capacity. What matters now is understanding what's happening and taking action before the next seasonal cycle makes the problem more visible and more expensive to address.
Explore our project gallery to see how we've addressed similar spalling conditions throughout the neighborhoods we serve, or review the areas we serve to confirm coverage for your location. When you're ready to move forward, schedule your free inspection through Masonry Contractors Brooklyn NY or contact us directly. For immediate assistance, call us at (718) 849-8999.
Disclaimer: This article is for informational purposes and does not replace an on-site evaluation by a qualified professional. Conditions vary by building age, prior repairs, exposure, and moisture sources.
Our Editorial Process: The City Suburb Insights Team synthesizes complex topics into clear, helpful guides. While our content is reviewed for clarity and accuracy, it is for informational purposes and should not replace professional advice.
By the City Suburb Insights Team
The City Suburb Insights Team synthesizes restoration and building-envelope best practices into clear, homeowner-friendly guidance. Our content is reviewed for clarity and accuracy, but it does not replace a professional on-site assessment.


Protecting Tenants and Pedestrians: A Framework for Scaffolding and Site Safety During Facade Repair