Patching vs. Resurfacing: Choosing the Right Brownstone Façade Repair Method
📌 Key Takeaways
Patching stabilizes isolated damage when surrounding stone is sound, while resurfacing addresses widespread failure—both fail if water pathways aren't corrected first.
- Damage Extent Drives Method Selection: Patching works for localized failure; when deterioration affects roughly 30% or more of the surface, resurfacing often delivers better long-term value.
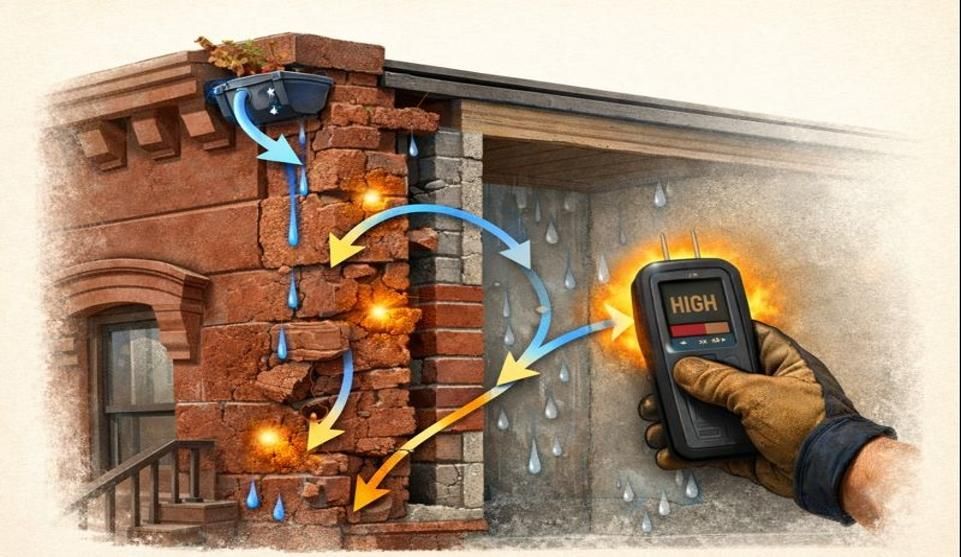
- Water Is the Root Cause: Freeze-thaw cycles force moisture-laden stone layers off through 9% ice expansion—gutters, joints, flashing, and drainage must be fixed before any repair.
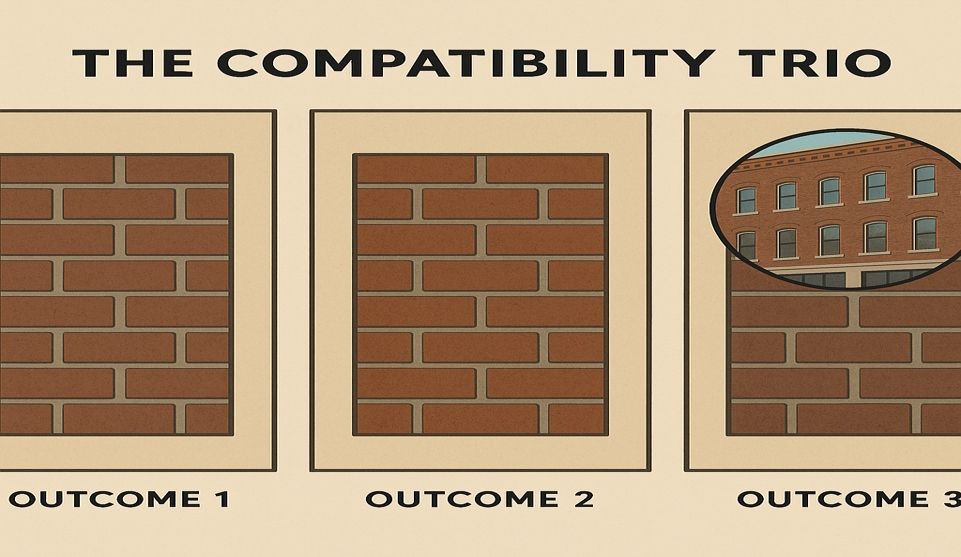
- Material Compatibility Ensures Durability: Historic masonry requires breathable, lime-based mortars that allow moisture evaporation; harder, impermeable materials trap water and accelerate failure.
- Resurfacing Delivers Uniform Appearance: Patching blends well in most conditions but may show slight variations in certain lighting; resurfacing creates a cohesive finish across the entire treated area.
- Prep Time Exceeds Application Time: Quality work removes all loose material, addresses transitions, and profiles edges—shortcuts skip these steps and guarantee early failure.
Fix the water problem first = stop the deterioration permanently.
Brooklyn brownstone owners facing recurring façade damage will understand which repair method addresses their specific failure pattern, preparing them for the detailed scope evaluation that follows.
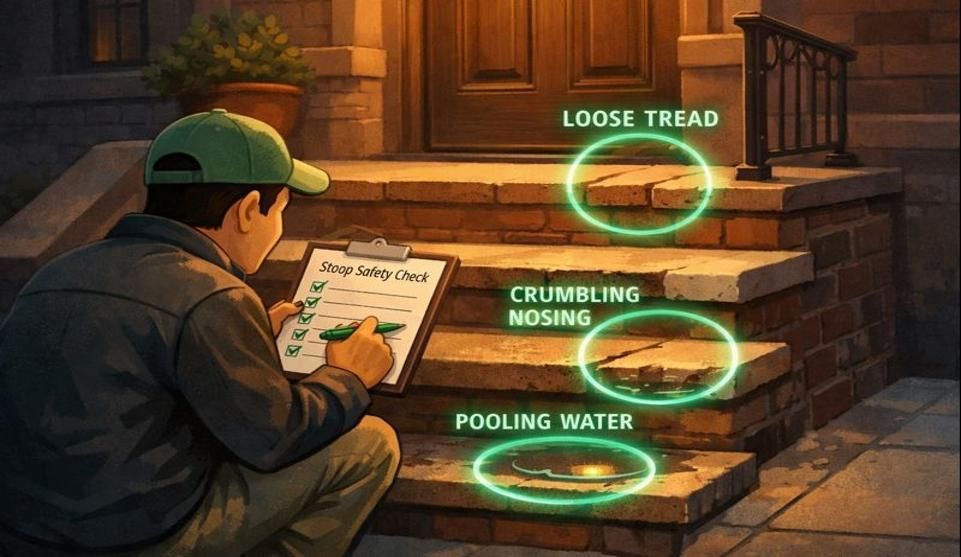
Spring thaw reveals new damage. Flakes on the steps. The façade looks worse than last year.
You notice the discoloration spreading after rain, small chips collecting on the stoop, and a quiet anxiety starts to build: Is this cosmetic, or is the house quietly rotting from the outside in?
The choice between patching and resurfacing isn't about budget versus beauty—it's a scope and durability decision. When damage is localized and the surrounding stone is stable, patching can halt progression and preserve the home's character. When failure is widespread or prior repairs keep breaking down, resurfacing offers uniform protection and a fresh start. The goal is straightforward: stop the deterioration, protect the legacy, and avoid throwing good money after a repair method that's destined to fail again.
What "Patching" and "Resurfacing" Actually Mean (No Jargon)
Before weighing options, it helps to understand what each method actually involves—and what it doesn't.

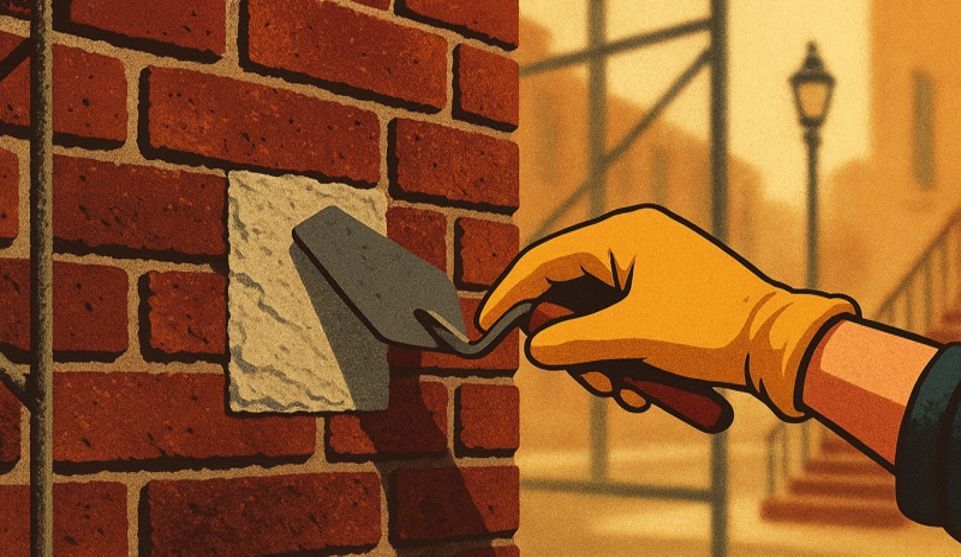
Patching = Rebuild Specific Failed Areas
Patching targets isolated damage: chips, delamination pockets, and eroded details. A skilled mason removes loose material, rebuilds the section with compatible mortar or stone dust, and feathers the edges to blend with the surrounding surface. The result is a localized repair that maintains the original character while halting progression in that specific spot.
For homeowners evaluating options, patching is most often aligned with selective stabilization and careful blending, not quick cosmetic touch-ups. For broader context on masonry scope, see masonry services.
Resurfacing = Apply a Continuous Renewed Finish
Resurfacing covers a broad area—often an entire façade or prominent elevation—with a fresh, uniform layer. The process involves thorough prep (cleaning, removing loose material, addressing transitions), then applying a compatible coating or skim coat that restores consistency across the surface. This approach addresses widespread failure and creates a cohesive appearance.
Resurfacing is sometimes discussed alongside coating-based exterior systems; for adjacent context, see Stucco Contractors Brooklyn.
What These Methods Are Not
Neither option is a paint-over-cracks solution. Patching is not a smear-on Band-Aid, and resurfacing is not a cosmetic cover-up. Both require proper prep, compatible materials, and a clear plan for managing the water pathways that drove the damage in the first place. Without addressing moisture, even the best craftsmanship will eventually fail.
The 5 Questions That Decide the Right Method
Choosing between patching and resurfacing hinges on five factors. Work through these questions honestly, and the right path becomes clear.
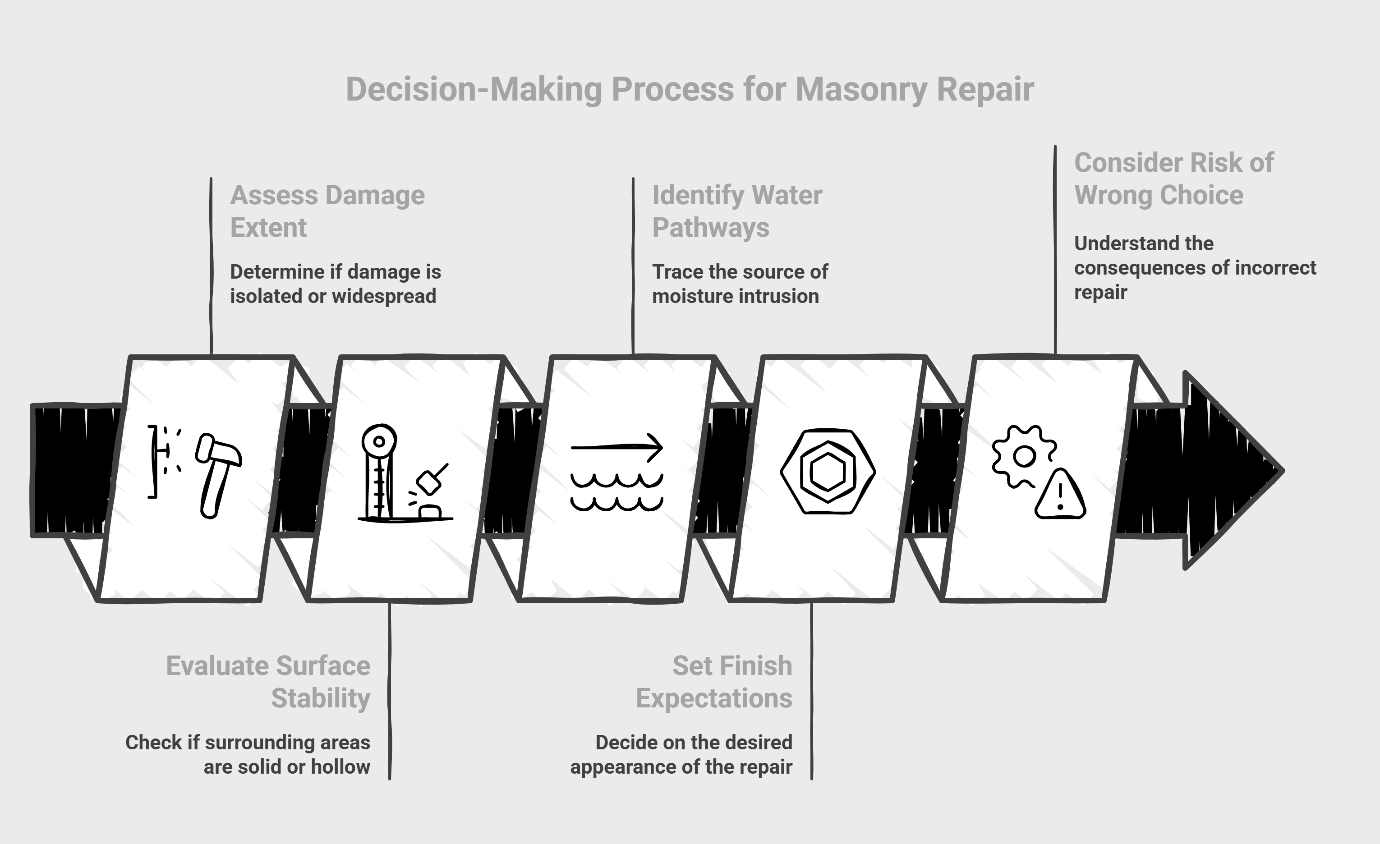
Q1: How Much of the Surface Is Failing?
Damage extent is the first filter. If peeling and spalling are limited to a few isolated pockets—perhaps around a windowsill or a single architectural detail—patching makes sense. The surrounding stone is intact, and targeted repairs can restore stability without unnecessary disruption.
When damage is scattered across roughly 30% or more of the visible surface, resurfacing often becomes the better long-term value. This is a planning heuristic, not a rigid rule—facades fail in patterns, not averages, and the threshold serves as a guide for scope discussions rather than a substitute for professional assessment. Widespread failure suggests the entire façade is vulnerable, and chasing individual patches across a degrading surface can become the most expensive repair strategy of all. (Why a Patch Job Can Be the Most Expensive Repair of All)
Q2: Is the Surface Stable Around the Damaged Spots?
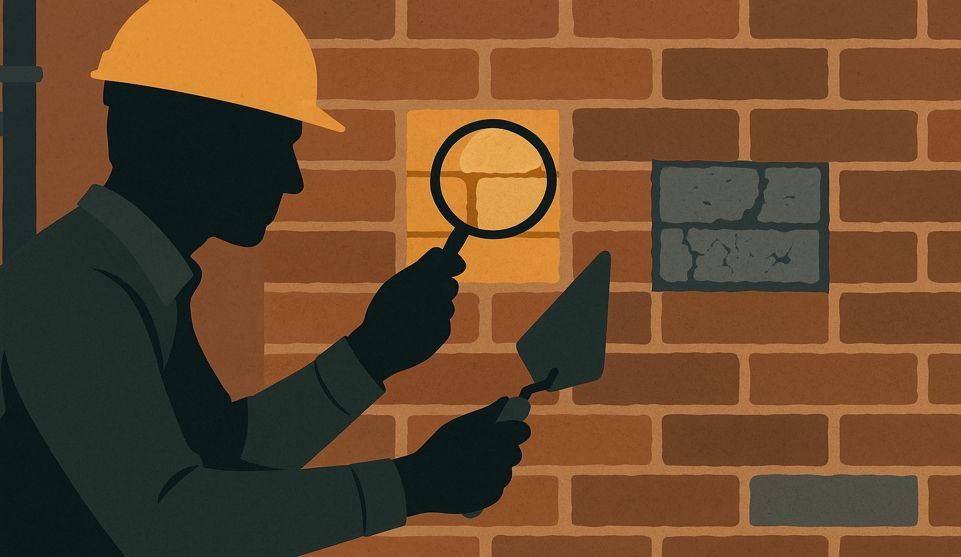
Walk the perimeter and look closely. Does the stone around the failed areas sound solid when tapped, or does more of it ring hollow? A contractor may use non-destructive evaluation methods—listening for hollow-sounding areas, for instance—to gauge whether failure is isolated or widespread. If the surrounding surface is stable and well-bonded, patching can be a durable fix. If these assessment methods reveal additional soft spots or you notice more delamination developing each season, the substrate itself may be compromised—a signal that resurfacing or a deeper investigation is needed.
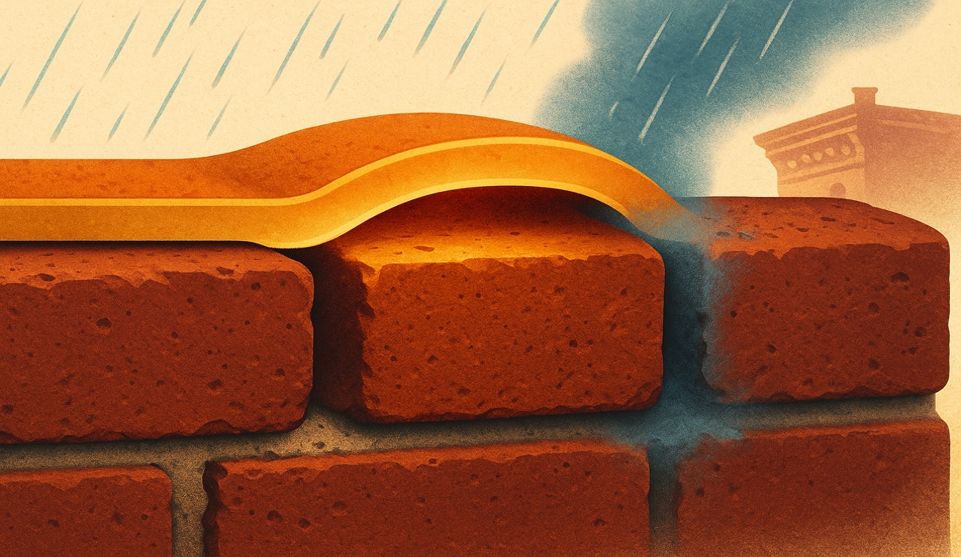
Q3: What's Driving the Damage—Water Pathways?
This is the hidden step many homeowners miss, and it's the most important question of all. Brownstone deterioration is rarely a surface-only problem. The real culprit is water.
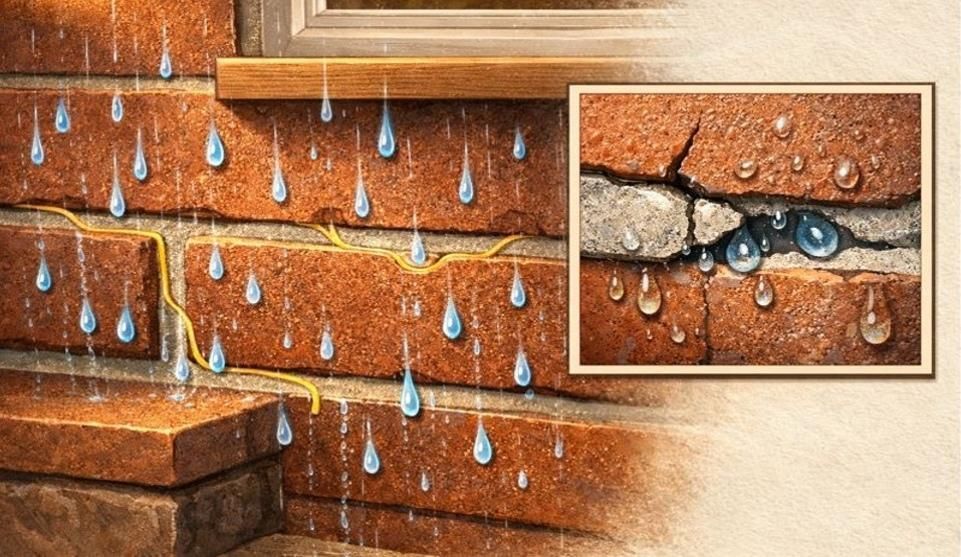
Water enters through porous stone, open joints, failed flashing, or damaged coping. When temperatures drop, that trapped moisture freezes. Ice expands roughly 9% in volume, and that expansion generates enough force to push stone layers off in a process called spalling. This mechanical weathering is the primary driver of masonry decay in freeze-thaw climates. [^1] Over repeated freeze-thaw cycles, even sound masonry begins to fail.
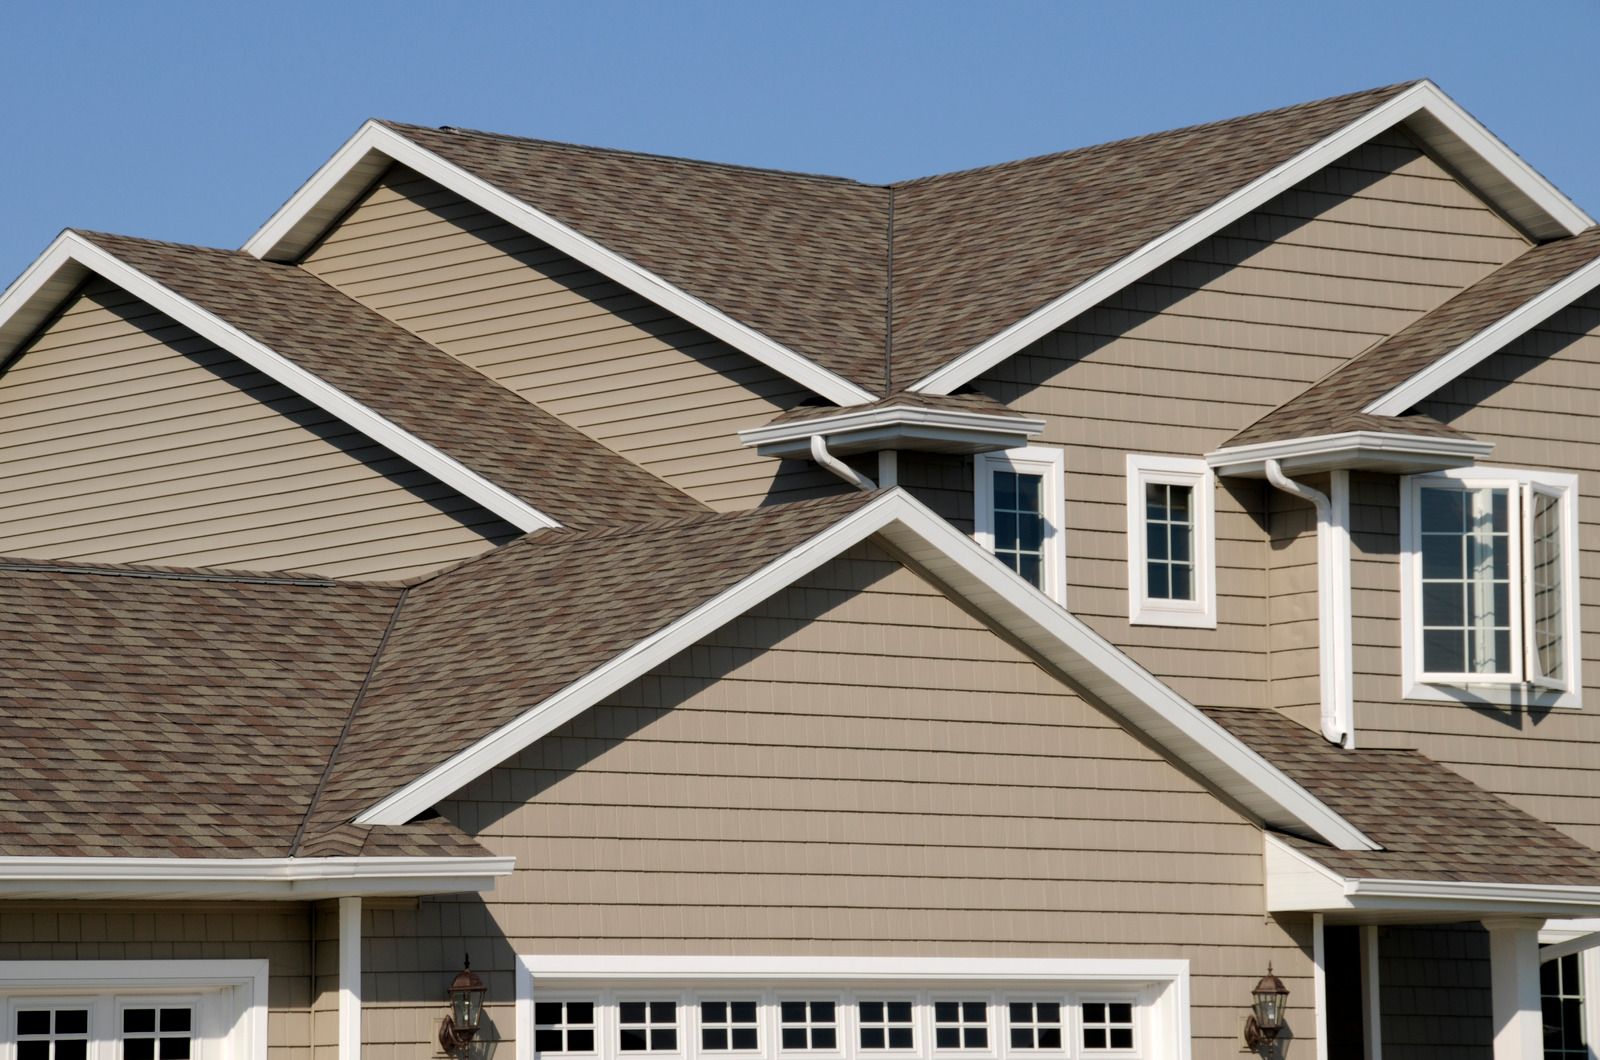
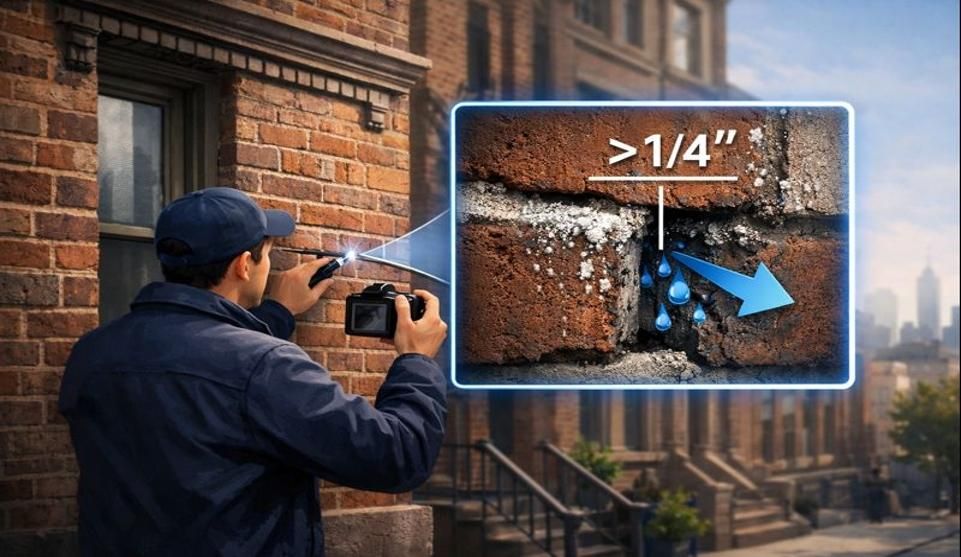
Before committing to any repair, trace the water pathway. Check gutters and downspouts. Inspect the joints between stones—poor brick pointing can allow water to migrate behind the façade. This distinction between joints and face scope matters because joints can funnel water behind the surface even when the face appears sound. For context on joint conditions, see Brick Pointing Brooklyn NY. Look at sill lines, parapets, and any horizontal surfaces where water can pool. If the drainage details aren't addressed first, patching and resurfacing both become temporary fixes on a surface that will continue to deteriorate.
The concept of breathability matters here, too. Historic masonry was built to manage moisture through evaporation, not to trap it behind an impermeable barrier. Repairs must use compatible materials—ones that allow the wall assembly to dry naturally rather than locking moisture inside. This isn't product evangelism; it's a fundamental principle of durability in older construction. For related materials perspective, see Lime Mortar vs. Cement.
Q4: What Finish Do You Expect?
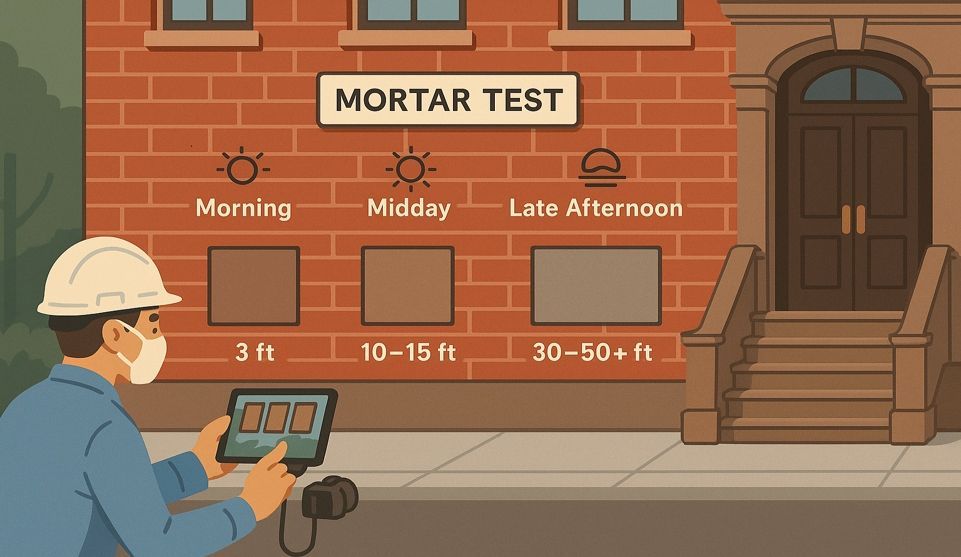
Set realistic expectations. Patching blends repairs into the existing surface, and in most cases, skilled masons achieve excellent results. However, lighting conditions change throughout the day, and even well-executed patches may show slight variations in texture or tone under certain angles of sunlight.
Resurfacing delivers the most uniform appearance. The entire treated area receives a consistent new layer, which eliminates the patchwork look and creates a cohesive finish. If visual uniformity across the façade is a priority—or if the home is highly visible from the street—resurfacing offers that advantage.
Q5: What's the Risk If You Choose Wrong?
Mismatched scope carries real consequences. Patching a broadly failing surface means you'll be back in a year or two, chasing new failures as adjacent areas continue to degrade. The cumulative cost of repeated small repairs often exceeds the cost of a single, comprehensive resurfacing project.
On the flip side, resurfacing over active moisture problems locks water behind the new layer, setting the stage for future delamination. The coating may look perfect initially, but trapped moisture will eventually force it off. The lesson is simple: diagnose the root cause before selecting the repair method, and always fix the water problem first.
Investigation Needed First
If moisture pathways are unclear, if deterioration is accelerating, or if failure patterns don't match a simple scope picture, the correct first step may be diagnosis before commitment to either method. When conditions and patterns suggest complexity, professional assessment clarifies both scope and underlying causes.
Pros and Cons at a Glance
Patching
Pros:
- Best for localized failure when surrounding stone is stable
- Can preserve more of the existing surface character
- Often less disruptive when the scope is truly limited
Cons:
- Blending can be visually challenging in shifting light
- Becomes inefficient if failure is widespread or unstable
- Will not hold if water pathways remain active
Resurfacing
Pros:
- Strong option when deterioration is widespread or prior patches are failing broadly
- Typically delivers the most uniform appearance
- Can provide consistent protection when paired with proper prep and moisture correction
Cons:
- Prep demands are higher; shortcuts are costly
- Not appropriate if underlying moisture issues are not resolved
- Scope can trigger additional approval considerations in historic contexts
Comparison Table—Patching vs. Resurfacing
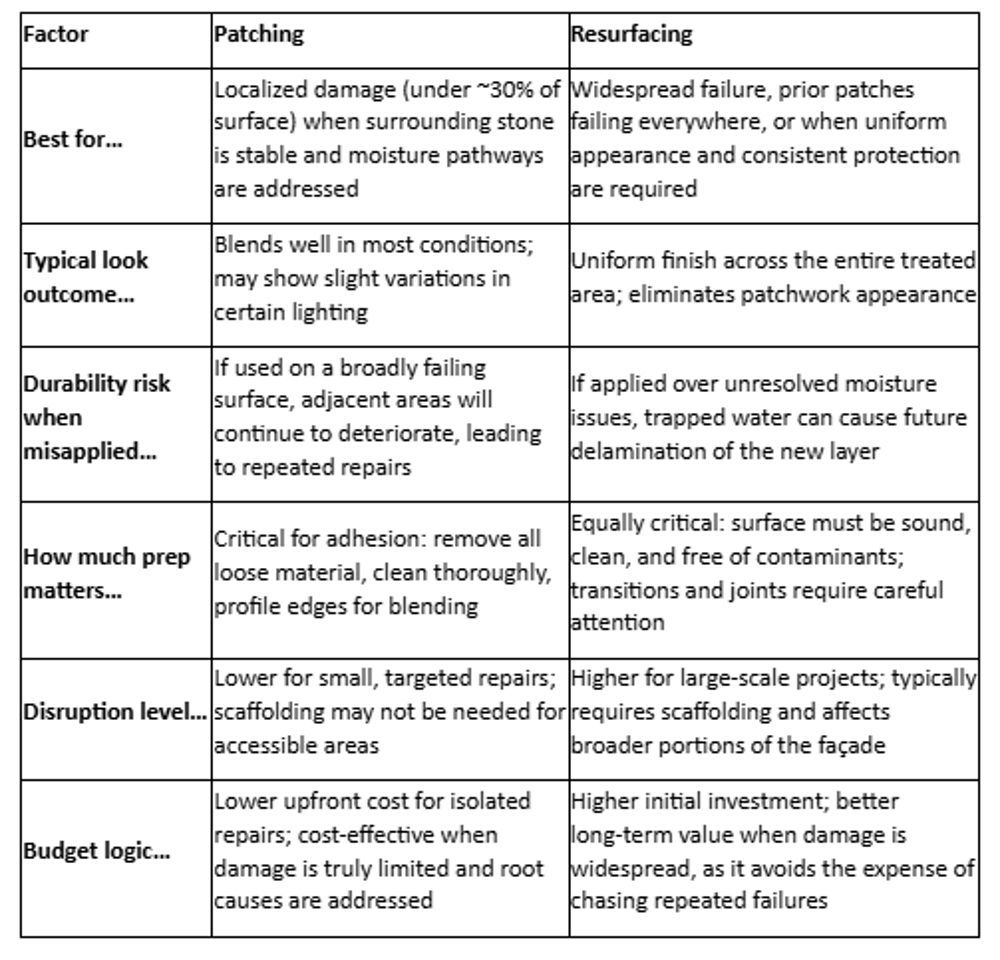
Cost vs. Outcome Principle
A general principle guides decision-making: localized patching offers lower disruption but variable uniformity when conditions are stable, while resurfacing requires higher scope investment but delivers greater uniformity when conditions and moisture management support it. Actual cost and outcomes depend on prep needs, access, detailing, and the condition of underlying masonry.
What Quality Work Looks Like (So You Can Vet Contractors)
The difference between a repair that lasts decades and one that fails within seasons often comes down to preparation and material compatibility. Here's what separates competent masonry services from shortcuts.
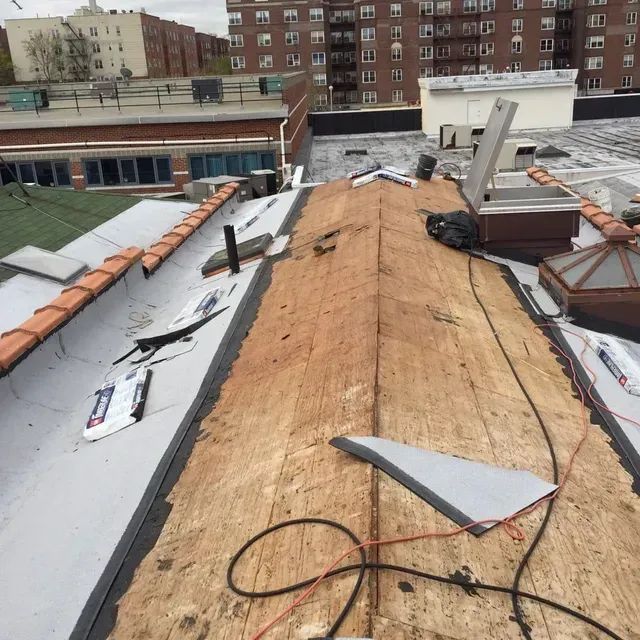
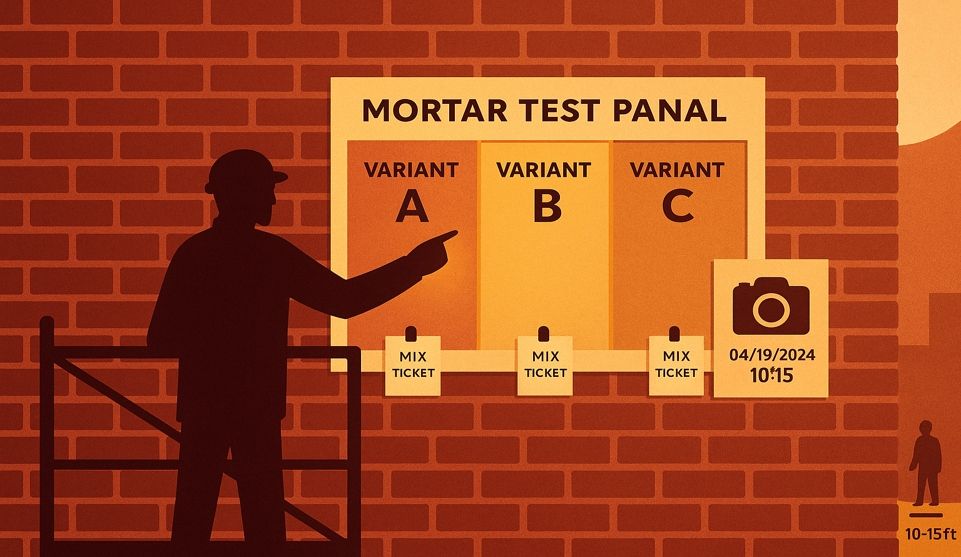
Prep is the project. A quality mason spends more time preparing the surface than applying the repair. That means removing all loose and damaged material—not just the obviously detached pieces, but anything that sounds hollow or feels soft. It means addressing joints and transitions, cleaning the substrate appropriately (without high-pressure washing that can drive water deeper into the assembly), and testing small areas before committing to the full scope.
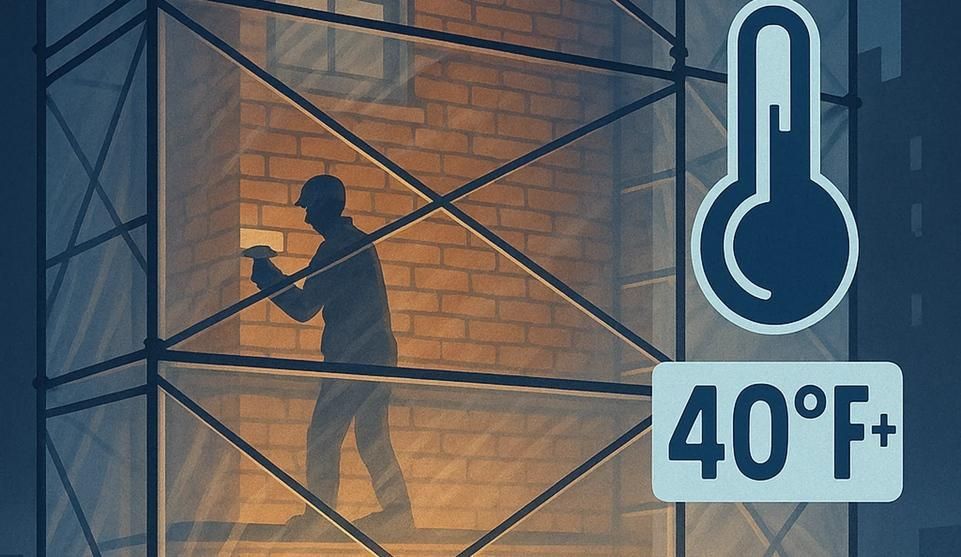
Blending requires care. For patching, edges must be profiled and feathered so the repair integrates with the surrounding texture. The new material should match the original in composition and porosity, not just color. Curing time matters, too—rushing the process or exposing fresh work to freeze-thaw cycles before it's fully set invites early failure.
Red flags to avoid. Walk away from any contractor who suggests skimming a coat over loose stone without proper removal and prep. Be wary of proposals that don't include a moisture diagnosis or any discussion of drainage details—gutters, flashing, joint condition, or water shedding pathways. And pay attention to how transitions and edges will be handled. Abrupt material changes or untreated interfaces become failure points within a few seasons. (How to Hire a Historic Masonry Contractor in Brooklyn)
Homeowners often call after years of small patches stop blending and start failing in more spots. The pattern is familiar: the initial repair looked fine, but the underlying issues—poor joints, inadequate drainage, incompatible materials—were never addressed. Quality work anticipates the next failure point and prevents it before the repair is even complete.
The Hidden Step Many Homeowners Miss—Fix the Water Problem First
This bears repeating because it's the most common reason repairs fail: water is the enemy, not time.
Brownstone and historic masonry weren't designed to be waterproof. They were designed to be breathable—to absorb some moisture during wet conditions and release it through evaporation when conditions dry. That system works beautifully when water pathways are managed correctly: gutters function, joints are intact, flashing directs water away from vulnerable areas, and horizontal surfaces shed water rather than pooling it.
When those pathways break down, water finds its way into the porous stone. The stone absorbs it. Temperatures drop. The water freezes and expands, generating pressure that forces layers off the surface.[^1] Over multiple freeze-thaw cycles, even initially sound stone begins to spall and delaminate. The National Park Service identifies spalling as a condition where surface material breaks off in flakes or chips, typically caused by freeze-thaw cycles and sub-florescence (salt crystallization) [^2]
The most durable results come when the water pathway is addressed—not just the peeling area. That might mean repairing gutters and downspouts, repointing failed joints, replacing damaged flashing, or addressing coping stones that have cracked and are allowing water to enter from above. It might also mean improving grading around the foundation so water flows away from the building rather than pooling against the base of the wall.
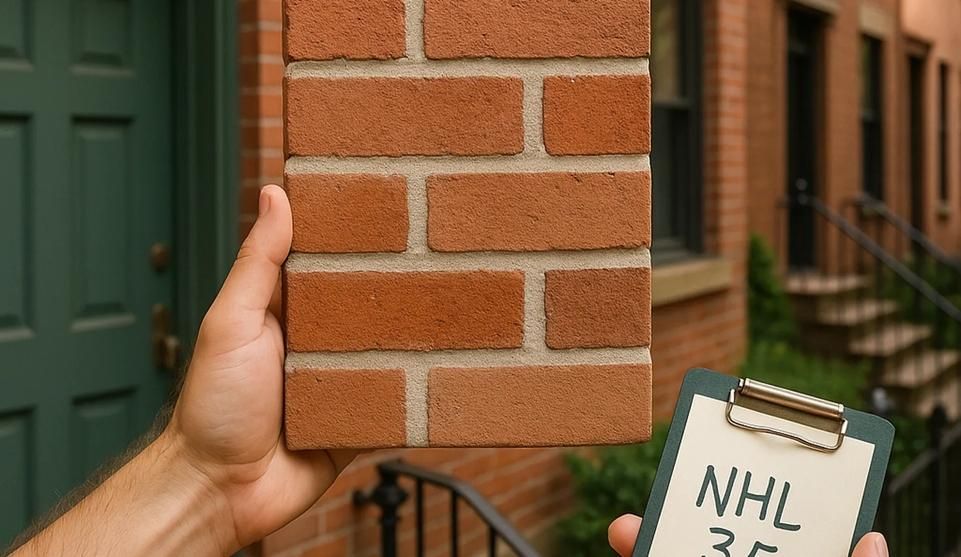
Material compatibility plays a role here, too. Historic masonry often used lime-based mortars, which are softer and more porous than modern cement. That porosity allows the wall to breathe and manage moisture. When repairs introduce harder, less permeable materials, moisture becomes trapped behind the new layer—leading to failure at the interface between old and new.
Guidance from the New York Landmarks Conservancy emphasizes understanding the sedimentary bedding planes of brownstone and its specific decay drivers before selecting repairs.[^4]
Think of it this way: patching or resurfacing the face of the stone without fixing the water management system is like treating a symptom while ignoring the disease. The repair might look good initially, but the underlying problem ensures it won't last.
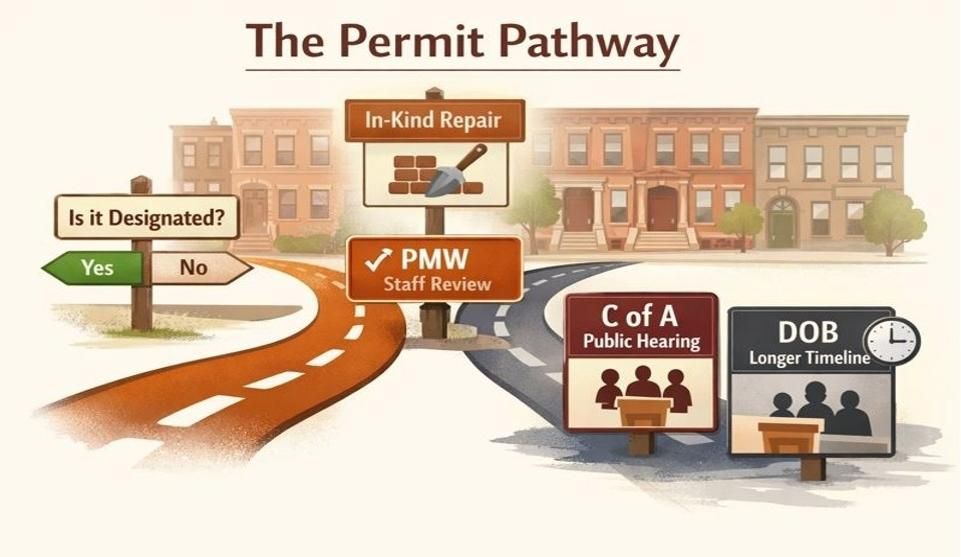
Permits and Historic District Considerations
If the home is located in a designated historic district—common in Brooklyn, the Bronx, and parts of Long Island—exterior façade work may require review by the New York City Landmarks Preservation Commission (LPC).[^3] The scope and materials of the repair can trigger approval requirements, and the process can add time to the project timeline.
The key is to avoid "surprise compliance"—align scope, materials, and finish expectations early so approvals don't become a mid-project disruption. NYC's Landmarks Preservation Commission provides permit application guidance and a permit guidebook designed to clarify common work types and required submission materials.[^1]
This isn't a reason to avoid necessary repairs. It's simply a planning consideration. An experienced contractor familiar with historic preservation work understands the LPC process and can guide homeowners through the application and approval steps. The goal is to preserve the character-defining features of historic buildings, which generally means repairs should use materials and methods compatible with the original construction. In many cases, patching and resurfacing—when done with appropriate materials—align well with preservation standards because they restore rather than replace historic fabric.
Set a calm expectation: this is a manageable step in the process, not a barrier. The most important action is to work with a contractor who has experience navigating these requirements and can handle the paperwork as part of the project scope.
Recommended Next Step
The decision between patching and resurfacing becomes clearer when a professional evaluates the actual condition of the façade, traces the water pathways, and assesses the stability of the surrounding surface. That assessment typically involves close inspection, non-destructive evaluation for delamination, and a review of drainage details—gutters, joints, flashing, and transitions.
Many homeowners find it helpful to document the current damage with photographs before scheduling an inspection. This creates a baseline for comparison and helps contractors understand which areas are of most concern.
Schedule Your Free On-Site Inspection or call (718) 849-8999 to discuss the project. City Suburb works with brownstone and historic masonry owners throughout Brooklyn, the Bronx, and Long Island, providing assessments that clarify scope, recommend compatible materials, and outline a repair plan designed to protect the home's character and long-term durability.
For additional guidance on evaluating contractors and understanding material choices, explore the project gallery or review related resources on masonry contractor selection and compatible repair methods.
Disclaimer: This article is for informational purposes and should not replace professional advice. Façade repair decisions should be based on a site-specific assessment by a qualified masonry contractor familiar with historic preservation standards and local building requirements.
Frequently Asked Questions
How is the right choice determined—patching or resurfacing?
Scope and stability come first (localized versus widespread), then moisture pathways, then finish expectations. The "over roughly 30%" heuristic can help frame planning, but field conditions decide. A professional inspection that includes non-destructive evaluation for delamination and a review of water pathways provides the most accurate guidance.
Will patching look mismatched in sunlight?
Skilled masons can blend patches effectively in most lighting conditions, but some variation in texture or tone may be visible depending on the angle of sunlight and the age of the surrounding stone. Even well-executed blending may read differently depending on texture, aging, and lighting. Resurfacing is typically chosen when uniformity is the priority because the entire treated area receives a consistent new layer.
Can resurfacing fail if moisture problems aren't fixed?
Yes. Resurfacing over unresolved moisture issues traps water behind the new layer, which can lead to delamination as freeze-thaw cycles continue. The coating may look perfect initially, but trapped moisture will eventually force it off. Always address drainage details—gutters, joints, flashing, and water shedding pathways—before committing to any repair method.
Does brick pointing affect brownstone peeling?
Poor or deteriorated pointing can absolutely contribute to façade failure. When joints between stones are open or cracked, water can migrate behind the brownstone face. Failed joints may allow water to travel behind the surface, contributing to deterioration patterns. That trapped moisture freezes, expands, and pushes surface layers off over repeated cycles. Repointing failed joints is often a critical part of addressing the root cause of spalling and delamination. Joints and face repairs should be evaluated together.
Do I need permits for brownstone façade work in NYC?
If the property is located in a designated historic district, exterior façade repairs may require review and approval from the New York City Landmarks Preservation Commission (LPC).[^3] Scope and materials can trigger review in designated historic districts; LPC guidance helps clarify requirements and application materials. An experienced contractor familiar with preservation standards can guide homeowners through the process and handle the necessary paperwork as part of the project.
About the City SuburbInc Insights Team
The City SuburbInc Insights Team is our dedicated engine for synthesizing complex topics into clear, helpful guides. While our content is thoroughly reviewed for clarity and accuracy, it is for informational purposes and should not replace professional advice.
References
[^1]: National Institutes of Health, Office of Research Facilities. "The Freeze-Thaw Cycle in Concrete and Brick Assemblies." Technical Bulletin. https://orf.od.nih.gov/TechnicalResources/Documents/Technical%20Bulletins/19TB/The%20Freeze-Thaw%20Cycle%20in%20Concrete%20and%20Brick%20Assemblies%20January%202019-Technical%20Bulletin_508.pdf
[^2]: National Park Service. "Glossary of Historic Masonry Deterioration Problems and Preservation Treatments." Cultural Resources Preservation Guides. https://www.nps.gov/orgs/1739/upload/book-glossary-masonry-deterioration.pdf
[^3]: New York City Landmarks Preservation Commission. "Permit Requirements for Façade Work in Historic Districts." NYC.gov. https://www.nyc.gov/site/lpc/applications/permit-application-guide.page
[^4]: Sandstone Society. "Brownstone Maintenance and Repair Guide." Consumer preservation guidance. https://sandstonesociety.org/wp/wp-content/uploads/2023/03/BrownstoneGuide_-Maintenance-and-Repair.pdf


Protecting Tenants and Pedestrians: A Framework for Scaffolding and Site Safety During Facade Repair