5 Essential Maintenance Tips to Extend the Life of Your Brownstone Façade
📌 Key Takeaways
Brownstone façades deteriorate rapidly once water penetrates the surface, but controlling runoff, cleaning gently, inspecting seasonally, protecting mortar joints, and maintaining breathability prevents expensive damage cycles.
- Runoff Control Provides Maximum Protection: Keeping gutters clear and directing downspouts away from walls prevents the repetitive soaking that causes spalling and joint erosion.
- Mortar Joints Defend Against Water: Healthy joints channel moisture away from stone faces; treating them as functional defense systems rather than decorative lines prevents structural failure.
- Hard Cement Creates Worse Damage: Modern Portland cement traps moisture behind rigid barriers, causing new cracks and accelerated spalling in the softer historic brownstone.
- Seasonal Photo Documentation Catches Problems Early: Comparing photos from each season reveals subtle crack growth, flaking progression, and moisture patterns before they become structural emergencies.
- Active Spalling Requires Immediate Specialists: Fresh stone flakes appearing weekly, bulging walls, widening cracks, or chronic interior dampness signal conditions beyond homeowner maintenance.
Proactive stewardship prevents compound repair costs and preserves architectural character.
Historic brownstone owners in Brooklyn, Bronx, and Long Island will gain a practical maintenance framework here, preparing them for the detailed seasonal checklist and red flag identification guide that follows.
Sunday morning. Coffee in hand. The brownstone's façade catches the light—and then you see it. Fresh flakes scattered on the stoop like confetti you didn't order.
That small crack near the window? Last spring it was barely visible. Now it's wider, darker, and after last week's rain, there's a damp spot on the interior wall. The anxiety settles in your chest, familiar and heavy. How bad is this? How much will it cost? Am I already too late?
You're not alone in this worry, and you're not too late. What you're seeing is the early warning system of a brownstone façade doing exactly what it's designed to do—communicate with you before small issues become structural emergencies.
Why Brownstones Fail Fast When Water Gets In (and Why 'Quick Fixes' Backfire)
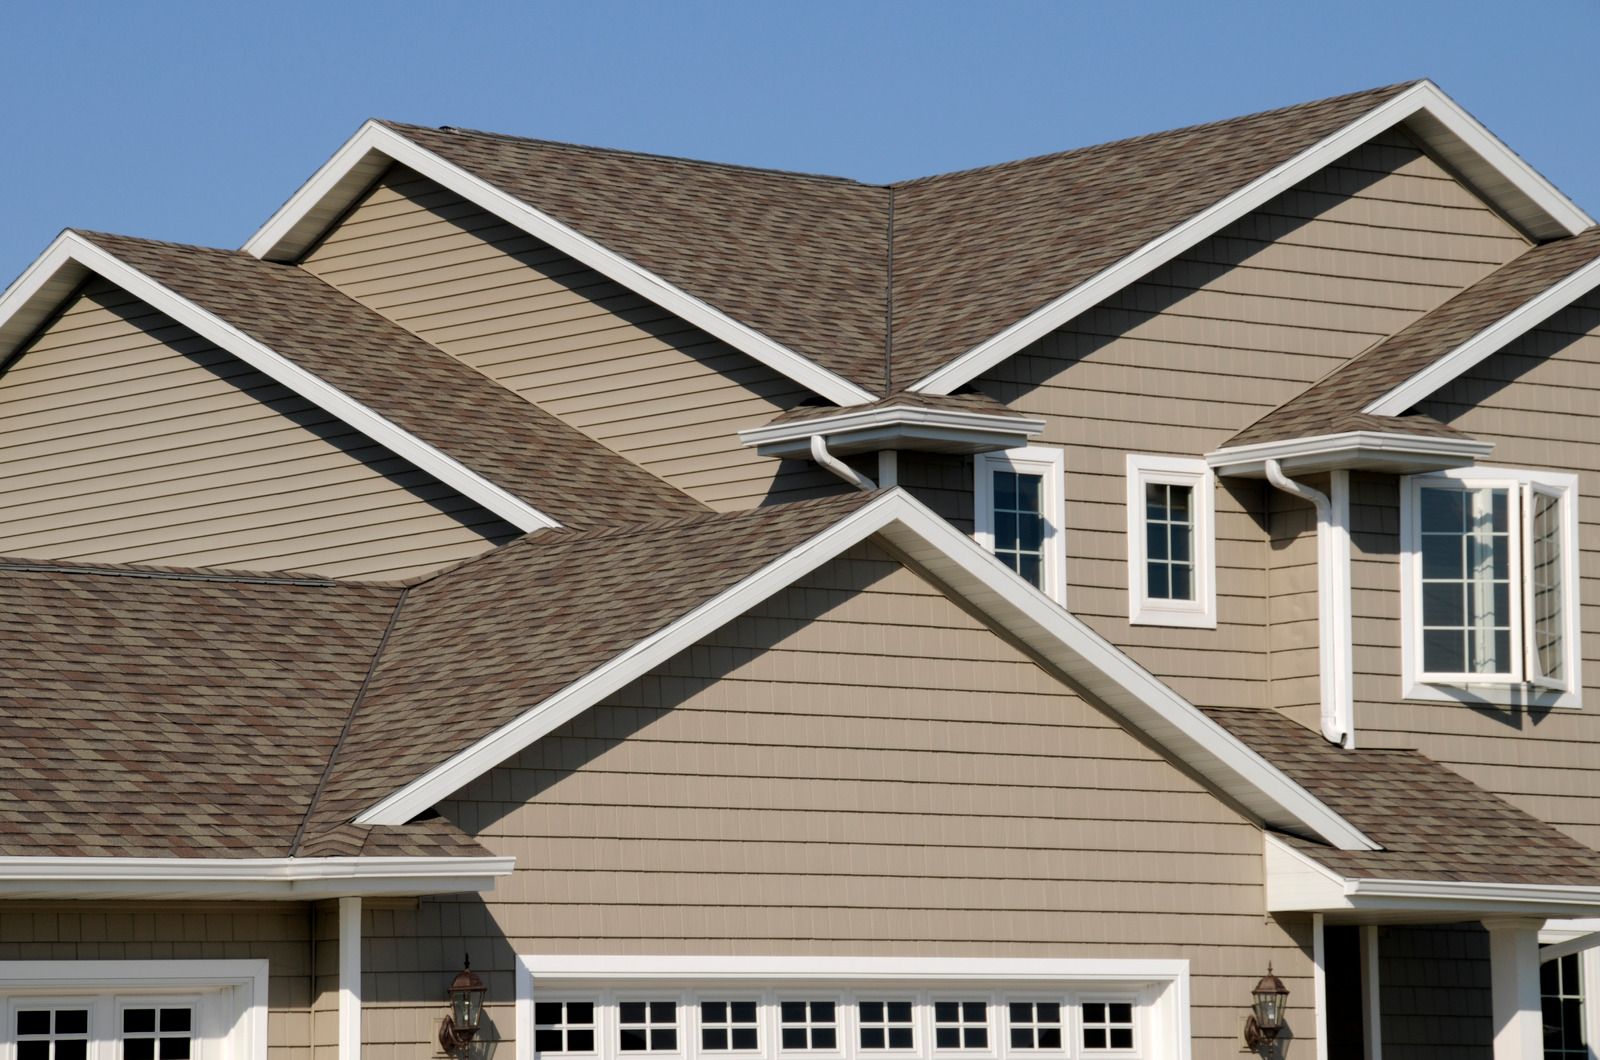
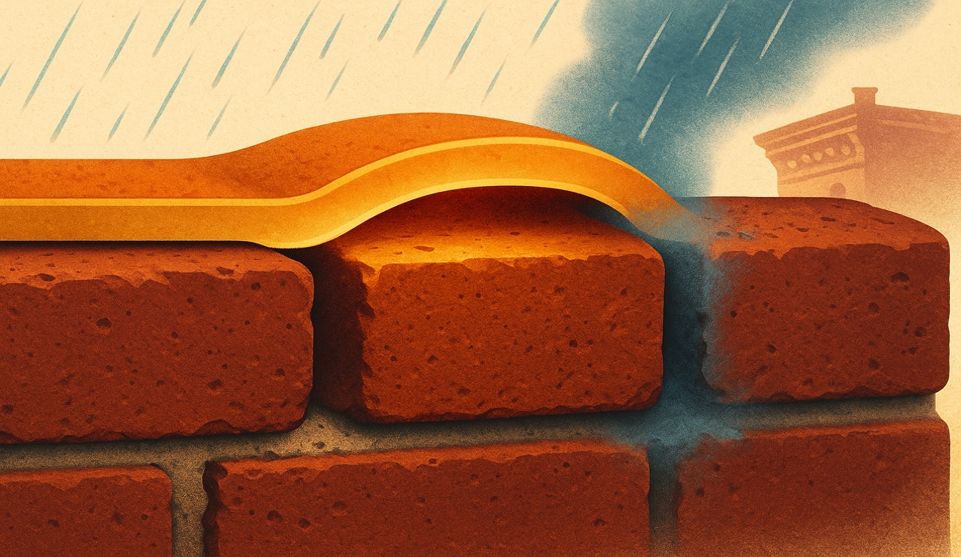
The Façade as 'Skin': Once Breached, Peeling and Spalling Accelerate
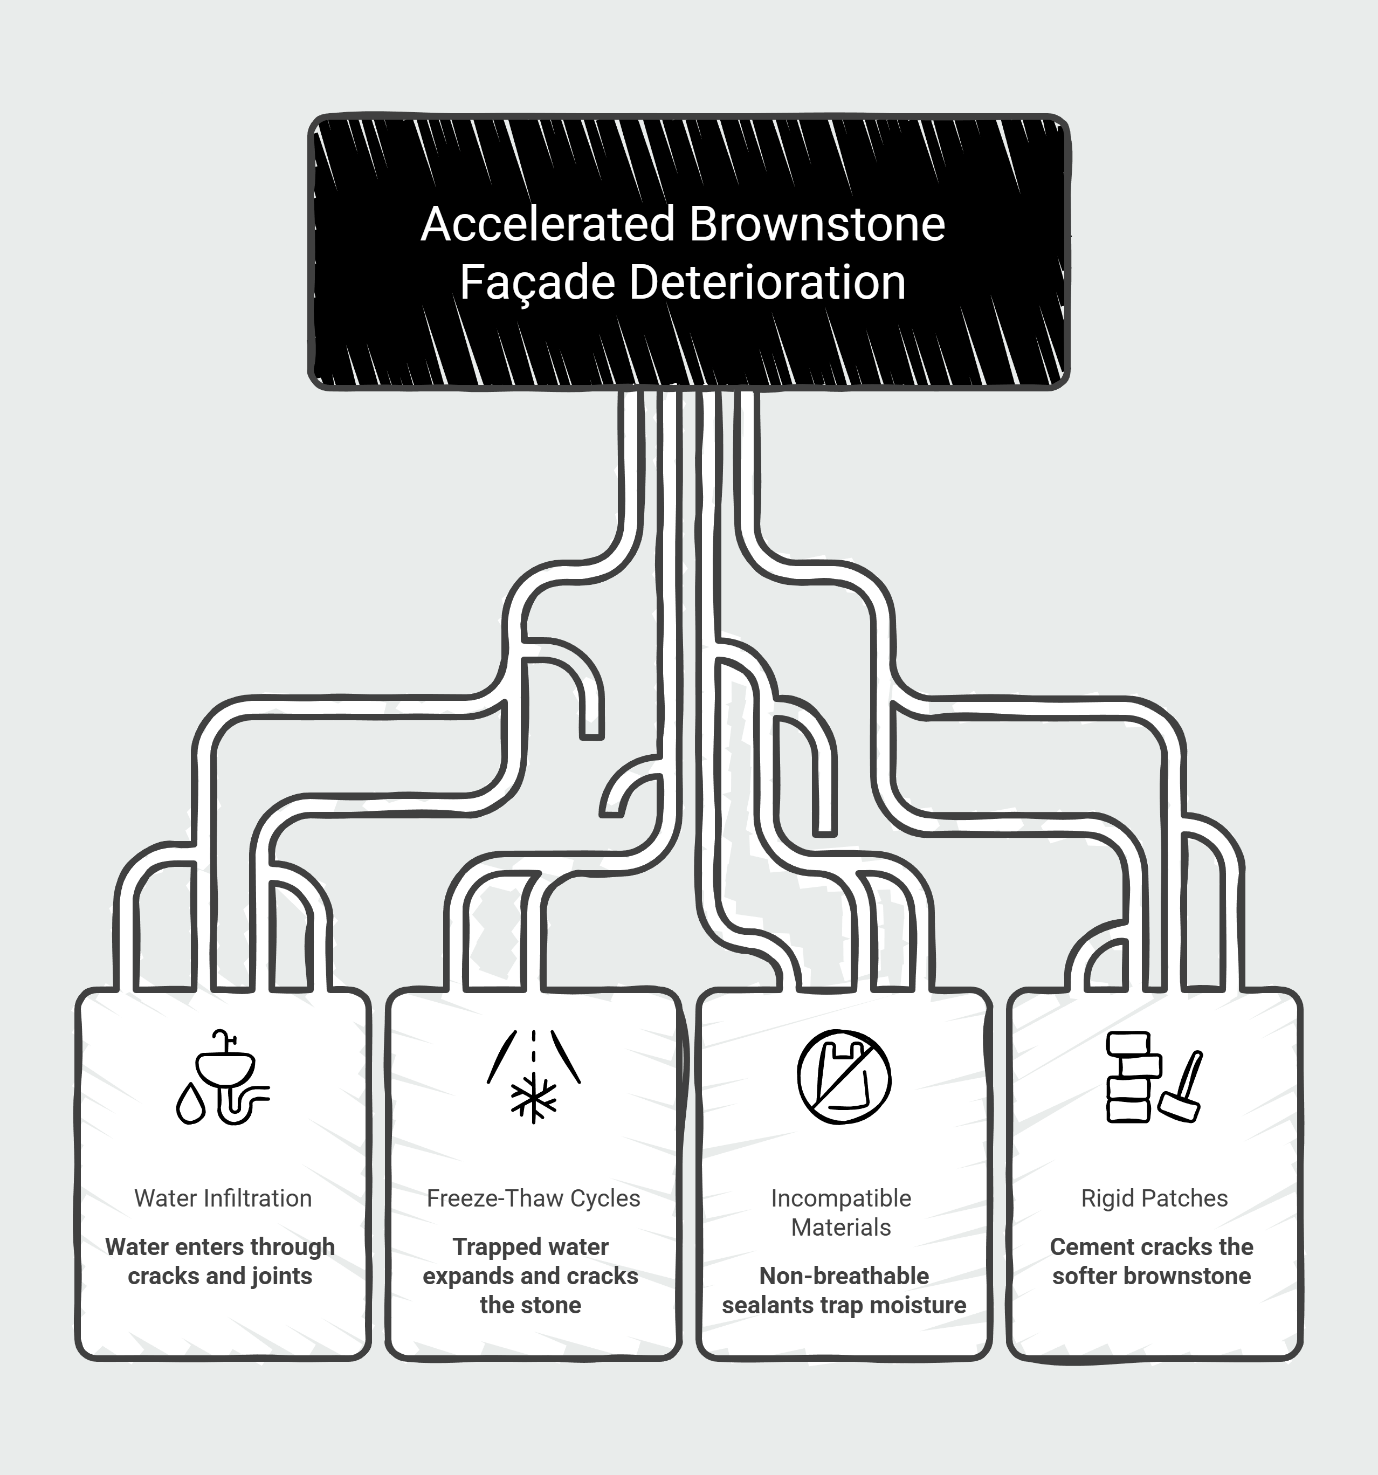
Think of your brownstone's façade as the protective skin of your home. When that skin stays intact and dry, the building underneath remains stable for generations. But brownstone isn't like brick or concrete. It's a softer, more porous sedimentary stone—essentially sandstone cemented by iron oxide and clay minerals. When water finds a way in through a crack, an open joint, or prolonged exposure, it doesn't just sit there. It migrates into the stone's pores.
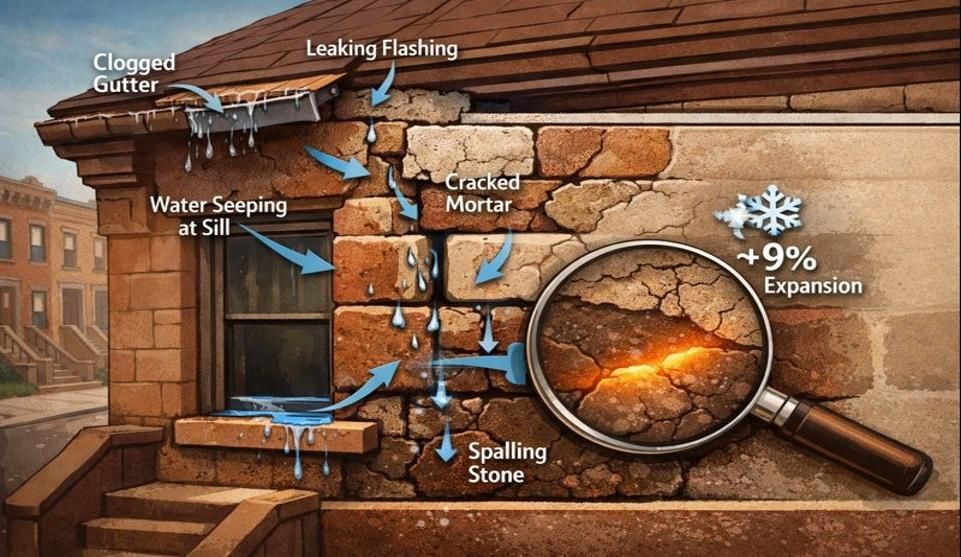
Here's where the damage cycle begins. In Brooklyn, Bronx, and Long Island climates, that trapped water freezes during winter. Frozen water expands. The expansion creates internal pressure that causes the stone's surface to lift, crack, and eventually flake away—a process called spalling. ****
Once spalling starts, the newly exposed layers are even more vulnerable. Each freeze-thaw cycle peels away more material, like an onion losing its outer layers. What began as a hairline crack can become a significant structural concern within just a few seasons.
The stone's "immune system" is its outer surface and the mortar joints surrounding it. Protect those, and you protect everything underneath.
Compatibility Matters: Avoid Hard, Non-Breathable Materials
This is where well-meaning quick fixes cause long-term harm. A neighbor might recommend smearing standard concrete patching compound over a crack. A handyman might suggest sealing the entire façade with a waterproof coating. Both approaches ignore a fundamental principle: brownstone needs to breathe.
Historic masonry works through a balance of absorption and evaporation. Moisture naturally moves through the stone and exits as vapor. When you trap that moisture with a non-breathable sealant or patch the soft stone with hard modern cement, you create a pressure cooker. The moisture can't escape, so it builds up behind the barrier. Eventually, it finds a weak point—and when it does, the resulting damage is often worse than the original problem.
Modern Portland cement is significantly harder than brownstone and historic lime mortar. When the building naturally shifts with temperature changes or settling, the rigid cement doesn't flex. Instead, it creates new cracks at the boundaries—or worse, it holds firm while the softer brownstone around it crumbles. This is why professional masonry services emphasize material compatibility above speed or cost.
The preservation approach prioritizes gentle care and breathable materials that work with the building's original design, not against it.
"Water is the enemy; keeping it away is the strategy."
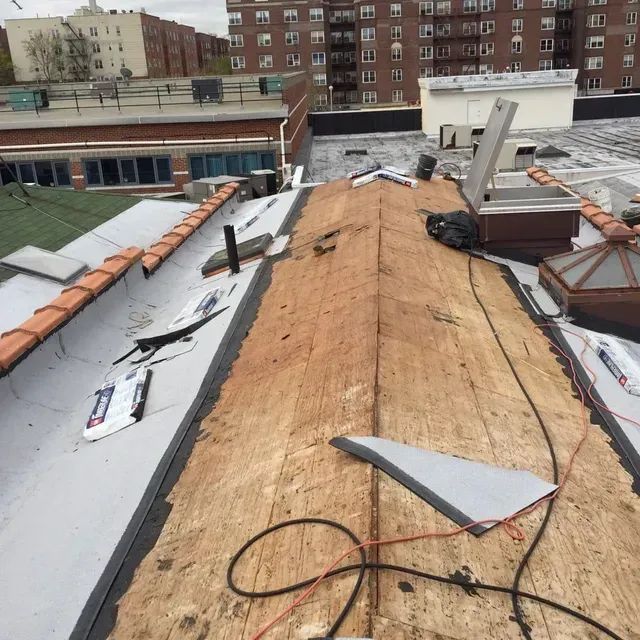
Tip 1: Control Roof Runoff (The #1 Maintenance Habit That Protects the Façade)
Clean Gutters and Leaders Regularly
The most effective thing you can do to protect your brownstone façade costs nothing but time: keep your gutters and downspouts clear. When gutters clog with leaves, debris, and the gritty sediment that accumulates from roof wear, water has nowhere to go except over the sides. That overflow doesn't just drip—it sheets down your façade in a steady wash during every rainstorm.
Constant water exposure is exactly what brownstone cannot tolerate. Even when the façade looks dry between storms, the repetitive soaking weakens the stone's surface and saturates the mortar joints. Over months and years, this creates the conditions for spalling, joint erosion, and interior moisture problems.
Schedule gutter cleaning at least twice a year: once in late fall after the leaves have dropped, and again in early spring before the heavy spring rains arrive. If you have mature trees near your home, consider a third cleaning in mid-summer. The investment of a few hours—or the cost of professional gutter replacement and maintenance service—pays for itself many times over by preventing water-driven façade damage.
Make Sure Downspouts Discharge Away From the Wall
Cleaning the gutters is only half the equation. You need to verify that your downspouts are directing water away from the foundation and façade base, not pooling it there. Walk around your home during a moderate rain and observe where the water goes.
Ideally, downspouts should extend at least four to six feet away from the building, either through buried drain lines or surface extensions. If water is discharging directly at the base of the wall, it saturates the lowest courses of stone—the area that already bears the most structural load and is most vulnerable to freeze-thaw damage. Redirecting that flow is a simple fix that protects both your façade and your foundation from chronic moisture exposure.
Tip 2: Clean Gently—Never Blast the Stone
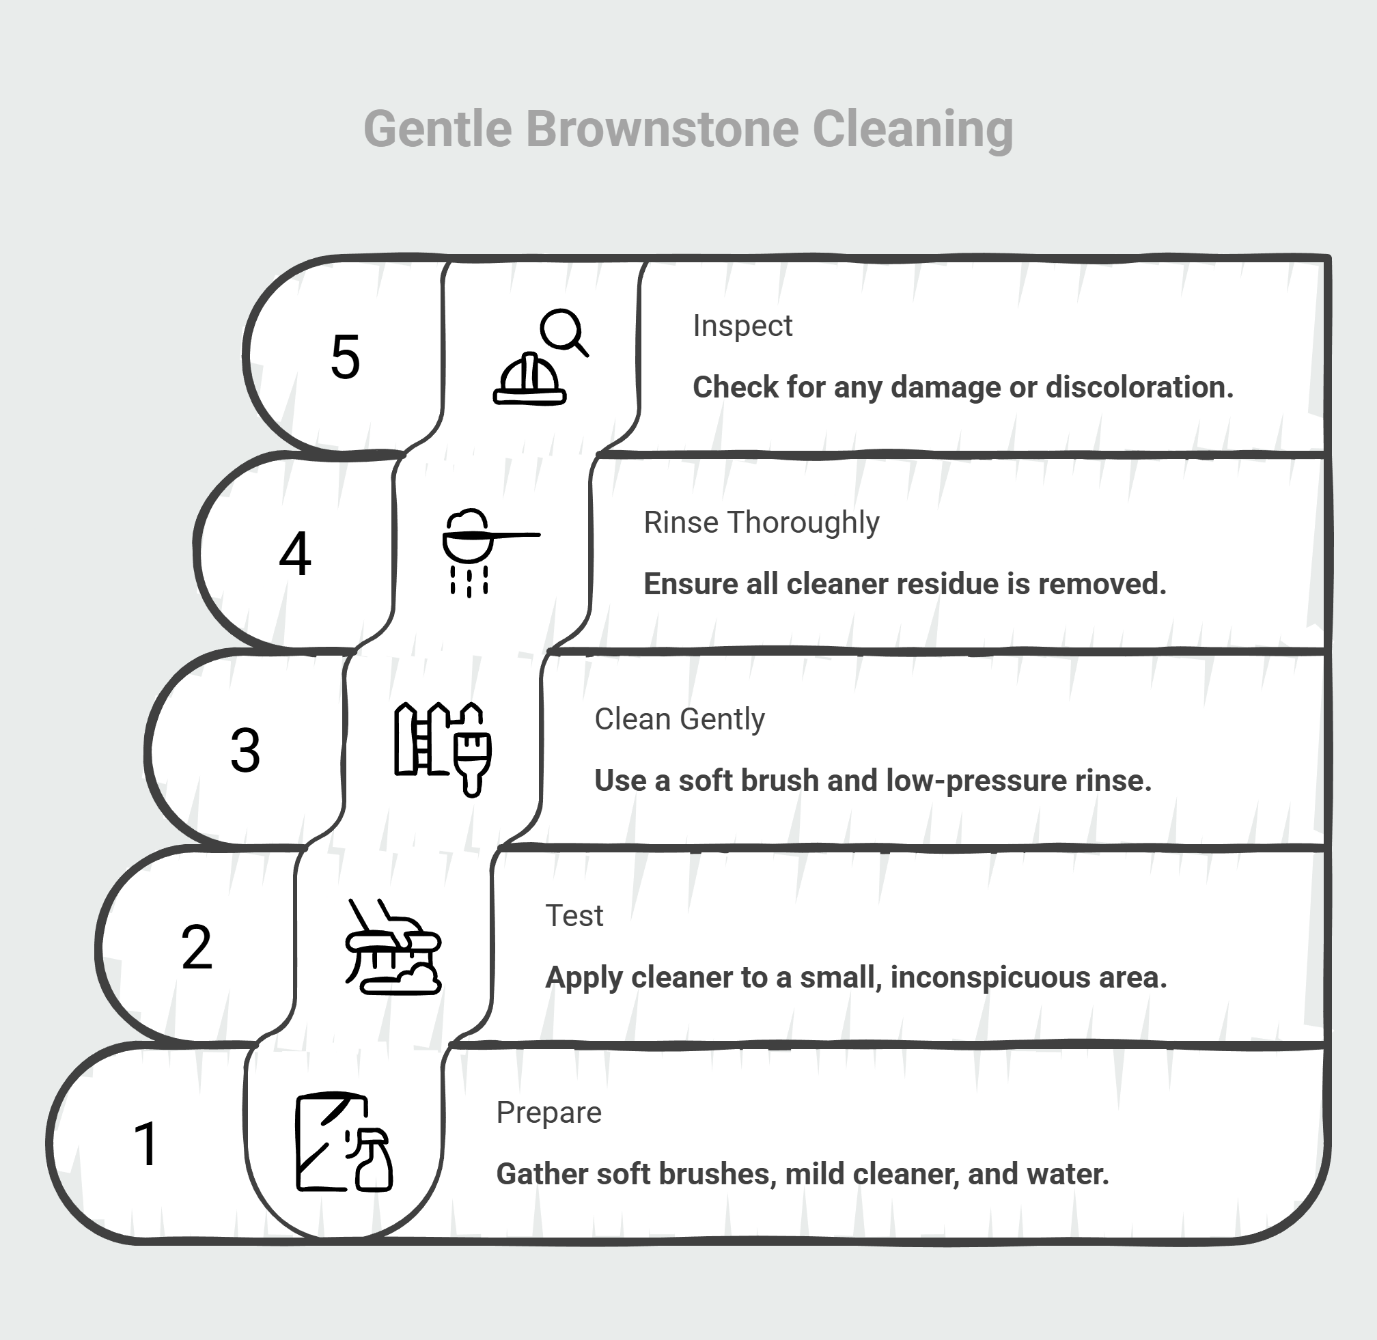
Safe Approach: Soft Brush, Mild Cleaner, and Low-Pressure Rinse
Brownstone accumulates urban grime, biological growth, and atmospheric pollutants over time. Regular gentle cleaning helps the façade look its best and allows you to inspect the surface condition clearly. The key word is gentle.
Start with the least aggressive method: a soft-bristled brush (natural or nylon, never wire) and plain water. For stubborn dirt or organic staining, use a mild, pH-neutral masonry cleaner diluted according to the manufacturer's instructions. Apply the solution with a sponge or soft brush, let it dwell for a few minutes, then rinse with a standard garden hose at low pressure.
Always test your cleaning method on a small, inconspicuous area first—perhaps near the foundation or behind a bush—to ensure it doesn't discolor or damage the stone. Work in sections from top to bottom to avoid streaking, and rinse thoroughly to prevent cleaner residue from being trapped in the stone's pores.
The goal is to remove surface contamination without abrading or etching the stone. Patience and light pressure preserve the façade's protective outer layer. For additional technical guidance on cleaning historic masonry, the
GSA provides detailed procedures developed for federal preservation projects.
What to Avoid: High-Pressure Washing, Harsh Acids, and Aggressive Wire Brushes
This is where good intentions can cause irreversible harm. High-pressure power washers are marketed as the fast solution for cleaning exterior surfaces, but they are generally incompatible with soft historic masonry. The concentrated stream can blast away the stone's weathered surface layer—the very layer that has hardened over time and provides the most protection.
Once that protective "case hardening" is stripped away, the softer interior stone is exposed. The newly exposed surface absorbs water more readily, which accelerates spalling. Pressure washing can also drive water deep into cracks and open joints, forcing moisture into areas that should remain dry. If you must use pressure washing equipment, hire a specialist who understands historic masonry and can adjust pressure, nozzle distance, and technique appropriately—or better yet, stick with gentle hand cleaning.
Similarly, avoid harsh acidic cleaners (like muriatic acid) unless you're working with a professional who understands their use on historic stone. Acid can etch brownstone, alter its color, and weaken the surface. Wire brushes create visible scratches and remove material. The fastest cleaning method is rarely the safest one for preservation.
Tip 3: Do a 15-Minute Seasonal Inspection and Photo Log
What to Look For: Hairline Cracks, Flaking, New Stains, and Open Joints
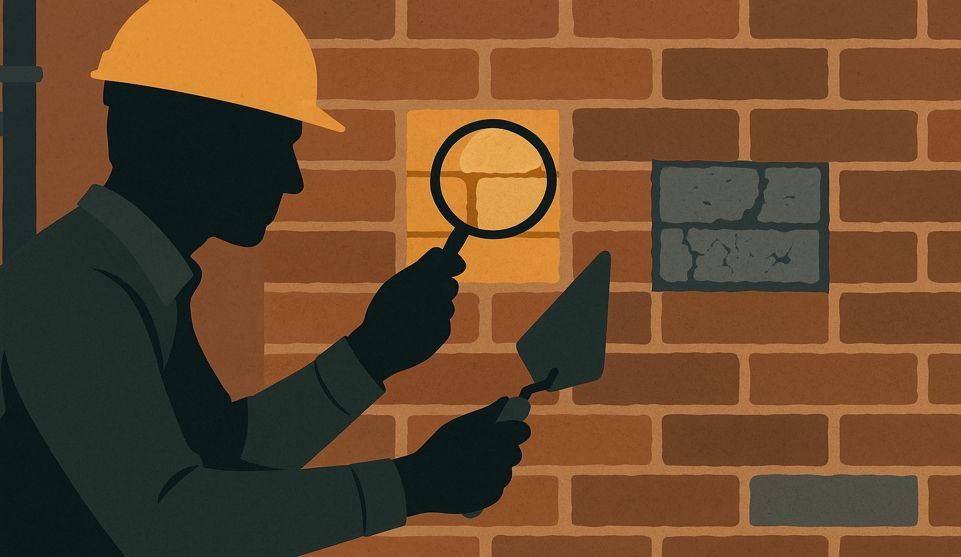
You don't need professional training to catch early warning signs—you just need to look regularly. Set a reminder in your calendar for the beginning of each season (spring, summer, fall, winter) and spend 15 minutes walking the perimeter of your home with a notebook or smartphone.
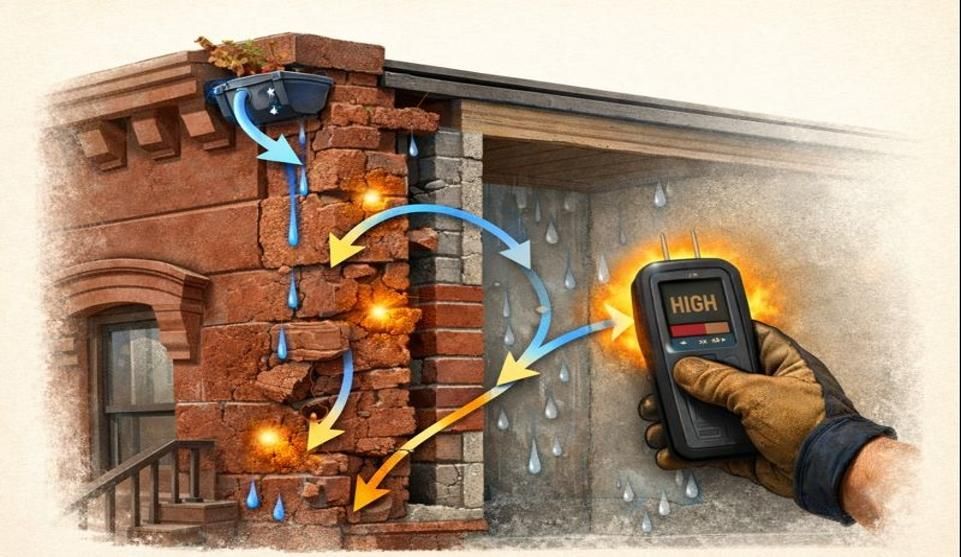
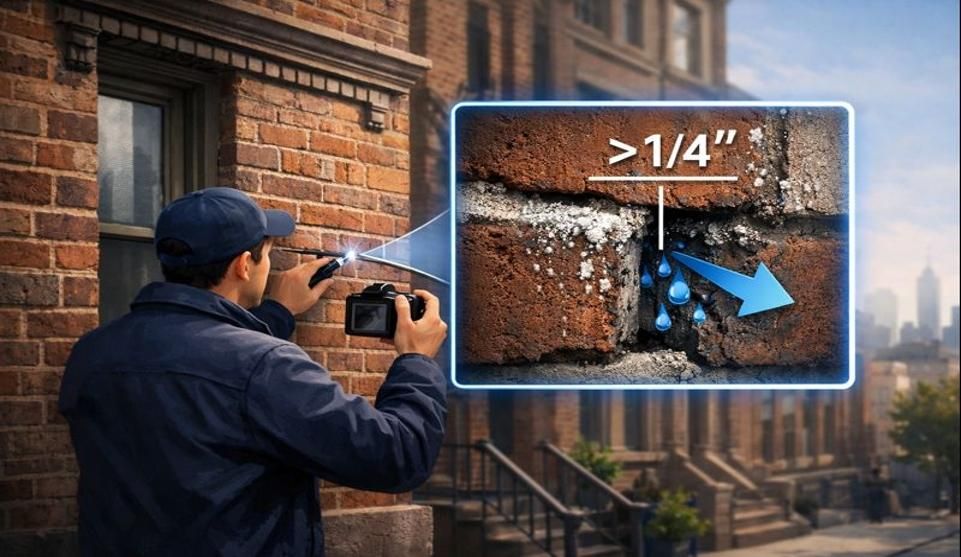
Look for changes. Hairline cracks that weren't there last season. Flakes of stone on the stoop, windowsills, or at the base of the wall. New dark staining that suggests water is traveling behind the surface. Mortar joints that look recessed, crumbly, or have small gaps. White crystalline deposits (efflorescence) that indicate moisture is wicking through the masonry and leaving behind mineral salts as it evaporates. **** This white powder is proof that water is currently traveling through your wall—trace the powder upward to find the leak source.
Taking photos during each inspection creates a visual record. When you compare this season's photos to last season's, subtle changes become obvious. You'll notice if that small crack near the cornice is growing, if the flaking near the stoop is getting worse, or if a damp spot that appeared after a storm has now become permanent. This documentation is invaluable when you eventually consult with a brick pointing or restoration specialist—they can see the progression and make more informed recommendations.
Check 'Hot Spots': Sills, Cornices, Parapets, Around Window Heads and Lintels, Stoop Edges
Not all areas of your façade are equally vulnerable. Certain architectural features act as "hot spots" where water naturally concentrates and deterioration happens faster.
Window heads and lintels are prime suspects. Water runs down the façade and collects at the horizontal plane where the window meets the wall. If the mortar joints around the window frame are compromised, water finds a direct path into the building envelope.
Sills function as ledges that interrupt water flow, but they also bear the brunt of exposure. Check the underside of projecting sills—this area often shows the first signs of spalling because water drips from the edge and keeps the underside damp.
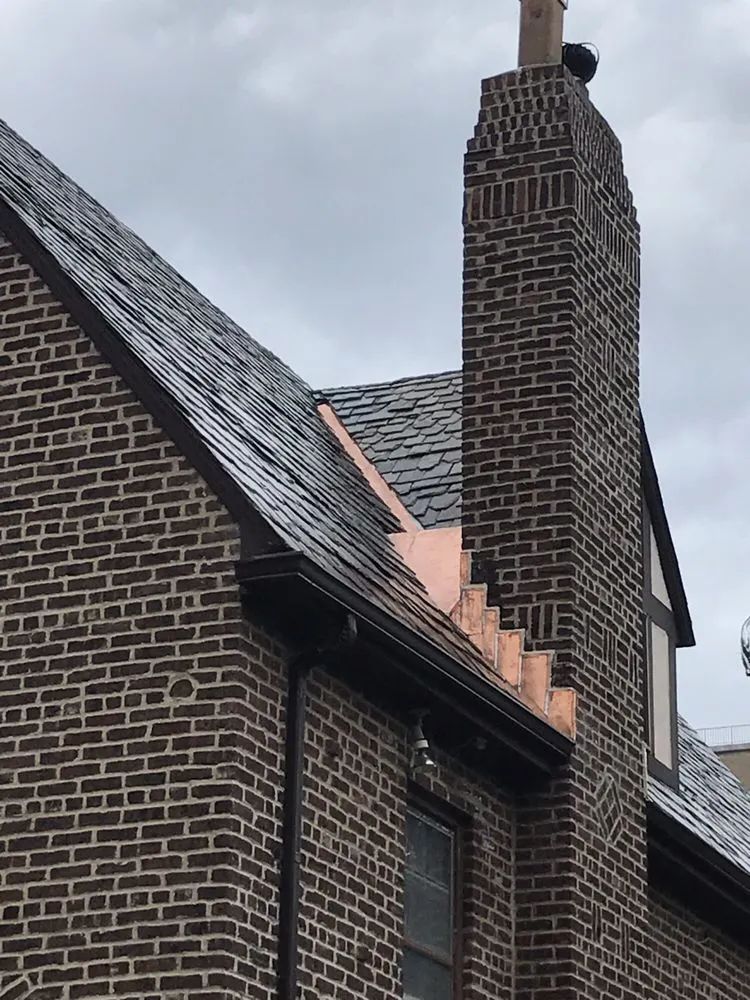
Cornices and parapets at the roofline are exposed to the most severe weather. They receive direct rainfall, snow accumulation, and harsh freeze-thaw cycles. Any separation between the coping stones and the wall below creates a water entry point. If the parapet area shows visible distress, consider reviewing parapet wall repair options before winter damage compounds.
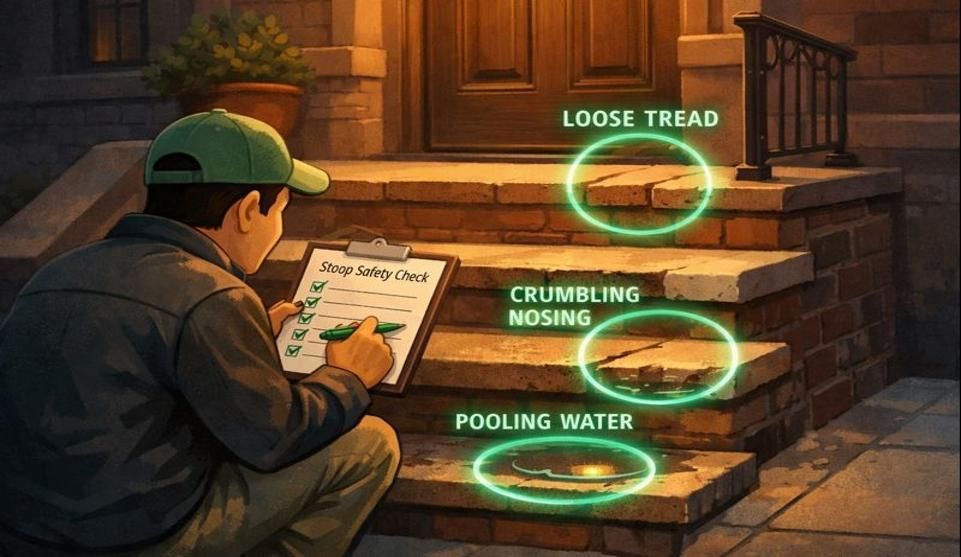
Stoop edges and steps take both weather exposure and physical wear from foot traffic, de-icing salts, and planters. Cracks at the nose of steps or where the stoop meets the building are common and should be monitored closely.
By focusing your inspections on these hot spots, you'll catch problems early—often before they become visible from normal viewing distances. For a deeper understanding of what healthy joints should look like throughout the year, refer to this season-by-season guide to brick joint maintenance.
Tip 4: Treat Mortar Joints Like a Defense System, Not a Cosmetic Line
Why Joints Matter for Water Intrusion
Mortar joints aren't decorative grout lines. They are the primary water-shedding system for your façade. When joints are intact, they create a slightly recessed channel that directs water down and away from the stone faces. When joints erode, crack, or develop gaps, they become water highways that channel moisture directly into the wall assembly.
Think of the joints as the seams in a raincoat. A raincoat with failing seams doesn't just look bad—it stops protecting you from the rain. ****
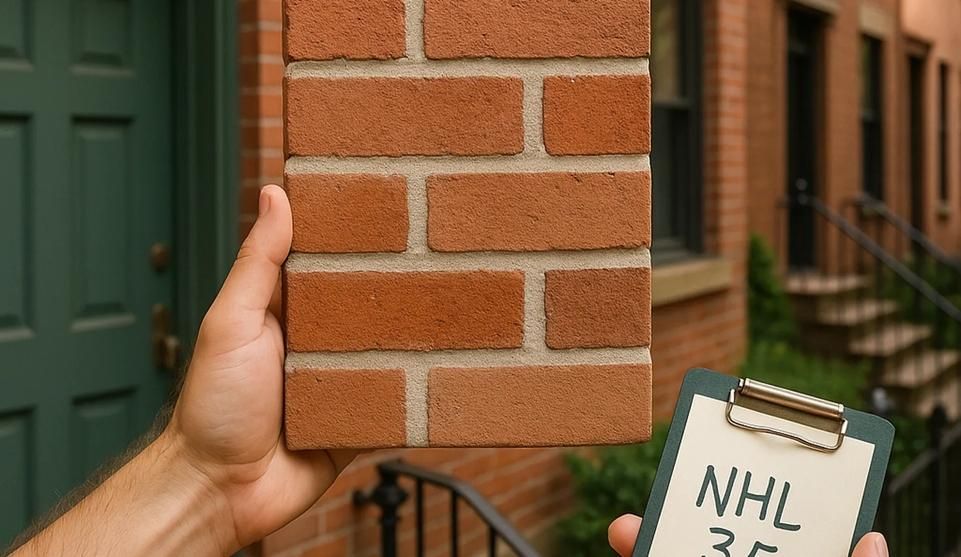
Healthy joints are typically slightly flexible, appropriately recessed (not flush or bulging), and free of cracks or gaps. They should be made from a compatible lime-based mortar that's softer than the brownstone itself, allowing the mortar to act as a sacrificial buffer that erodes before the stone does.
Early Action: When to Seal and Monitor vs. When Repointing Is Required
Not every crack requires immediate professional repointing, but every crack requires attention. Small hairline cracks that haven't opened into gaps can often be monitored. If the crack is stable (not growing between inspections) and water isn't visibly penetrating, your strategy is watchful waiting.
However, if you observe any of the following, it's time to consult a specialist:
- Mortar that's recessed more than a quarter-inch from the stone face
- Crumbly, sandy mortar that you can scrape out with a fingernail
- Visible gaps where mortar is missing entirely
- Cracks that are widening between seasonal inspections
- Signs of interior dampness (staining, peeling paint, musty odors) that correlate with specific exterior joint failures
Professional repointing involves carefully removing deteriorated mortar to a proper depth, cleaning the joint, and refilling it with a compatible lime-based mortar. It's skilled, labor-intensive work that should be performed by experienced masons who understand historic materials. For more guidance on recognizing when joints have crossed the threshold from maintenance to repair, see 5 signs you need brick pointing.
Non-Negotiable: Never Smear Random Cement Over Historic Joints
Here's the preservation principle that prevents the most common homeowner mistake: never apply modern Portland cement or pre-mixed patching compounds directly to historic brownstone joints. This is the handyman special that causes generational damage.
Modern cement is harder, denser, and less breathable than the soft brownstone and original lime mortar. When you smear cement into cracks or over eroded joints, you create a rigid cap that traps moisture behind it. The building's natural flex—caused by temperature changes, settling, and seasonal expansion—concentrates stress at the boundary between the hard cement and the soft stone. The result is new cracks that radiate out from the "repair," often causing more extensive spalling than the original problem.
If you're tempted to patch a joint yourself, stop. Call a specialist. The proper repair uses materials that match the original in both composition and strength. This principle of material compatibility is explored in depth in this article on lime mortar vs. cement for old masonry.
Tip 5: Avoid Moisture Traps—Use Breathable, Masonry-Safe Protections
Why Non-Breathable Paints and Sealers Can Make Damage Worse
Many homeowners believe that sealing the façade with a waterproof coating will solve moisture problems. In reality, it can make them worse. Brownstone is a porous material that naturally absorbs some moisture from rain and humidity. The stone's survival depends on its ability to release that moisture through evaporation—a process often called "breathing."
When you apply a non-breathable paint, elastomeric coating, or waterproof sealer, you block the stone's ability to dry out. Moisture that enters through cracks, failed joints, or from interior sources (like a roof leak or plumbing issue) becomes trapped. The trapped moisture migrates behind the coating, building pressure. Eventually, that pressure may cause the coating to blister and peel, sometimes taking the stone's surface layer with it. The EPA provides guidanceon moisture control in building design and maintenance that reinforces these principles.
If you're considering any type of coating, consult with a preservation specialist first. There are breathable masonry coatings designed specifically for historic stone, but they require proper surface preparation and application. In most cases, keeping the stone clean and the joints intact provides better long-term protection than any coating.
Keep Planters, Soil, and Vegetation From Holding Moisture Against the Base
Moisture traps aren't always chemical—sometimes they're physical. Planter boxes placed directly against the façade, soil piled up to cover the foundation, and climbing vines all create conditions where moisture lingers against the stone surface for extended periods.
Planters should be set at least six inches away from the wall with drainage that directs water away, not toward the building. If you have foundation plantings, ensure the soil level slopes away from the wall and doesn't cover the bottom courses of stone. While ivy-covered brownstones have romantic appeal, the vine tendrils hold moisture against the façade and secrete enzymes that can erode the stone's surface.
As the aerial rootlets work their way into cracks and mortar joints, they expand as they grow, effectively wedging the masonry apart.
The goal is to create a dry zone at the base of the façade where air can circulate and water can evaporate quickly. For areas where the parapet wall meets the roofline, similar principles apply—keep debris from accumulating in corners and ensure water has a clear path to gutters and downspouts.
Red Flags: When to Stop Maintaining and Call a Specialist Now
Active Spalling, Bulging Areas, Widening Cracks, Chronic Interior Dampness, Missing or Recessed Mortar
Maintenance has limits. There comes a point when the issue has progressed beyond safe homeowner intervention and requires professional assessment and repair. Recognizing that boundary protects both your safety and your investment.
Active spalling means you're finding fresh stone flakes regularly—weekly or after each weather event. The stone is actively deteriorating, and the damage is accelerating. This isn't a "wait and see" situation. Stop your maintenance routine and call a specialist immediately.
Bulging or bowing in the façade indicates that the wall is losing its structural integrity. This can be caused by corroded metal ties, water-damaged interior framing, or failed masonry connections. Bulging is a serious structural concern that requires immediate professional evaluation.
Cracks that widen between inspections signal ongoing movement or failure. What begins as a hairline crack can become a structural issue if left unaddressed. Take photos monthly and compare—if the crack is growing, call a specialist.
Chronic interior dampness—staining on interior plaster, peeling paint near exterior walls, musty odors, or visible mold—tells you that water has found a pathway through your façade. The source could be a failed joint, a crack around a window, or rising damp from the foundation. Professional diagnostic work is needed to identify the entry point and design the appropriate repair strategy.
Missing or deeply recessed mortar means your wall's water defense system has already failed in that location. Waiting only allows more water to penetrate and more adjacent areas to fail.
If you recognize any of these conditions, your next step isn't a hardware store—it's a phone call to a qualified mason who specializes in historic brownstone restoration. To understand the specific mechanisms behind façade deterioration, read more about why brownstone peels and how spalling develops.
Why a Professional Assessment Prevents 'Repairing Twice'
Corrective maintenance prevents the compound costs of failed DIY attempts. When façade work is done incorrectly—with incompatible materials, improper technique, or without addressing the underlying moisture source—the repair often fails within a few seasons. You pay for the work, watch it deteriorate, and then pay again for the proper repair plus remediation of any additional damage the first attempt caused.
A professional assessment gives you a clear picture of what's actually happening behind the visible symptoms. Experienced masons can identify whether that crack is just a surface issue or the symptom of structural movement. They can tell you if that flaking stone needs simple repointing or more extensive brownstone patching and resurfacing. They understand the difference between "stop the water" repairs and "make it pretty" repairs—and which one needs to happen first.
This evaluation also provides a roadmap. Not every issue needs to be fixed immediately. A good assessment will prioritize problems by urgency and risk, helping you make informed decisions about timing and budget. That transparency is valuable for homeowners who want to be responsible stewards without overreacting to every minor imperfection.
A Simple Seasonal Stewardship Checklist
This four-season guide gives you a practical framework for protecting your brownstone façade year-round. Keep this checklist with your home maintenance records, and check off each item as you complete it.
Spring (March–May): Post-Winter Recovery
- Walk the perimeter and photograph all façades in consistent lighting
- Look for new cracks, flaking, or mortar damage from freeze-thaw cycles
- Clear any debris from window wells and foundation drains
- Verify gutters and downspouts are intact and water flows away from walls
- Schedule professional assessment if you observed chronic ice dams or icicle buildup during winter
Summer (June–August): Gentle Cleaning and Monitoring
- Perform gentle façade cleaning with soft brush and mild cleaner (spot test first)
- Inspect for biological growth (algae, moss) especially on north-facing walls
- Check for new staining patterns that suggest hidden moisture movement
- Monitor any cracks flagged in spring inspection—photograph again to track changes
- Ensure foundation plantings aren't holding moisture against base of walls
Fall (September–November): Pre-Winter Preparation
- Complete thorough gutter and downspout cleanout before leaf drop ends
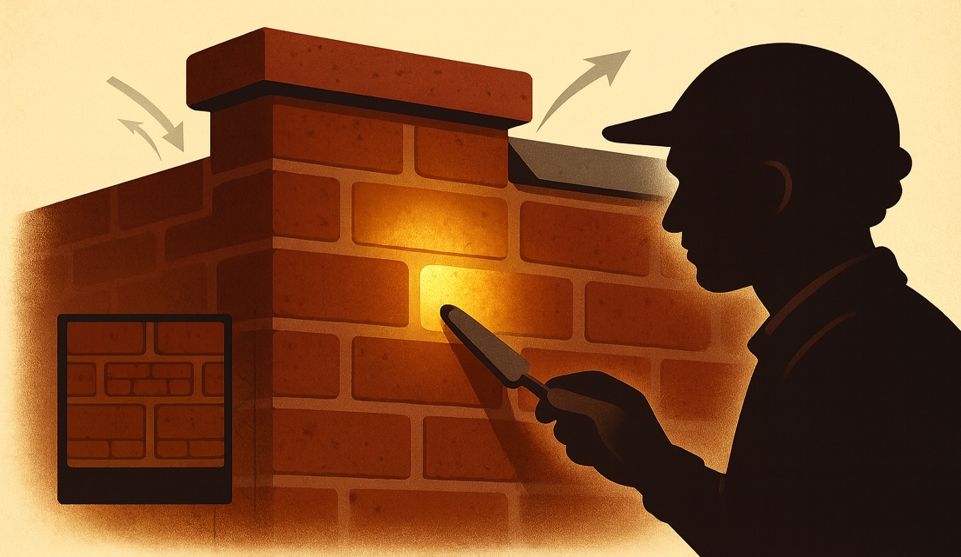
- Perform a 'raking light' inspection with a flashlight at dusk. Hold the light flat against the wall and shine it across the surface—this highlights the shadows of hairline cracks and surface irregularities that are invisible in flat daylight
- Inspect mortar joints around all window frames and door openings
- Clear leaves and organic debris from window sills, cornices, and roof valleys
- Address any open joints or deteriorated caulking before freeze arrives
Winter (December–February): Observation and Vigilance
- During and after snowstorms, observe where ice dams form and where meltwater flows
- Check interior walls near windows and corners for new dampness or staining
- Avoid using de-icing salts near stone steps and stoop—use sand for traction instead
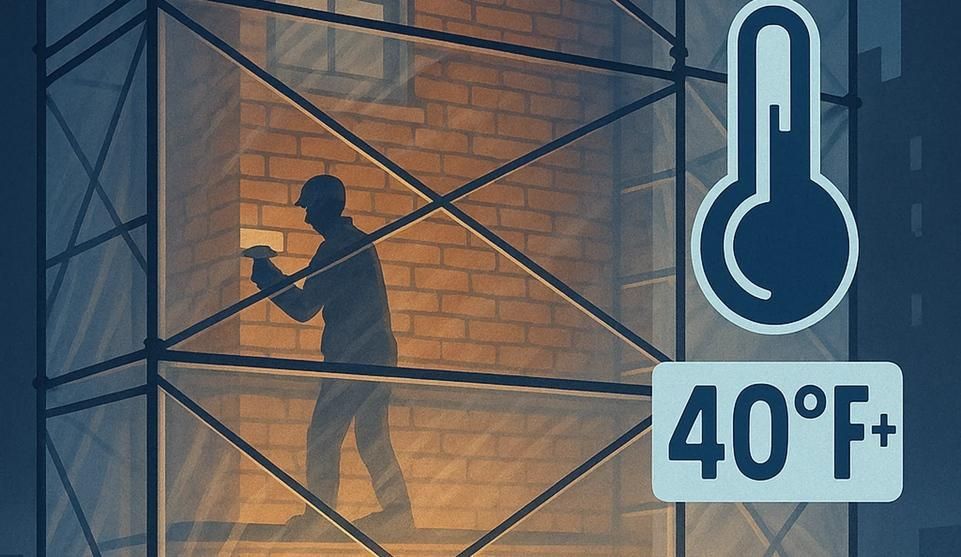
- Do not attempt emergency "patch" repairs with hardware store cement in freezing weather
- Document any areas where icicles persistently form (signals water concentration point)
Red Flag Reminder: If you observe active flaking, bulging, widening cracks, or chronic interior dampness at any point in the year, stop your maintenance routine and schedule a professional evaluation immediately.
What Our Clients Say
"They brick pointed our home. The team did a very thorough job, showed when they said and completed as described."
"Great job on pointing and stop the leak. Very professional workers. What a pleasant experience. Highly recommended."
Next Step: Get Clarity Without Committing to a Full Project
You've invested time in understanding how to care for your brownstone façade. The next step is knowing exactly what condition your specific home is in and what, if anything, needs professional attention.
Get Your FREE Photo Estimate — Not ready for an on-site visit? Send us clear photos of your façade concerns from multiple angles and distances. We'll provide an initial assessment of what we're seeing and whether it warrants a closer look. No obligation, no pressure—just honest guidance from experienced masons who work with historic Brooklyn, Bronx, and Long Island brownstones every day.
Explore Our Project Gallery — See real brownstone façade restorations we've completed throughout the area. Each project includes before, during, and after photos that show the care and technique required for proper historic masonry preservation. Understanding what quality work looks like helps you make informed decisions about your own home.
When you're ready for that next level of insight—or if your seasonal inspection revealed red flags that need professional eyes—we're here. Our team understands that your brownstone isn't just a building; it's a legacy you're protecting for the next generation.
For service area information, visit areas we serve or contact us directly at (718) 849-8999.
Frequently Asked Questions
How Often Should A Brownstone Façade Be Cleaned?
Cleaning frequency depends on exposure and staining patterns. Gentle cleaning is occasional—not constant—and should never trade cosmetic improvement for surface damage. Most brownstones benefit from light cleaning once or twice per year, focusing on areas with visible biological growth or atmospheric soiling.
Can Pressure Washing Damage Brownstone?
Yes. High pressure can scar soft stone and drive water into joints and micro-cracks. The concentrated stream can remove the stone's protective case-hardened surface layer, exposing softer interior material that deteriorates more rapidly. When cleaning is needed, low-pressure, gentle methods are the safer approach.
What Causes Brownstone To Peel Or Flake?
Peeling and flaking are typically associated with moisture entering the stone and cycling through wetting and drying. In winter climates, freeze-thaw cycles cause particular damage as trapped water expands when frozen. Incompatible materials that trap moisture behind hard, non-breathable barriers can accelerate this deterioration.
Are Cracks In Brownstone Always Serious?
Not always. Some hairline cracking may remain stable for years. The key is change over time: widening cracks, patterns near openings, or cracks paired with bulging or spalling are stronger signals that professional evaluation is needed. Document cracks with seasonal photos to track progression.
What Are The First Signs Mortar Joints Need Professional Attention?
Missing mortar, recessed joints (more than a quarter-inch), crumbling mortar that can be scraped with a fingernail, and open gaps that collect water are common early warning signs. When these conditions are widespread or correlate with interior dampness, professional evaluation is advisable.
Should Brownstone Be Sealed Or Painted?
It depends on the specific conditions and products. Some coatings can trap moisture and worsen deterioration over time. Coating decisions should be approached cautiously and guided by principles of compatibility and breathability rather than waterproofing at all costs. Always consult with a preservation specialist before applying any coating to historic masonry.
Disclaimer: This article provides general maintenance guidance for historic brownstone façades. It is not a substitute for professional assessment of your specific building conditions. All structural, moisture-related, and significant façade repairs should be performed by licensed masonry professionals familiar with historic preservation techniques and local building codes. The information provided is educational and should not be interpreted as instructional for DIY structural repairs.
Our Editorial Process
Our expert team uses AI tools to help organize and structure our initial drafts. Every piece is then extensively rewritten, fact-checked, and enriched with first-hand insights and experiences by expert humans on our Insights Team to ensure accuracy and clarity.
About the City Suburb Insights Team
The City Suburb Insights Team is our dedicated engine for synthesizing complex topics into clear, helpful guides. While our content is thoroughly reviewed for clarity and accuracy, it is for informational purposes and should not replace professional advice.


Protecting Tenants and Pedestrians: A Framework for Scaffolding and Site Safety During Facade Repair