
Can Deteriorated Mortar Be the Only Source of Seepage? Questions for an Ozone Park Brick Assessment
📌 Key Takeaways
Deteriorated mortar may contribute to seepage, but only a professional assessment can confirm whether pointing will solve the water problem.
- Separate the Two Decisions: Confirm whether mortar needs repair and whether that repair is expected to stop the interior seepage.
- Record Symptoms Separately: Note exterior damage, interior moisture locations, rain timing, and changes without declaring one confirmed cause.
- Ask What Else Matters: Nearby openings, cracks, sealant, flashing, roof edges, and prior repairs may also need professional assessment.
- Clarify the Proposed Scope: Ask whether pointing targets damaged joints, an identified water path, or both, and what evidence supports that link.
- Treat Photos as a Start: Ground-level photos can show visible conditions, but they cannot reveal concealed damage or establish the water pathway.
Needed mortar repairs may not solve every leak.
Ozone Park homeowners will ask sharper questions and understand the assessment standards and scope details that follow below.
~ ~ ~ ~ ~ ~ ~ ~ ~ ~ ~ ~ ~ ~ ~ ~ ~ ~
Seeing deteriorated mortar outside and seepage inside at the same time makes it reasonable to connect the two. The joints look recessed or crumbling, the interior wall shows dampness, and pointing is the repair most often mentioned. For an Ozone Park homeowner weighing whether to move forward, the assumption feels straightforward: fix the mortar, stop the water.
That assumption may turn out to be correct, but it skips a step. Deteriorated mortar is a condition a professional should evaluate when seepage is present, not proof that those joints are the only path water is using. The more useful question is what an assessment should clarify about the relationship between the exterior condition and the interior moisture before a repair scope is assumed. The questions below will help you prepare that conversation without needing to diagnose the wall yourself.
Deteriorated Mortar Can Matter Without Explaining the Whole Leak
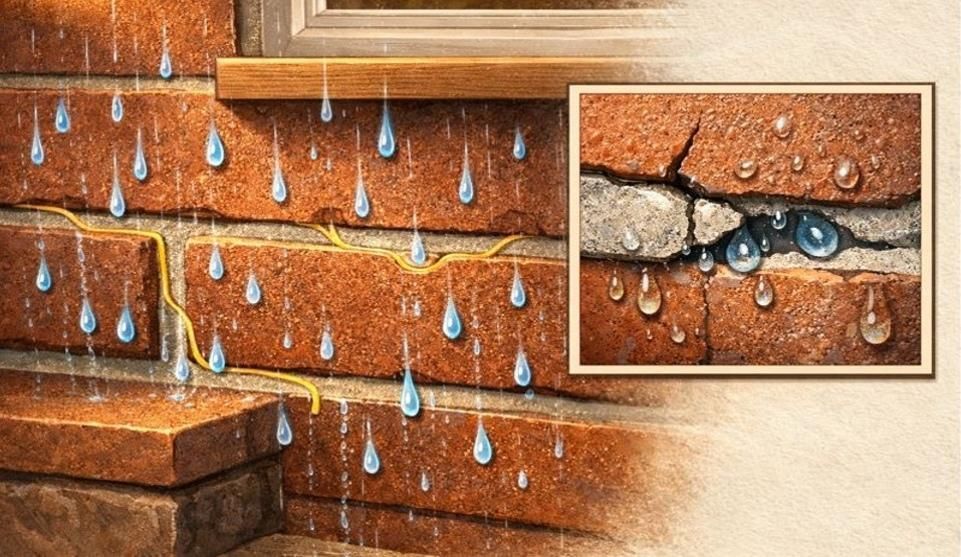
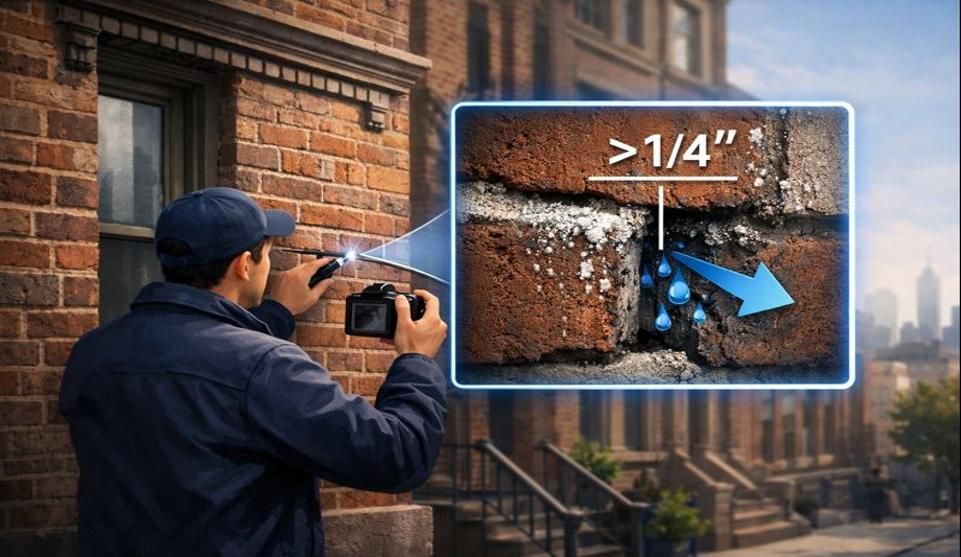
A mortar joint is the material-filled space between bricks. Over time, weathering can cause mortar to recede, crack, or fall away. Pointing (or repointing) is the process of removing and replacing deteriorated mortar in those joints. Seepage describes water or moisture appearing through or within a building element — the word itself does not identify a confirmed entry path.
When joints are visibly damaged, they give a professional something concrete to evaluate. Deteriorated mortar may be relevant to how moisture interacts with the wall, but it does not prove that every observed seepage symptom originates at those joints.
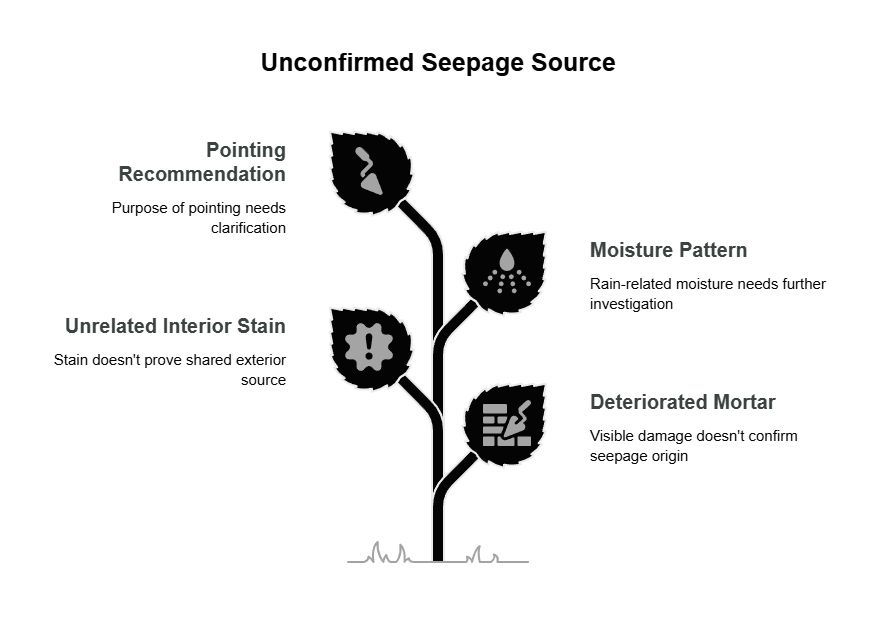
| What You Can Observe | What still requires assessment |
|---|---|
| Mortar appears recessed, missing, or deteriorated | Whether that condition is materially related to the seepage |
| An interior stain appears nearby | Whether the exterior and interior symptoms share one source |
| Moisture appears during or after rain | What condition is responsible for that pattern |
| Pointing has been recommended | Whether the work is intended to repair mortar, address seepage, or both |
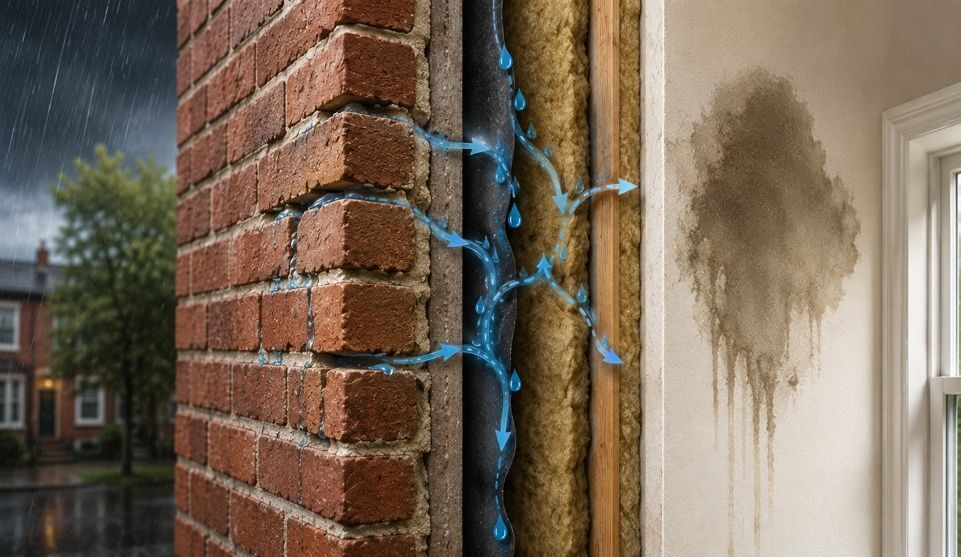
Consider a common situation: the mortar appears recessed above a rear window, and a damp area appears indoors below and slightly to the side of that opening after some rain events. That is useful information for an assessment, not yet a confirmed water pathway. Water inside a wall assembly can behave in ways that surface observation alone cannot predict, and more than one exterior condition can coexist on the same wall.
Deteriorated mortar is a legitimate observation worth reporting. Treating it as a confirmed, sole explanation is a different step, one that depends on what the assessment actually finds. For broader context on visible joint deterioration, this overview of brick-pointing warning signs may be a useful starting point.
Compare Exterior and Interior Symptoms Before Connecting Them
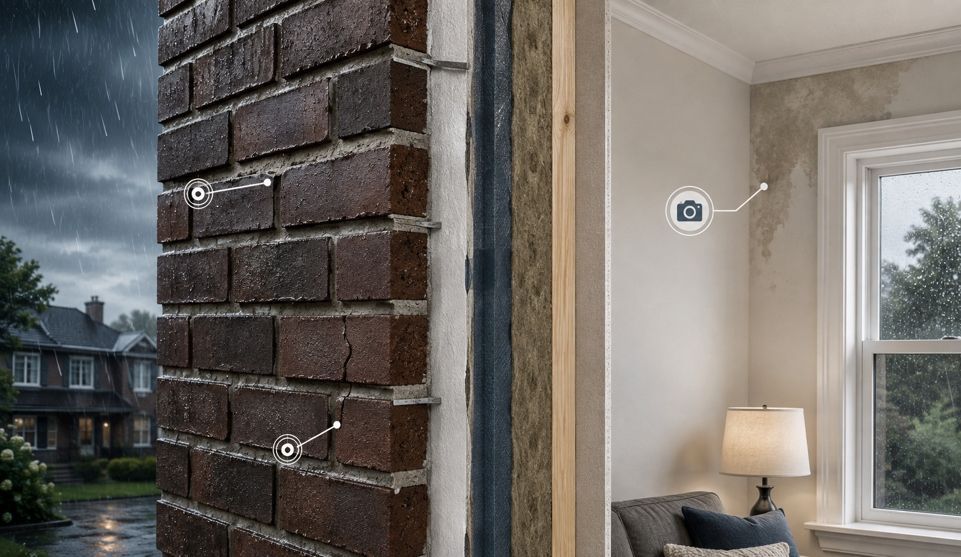
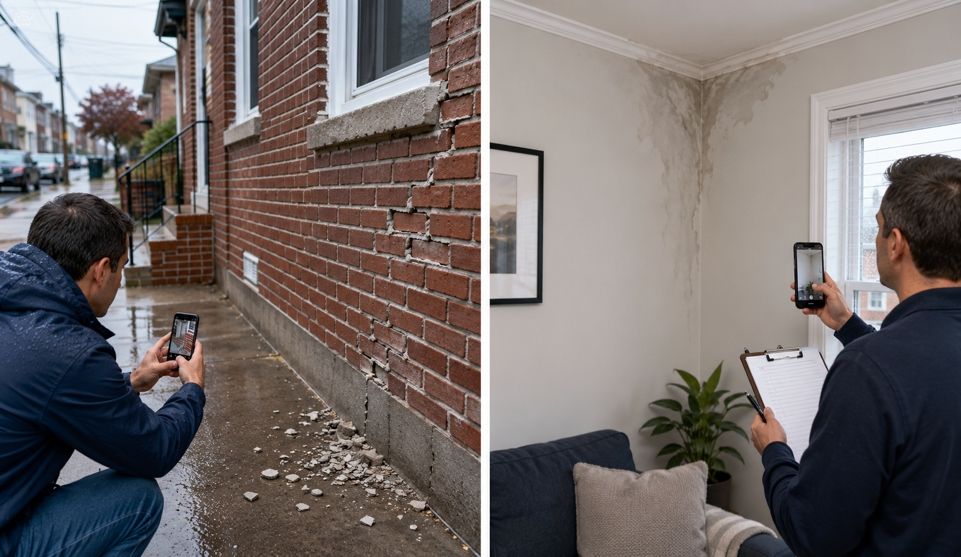
Before assuming that what you see outside is directly responsible for what you see inside, document each observation separately.
| What to Record | Details to Note |
|---|---|
| Exterior deterioration | Wall area, relation to windows or roof edge, extent, nearby cracks or prior repairs |
| Interior seepage | Wall or ceiling area, relation to windows or corners, one spot or several, active dampness versus dried staining |
| Timing | During rain, shortly after, only certain conditions (heavy, wind-driven, prolonged), pattern changes |
| Changes over time | Whether deterioration or seepage has worsened, moved, or appeared in a new location |
Where Is the Mortar Deterioration?
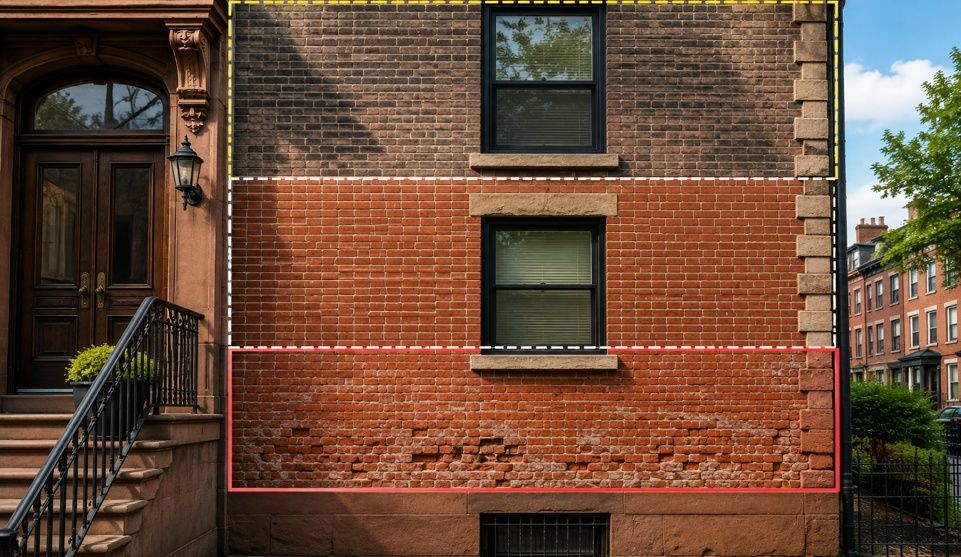
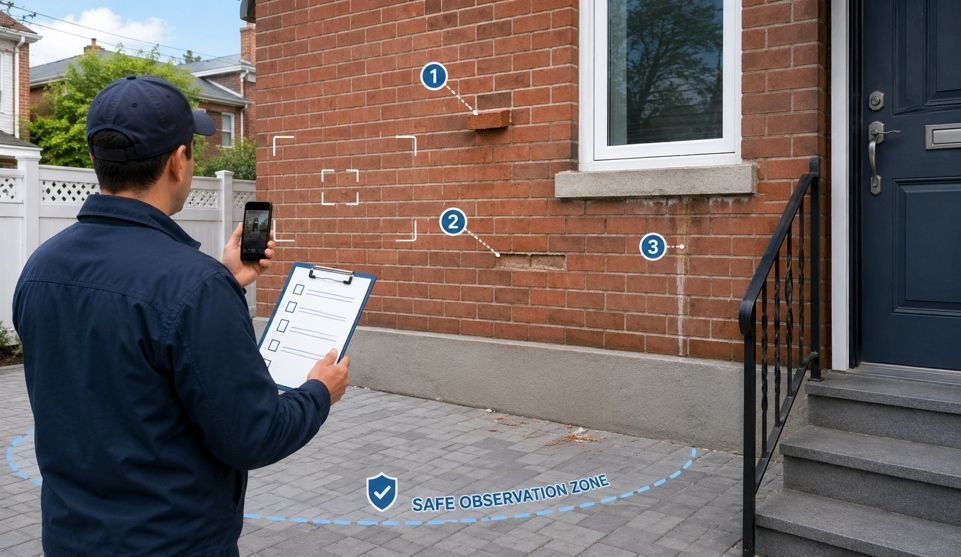
Note the wall area and whether the deteriorated joints are near a window, door, roof edge, or material transition. Record the approximate extent and whether cracks, gaps, or prior patching appear nearby. If old patches or coatings are present, mention them as history for the assessor rather than treating them as proof of a cause. Photographs from a safe, ground-level position can capture these details. If the area cannot be viewed closely from a safe position, do not climb or improvise access — photographs from an accessible location can still communicate what is visible.
Where Does the Seepage Appear Inside?
Record the wall or ceiling location and whether moisture appears near a window, corner, or floor line. Note whether it appears in one spot or several. If the interior location seems behind or below the exterior deterioration, note the alignment, but do not treat it as confirmation of the pathway.
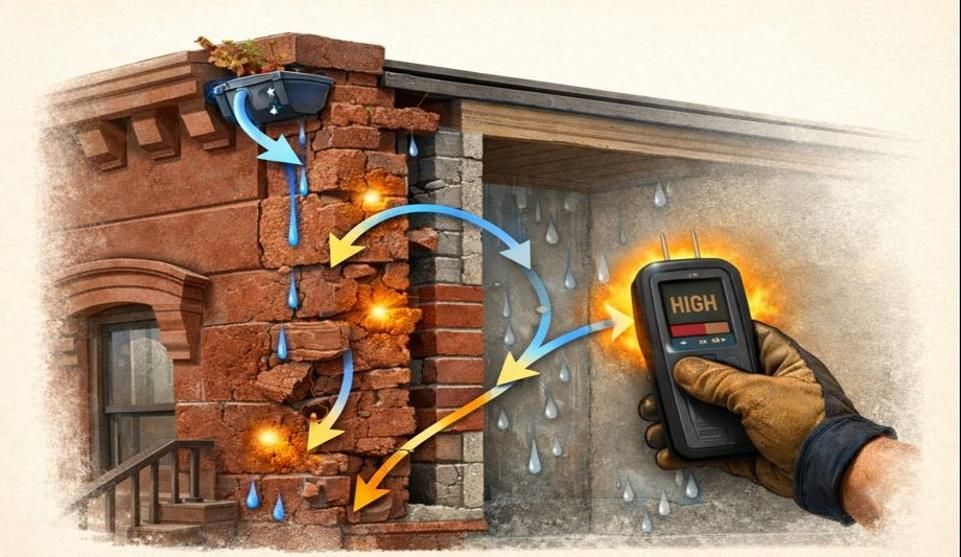
In some cases, the two do not line up neatly. Mortar deterioration may be visible on a rear wall while seepage appears near an interior corner some distance away. Brick walls often operate as a system where a hidden cavity and flashing direct water outward. If water enters higher up, it can travel behind the brick and enter the home much lower, meaning the nearest deteriorated joint isn't necessarily the culprit. That mismatch is worth recording. It means the relationship requires assessment rather than assumption.
If the interior wall has been recently painted, note that. Fresh paint can temporarily obscure symptoms, and their reappearance may carry useful timing information.
When Does the Water Appear?
Note whether seepage occurs during rainfall, shortly afterward, or only during certain types of rain. Heavy, steady rain and wind-driven rain can produce different patterns. Record whether seepage happens after every event or only some, and whether the pattern has changed. A single observation is a data point; concluding a mechanism from one event risks overgeneralizing.
Record all three categories independently. Let the assessment determine whether they connect.
Ask What Else Was Considered Before Pointing Is Treated as the Answer
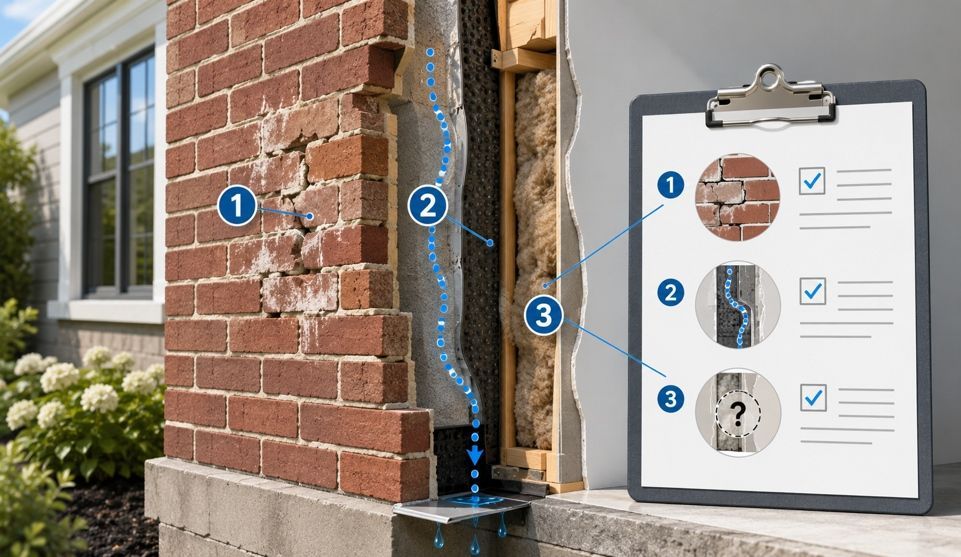
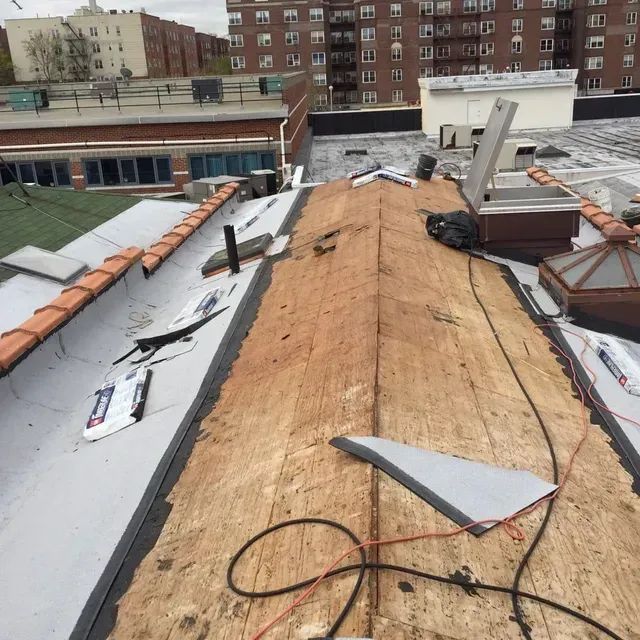
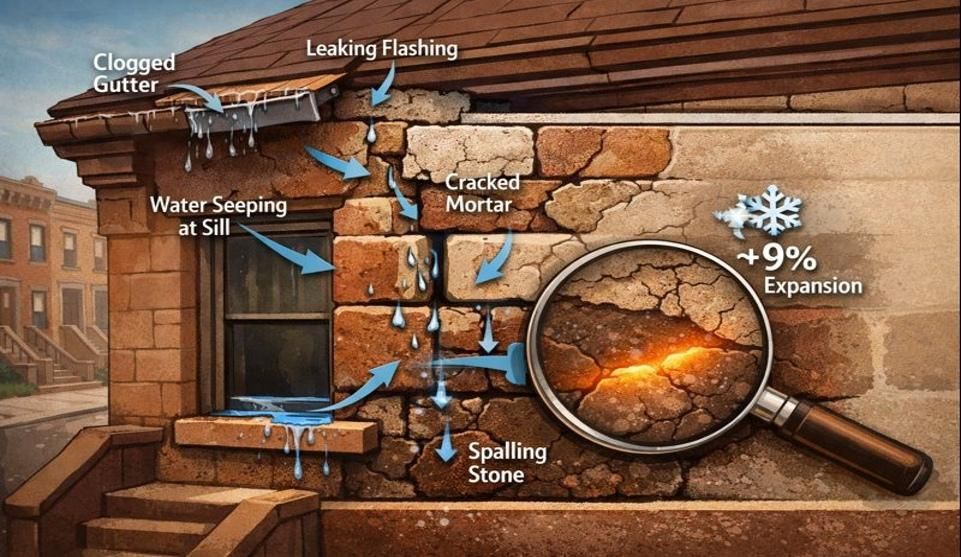
Deteriorated mortar may be the most visible condition, but a professional evaluating seepage may also consider other factors: nearby openings, visible cracks, transitions between materials, parapet or roof-edge conditions, flashing or sealant areas, prior repairs, drainage observations, and concealed conditions that cannot be confirmed from the surface.
Not every item applies to every property. The point is to ask one useful question: "What conditions were considered before concluding that pointing alone is an appropriate scope?"
For example, if deteriorated mortar, a crack along a window frame, and old sealant at a material transition all appear near the same seepage area, ask what was observed about each condition and whether any should be evaluated separately. Several visible conditions can exist near one interior symptom, and the nearest defect can dominate attention simply because it is easiest to see.
If a broad exterior proposal includes several items, ask which observed condition each item addresses. Do not assume that every nearby defect requires work or that a longer scope is automatically more complete.
Active water can create pressure for a quick patch, but preserving your observations before conditions are changed gives the assessment better context. This article does not provide testing or repair instructions.
Separate Two Decisions: Does the Mortar Need Repair, and Will That Repair Address the Seepage?
This is the article's most important distinction. A wall can contain deteriorated mortar that merits repair independently of whether those joints have been established as the only seepage pathway. The homeowner is facing two decisions, not one.
Decision 1: Does the visible mortar condition warrant pointing?
Decision 2: What evidence supports connecting that pointing scope to the interior water-entry problem?
The first concerns the condition of the masonry joints. The second concerns what the work is expected to accomplish. Keeping them separate avoids assuming either that needed pointing must solve the seepage or that pointing is unnecessary because another condition may also require evaluation.
| What the Homeowner Observes | What the Assessment Should Establish |
|---|---|
| Mortar joints appear deteriorated | Whether joint repair is warranted |
| Seepage appears at a specific interior location | The pattern that needs investigation |
| The two symptoms appear in apparent alignment | Whether one pathway is established or further assessment is needed |
| A contractor has proposed pointing | Whether the scope addresses deterioration, seepage, or both |
Pointing may be appropriate for the deteriorated joints regardless of the seepage conclusion. That does not make the seepage question irrelevant. If the homeowner expects the work to stop interior water entry, the basis for that expectation should be clear before the scope is approved.
When a professional recommends pointing after observing visibly deteriorated joints, the mortar clearly needs repair. The useful question is whether the professional is saying the pointing will address the seepage, or only that the mortar warrants repair. Those are different conclusions, and knowing which one supports the proposed scope matters.
Questions to Ask During an Ozone Park Brick Assessment
Use these questions to prepare for a professional conversation. You do not need to answer them yourself. You need the assessment to address them.
What was observed?
- Which joints or wall areas are deteriorated?
- What other visible conditions were noted near the affected area?
What is known about the seepage?
- Where does moisture or staining appear inside?
- When does it occur, and under what conditions (heavy rain, wind-driven, prolonged)?
- Has the deterioration or seepage visibly changed over time?
What remains uncertain?
- Are there nearby openings, transitions, cracks, or prior repairs that should be evaluated?
- Are any areas concealed or inaccessible?
- Can the source be established from current observations, or does that remain uncertain?
Why is pointing being proposed?
- To restore deteriorated mortar?
- To address an identified water-entry pathway?
- Both, and on what basis?
What else should be considered?
- Did the professional recommend or monitor anything else, and what assumptions remain in the proposed scope?
Homeowner Inquiry Template
When contacting a professional, a simple description can help frame the conversation:
"The mortar deterioration is visible on [exterior location]. The interior seepage appears at [interior location]. I notice it [during/after rain or other timing]. The two areas [appear aligned / do not clearly align / I cannot tell]. I would like the assessment to clarify whether the deteriorated joints are likely related to the water entry and whether pointing would address the source or only the visible mortar condition."
What a Clear Proposed Scope Should, and Should Not, Imply
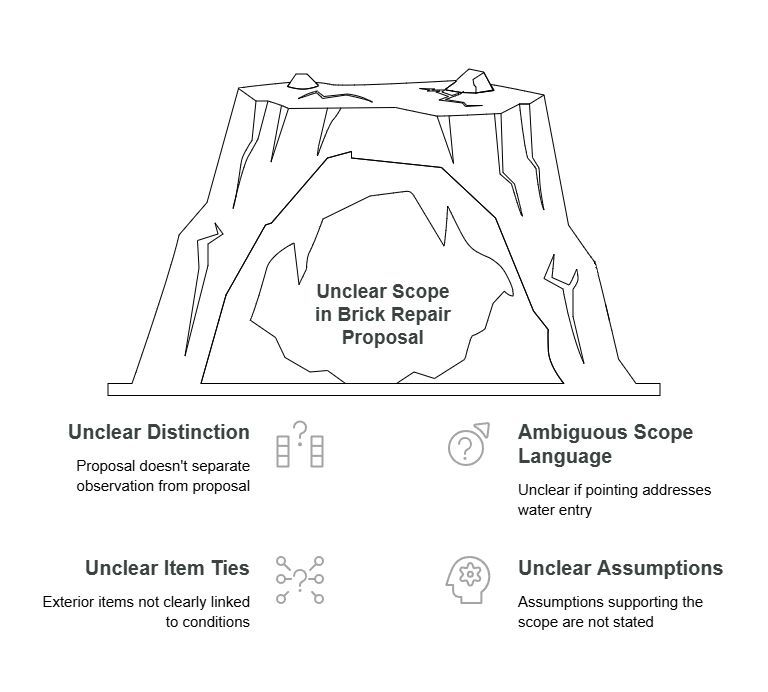
A useful proposal should distinguish what was observed from what is being proposed, and why: the condition being addressed, the intended purpose of the work, the assumptions supporting the scope, areas that fall outside it, and whether another condition may need separate evaluation.
If the scope language is unclear, ask whether the provider is asserting that pointing should address the water entry, or only that the mortar needs repair. When a proposal includes several exterior items, ask what each is tied to: an observed condition, a suspected contributor, or a separate maintenance need. Whether the pointing alone resolves the interior seepage depends on the assessed relationship between the joints and the observed water entry.
One question worth asking directly: "If seepage continues after pointing, what assumption in the original scope would need to be reevaluated?" That question does not predict failure. It clarifies what the recommendation depends on.
When More Assessment Is More Useful Than a Faster Conclusion
Some situations make a quick, confident answer harder to support: photographs that show only part of the wall, concealed conditions at inaccessible heights, inconsistent leak timing, several visible defects in the same area, or symptoms appearing in locations that do not align neatly.
Different professionals may reach different preliminary conclusions based on different access, observations, or assumptions. That does not necessarily mean one is dishonest. It may mean the situation requires more evaluation before a confident conclusion is supportable. When the evidence does not point cleanly to one answer, the appropriate response may be: "There is not enough information yet to attribute the seepage to one condition." That is useful information, not a failure of assessment.
Frequently Asked Questions
Can deteriorated mortar be the only source of seepage?
It is possible for deteriorated joints to be relevant to water entry in a particular wall, but an article or photograph cannot establish that they are the only source. The assessment should compare exterior conditions, interior symptoms, timing, and other relevant observations before reaching that conclusion.
If repointing is needed anyway, why does the exact leak source matter?
Because two goals may be involved: repairing deteriorated mortar and addressing interior seepage. The homeowner should understand what the proposed scope is intended to accomplish and what remains uncertain. Expecting pointing to stop seepage without confirming the connection creates a risk of incomplete resolution.
Can photographs tell a contractor whether pointing will stop the leak?
Photographs can communicate visible conditions and support a preliminary conversation, but they may not reveal concealed conditions or establish the water pathway. City Suburb's brick-pointing services page describes photo-based inquiry and on-site assessment as available options, but photographs are a starting point, not a substitute for property-specific evaluation.
What should I tell the contractor about when the seepage happens?
Report whether it occurs during rain, shortly afterward, or only in certain events. Note whether conditions involve heavy, wind-driven, or prolonged rain. Include the interior location and the exterior condition separately. Timing helps the assessment but should not be used to declare a cause.
Should I ask about conditions besides the mortar?
Yes, as an assessment question. Ask what each professional observed, what else was considered, and what remains uncertain. Different preliminary conclusions can reflect different access, observations, assumptions, or scopes. The goal is not to challenge the provider but to understand what was considered.
Preparing for a Useful Assessment
Deteriorated mortar may be relevant to what is happening with your wall, or it may be one observation among several. The distinction between "this mortar needs repair" and "this repair will resolve the seepage" is worth understanding before you approve a scope.
Use the questions above before agreeing that pointing alone explains the seepage. Prepare your observations, then send photographs taken from a safe position and a brief description through City Suburb's contact page, or request an on-site assessment.
Disclaimer: This article provides general educational information about documenting masonry deterioration and seepage concerns. It does not diagnose a specific water-entry source, determine structural or safety conditions, or establish the repair scope for a particular property. Conditions and appropriate next steps vary by building and observed circumstances. Avoid unsafe access or self-testing, and confirm property-specific conclusions with an appropriately qualified professional.
Our Editorial Process:
The City Suburb Insights Team synthesizes complex topics into clear, helpful guides. While our content is reviewed for clarity and accuracy, it is for informational purposes and should not replace professional advice.
About the City SuburbInc Insights Team
The City SuburbInc Insights Team is our dedicated engine for synthesizing complex topics into clear, helpful guides. While our content is thoroughly reviewed for clarity and accuracy, it is for informational purposes and should not replace professional advice.