
Loose Brick or Washed-Out Joint? How to Describe Visible Deterioration Before a Service Call
📌 Key Takeaways
Homeowners should report visible masonry changes clearly and safely, then let a qualified professional identify the cause and proper repair.
- Describe Visible Changes: Describe the location, visible change, affected area, timing, and any changes since you first noticed it.
- Report Facts Only: Report what you see without claiming the wall is unstable, leaking through one gap, or needs repointing.
- Keep Your Distance: Never touch, test, climb toward, or stand beneath masonry that looks displaced or is shedding material.
- Take Safe Photographs: Send one wide wall view and one clearer image only when both are possible from a stable position.
- Act on Falling Material: Keep people away from actively falling material and seek prompt help from a qualified professional.
Describe the symptoms; let a professional diagnose the wall.
Ozone Park homeowners can prepare safer, clearer service requests by using the masonry description checklist below.
~ ~ ~ ~ ~ ~ ~ ~ ~ ~ ~ ~ ~ ~ ~ ~ ~ ~
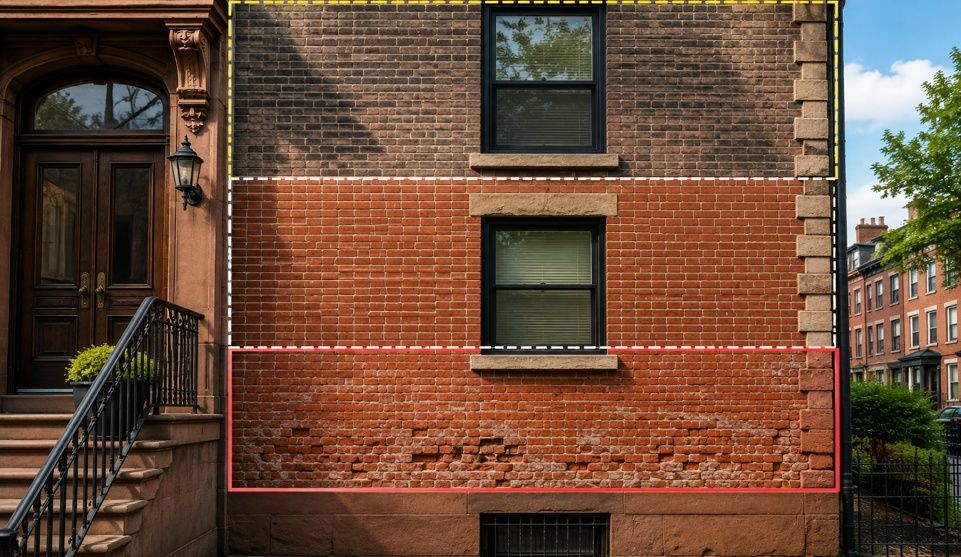
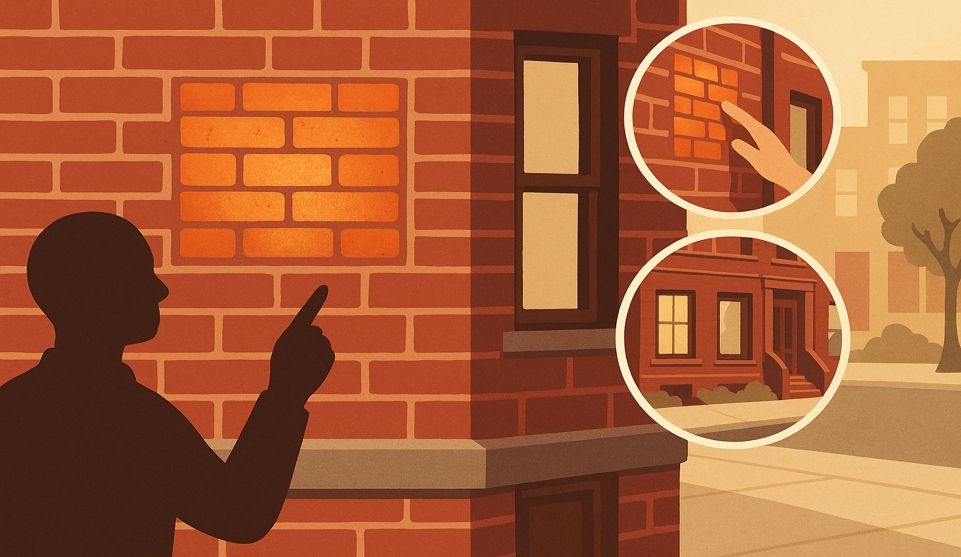
You do not need to know whether an exterior masonry problem is a loose brick, failed pointing, or another wall condition before requesting an assessment. For an Ozone Park homeowner, the useful first step is to describe where the change appears, what is visibly different, approximately how much area seems affected, and when it was first noticed.
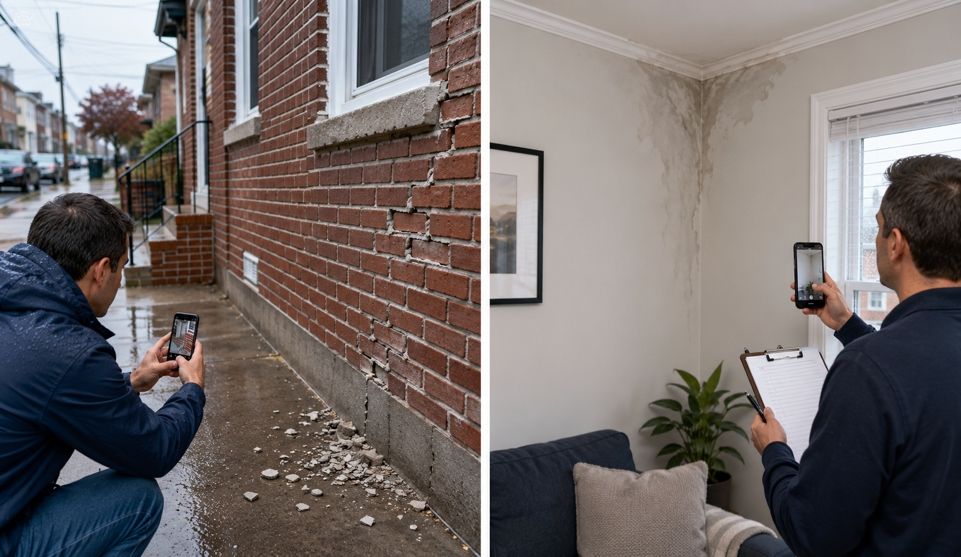
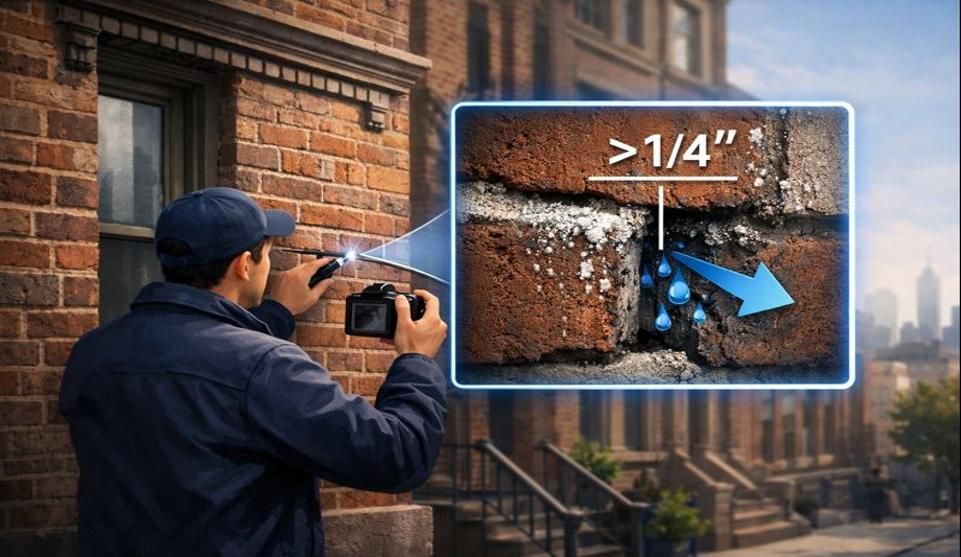
Also report whether the appearance is changing, whether staining or seepage occurs during or after rain, whether fragments have appeared below the wall, and whether people regularly pass beneath or beside the area. Take photographs only from a stable, safe position. A photograph can support an initial conversation, but it may not reveal concealed conditions or establish the cause, safety, or final repair scope.
Start With What You Can See, Not What You Think Caused It
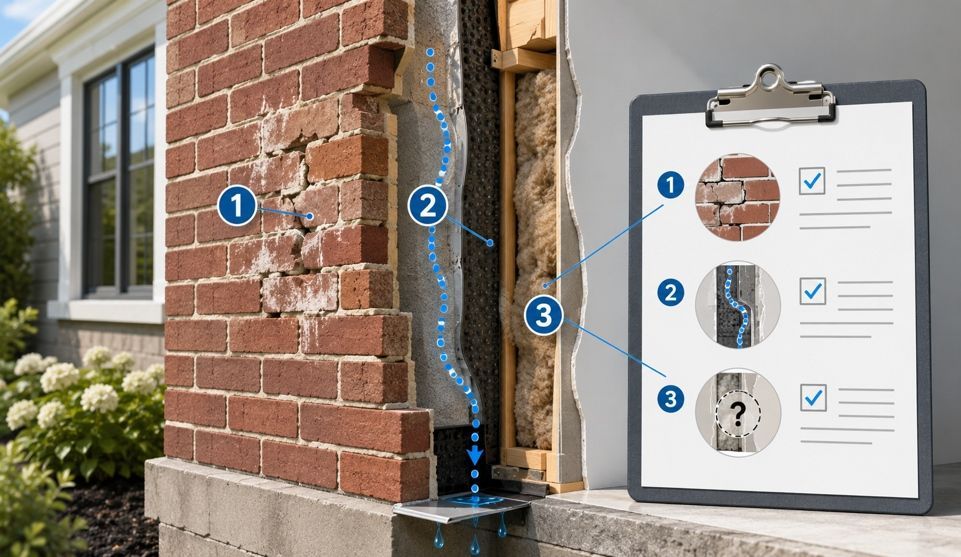
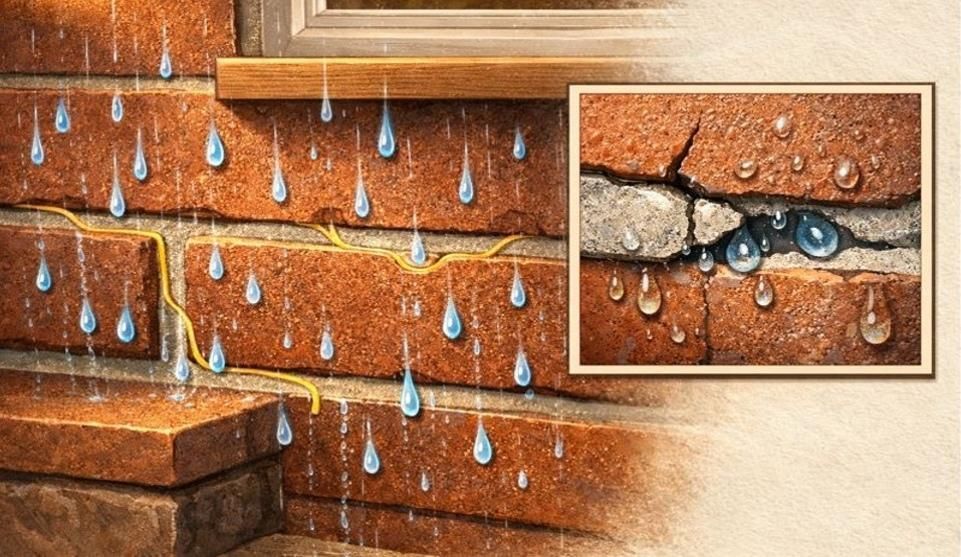
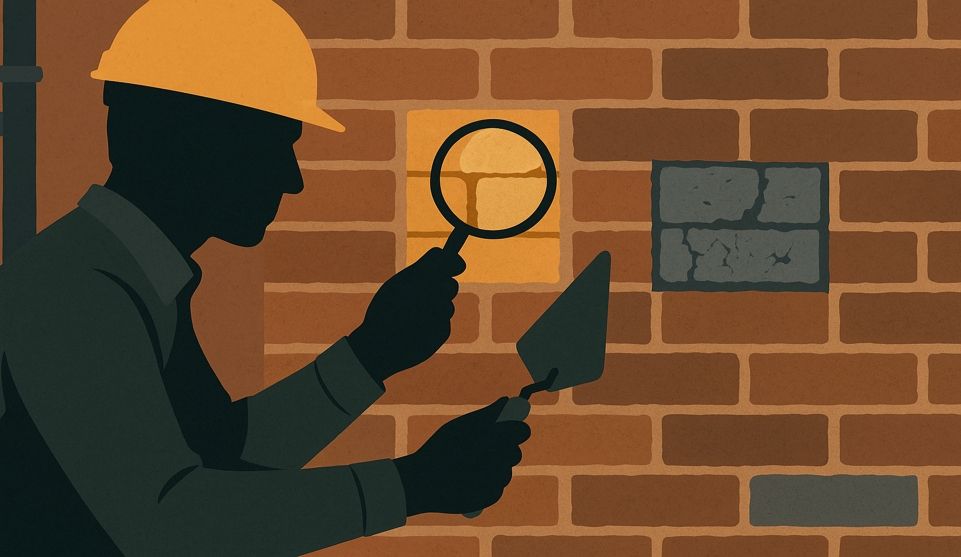
A mortar joint is the material-filled space between bricks or other masonry units. The National Park Service identifies mortar joints as a recognized location of masonry deterioration and explains repointing in the context of deteriorated joint material in its guidance on repointing mortar joints. That general principle does not diagnose a particular wall or prove that repointing is the required response.
Words such as “loose,” “washed out,” “crumbling,” and “leaking” are useful starting points. Add precise visual details:
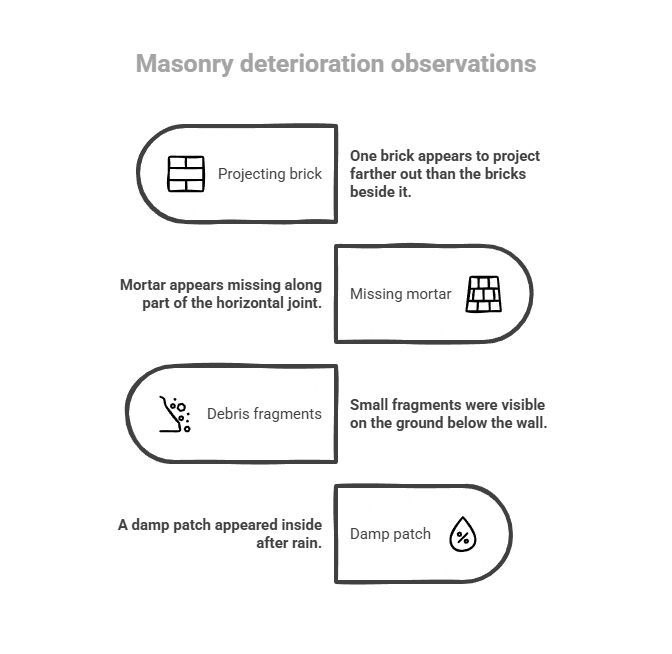
- “One brick appears to project farther out than the bricks beside it.”
- “Mortar appears missing along part of the horizontal joint.”
- “Small fragments were visible on the ground below the wall.”
- “A damp patch appeared inside after rain.”
These are observations. Statements such as “the wall is structurally unstable,” “water entered through that joint,” or “the wall needs pointing” require assessment.
Several conditions may be reported in one inquiry, but each should remain a separate observation. A related overview of brick-pointing warning signs may help with vocabulary, but a general article cannot determine what is happening on a specific property.
How to Describe the Visible Condition Clearly
A brick that appears shifted, tilted, or separated
Compare the brick visually with nearby units. State whether its face appears farther forward, one edge looks raised, or a shadow line or gap is visible. Note any difference shown in an older photograph and whether debris has appeared below.
“The brick above the rear door appears to project beyond the surrounding brick” is more useful than “a brick looks loose.” Mention any doorway, path, yard, neighboring area, or occupied space below it. Do not touch or test the brick.
A mortar joint that appears recessed, incomplete, or missing
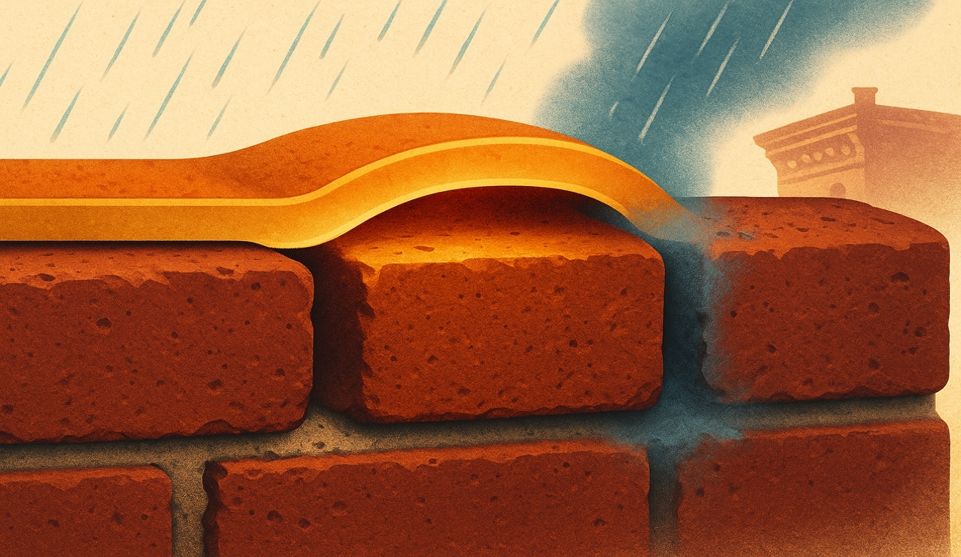
State whether the condition affects a horizontal joint, a vertical joint, one short section, or connected areas. Describe the surface as powdery, uneven, recessed, hollow-looking, incomplete, or absent.
Describe 'washed out' joints factually: 'The joint appears lower or less complete than the joints beside it.” Avoid depth thresholds. Report visible fragments without collecting or testing them.
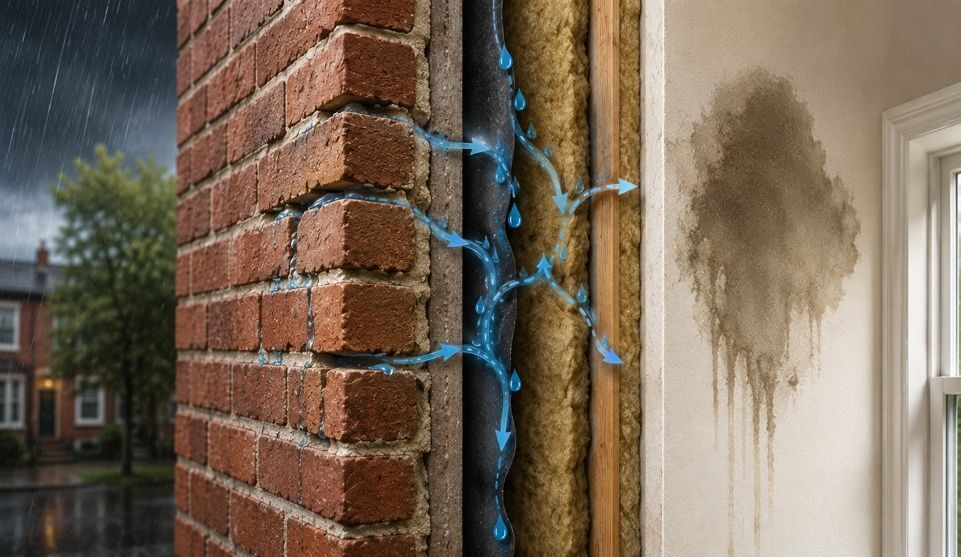
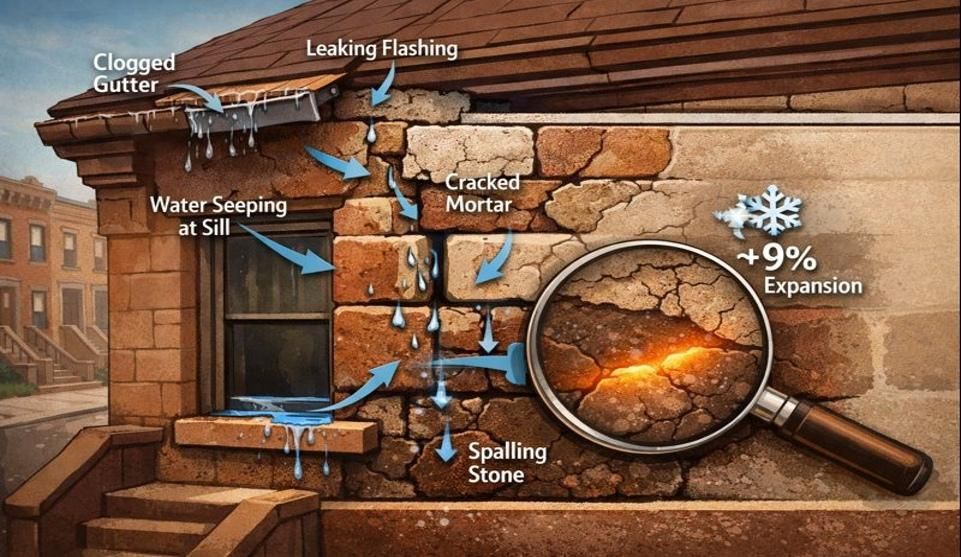
Gaps, staining, or seepage
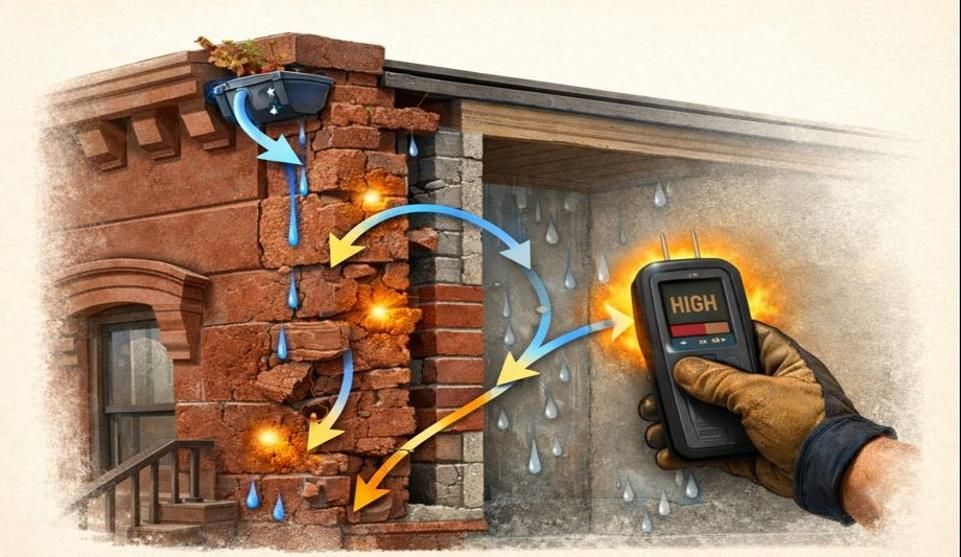
Record exterior and interior observations separately, with the location and timing of each.
For example: “A dark exterior stain appeared below the window after rain. A damp area also appeared indoors, farther to the left.” This preserves useful facts without claiming a shared cause.
Say this, not this:
- “The brick appears shifted” rather than “the brick is structurally loose.”
- “Mortar appears missing” rather than “the joint failed because of water.”
- “Staining appeared after rain” rather than “water entered through this gap.”
- “An assessment can determine whether pointing is suitable” rather than “the wall needs repointing.”
Record Location, Extent, Timing, and Change
Use fixed reference points that a contractor can recognize without specialized terminology. Windows, doors, corners, rooflines, chimneys, and visible wall sections are usually enough. A description such as “rear wall below the second-floor window” is clearer than “near the upper left.”
Estimate the area visually: one brick, several joints, a section beside a window, or a broader wall area. Do not move closer to obtain exact measurements. A measurement already available from a safe position may be reported without interpreting its significance.
Record when the condition was first noticed. Note whether a gap appears wider, the brick position looks different, fragments have reappeared, or moisture has become more frequent. Existing photographs may show change without another close inspection.
A useful record might say:
“The missing-looking mortar is below the second-floor rear window and appears to extend across three visible joints. Fragments were first noticed on the patio last week. The area appears unchanged in photographs taken from the yard.”
Mention earlier visible work neutrally: “A coating is visible beside the affected area.” Appearance alone does not establish who or what caused the present condition.
Access limitations belong in the inquiry. State if the wall faces a narrow passage, neighboring property, upper story, shared yard, or area that cannot be viewed without climbing. That information helps a provider plan the next step without encouraging unsafe access.
Use This Safe Masonry Symptom Description Checklist
Complete only what can be observed from a stable position. Leave items blank when part of the wall cannot be viewed safely.
- Location: Which wall, story, corner, window, door, chimney area, or other visible section is affected?
- Visible condition: What appears different—a shifted-looking brick, recessed joint, gap, stain, debris, or moisture?
- Extent: Does it involve one brick, several joints, or a broader wall section?
- Timing: When was it first noticed?
- Change: Has the appearance widened, shifted, shed debris, or occurred more often?
- Weather relationship: Does staining or seepage appear during or after rain?
- Interior observation: Is there dampness, staining, peeling, or another visible symptom indoors?
- Exposure: Is the area above or beside a path, door, window, yard, neighboring area, or occupied space?
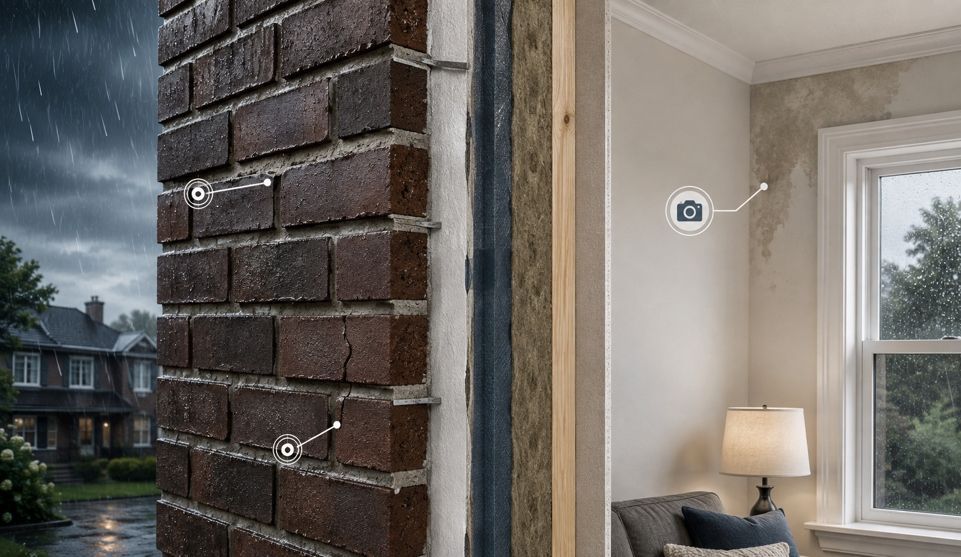
- Safe photographs: Is there one wider wall-context view and one clearer view available without climbing, leaning, or approaching questionable material?
Use the following template for a call, email, or contact form:
Observed condition: [Describe the visible condition]
Location: [Identify the part of the building]
Approximate extent: [Estimate the area or number of visible bricks or joints]
First noticed: [Provide the timeframe]
Change since then: [Note if it has changed or remained visibly unchanged]
Additional observation: [List any debris, staining, seepage, or interior symptoms, and when they occur]
Nearby exposure: [List any entrances, paths, yards, windows, neighboring areas, or occupied spaces]
Photographs: Attached from a safe position
Physical testing: Masonry has not been touched or tested
This framework supports the first conversation; it does not replace an assessment or determine the repair.
Know the Difference Between an Observation and a Diagnosis
A clear description narrows the questions that need closer review, but it does not establish cause or repair suitability.
| Observation you can report | Conclusion requiring assessment |
|---|---|
| Mortar appears missing along a joint | Why the mortar deteriorated |
| A brick appears farther out than adjacent brick | Whether the brick is structurally unstable |
| Water staining appears after rain | The route the water followed |
| Interior dampness appears near an exterior wall | Whether pointing would resolve it |
| Debris appeared below the wall | Whether more material may fall |
The U.S. General Services Administration treats repointing as specialized work requiring qualified guidance in its technical guidance on repointing. The source addresses historic masonry, but the broader principle is relevant: visible joint deterioration should not be turned into a generic repair prescription.
A professional may need to examine nearby openings, previous work, moisture observations, access conditions, or concealed areas before defining a scope. Pointing may be considered, but photographs cannot establish that it is appropriate or complete.
When to Keep People Away and Request Prompt Professional Help
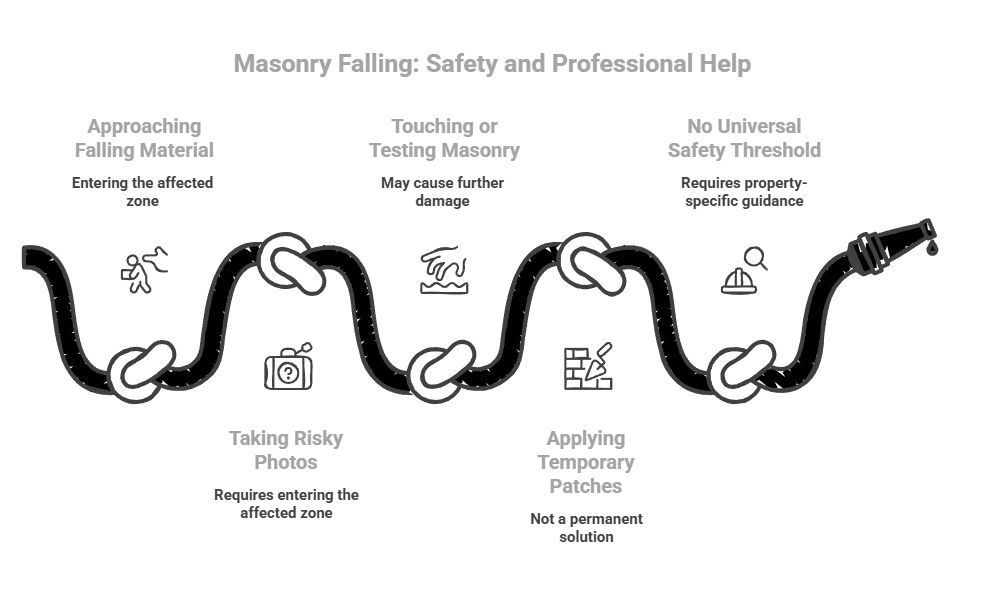
Do not approach or stand beneath material that is actively falling. If the masonry is actively falling onto a public sidewalk, street, or shared alleyway, you may also need to contact local authorities (such as 311 in New York City) to ensure immediate public safety. Keep other people away from the exposed area and contact an appropriate qualified professional.
Do not move closer for a photograph if that requires entering the affected zone, standing below questionable masonry, climbing a ladder, using a fire escape or roof, leaning from a window, or crossing onto a neighboring structure. A distant image and a clear explanation of the access limitation are preferable to a risky close-up.
Do not touch, wiggle, tap, scrape, probe, or remove masonry for testing. Do not apply caulk, mortar, cement, paint, coating, or a temporary patch based on this article.
No universal distance or visual threshold can determine whether an area is safe. Seek property-specific guidance from an appropriate qualified professional.
What a Useful Initial Contractor Response Should Clarify
A useful first response should explain what the supplied information shows and what requires closer assessment. It may clarify whether photographs are adequate for preliminary review, whether an on-site visit is appropriate, and which areas need access.
It should separate visible facts from unresolved questions, including whether debris, moisture, joint deterioration, or a displaced-looking brick needs further review.
Ask whether pointing is confirmed or merely being considered. Clarify which wall, opening, roof, drainage, previous-repair, or concealed conditions may need examination before work is defined.
Different photographs, access, observations, or assumptions can produce different preliminary views. Ask what each view is based on and what an on-site assessment must resolve.
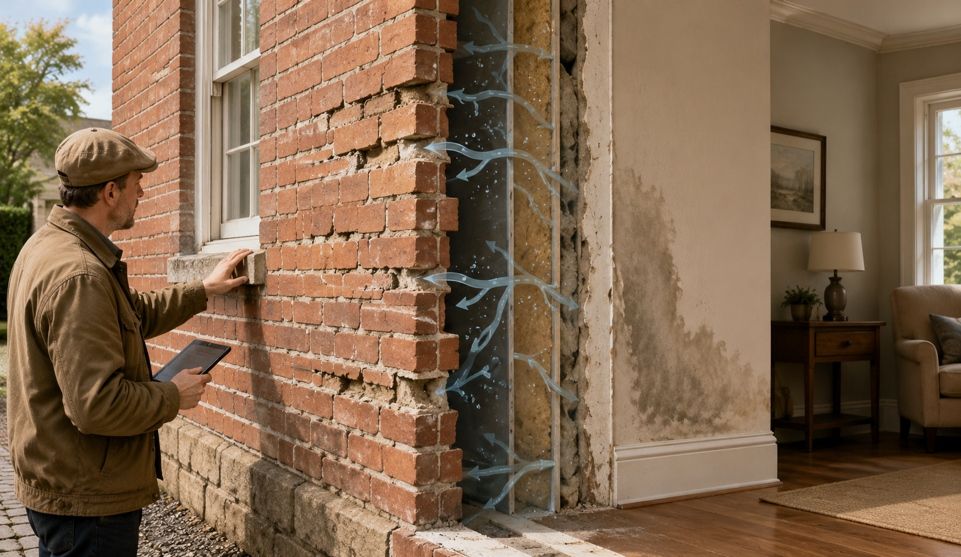
Keep in mind that while images help outline the problem, a contractor will still need to inspect the property in person to verify structural integrity and provide an accurate estimate.
Frequently Asked Questions
Should a brick be touched to see whether it is actually loose?
No. Do not touch, push, tap, or test brick or mortar that appears displaced or deteriorated. Describe its position relative to nearby brick and provide photographs only from a safe location.
What photographs should be sent with an inquiry?
When possible without approaching the area, provide one wider photograph showing the condition’s location on the wall and one clearer view of the visible change. Photograph interior staining separately. Do not climb, lean from a window, or stand beneath questionable masonry to improve the image.
Does missing or crumbling mortar mean the wall needs repointing?
Not necessarily. Deteriorated-looking joints are relevant to report, but homeowner observations may not reveal concealed conditions or establish whether pointing alone is suitable. An assessment is needed to determine the appropriate response.
What should be done if pieces are actively falling?
Do not approach or stand beneath the area. Keep other people away from the exposed zone and seek prompt help from an appropriate qualified professional. Do not attempt a closer inspection or temporary stabilization.
Prepare the Description Before Requesting an Assessment
The homeowner’s role is to report what is visible, when it appeared, how it has changed, and whether access or occupied areas may be affected—not to diagnose or repair the wall.
For an Ozone Park service inquiry, prepare the checklist, then contact City Suburb with safe-position photographs and a brief description, or request an on-site assessment. City Suburb’s brick-pointing service page outlines its service and assessment options. Confirm availability directly.
Disclaimer: This article is for general informational purposes only and does not constitute compliance, safety, technical, or professional advice. Requirements, risks, and best practices may vary by context, jurisdiction, property, and observed condition. Do not touch, test, or approach masonry that appears unstable or is actively shedding material. Confirm property-specific decisions with an appropriate qualified professional or authority.
Our Editorial Process:
Our articles are written by the City SuburbInc Insights Team and reviewed for practical accuracy. We draw on (1) field-adjacent trade knowledge, (2) manufacturer and standards documentation where appropriate, and (3) publicly available guidance from reputable industry and government sources. Final scope decisions should always be made after an on-site inspection.
By the City Suburb Insights Team
The City Suburb Insights Team synthesizes restoration and building-envelope best practices into clear, homeowner-friendly guidance. Our content is reviewed for clarity and accuracy, but it does not replace a professional on-site assessment.