
What an On-Site Brick Pointing Assessment Can Clarify for an Aging Ozone Park Home
📌 Key Takeaways
An on-site brick pointing assessment can turn a vague concern into a clear, wall-by-wall repair scope with stated limits.
- Assess Wall By Wall: Separate each exterior wall and section so the proposal shows exactly where pointing may be needed.
- Set Visible Boundaries: Clear scopes use recognizable property features to show where included work starts and stops.
- Label Every Area: Mark each section as included, excluded, reviewed without proposed work, or not adequately assessed.
- Record Unseen Areas: Visibility and access limits show where findings remain uncertain and may need further professional assessment.
- Compare Matching Scopes: Compare proposals only after confirming they cover the same walls, sections, boundaries, and viewing conditions.
Clear boundaries turn vague repairs into reviewable decisions.
Ozone Park homeowners will compare repair proposals more clearly using the detailed wall-by-wall scope checklist below.
~ ~ ~ ~ ~ ~ ~ ~ ~ ~ ~ ~ ~ ~ ~ ~ ~ ~
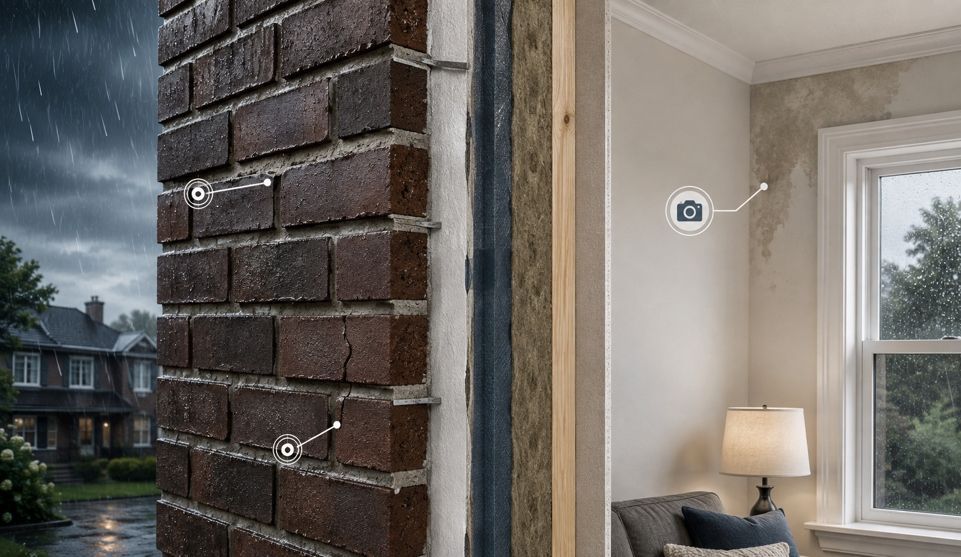
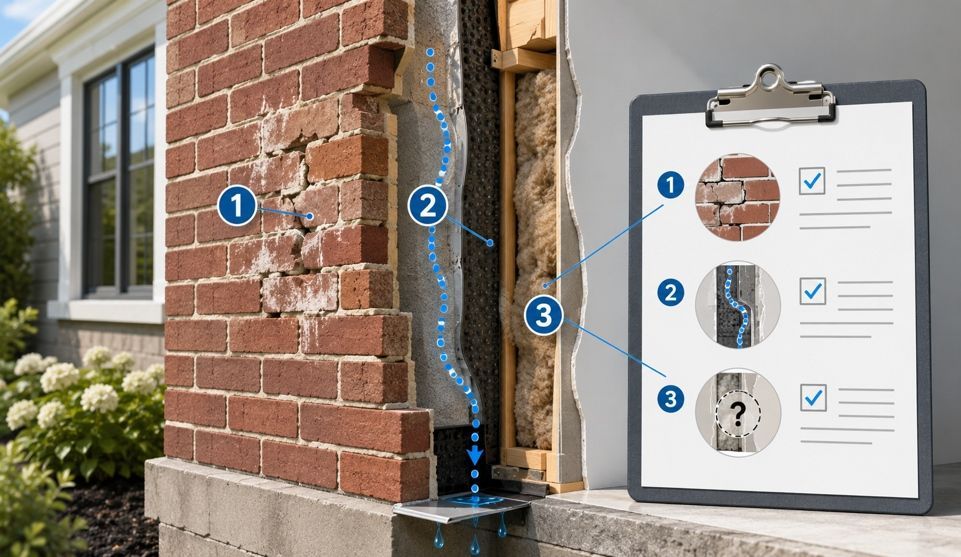
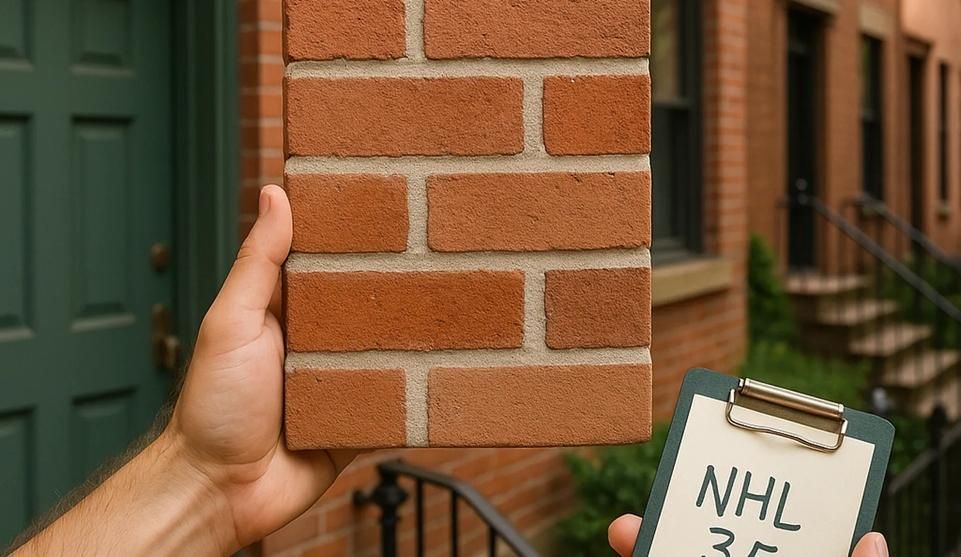
"The brick needs pointing." That sentence may describe the concern, but it does not yet define a repair scope. Brick pointing (sometimes called repointing) means removing and replacing deteriorated mortar from the joints between bricks. The phrase tells you what type of work may be involved, but not which wall, which section, or which mortar joints (the filled seams between individual bricks) are actually being discussed.
For an Ozone Park homeowner weighing whether an in-person assessment is worth scheduling, the real question is narrower: what useful scope clarity can a site visit add that a general description or a limited photo set may leave unresolved?
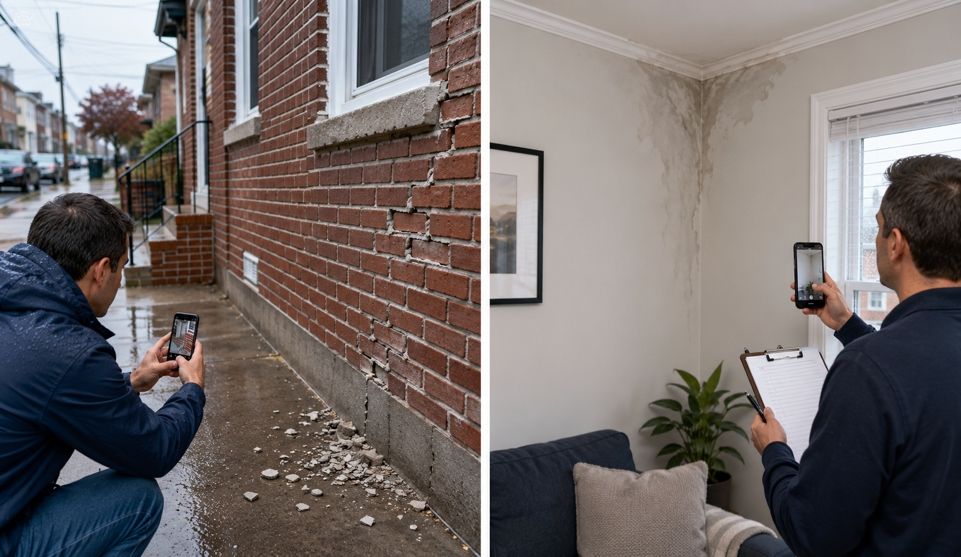
An in-person review can help separate one wall from another, one affected zone from the rest of that wall, observed areas from inaccessible areas, and included work from excluded work. The framework below shows what that organized clarity can look like.
What an On-Site Assessment Adds Beyond a Photo or Description
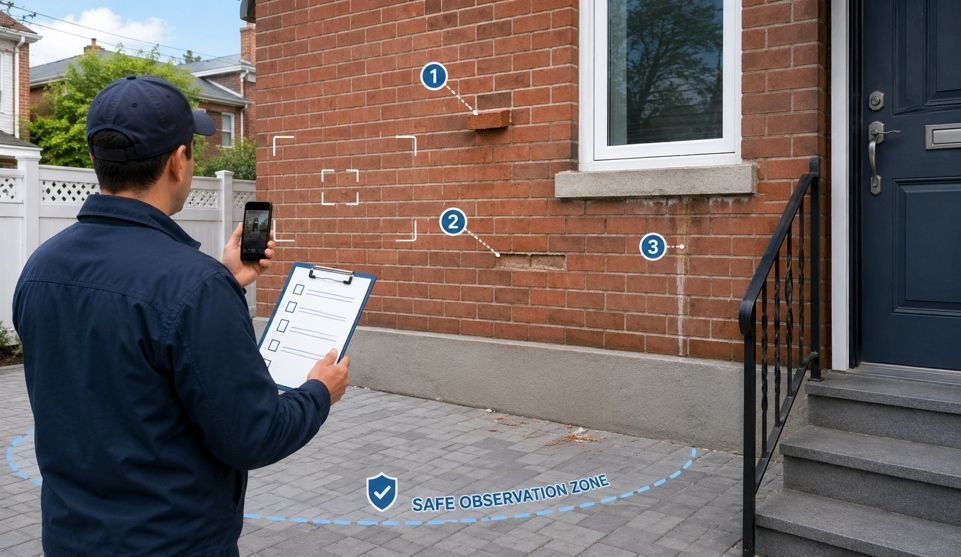
Photographs can establish useful starting context. A clear image may show where deteriorated mortar appears, help identify which part of the property is being discussed, and support an initial conversation about relevant work.
"Photographs often fall short in resolving questions that depend on physical proximity and surrounding context. An on-site review can make it easier to relate one visible concern to adjoining walls, corners, window openings, or material transitions. The assessor may be able to distinguish sections that are directly observable from those that are partially obscured or not adequately visible from ground level.
| Photos Can Help With | Photos May Not Establish |
|---|---|
| Visible location of deteriorated mortar | Complete extent of the affected area beyond what the image frames |
| General surface condition in the photographed zone | Relationship between the visible concern and adjoining walls or features |
| Initial context for a preliminary conversation | Whether an area behind an obstruction, at height, or around a corner shares the same condition |
| Documentation of what was visible at the time the photo was taken | A final scope boundary that accounts for surfaces the camera could not reach |
Consider a hypothetical situation. A homeowner photographs deteriorated-looking joints near a window but cannot capture enough surrounding wall to show where the condition ends. An on-site review may help identify the exact boundaries of the affected area while noting which adjacent sections could not be adequately observed. The photograph started the conversation; the visit helped frame a more specific one.
If photographs are already safely obtainable, having both a wider context view and a closer detail of the same area can make that initial discussion more productive. Homeowners should not take risks or use unfamiliar access methods simply to obtain additional images.
An on-site assessment does not guarantee a definitive answer about every surface, but it adds the possibility of converting a broad concern into separate, individually reviewable areas.
Divide the Property Wall by Wall Before Defining the Scope
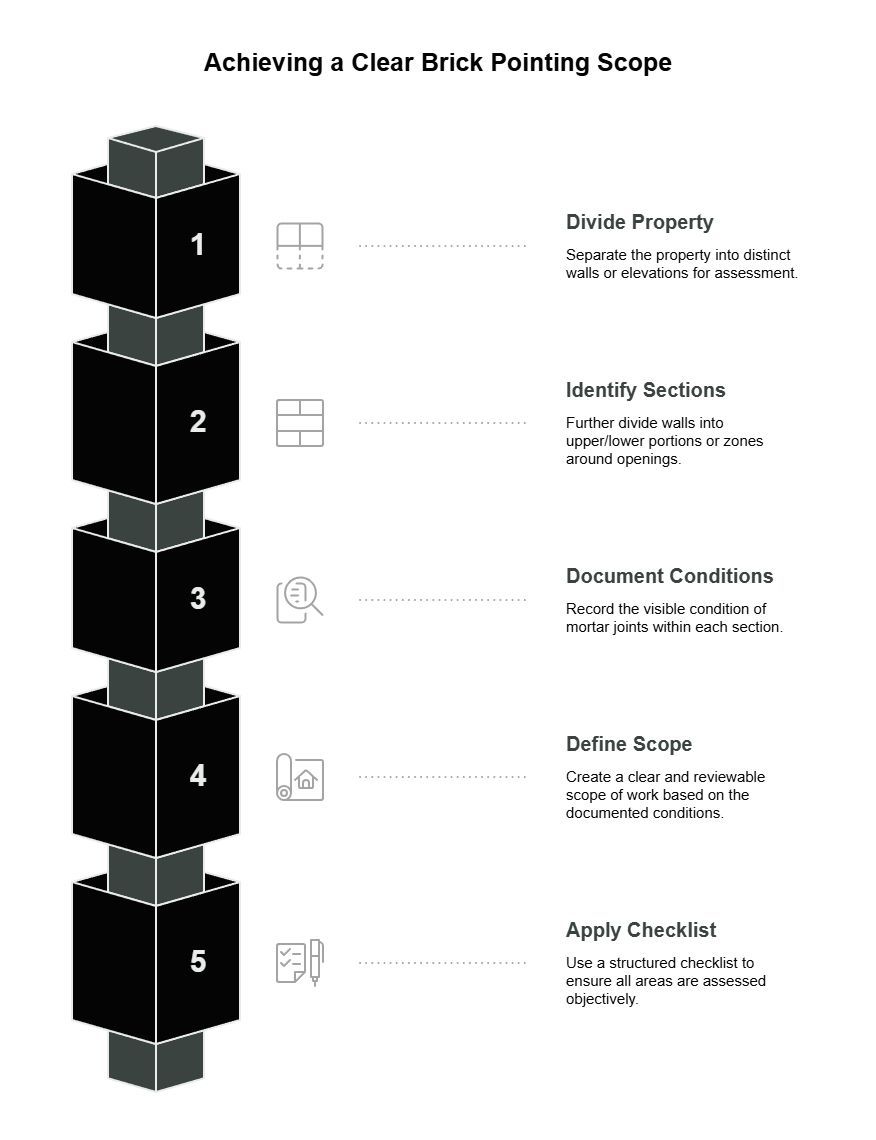
"The exterior needs pointing" treats the entire property as one uniform masonry surface. In practice, different walls or sections of the same building may show different visible conditions and present different levels of access. A scope that lumps everything together can be harder to review than one that treats each area separately.
Organizing the assessment by distinct wall or elevation (a single face of the building, such as the front, rear, or a specific side) gives both the homeowner and the assessor a shared reference framework. Labels such as front, rear, or side can work when they unambiguously identify the actual property. Where those descriptions could be ambiguous, another recognizable reference may be needed to keep the scope clear. The goal is documentation clarity, not homeowner diagnosis. Instead of discussing "the back of the house" as a single unit, a more reviewable scope can describe a specific wall, a defined section, and the observed condition within that section.
Useful organizational distinctions may include:
- Separate walls or elevations, each treated as their own review areas.
- Upper versus lower portions of the same wall, where the visible condition appears different or where access changes what can be observed.
- Zones around openings, corners, or material transitions, when those features create natural scope boundaries.
- Isolated patches of deteriorated mortar versus larger continuous areas.
- Adjoining sections where no work is currently proposed but the surface was still observed.
Observing a relevant condition in one section does not by itself establish that every mortar joint on that wall belongs in the proposed scope. "Rear wall, section below the second-floor window" is more reviewable than "repair bad mortar on rear."
For example, instead of accepting a vague line like 'Repair bad mortar on rear,' a reviewable scope defines the boundary: 'Rear elevation: Pointing included from ground level to sill of second-floor windows. Upper section excluded (not adequately assessed).
Applying a structured checklist to these distinctions provides a reliable way to review each area objectively.
Define Where an Included Area Starts and Stops
Once the property has been divided into reviewable areas, the next question is where the proposed work in each section begins and ends. A clear scope of work (the written description of what repairs are proposed and where) should identify boundaries the homeowner can recognize, referencing visible property features rather than vague language like "as needed."
For each area discussed, it helps to know which category applies.
| Status | What It Means | Plain-Language Example |
|---|---|---|
| Included | Pointing is proposed for this area, and the boundaries of the proposed work are described. | "The lower section below the window is included for pointing." |
| Excluded | This area is not part of the current proposed scope. It may or may not have been assessed. | "The adjoining section around the corner is not included in this proposal." |
| Assessed, no work proposed | The area was reviewed and no pointing is recommended at this time based on observed conditions. | "This section was viewed, but no pointing is currently proposed." |
| Not adequately assessed | The area could not be sufficiently evaluated due to access, visibility, or other limitations. Its condition remains uncertain. | "The upper section could not be adequately evaluated from the available viewing position." |
"Excluded" does not automatically mean "confirmed to be in good condition." An area may be excluded because it could not be viewed properly, because the proposal does not address it, or for another reason entirely. If the reason is unclear, it is reasonable to ask. An area with no work currently proposed should not be treated as a permanent guarantee of that masonry.
Similarly, a scope that proposes more area does not automatically mean a more thorough or more appropriate recommendation. What matters is whether each proposed area and its basis are clearly defined.
A hypothetical example may help. Suppose an assessment identifies deteriorated mortar along a defined lower section of one wall and proposes pointing for that zone. An upper portion cannot be assessed adequately from current access. A reviewable scope would note both: the lower section as included work with described boundaries, and the upper section as not adequately assessed rather than silently omitted.
One more point worth separating: reviewing an assessment is not the same as authorizing repair. Understanding what a scope covers does not commit the homeowner to proceeding. Clarifying the scope and deciding whether to move forward are separate steps.
Record What Could Not Be Adequately Viewed
Not every surface on a property can be fully evaluated during a single visit. Upper areas may be difficult to see clearly from ground level. Sections behind fencing, adjacent structures, or permanent fixtures may be partially or fully obstructed. Some walls may only be visible from an angle that does not reveal joint conditions clearly.
Acknowledging these limitations does not weaken an assessment. It makes the resulting scope more honest and more reviewable. When a section is marked as "not adequately viewed" or "requires further evaluation," the homeowner can see exactly where the scope rests on direct observation and where it does not.
Areas that may fall into this category include:
- Upper wall sections where ground-level observation is limited.
- Walls or portions blocked by neighboring structures, vegetation, or equipment.
- Surfaces where available photographs lacked sufficient context, scale, or angle to support a determination.
- Sections that may require different access before a reliable assessment can be established.
This article cannot determine which access method is appropriate for a particular property. When an area cannot be assessed adequately, the scope can note that limitation and indicate that better access or another professional evaluation may be needed before that portion is finalized.
For an Ozone Park homeowner reviewing a proposal, the practical question may be straightforward: was the quoted area directly observed, or does the assessment for that section remain provisional? Clear labeling removes that ambiguity.
Use the Assessment to Build a Scope You Can Actually Review
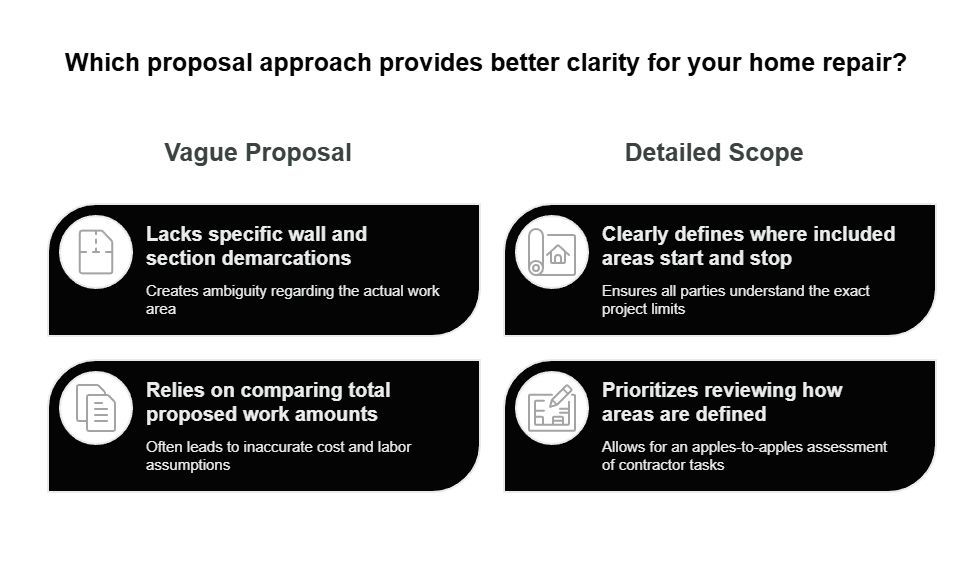
The categories above become most useful when applied while reading a proposal. When comparing multiple proposals, reviewing how each one defines its areas and boundaries can be more informative than comparing the total amount of proposed work. Before concluding that one proposal contains more or less work than another, determine whether both contractors are actually describing the same walls, sections, and boundaries. The following checklist outlines what a reviewable scope should help identify for each area.
Wall-by-Wall Assessment Scope Checklist
| Scope Item | What You Should Be Able to Identify |
|---|---|
| Area label | Which wall, elevation, or distinct masonry section is being discussed |
| Observed section | Where the relevant condition was actually seen |
| Work boundary | Where the proposed pointing area begins and ends |
| Included status | Whether that area is part of the proposed scope |
| Excluded status | Which adjacent sections are not included, and whether the reason is stated |
| Visibility | Whether the area was fully viewed, partially viewed, assessed from photos only, or not adequately viewed |
| Uncertainty | What cannot yet be concluded about that area |
| Follow-up needed | Whether better access or an additional evaluation is required before the scope should be treated as final |
After reviewing the checklist against a proposal, you should be able to answer several questions about each area. What was observed there? Is pointing actually being proposed? Where does the proposed area stop? What nearby section is excluded, and why? Was anything not adequately visible? What remains uncertain? Does any part require further assessment before the scope should be accepted as final?
An inability to answer any of these questions directly from the written proposal is a clear signal to request clarification before moving forward.
For related reading on what assessment details matter before work begins, see what a brick-pointing assessment should clarify before work is proposed.
Frequently Asked Questions
Can photographs show whether an entire brick wall needs pointing?
Photographs can help identify where deterioration appears, but they may not establish the complete extent of work across the full wall. Areas beyond the frame, behind obstructions, or at difficult angles may remain unresolved. An on-site review can help clarify adjoining areas, boundaries, and visibility limitations that photographs alone may not address.
If one area has deteriorated mortar, should every exterior wall be included in the scope?
Not automatically. The appropriate scope depends on property-specific observations rather than an assumption that all walls share the same condition. A reviewable scope should identify which walls were actually assessed and what work, if any, is proposed for each. Areas not evaluated should be noted separately.
What should be marked as "not assessed" or uncertain in a scope?
Areas that could not be adequately viewed, were obstructed, lacked sufficient photographic context, or require different access before a determination can be made. Describing these separately helps the homeowner understand where the proposal rests on direct observation and where it does not.
What should a homeowner look for in the written scope after an on-site assessment?
Look for identifiable area labels, clear proposed work boundaries, a distinction between included and excluded sections, visibility or access limitations, and unresolved items requiring follow-up. If the scope does not make these elements clear for each area, ask for additional detail before treating the proposal as final.
Making the Scope Worth Reviewing
Ultimately, an in-person assessment transforms a vague diagnosis into a precise, actionable roadmap. It protects homeowners from open-ended agreements by defining exactly where the work begins, where it ends, and what remains obscured. This level of detail empowers you to approve specific, well-defined repairs rather than underwriting a blanket commitment.
Use the checklist to organize the areas and questions you want clarified. If photographs or a description do not provide enough scope clarity, City Suburb's brick-pointing services page includes information about an on-site inspection option, and the contact page provides the next step for an inquiry.
Disclaimer: This information is general and does not provide a property-specific masonry diagnosis or repair recommendation. Conditions and appropriate repair scopes vary by building and observed conditions. Confirm property-specific decisions through an on-site assessment by an appropriate qualified professional.
Our Editorial Process:
The City Suburb Insights Team synthesizes complex topics into clear, helpful guides. While our content is reviewed for clarity and accuracy, it is for informational purposes and should not replace professional advice.
About the City SuburbInc Insights Team
The City SuburbInc Insights Team is our dedicated engine for synthesizing complex topics into clear, helpful guides. While our content is thoroughly reviewed for clarity and accuracy, it is for informational purposes and should not replace professional advice.