
When Seepage Appears During Rain: What to Document Before a Brick-Pointing Assessment
📌 Key Takeaways
Document when and where seepage appears during rain, but let a masonry professional determine its cause and the right repair.
- Record the Full Sequence: Note when rain starts, moisture appears, the damp area changes, and what happens after the rain ends.
- Separate Facts From Causes: Visible cracks, recessed mortar, and nearby stains are useful observations, but they do not prove where water entered.
- Map Moisture Carefully: Record the first visible spot and later spread separately, using fixed landmarks and safe photographs.
- Compare Each Storm: Note changing patterns across rain events and whether dampness remains during dry weather.
- Keep Observation Safe: Avoid climbing, probing, spraying, or testing the wall, and leave concealed conditions to an on-site assessment.
Clear records guide assessment; they do not diagnose leaks.
Ozone Park homeowners can prepare a clearer assessment record by using the rain-pattern log and professional questions below.
~ ~ ~ ~ ~ ~ ~ ~ ~ ~ ~ ~ ~ ~ ~ ~ ~ ~
A wall that becomes damp during rain can seem to point directly at the most obvious cracked mortar outside. For an Ozone Park homeowner watching that pattern, the temptation is to treat the two observations as one conclusion. The more productive first step is documenting what actually happens: when the moisture appears, where it begins, how it changes, and whether the same pattern returns. That record does not identify the leak source, and it does not assume that brick pointing is the answer. It gives a masonry professional sharper questions to work with. By the end, you will have a reusable rain-pattern observation log you can bring to that conversation.
Why Rain Timing Is Useful, but Not a Diagnosis
Knowing the sequence makes your leak description much more helpful. "The wall gets wet when it rains" gives a professional one data point. "Moisture first appeared about 20 minutes into steady rain, at the top corner of the second-floor bedroom, and expanded downward for the next hour" gives several.
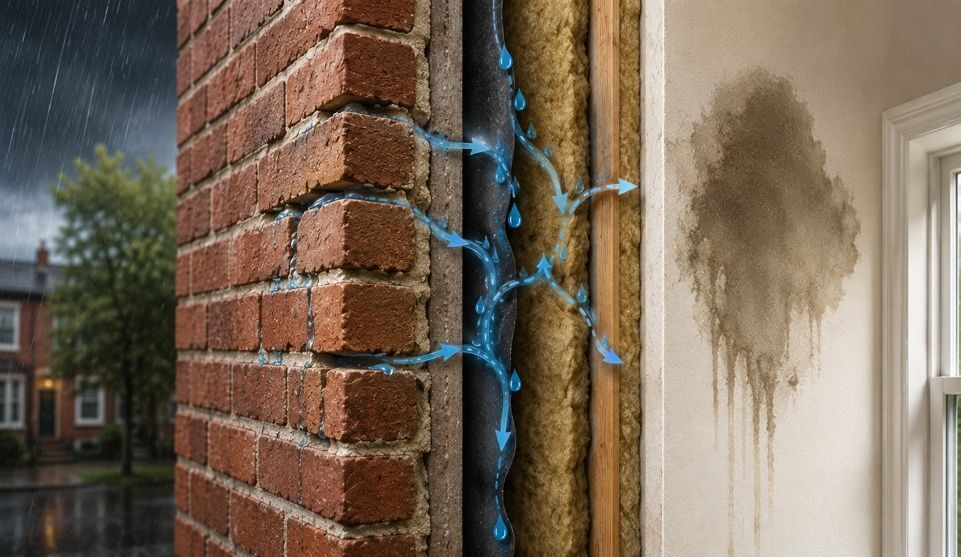
Those distinctions narrow what a professional investigates on site. They do not explain where water entered the wall assembly. A nearby visible defect should be documented, but documenting it is not the same as declaring it the entry point.
| Useful Observation | Unsupported Conclusion |
|---|---|
| "The stain appeared while it was raining." | "Rain entered through the mortar." |
| "The damp area started above the window." | "The window lintel is leaking." |
| "The same area became wet in two storms." | "That proves the same defect caused both events." |
| "Several joints look recessed outside." | "Those joints are definitely the leak source." |
Treat each as information to report. Let the assessment determine what connects them.
Record the Sequence of the Rain Event
Three moments in a rain event are worth capturing, even approximately.
Note When the Rain Began (If Known)
You do not need a weather station. "It was already raining when I got home" is legitimate information. Record the approximate time if you notice when rain started. If not, note that rain was already underway. Your firsthand observation matters more than a meteorological record.
You may also describe the rain in ordinary terms — light, steady, or heavy — and note roughly how long it continued. These descriptions provide context for the professional, not diagnostic thresholds. You don't need to research official rainfall totals to complete the log.
Record When the First Moisture Became Visible
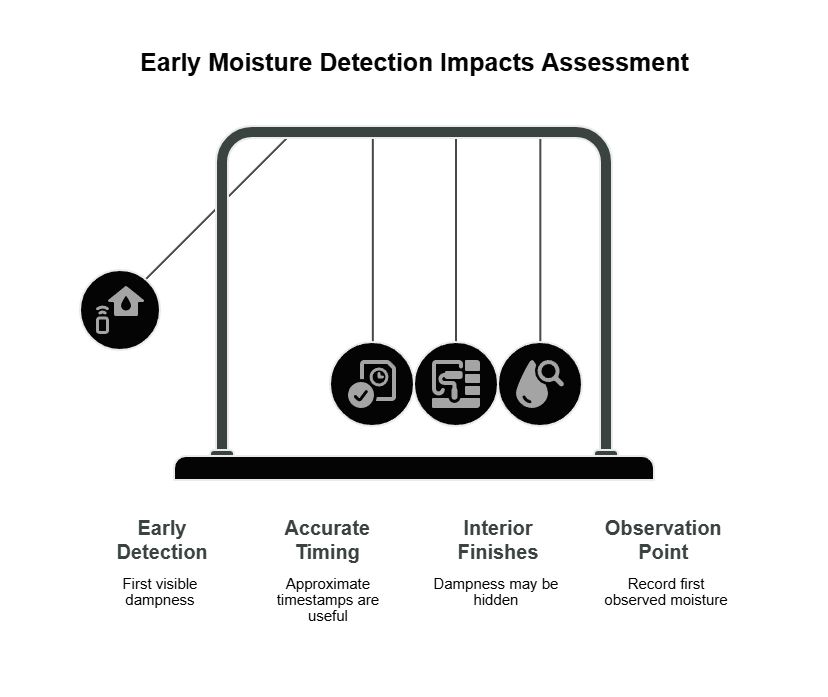
The moment you first notice dampness matters more than when the entire area becomes obviously wet. A small discoloration at a ceiling edge is a different observation from a large saturated wall section, even if both develop during the same event.
Use approximate timestamps. "Around 2:00 p.m." is more useful than "sometime in the afternoon," but either beats nothing. If you discovered the moisture after it had already spread, note that: "Already visible and approximately 18 inches across when I checked at 3:30 p.m."
Interior finishes can also make the original point of moisture difficult to determine. Paint, plaster, trim, or wallpaper may reveal dampness only after it has become visible over a wider area. In that situation, record the first place you actually observed moisture rather than trying to infer an earlier hidden location.
Record What Happened After the Rain Stopped
Once the rain ends, check whether the damp area remains the same size, continues to spread, diminishes, or shows no visible change. Record that as a separate entry.
For example, a homeowner notices a dark patch midway through a rain event. An hour later it extends along the ceiling edge. After rain ends, the area looks damp but no longer grows. Those are three separate observations worth recording independently.
Sometimes the wall looks completely dry during rain, and a damp patch appears only afterward. "Noticed after rain ended, exact onset unknown" is still useful chronology. Do not discard your notes because you missed the exact minute. An approximate sequence is far more useful than none. While you are observing and documenting the leak, you can place a bucket or lay down towels to protect your interior floors, but avoid tearing into drywall or trying to patch the wall from the inside while it is actively raining.
Map the Interior Location Before Trying to Match It to the Exterior
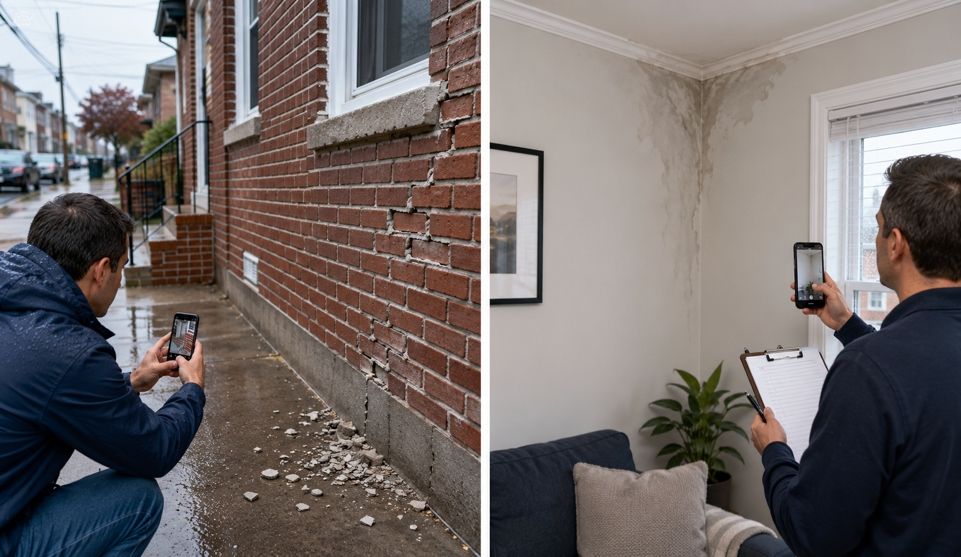
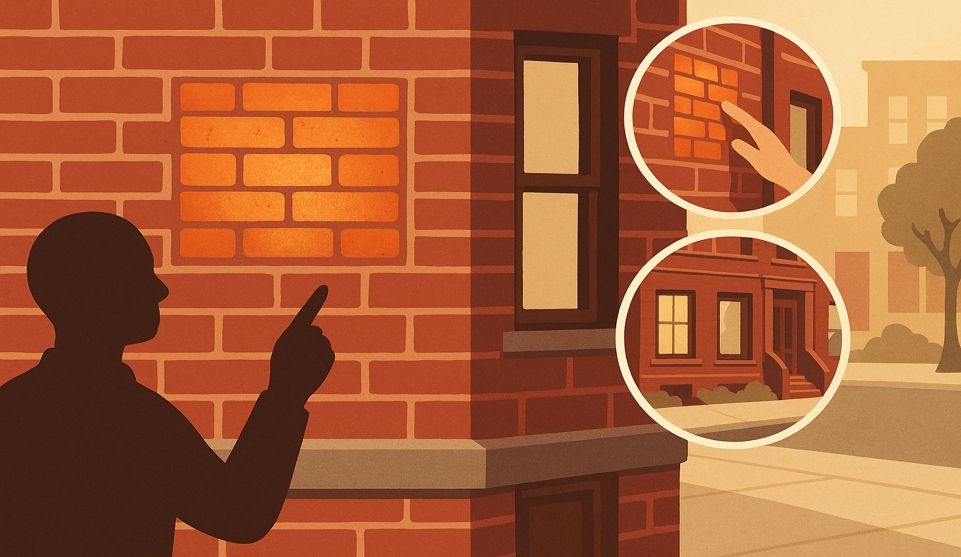
Where moisture first becomes visible inside and where it eventually spreads are two details worth separating. Record the room and exact location using fixed reference points: window edge, ceiling-wall intersection, a specific corner, or the floor line.
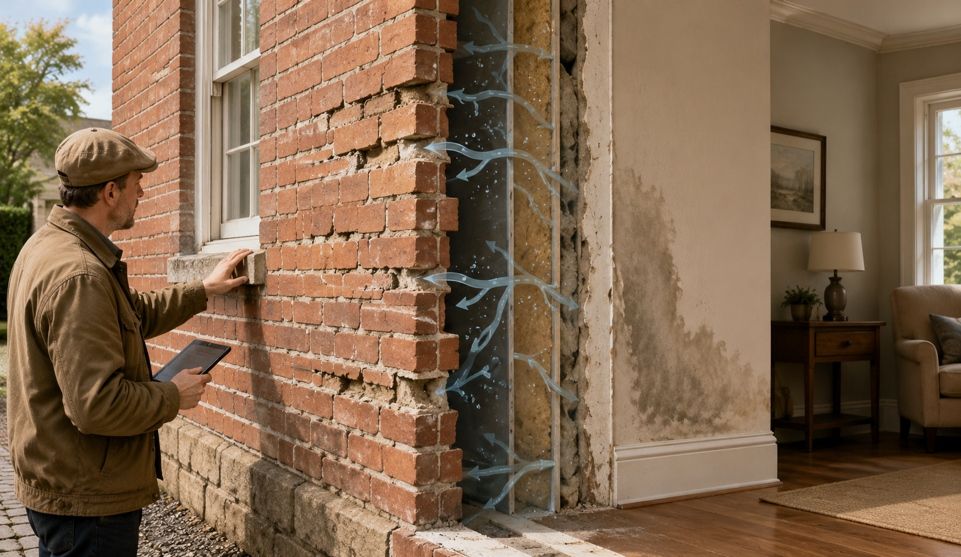
Distinguish "first staining seen here" from "eventually the damp area reached here." If you can photograph both, a professional sees progression rather than only the final result. Start with a wide shot showing the wall and surroundings, then a closer detail from the same safe position. If the image does not communicate scale well, include a note describing the approximate location or dimensions rather than assuming the photograph tells the whole story. Photographs support a preliminary conversation, but they do not replace on-site evaluation of concealed conditions.
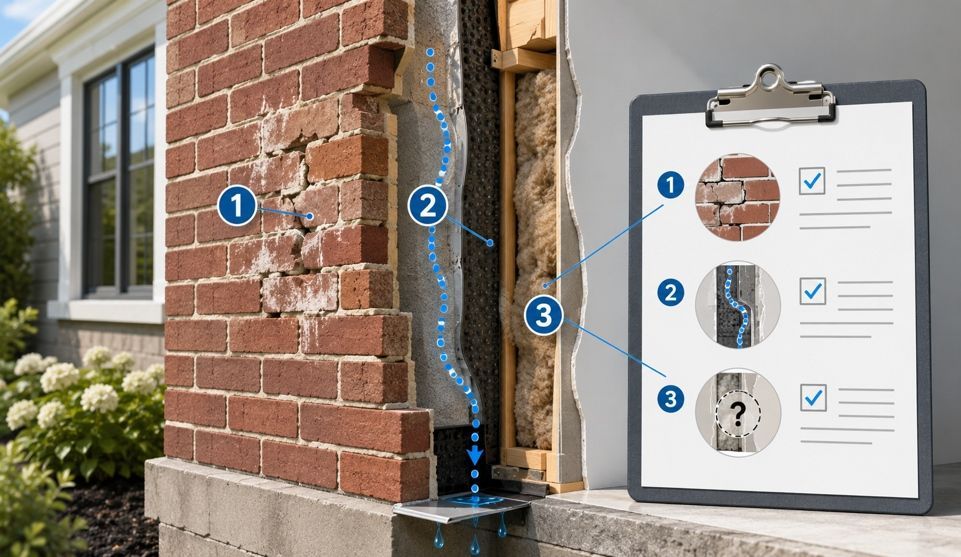
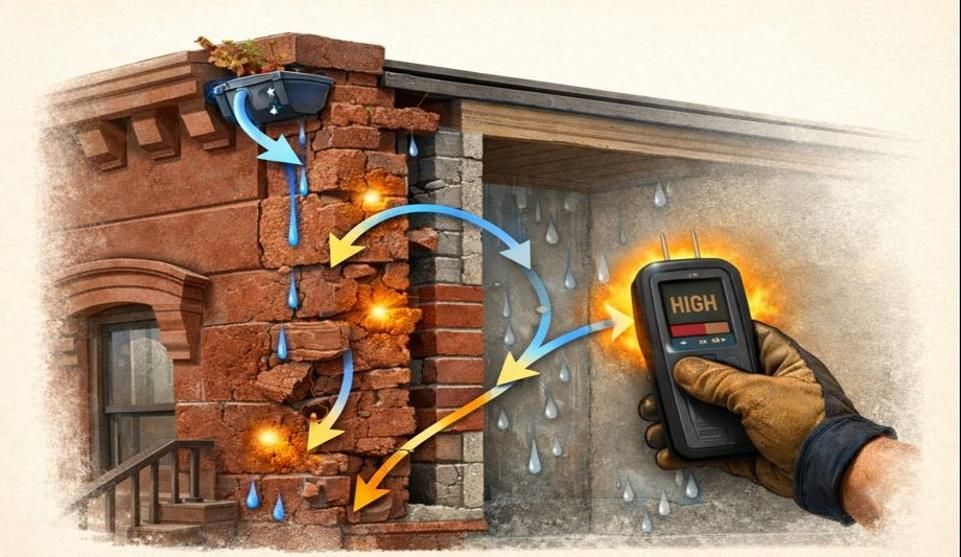
A simple sketch can help if it labels only what you observed: "first staining seen here" rather than "entry point." The interior location of a stain does not automatically correspond to the nearest exterior defect. Water can travel laterally inside a wall, follow framing, or emerge with no obvious exterior match. Assessment establishes that relationship.
Describe Exterior Brick and Mortar Conditions Separately
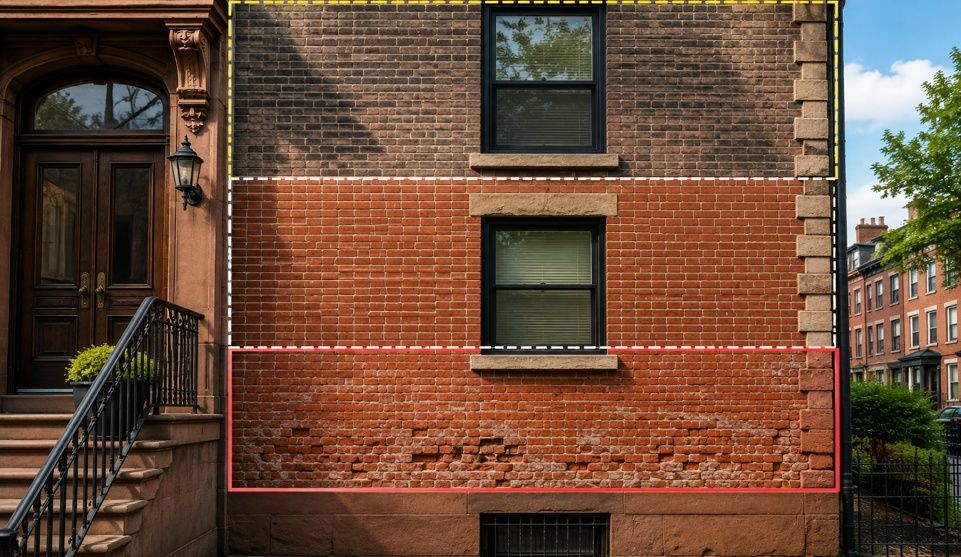
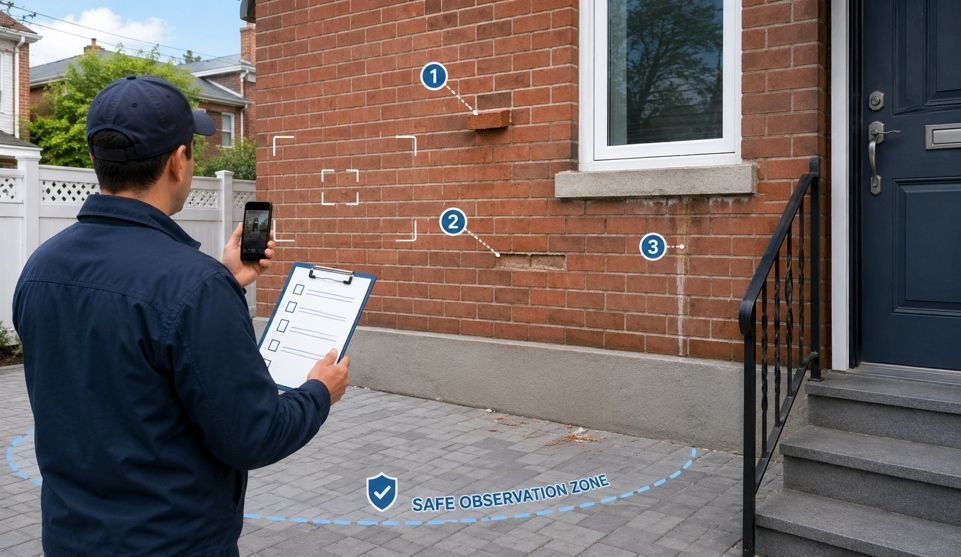
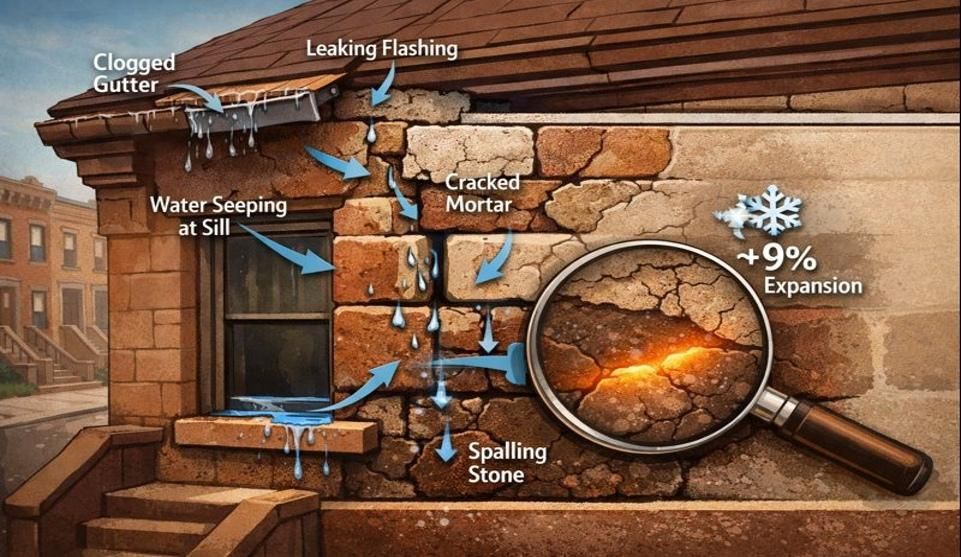
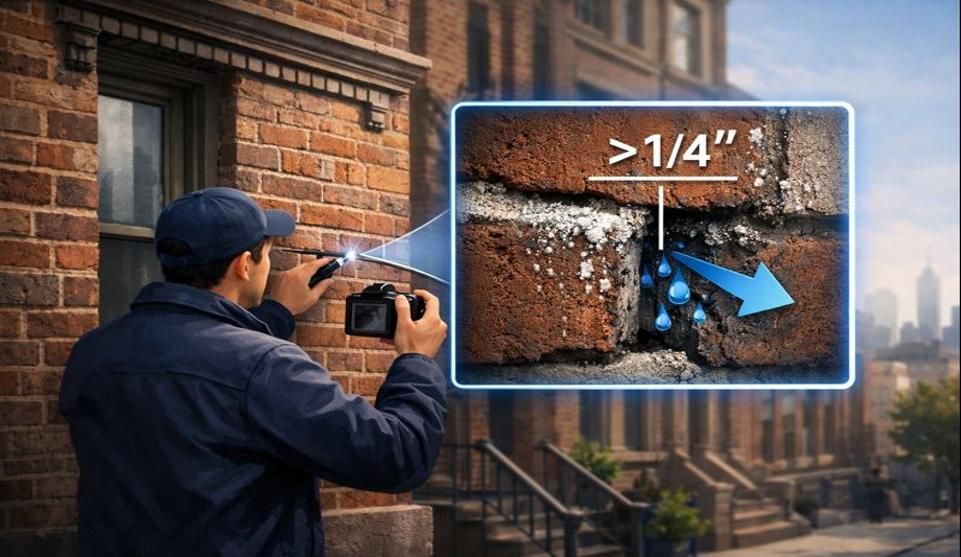
From a safe, normally accessible position, you may see conditions worth documenting:
- Mortar joints that appear recessed or eroded.
- Sections where mortar looks absent or broken away.
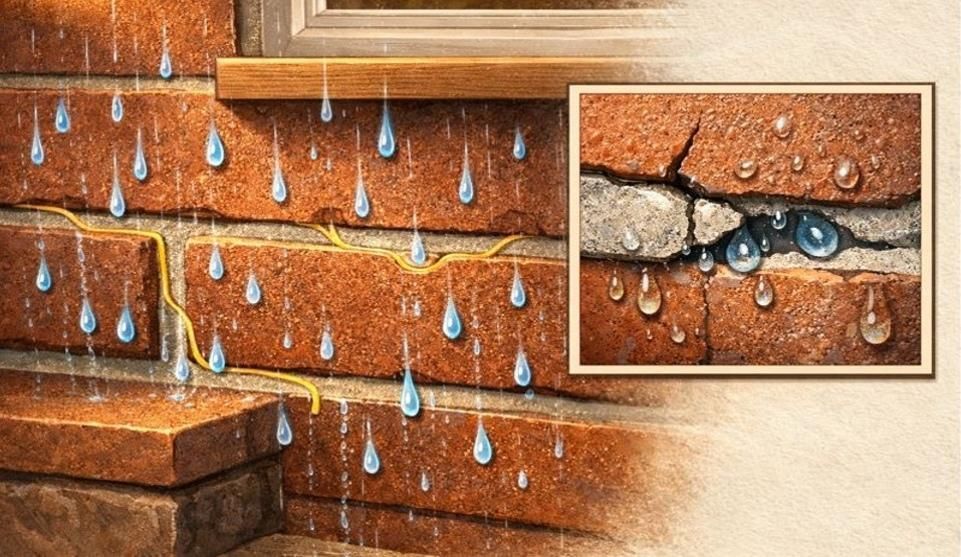
- Cracks visible without touching the wall.
- Surface staining, discoloration, or efflorescence.
- Brick faces that appear spalled or chipped.
- Prior patches, sealant, or repair material near the area.
- Nearby windows, doors, roof edges, or parapets (as location markers only).
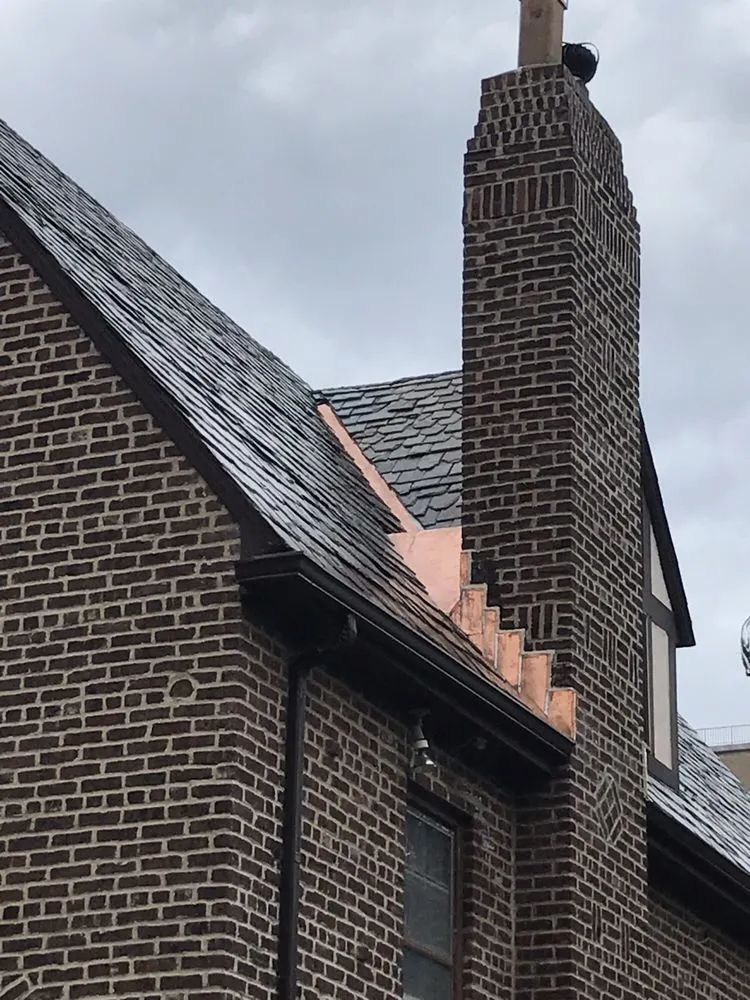
Describe appearance, not cause: "appears recessed," "looks absent from this viewpoint," "visible vertical crack." Calling a mortar joint "the leak source" is a conclusion requiring professional evaluation.
Do not touch, tap, scrape, probe, or move masonry to test its condition. Do not spray or hose the wall, flood an area, use dye, perform destructive testing, or attempt to reproduce the leak yourself. A homeowner observation log is meant to document normal conditions, not create a DIY leak test. Leave water testing to a professional who can control the process.
If a closer view would require climbing, leaning from a window, accessing a roof or fire escape, or approaching unstable material, skip it. Tell the professional what you could not safely view. A missing photograph is a minor gap. An injury is not.
If the mortar looks deteriorated, it can also be tempting to authorize pointing to see whether the leak stops. Repair suitability should follow assessment, not serve as a trial-and-error test.
Repointing (replacing deteriorated mortar in masonry joints) addresses mortar condition specifically. Only a professional assessment can tell you if repointing will actually stop your leak.
Compare More Than One Rain Event Without Forcing a Pattern
If you have experienced seepage during more than one rain event, apply the same observational discipline.
For each event, note whether moisture appeared in the same location or a different one, whether onset was earlier or later, and whether the visible area was smaller or larger. Record changes between events (such as previous repair work) without assuming they explain the difference.
Consistency makes the pattern easier to describe. Inconsistency is also useful. A stain that moves to a different wall tells a professional something different from one that recurs in the same corner.
One comparison worth making deliberately: does the moisture appear only during rain, or is it also visible during dry periods? A damp area that persists between storms communicates something different from one that dries completely and returns only with the next rain. That detail belongs in the record without requiring you to explain why it happens.
Seeing it happen repeatedly helps confirm the pattern, but it still doesn't prove the exact cause. Your notes cannot tell you how urgent the situation is. Safety and repair scope depend on property-specific conditions that can only be measured on site.
Use a One-Page Rain-Pattern Observation Log
The table below organizes these observations into a single reusable format. You do not need to complete every field. Unknown information should stay marked "unknown" rather than filled in with a guess. All observations should come from normal occupancy, not risky inspection.
| Field | What to Record | Notes |
|---|---|---|
| Rain event date | Calendar date | No weather research needed |
| Rain began | Approximate time, or "already raining" | "Unknown" is acceptable |
| Rain conditions | Light, steady, or heavy, plus approximate duration if known | Ordinary description, not a diagnostic threshold |
| Seepage first noticed | Approximate time | Do not convert delay into a diagnosis |
| First visible interior location | Room, wall, ceiling edge, window area | Describe position only |
| Change during event | Spread, darkening, dripping, or no visible change | No severity score |
| Rain ended | Approximate time if known | Optional |
| Moisture after rain | Whether symptom remained, changed, or resolved | Observation only |
| Repeat pattern | Same location, different location, or first occurrence | Do not infer mechanism |
| Dry-weather observation | Whether moisture is also visible when it is not raining | Record without explaining cause |
| Exterior context | Visible mortar gaps, staining, cracks, openings, nearby features | Record only what is visible safely |
| Safe photographs | One context view and, where safely possible, one closer detail | No climbing or leaning |
| Prior work known | Pointing, coating, window work, roof work, or unknown | Do not assume relevance |
| What remains uncertain | Timing, first location, inaccessible exterior area, prior repair details, or other unknowns | Accurate gaps are better than guesses |
| Questions for professional | What relationship, if any, should be investigated? | Keep questions open-ended |
Sample language you can adapt:
"During the rain on [date], moisture first became visible at [interior location] at about [time or stage of rain]. It [changed / did not visibly change] as the rain continued. After the rain ended, [observation]. I have noticed [same / different / no previous] pattern during earlier rain. From a safe position, I can see [neutral exterior observation]. I could not safely view [area, if applicable]. I have attached context photos. Can the assessment evaluate whether these observations are related and whether pointing is relevant to the water-entry problem?"
Use the log to organize what you saw before discussing the leak with a masonry professional. For more on what that conversation should cover, see what an active-leak assessment should clarify.
Questions to Ask During the Brick-Pointing Assessment
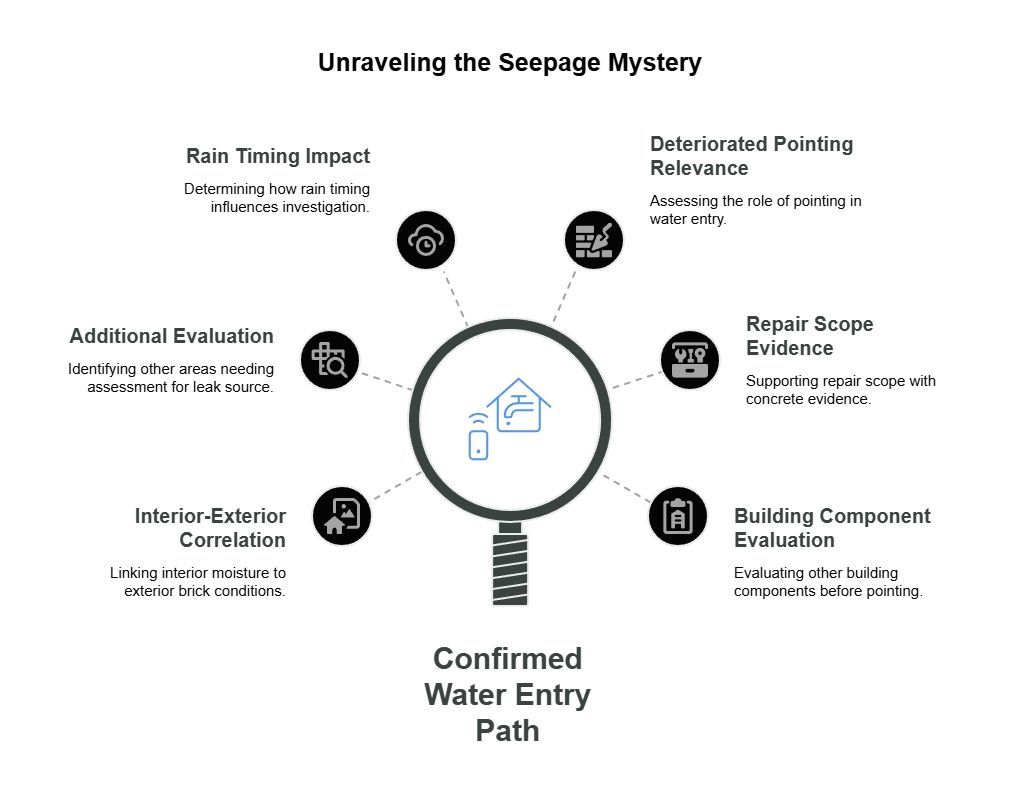
Bring the observation record to the assessment, then ask questions that require the proposed repair scope to be supported by evidence:
- "Do the interior and exterior observations appear related, or could they represent separate conditions?"
- "What additional areas need to be evaluated before a leak source can be identified?"
- "Does the rain timing change what should be investigated?"
- "Is deteriorated pointing relevant to this water-entry problem, or is it only one condition present?"
- "What evidence supports the proposed repair scope?"
- "Could another building component need evaluation before pointing work is authorized?"
- "What should I document during the next rain event if the source remains uncertain after this assessment?"
These questions ask the professional to explain their reasoning, not to reach a predetermined conclusion. Avoid using a contracted repair as a substitute for professional troubleshooting. Proceeding with surface masonry work without confirming the water's exact entry path leaves the true source of the seepage unresolved, even if the exterior temporarily looks better.
Photographs and chronology can support preliminary discussion, but they may not reveal concealed or property-specific conditions. An on-site assessment may still be necessary before the source, extent of work, or relevance of pointing can be determined.
How Urgent Is a Rain-Related Seepage Problem?
A rain-pattern log cannot establish a universal urgency level. The significance of seepage, masonry deterioration, or another visible condition depends on what is occurring at the specific property and what an appropriate professional finds during evaluation.
Do not use the absence of dramatic symptoms as proof that the masonry is safe, and do not create a more dangerous situation while trying to document the problem. If an area appears unstable or cannot be observed safely, stay away from it and seek appropriate professional guidance.
The practical next step is to preserve useful observations and arrange an appropriate assessment rather than relying on a numerical threshold or a visual guess about severity.
Bringing Organized Observations to the Right Conversation
The observation record does not replace an assessment. It improves the starting point. A professional who receives a clear chronology, specific descriptions, recurrence notes, and safe photographs can verify relationships rather than reconstruct a timeline from memory. Bring that record to an assessment that determines whether pointing, another repair, or further investigation fits.
If you want City Suburb to review the concern, send photographs taken from a safe position with a brief description through the contact page, or ask about an on-site assessment.
You can also learn about City Suburb's brick-pointing assessment and service options.
Frequently Asked Questions
Does seepage that starts during rain mean the mortar joints are leaking?
Not necessarily. The timing is useful to report, but it does not by itself identify where water entered or establish that mortar joints are the source. Record the timing and visible conditions and let the assessment evaluate their relationship.
Should I record how long after the rain starts the dampness appears?
Yes, if you can do so without disrupting normal safety. An approximate sequence (rain began, moisture first noticed, visible area changed, rain ended) can make the pattern easier to explain. Avoid treating the delay as a diagnostic test.
Should I photograph the outside wall while it is raining?
Only from a safe, normally accessible location. Do not climb, lean from openings, enter roof areas, access fire escapes, touch unstable-looking masonry, spray the wall, or artificially flood the area to force a reaction.
Will brick pointing stop rain-related seepage?
That cannot be determined from the rain pattern alone. Pointing may be one condition a professional evaluates when mortar has deteriorated, but the appropriate repair depends on the property-specific source and scope of water entry.
Disclaimer: This article is for general informational purposes and does not diagnose the source of water entry or determine whether brick pointing is appropriate for a specific property. Do not access unsafe areas or handle unstable masonry to gather observations. Property-specific causes, safety concerns, and repair decisions should be evaluated by an appropriate qualified professional.
Our Editorial Process:
The City Suburb Insights Team synthesizes complex topics into clear, helpful guides. While our content is reviewed for clarity and accuracy, it is for informational purposes and should not replace professional advice.
About the City SuburbInc Insights Team
The City SuburbInc Insights Team is our dedicated engine for synthesizing complex topics into clear, helpful guides. While our content is thoroughly reviewed for clarity and accuracy, it is for informational purposes and should not replace professional advice.