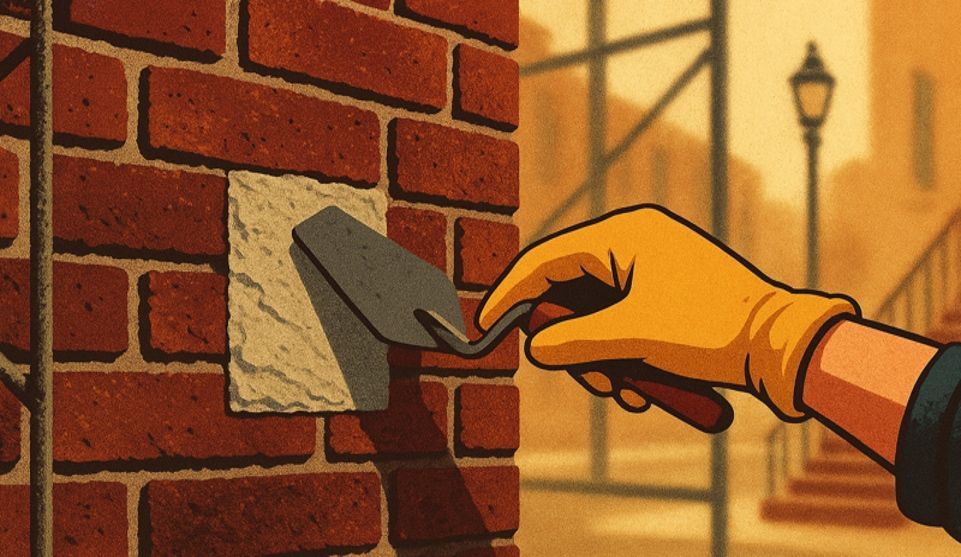

Falling Mortar and Active Seepage in Ozone Park: Which Brick Warning Signs Need Prompt Assessment?
📌 Key Takeaways
The author recommends that Ozone Park homeowners report falling mortar and seepage together, leaving diagnosis to qualified professionals.
- Put Safety First: The author recommends calling 911 when falling debris creates an immediate hazard or a building appears dangerous.
- Report Both Patterns: The author recommends reporting falling material and seepage together without assuming one caused the other.
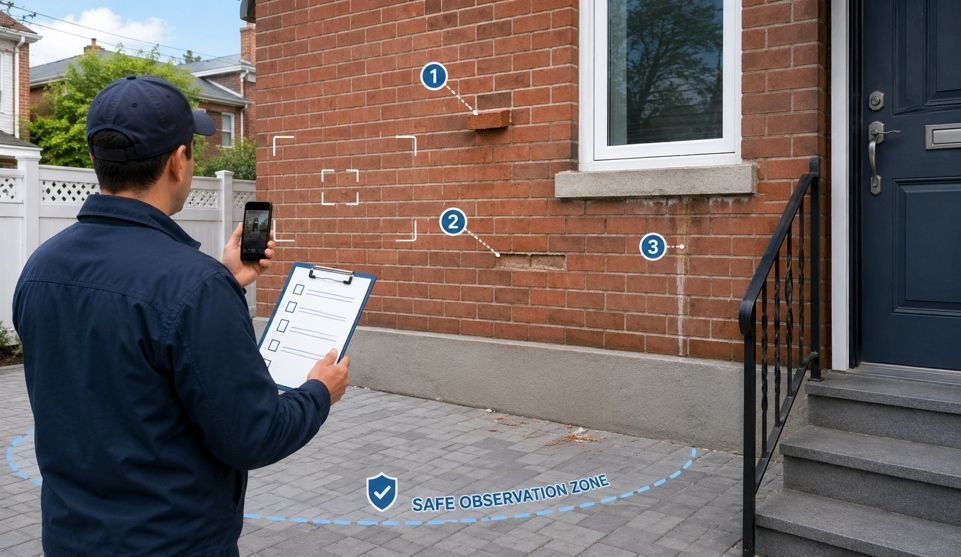
- Document From Safety: The author advises photographing visible changes from stable locations and recording dates, rain timing, recurrence, exposure, and viewing limits.
- Avoid DIY Testing: The author warns against touching masonry, climbing, spraying walls, or applying temporary materials before assessment.
- Seek Qualified Assessment: A professional can assess masonry, water pathways, structural significance, and the repair scope that evidence supports.
Observe safely, report patterns, and leave diagnosis to professionals.
Ozone Park homeowners will prepare a clearer assessment request using the warning signs and reporting steps below.
~ ~ ~ ~ ~ ~ ~ ~ ~ ~ ~ ~ ~ ~ ~ ~ ~ ~
You notice small mortar-like pieces below an exterior brick wall. During the next rain, a damp patch appears inside near the same part of the house.
For an Ozone Park homeowner, those observations may warrant prompt professional assessment and should be reported together. They may be related, but they do not establish where the water entered, whether the wall is stable, or what repair is needed. When debris is actively falling or presents an immediate hazard, safety takes priority over photographs or a contractor inquiry. NYC311 directs people to call 911 for falling debris that is an immediate hazard or a building that is dangerous or collapsing.
A useful next step is to document what can be seen from a safe, accessible position, organize the timing and location of the seepage, and describe both patterns without trying to diagnose them.
Why Falling Mortar and Seepage Belong in the Same Assessment Request
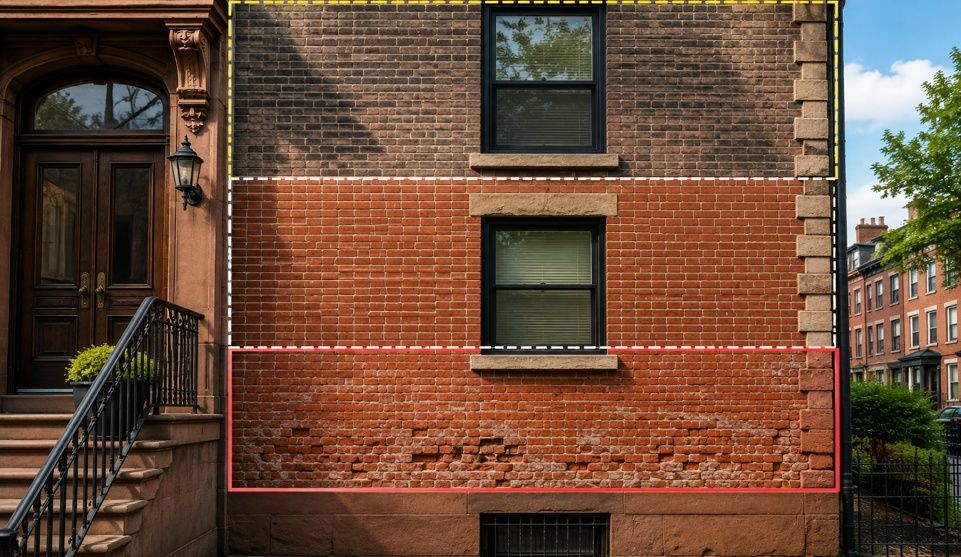
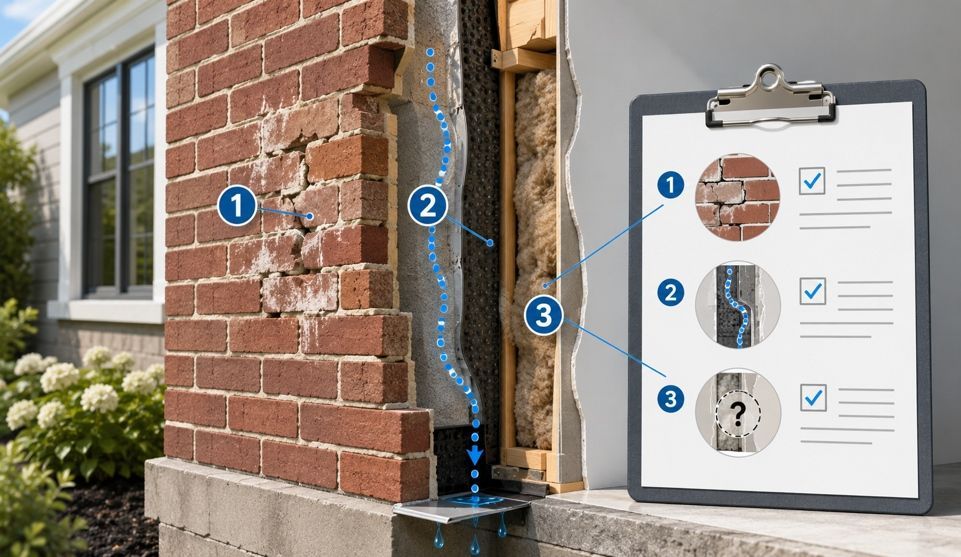
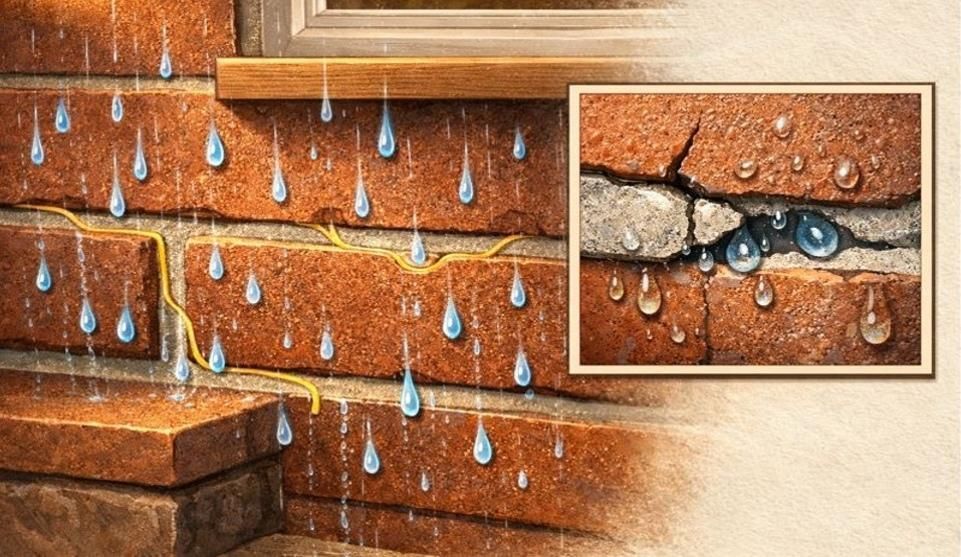
A mortar joint is the material-filled space between bricks. Mortar fragments on the ground describe a visible material change; seepage describes water that appears gradually as dampness, staining, or dripping. Reporting both gives a professional a clearer picture of the wall and the surrounding building envelope—the exterior components that separate indoor space from weather.
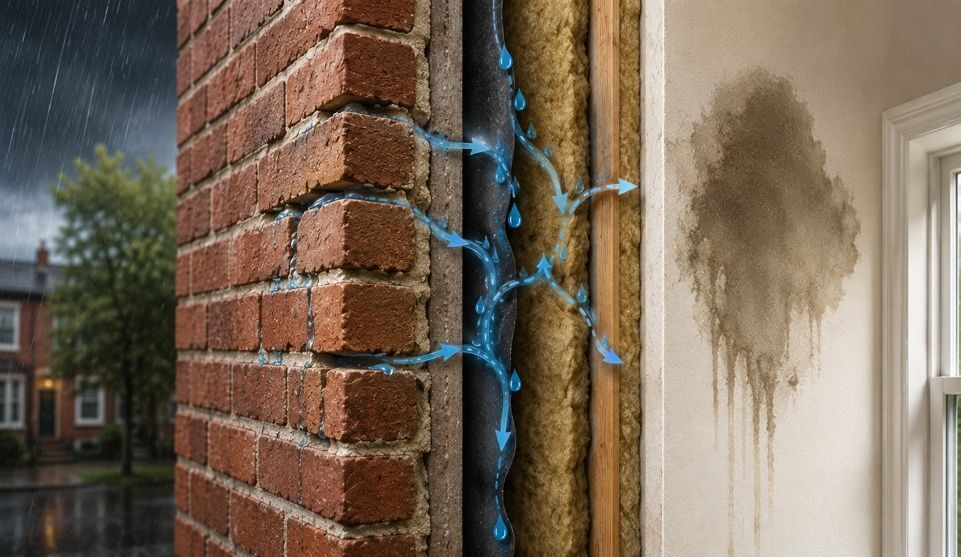
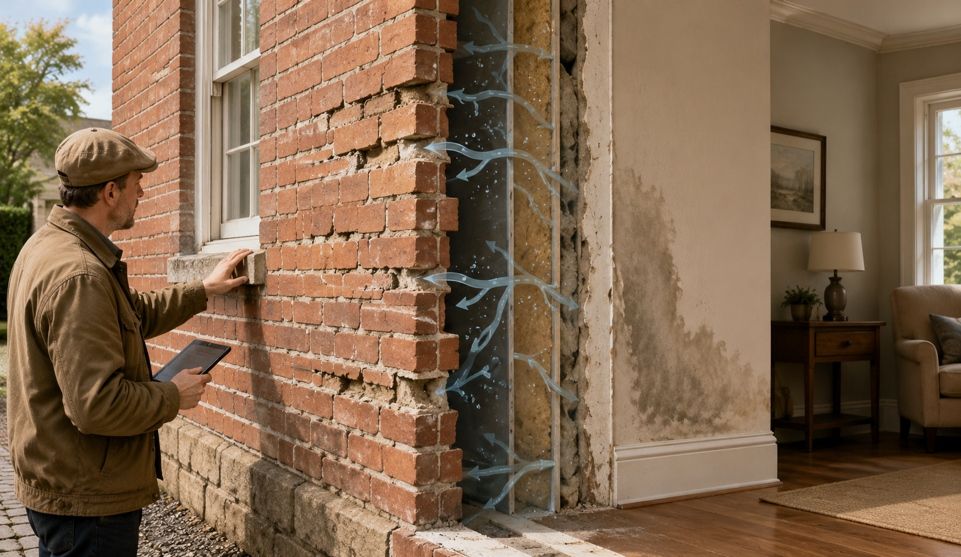
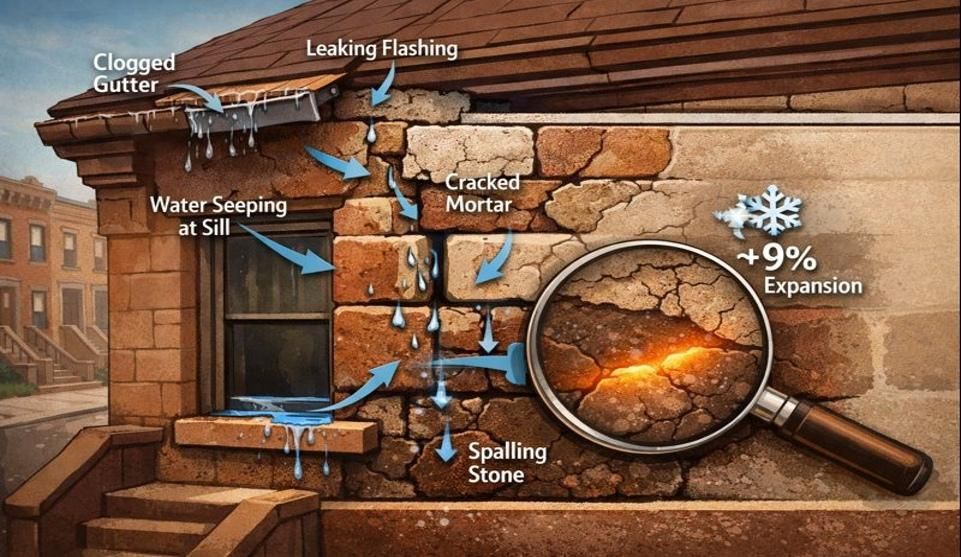
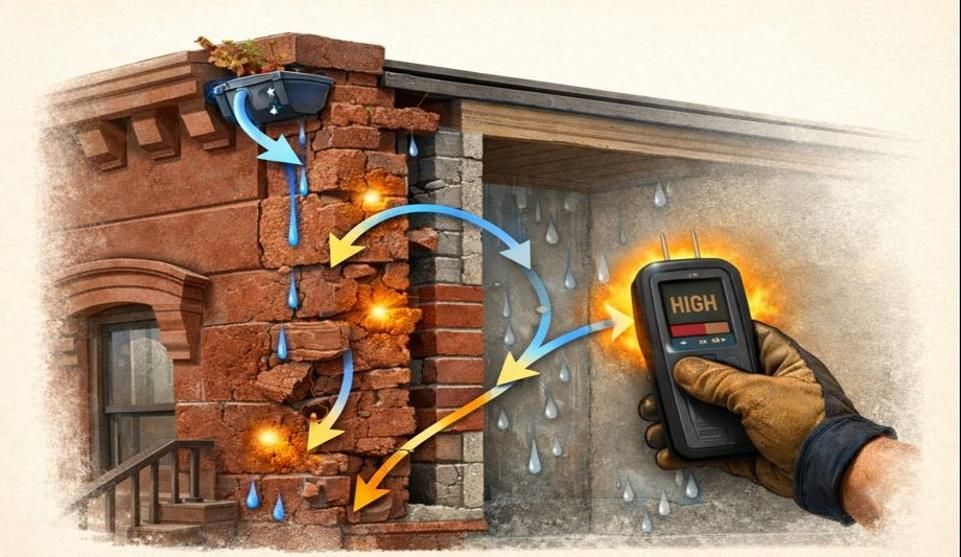
As a general building-envelope principle, visible interior moisture does not necessarily align with the exterior entry point. Do not assume the visible joint is the only water pathway. Water can enter a small exterior gap, travel along internal cavities or steel lintels, and finally drip feet away on an interior ceiling. Several conditions may require consideration, including masonry joints, openings, roof-wall transitions, flashings that direct water, or lintels that support masonry above openings. A qualified professional must determine the cause and scope.
For example, if fragments appear below a rear wall while a damp patch develops indoors during certain rain events, a useful report records each location and its timing. It does not state that the fragments caused the dampness.
| Observation | Conclusion to avoid |
|---|---|
| Mortar-like fragments were found below the wall | The mortar caused the leak |
| One brick appears farther forward than adjacent bricks | The brick is structurally loose |
| A crack follows several mortar joints | The wall is failing |
| A stain appeared after rain | The nearest exterior gap is the entry point |
National Park Service guidance notes that masonry cracking can have different causes and that the nature and source of cracks should be determined before repair. It also recommends professional care when repointing historic masonry. These are general assessment principles, not a diagnosis of a particular home.
Warning Signs to Document From a Safe Position
Material on the Ground or Actively Falling
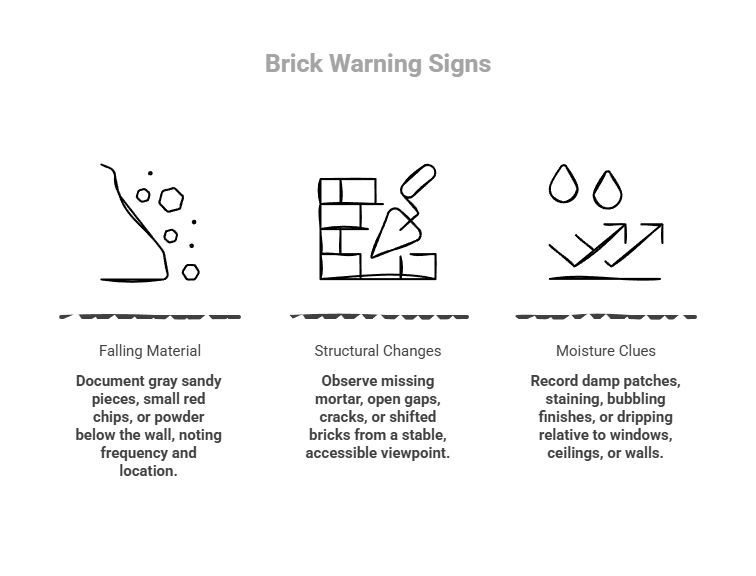
Describe what is visible without worrying about the perfect trade term. “Gray sandy pieces,” “small red chips,” or “powder below the wall” may be more useful than guessing whether the material is mortar, brick, coating, or something else.
Record whether the debris appeared once or has returned, especially after wind or rain. Its location also matters: note whether it is below a doorway, sidewalk, stoop, shared alley, yard, window, or occupied area. Do not stand beneath the source or collect fragments while material is falling.
Changes in Joints, Gaps, Cracks, or Brick Position
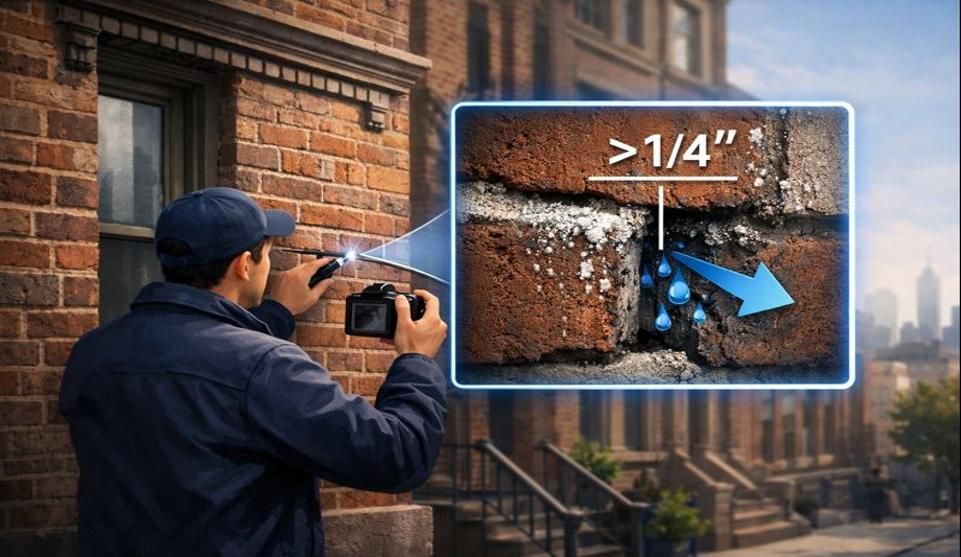
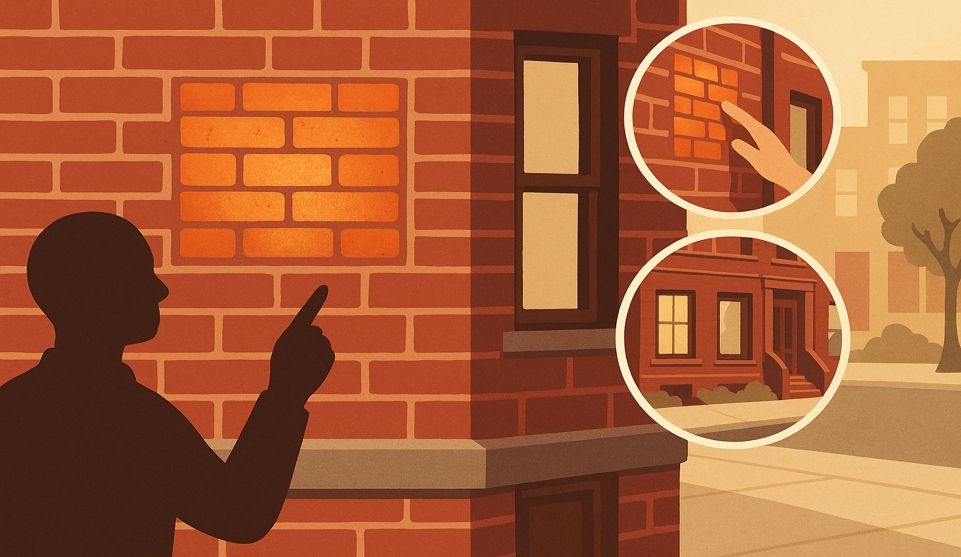
Look only from a stable, accessible viewpoint. Useful observations include mortar that appears missing or recessed, open gaps, cracks that follow joints, a brick that appears shifted or separated, and a wall area that looks different from adjacent sections.
Size alone does not establish significance. Recurrence, visible change, location, apparent displacement, and exposure to people provide better context. A wider-looking gap in two comparable photographs could indicate that the condition is changing, but only a professional assessment can determine what that change means.
Interior and Exterior Moisture Clues
Record damp patches, staining, bubbling or peeling finishes, dripping, and recurring wetness. Note the room and the wet area’s position relative to a window, ceiling, corner, or exterior wall.
Timing helps without proving cause. State whether the moisture appears during rain, immediately afterward, or later, and whether it grows, shifts, dries, or returns. An exterior gap and an interior stain that are offset should both be reported accurately rather than forced into a single explanation.
For related reading, review these signs that brick pointing may need attention. Use the page as a visual-reference resource, not as a substitute for property-specific assessment.
Brick Deterioration and Seepage Assessment Request Checklist
| Record this | Include these details |
|---|---|
| Area and elevation | Front, side, or rear wall; story or level; nearby window, door, roof edge, or ground line |
| Falling material | Plain-language description, first date noticed, recurrence, whether it is still falling, and an in-place photograph only if safe |
| Joint or crack changes | Missing areas, open gaps, recession, direction, and any supported change over time |
| Brick position | Shifted, protruding, separated, or bulging appearance—observation only |
| Water entry | Interior location, date and approximate time, relation to rain, duration, staining, dampness, or dripping |
| Exposure | Whether the area is above an entrance, sidewalk, shared alley, yard, window, or occupied space |
| History and limits | Earlier repairs or leaks, plus areas that could not be viewed safely |
Complete what can be recorded safely. Documentation does not replace emergency action, and requesting an assessment does not commit you to authorizing a repair.
How to Photograph and Track Symptoms Without Unsafe Inspection
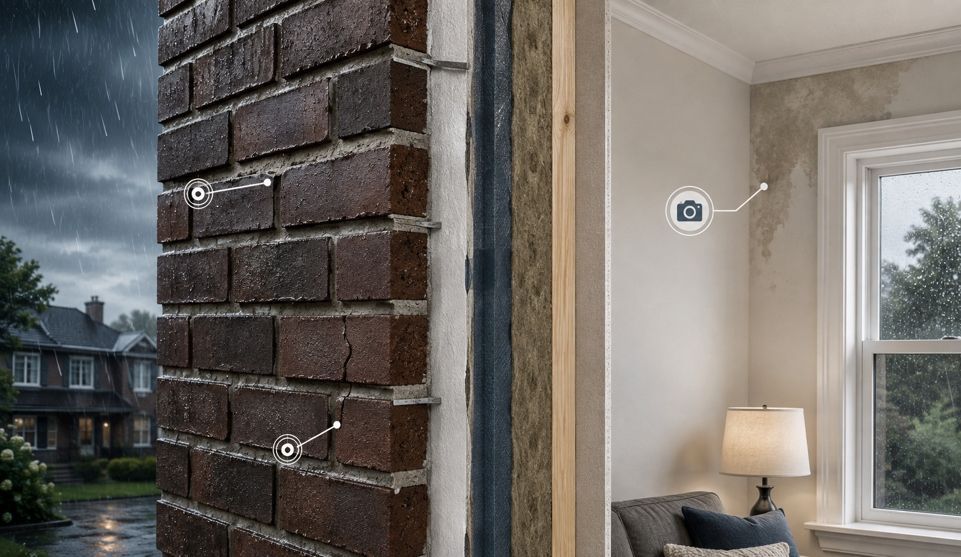
Take photographs only from stable, accessible locations. A useful set includes a wide view that places the affected area in context, a medium view of the wall section, and a closer view only when it can be obtained without moving toward a hazard.
Photograph exterior changes and interior moisture separately. Keep the original image files, note the date and approximate time, and record whether rain was occurring or had recently ended. If the condition recurs, repeat the photograph from roughly the same safe viewpoint; do not delay an assessment merely to collect more images.
One photograph rarely shows everything relevant. It may not reveal depth, movement, concealed transitions, upper elevations, adjacent wall conditions, or the relationship between an exterior opening and an interior stain. State what could not be seen rather than trying to gain access.
Do not use a ladder, access a roof, lean from a window, move beneath falling material, tap brick, scrape mortar, spray the wall, use a moisture meter, or remove interior finishes for documentation.
What to Include When Requesting a Professional Assessment
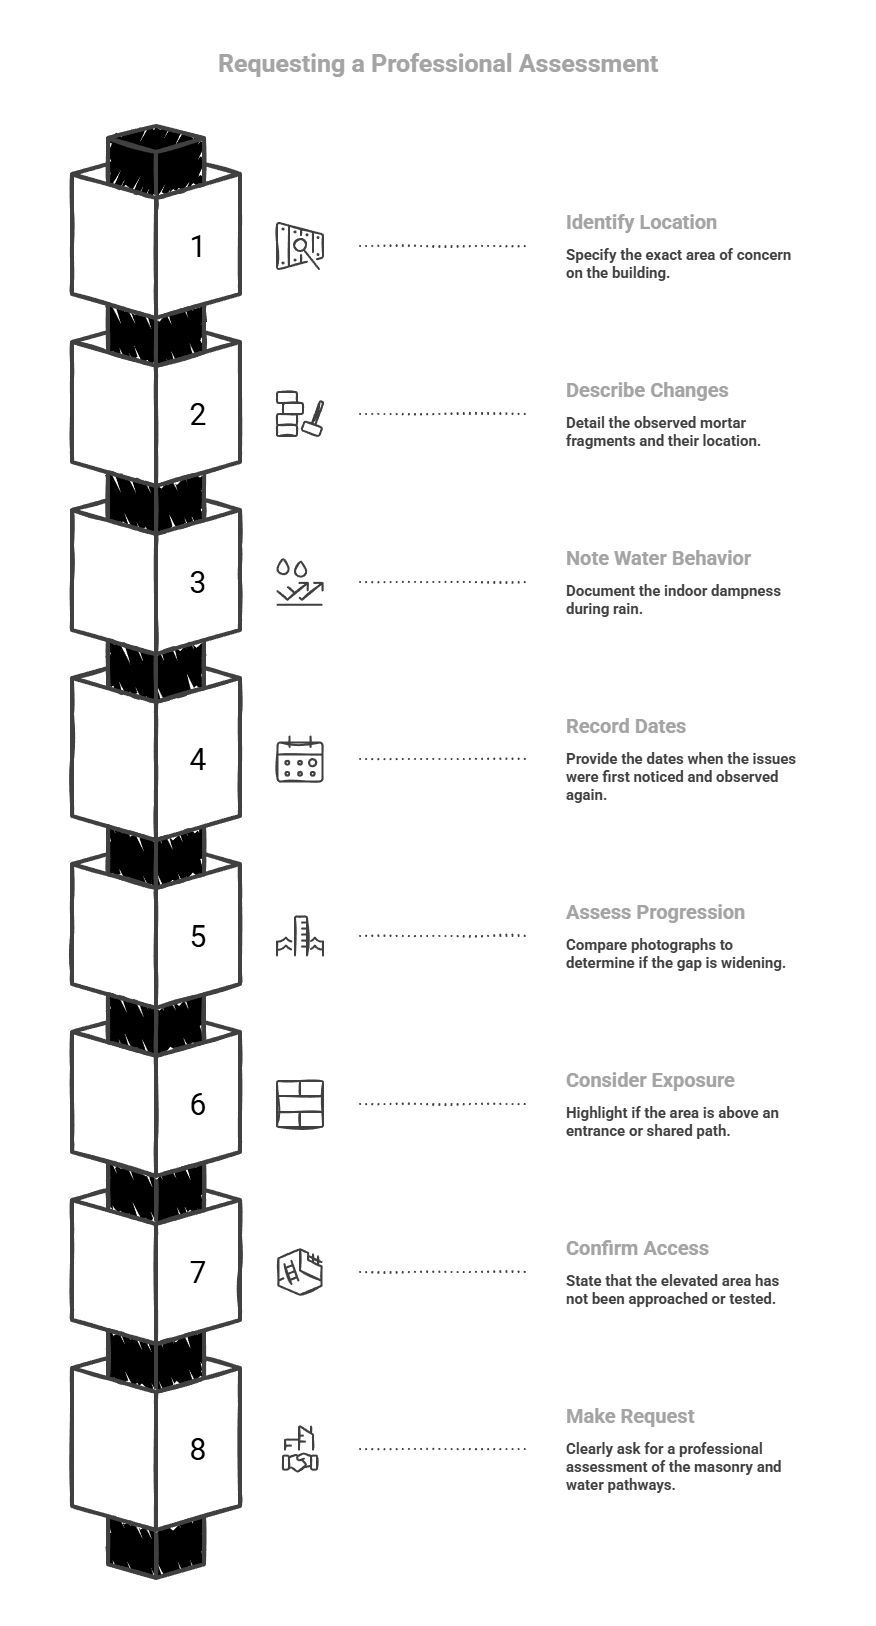
A clear request can follow this sequence:
- Where: “Rear second-story brick wall above the kitchen window.”
- What changed: “Mortar-like fragments appeared below the wall.”
- Water behavior: “A damp patch appears indoors during wind-driven rain.”
- When: “First noticed on [date] and observed again on [date].”
- Progression: “The gap appears wider in comparable photographs,” only when supported.
- Exposure: “The area is above an entrance or shared path.”
- Access: “The elevated area has not been approached, touched, or tested.”
- Request: “Please assess the visible masonry and possible water-entry pathways.”
Ask what areas will be examined, what cannot be determined from photographs, whether more than one water pathway could be involved, and what evidence supports the proposed scope. Also ask whether urgent stabilization must be distinguished from planned repair and whether an engineer, architect, or building-envelope specialist should participate.
Prompt assessment is an information-gathering step. It is separate from choosing a repair, accepting a proposal, or authorizing work. That distinction allows a homeowner to address uncertainty without assuming that repointing—or any other named treatment—is already the answer.
What Not to Do Before Assessment
- Do not climb toward the affected area or stand below active falling material.
- Do not tap, push, probe, or pull at brick or mortar.
- Do not widen a crack or gap.
- Do not spray the wall to reproduce the leak.
- Do not apply caulk, mortar, paint, or coating as a diagnostic test.
- Do not assume that a dry wall after the storm means the concern is resolved.
- Do not delay emergency action to take photographs.
Temporary material can obscure the original condition or change how water behaves without identifying the complete pathway. GSA guidance emphasizes that masonry procedures require project-specific professional judgment and are not a substitute for application by a qualified preservation professional. The principle is relevant here even when the property is not historic: repair instructions should not be converted into a homeowner test.
When to Call 911, 311, or a Masonry Professional
| Path | When it applies |
|---|---|
| Call 911 | Falling debris presents an immediate hazard, or the building is dangerous, collapsing, or will collapse |
| Use 311 | A suspected unsafe façade or building condition is not an immediate emergency, including excessive or falling debris that is not an immediate hazard |
| Request professional assessment | Mortar fragments, gaps, recurring seepage, or visible changes need condition-specific evaluation but do not meet the official emergency description |
A façade is a building’s exterior face. NYC311 accepts reports involving defective or cracked exterior façades and cracked or bulging walls affecting stability. When possible, report the location and nature of the condition, plus the location and horizontal or vertical direction of a visible crack or gap.
NYC Department of Buildings guidance states that anyone may call 311 when they see or suspect an unsafe façade condition, and DOB says it inspects such reports. A contractor inquiry does not replace 911 or 311 where the official safety pathway applies.
For example, if material is actively falling above an occupied entrance, do not approach for photographs. Follow the current emergency pathway and keep others away only as safely as circumstances allow.
Frequently Asked Questions
Does Seepage After Rain Prove That Failed Mortar Joints Are the Source?
No. Rain timing and deteriorated joints are useful observations, but they do not establish the complete water pathway. Report both so a qualified professional can determine whether they are related and what surrounding conditions require evaluation.
Should a Brick Be Touched or Mortar Scraped to See How Loose It Is?
No. Do not probe, push, tap, scrape, or remove masonry. Observe from a safe position and describe what is visible.
Will Repointing Stop the Seepage?
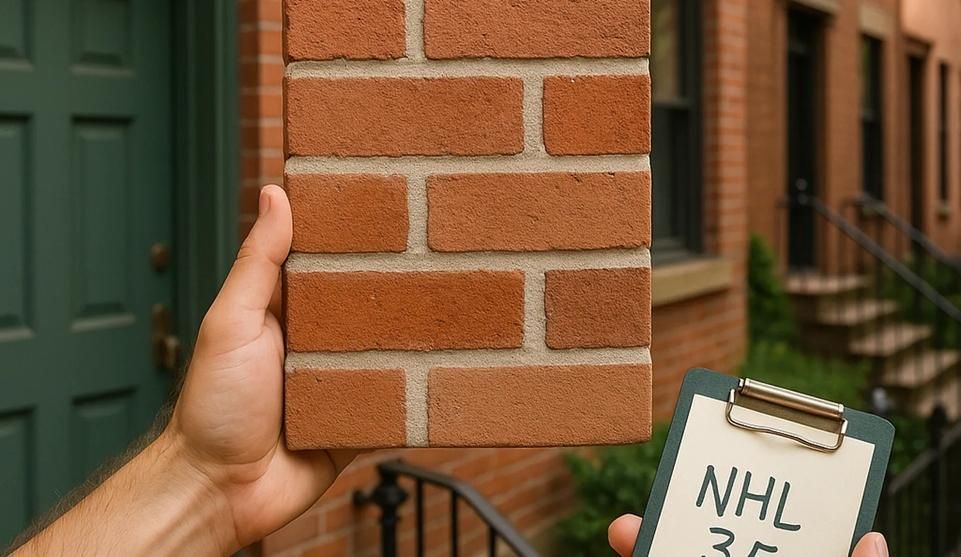
Repointing, also called brick pointing, replaces deteriorated mortar in joints. It may address part of a problem when those joints are confirmed as relevant, but it should not be assumed to stop seepage before all important pathways and conditions are assessed.
Can Photographs Provide a Diagnosis?
Photographs and a concise description can support an initial conversation and help plan an on-site inspection. They may not establish concealed conditions, structural significance, the complete cause, or the final repair scope.
Report the Pattern, Not a Diagnosis
Falling mortar and active seepage should be documented and reported together. The homeowner’s role is to observe safely and communicate clearly; the professional’s role is to determine significance, cause, and scope. When opinions differ, compare what each provider actually observed, which areas were examined, what remains uncertain, and what evidence connects the proposed work to the symptoms.
Where no immediate falling-debris hazard exists, Ozone Park homeowners can use the checklist before seeking a professional brick-pointing assessment. City Suburb’s current service page invites photographs or a brief description for an initial conversation and offers an on-site inspection pathway; contact City Suburb when closer evaluation is needed. Photographs support preliminary review, not remote diagnosis.
Disclaimer: This article is for general informational purposes only and does not constitute compliance, safety, technical, or professional advice. Requirements, risks, and best practices may vary by context, jurisdiction, building, provider, and specific condition. Confirm important decisions with the appropriate qualified professional or authority. If falling debris presents an immediate hazard or a building appears dangerous, follow current NYC emergency guidance.
Our Editorial Process:
The City Suburb Insights Team synthesizes complex topics into clear, helpful guides. While our content is reviewed for clarity and accuracy, it is for informational purposes and should not replace professional advice.
About the City SuburbInc Insights Team
The City SuburbInc Insights Team is our dedicated engine for synthesizing complex topics into clear, helpful guides. While our content is thoroughly reviewed for clarity and accuracy, it is for informational purposes and should not replace professional advice.