
What an Active-Leak Brick Pointing Assessment Should Clarify Before Work Is Proposed
📌 Key Takeaways
A useful active-leak assessment connects each proposed repair to visible evidence while clearly naming suspected, hidden, and excluded conditions.
- Separate Facts From Suspicions: The assessment should label conditions as observed, suspected, confirmed, inaccessible, or not evaluated.
- Trace Every Line Item: Each proposed work area should name its supporting finding, intended goal, exclusions, and limits.
- Manage Immediate Risks: Temporary protection, monitoring, or restricted access should stay separate from permanent repairs and may require qualified help.
- Document Scope Changes: New findings, pricing, timing, and authorization should appear in writing before extra work begins.
- Compare Equal Scopes: Price comparisons matter only when proposals cover similar areas, access, protection, permits, exclusions, and change conditions.
Clear evidence makes repair scopes easier to trust.
Ozone Park homeowners facing active leaks can use these standards to assess contractors and understand the detailed guidance below.
~ ~ ~ ~ ~ ~ ~ ~ ~ ~ ~ ~ ~ ~ ~ ~ ~ ~
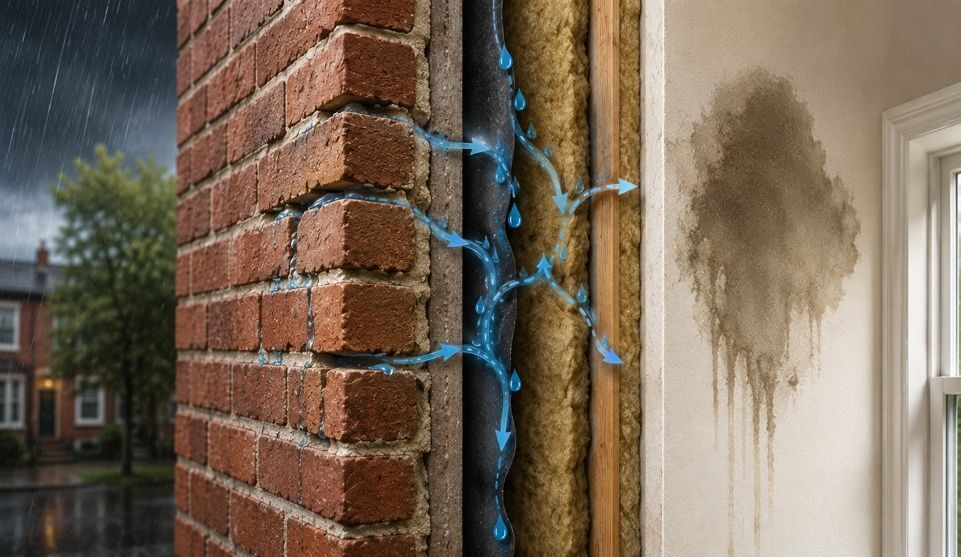
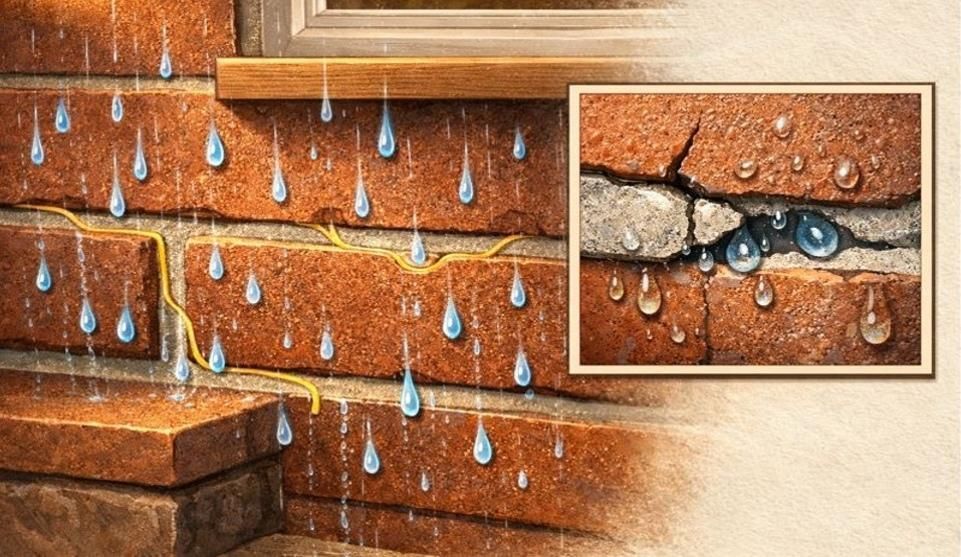
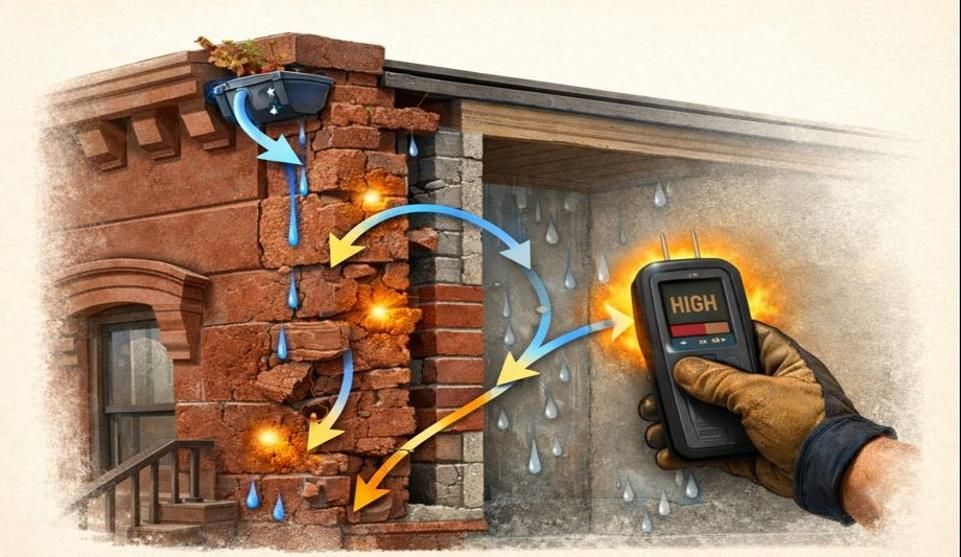
When water appears indoors near deteriorated brick joints, brick pointing—or repointing, the renewal of deteriorated mortar joints—may seem like the obvious next step. Visible deterioration may be relevant, but it does not establish that the joints are the only water-entry pathway or that repointing is the complete remedy.
If you are an Ozone Park homeowner dealing with active seepage, your contractor's assessment should provide a clear written explanation. It should identify what was observed, what remains suspected, which areas were inaccessible, whether any immediate protection issue exists, and why work areas are being proposed. A careful assessment may leave some questions open. The important test is whether those limits are stated clearly for the homeowner to understand the scope before authorizing work.
What an Assessment Should Clarify Before Any Pointing Recommendation
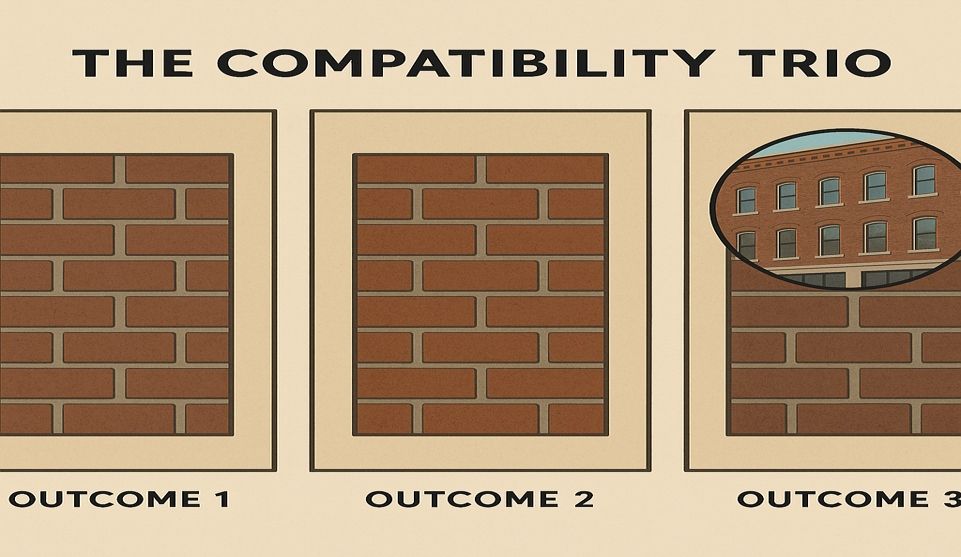
A useful active-leak brick pointing assessment should produce seven clear outcomes:
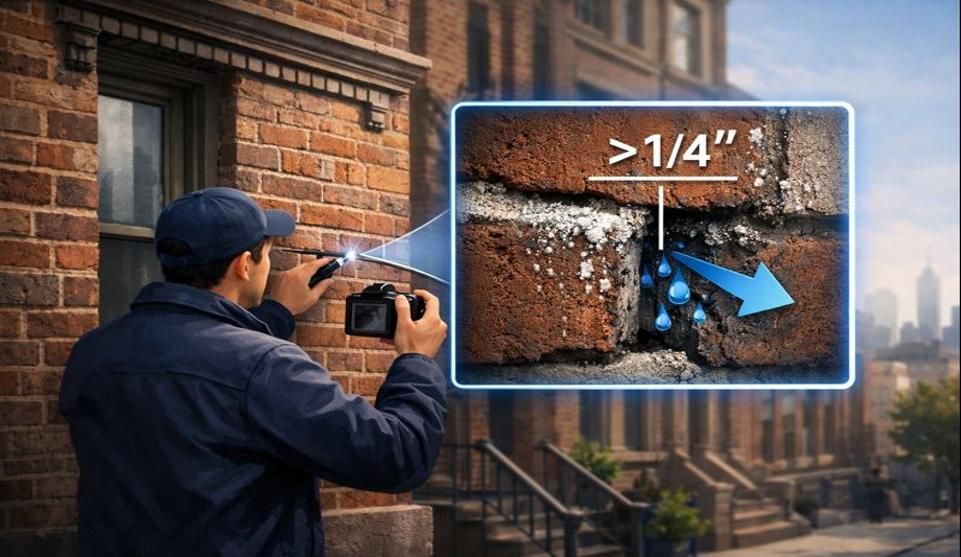
- Observed symptoms: The exact interior and exterior locations where moisture, staining, mortar deterioration, cracking, displacement, or other visible conditions were documented.
- Assessment status: Which points are observed, suspected, confirmed, inaccessible, or not evaluated.
- Possible pathways: Which conditions could contribute to water entry Without presenting them as proven causes.
- Immediate concerns: Whether temporary protection, monitoring, or restricted access may be appropriate before permanent work begins.
- Proposed work areas: The elevation, section, opening, or joint area included in the scope.
- Reason for inclusion: The finding and intended objective connected to each line item.
- Limitations and change conditions: What remains concealed, which adjacent components are excluded, and what could require a revised scope.
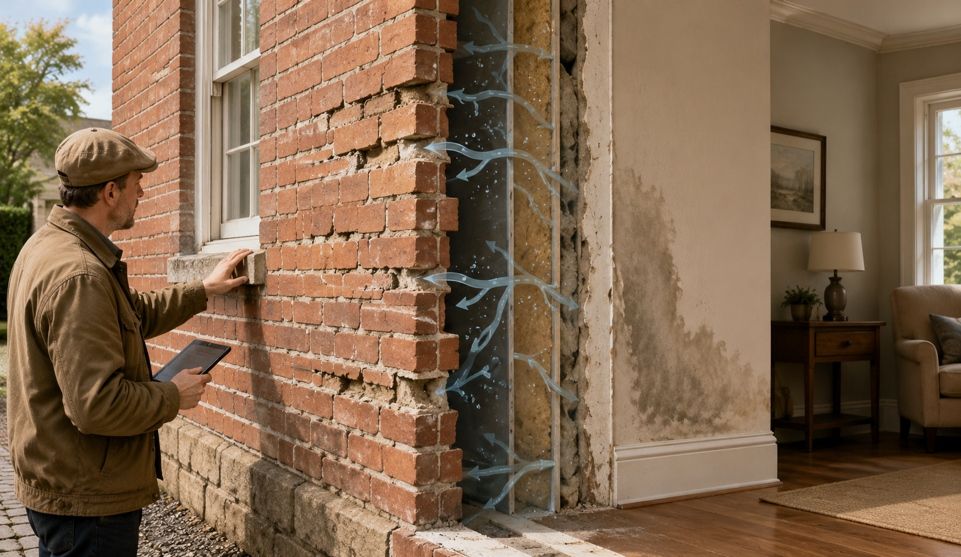
The ASTM E2128-26 guide for evaluating water leakage of building walls supports considering adjacent construction, documenting investigation limits, and recognizing that the wall first suspected may not be the actual source. This is the national standard engineers and architects use to diagnose leaks, and good contractors follow its principles. It also notes that every localized source may not be identified. These are assessment principles, not a homeowner inspection procedure.
A provider can state that a pathway remains unconfirmed while still explaining why a defined scope is being considered.
Observed, Suspected, and Concealed Conditions Are Not the Same
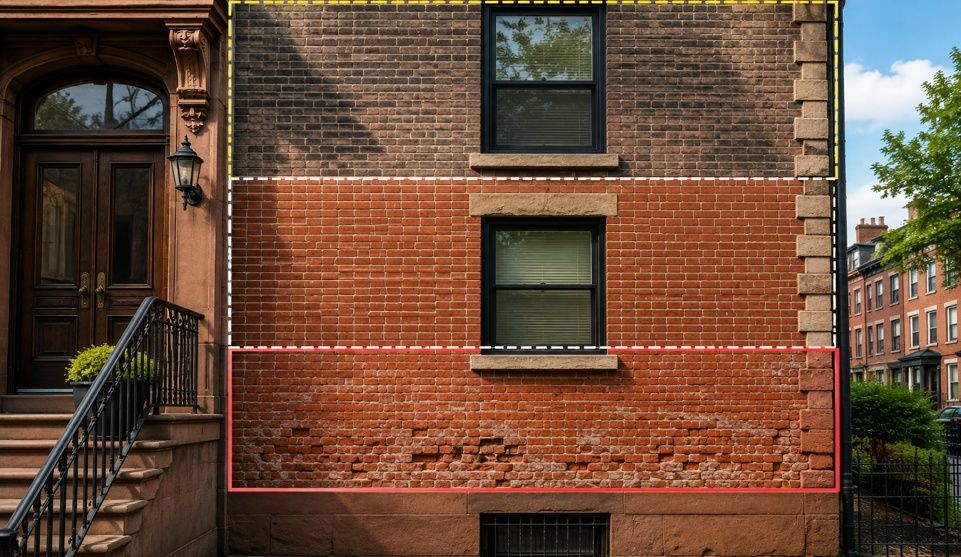
An observed condition is directly visible or documented. Examples include an interior wet area, visible mortar loss, or deterioration in an identifiable wall section.
A suspected condition is a plausible explanation that has not been confirmed. Deteriorated mortar near an interior stain may be listed as a possible water-entry pathway without being labeled the complete cause.
A concealed or unevaluated condition is hidden, inaccessible, outside the agreed assessment scope, or dependent on circumstances that were not present during the visit.
| Category | What the assessment may state | What it does not prove |
|---|---|---|
| Observed | “The contractor documented mortar loss in the defined rear-wall area.” | That the condition caused every wet area |
| Suspected | “The deteriorated joints may contribute to water entry.” | That pointing will stop the leak |
| Concealed or not evaluated | “The window-to-wall interface was not accessible.” | That the concealed area is either sound or defective |
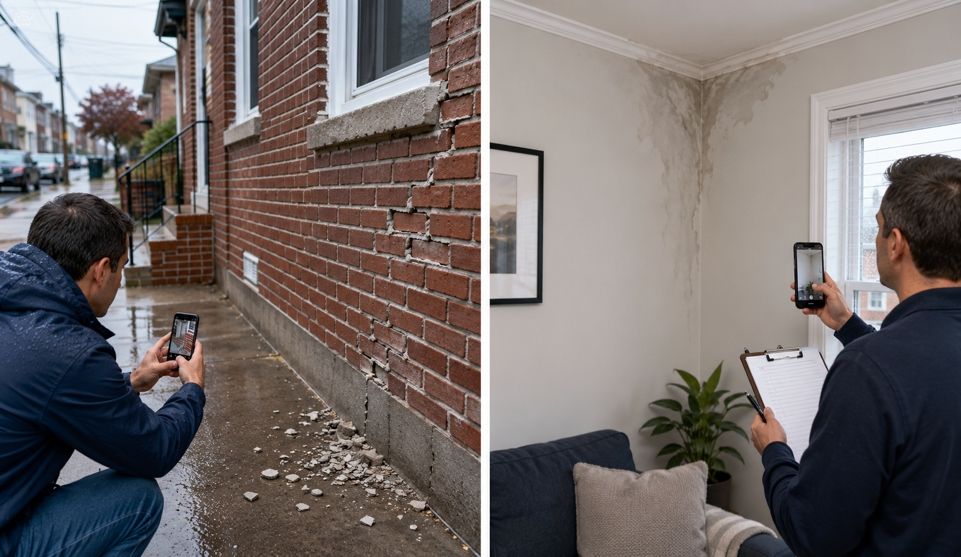
Consider an illustrative example. Interior staining appears after wind-driven rain, and visible signs of mortar deterioration are present in the general exterior area. A nearby window interface cannot be examined safely. The written assessment may identify the mortar joints as a possible pathway, record the inaccessible interface, and avoid claiming that one visible defect explains the entire leak.
The assessment should note whether moisture was active during the visit and what records support the findings. An interior symptom may not align with the exterior entry point.
Separate Immediate Risk Management From Permanent Work
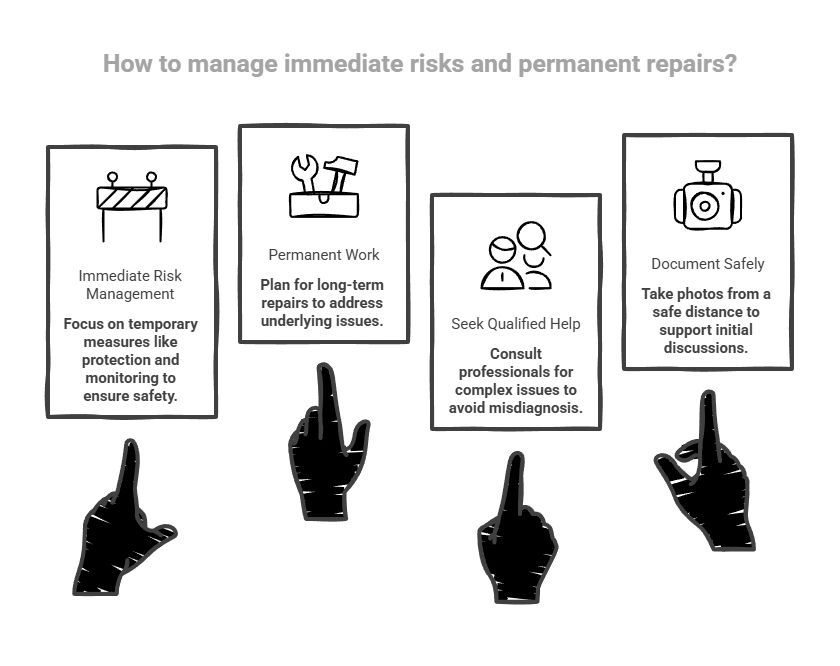
An assessment should separate temporary protection, monitoring, containment, or restricted access from the permanent scope. Short-term measures should not be described as a completed repair.
When an apparent falling-object or instability concern exists, the assessment should call for appropriate qualified help without classifying the condition from limited information. An architect, engineer, building-envelope specialist, electrician, plumber, another trade, or public authority may be relevant. A masonry assessment does not replace those disciplines.
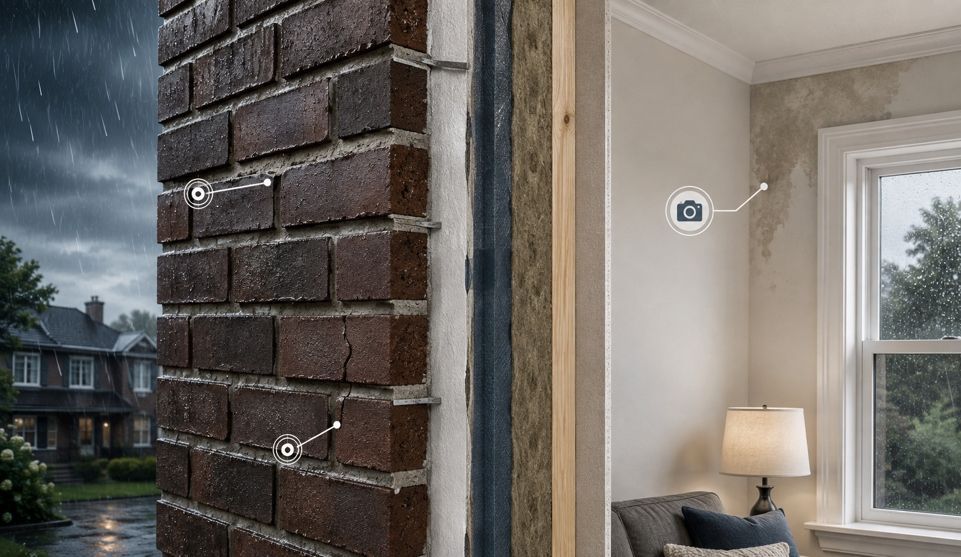
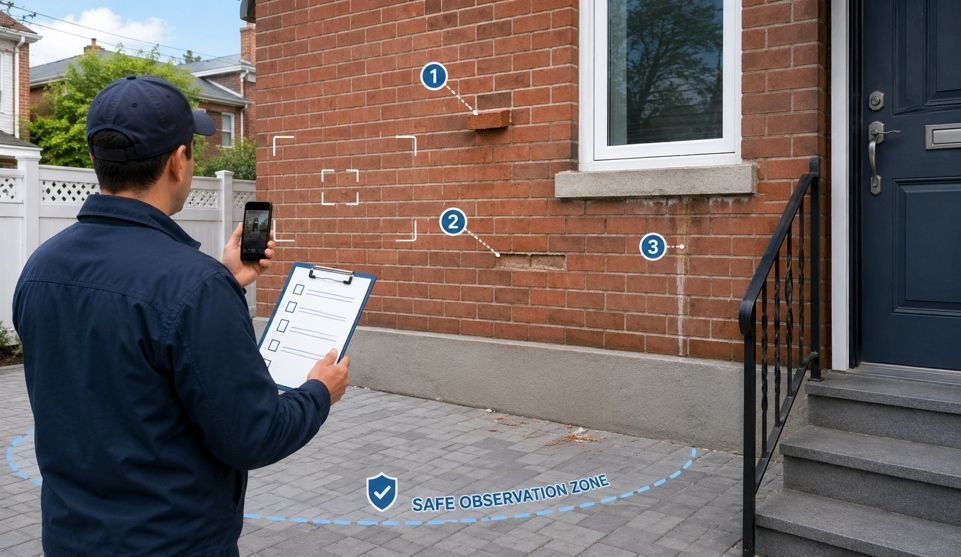
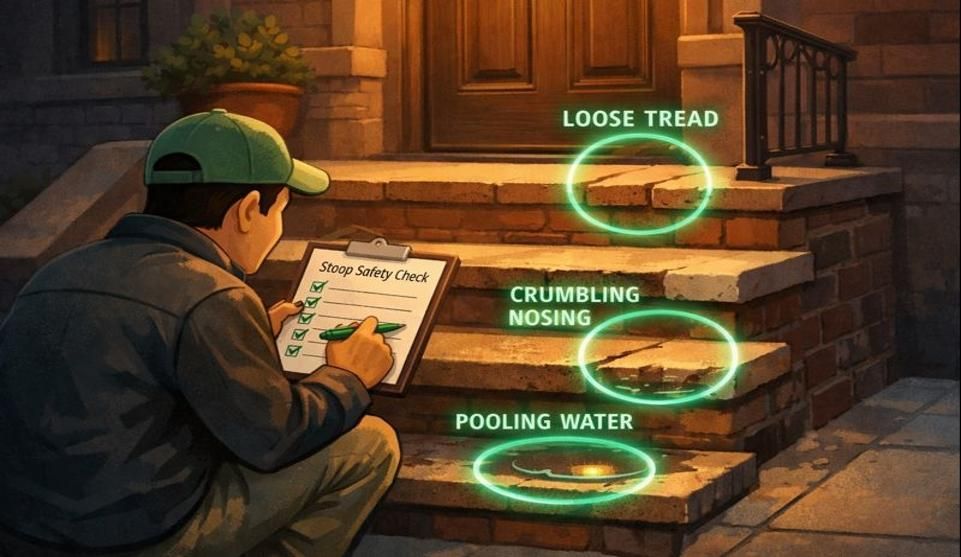
Document conditions only from a safe position. Do not climb a ladder, access a roof, lean from a window, probe joints, remove material, touch potentially loose masonry, or enter a restricted area to obtain better photographs. Keep clear of an area where falling material or instability appears possible and contact an appropriate qualified professional or authority.
Photos taken safely may support an initial conversation, but they cannot reveal every concealed interface or remove access limitations.
A Proposed Scope Should Trace Each Line Item Back to a Finding
Broad phrases such as “point wall,” “seal façade,” or “repair leak” do not define what is being authorized. Each line item should connect the finding, proposed work, intended objective, and relevant limitation.
Identify the work area
The proposal should name the elevation or wall and distinguish isolated locations, defined sections, areas around openings, or a broader surface. It should also state what is excluded. “Rear wall” may mean the full elevation in one estimate and selected areas in another. For example, a vague (and risky) line item reads: 'Repair leak on rear wall - $3,500.' A clear, professional line item reads: 'Grind and repoint 100 sq. ft. of deteriorated mortar beneath the second-floor rear window. Note: The concealed window flashing was not evaluated; this work addresses the visible mortar deterioration only.'
Explain the purpose and sequence
The scope should state which observation supports each line item and whether the work is investigative, temporary, preparatory, or permanent. It should identify prerequisites involving access, protection, another trade, permits, or professional review.
Finding: Mortar deterioration was observed in two defined areas.
Proposed work: Repoint those areas.
Limitation: A nearby concealed interface was not evaluated, so the line item does not confirm that every water pathway will be addressed.
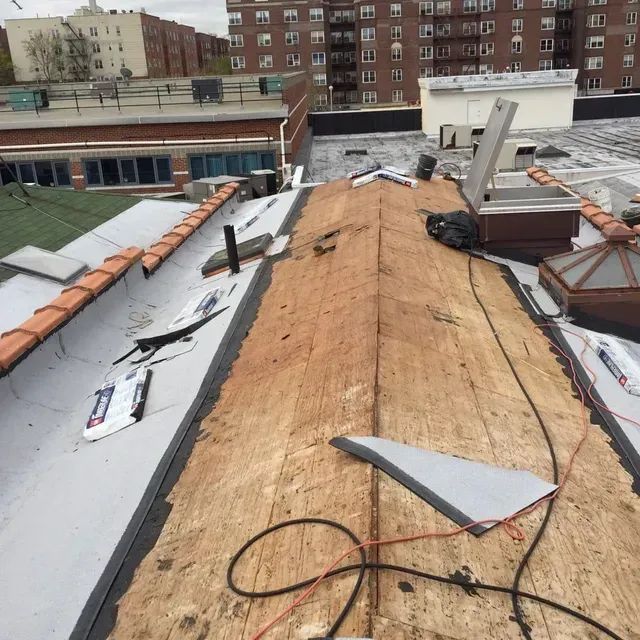
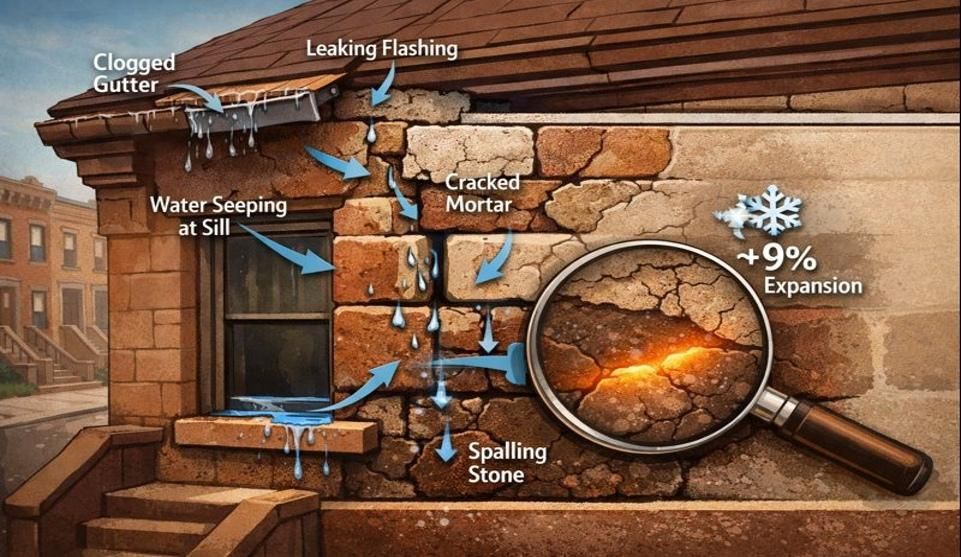
Windows, flashings, lintels, parapets, roof edges, or drainage points may be relevant, but their role varies. The assessment should state whether each was considered, excluded, inaccessible, or referred for separate evaluation.
State assumptions, exclusions, and change conditions
The proposal should identify what could not be evaluated and what newly exposed conditions could alter the scope. If later access reveals additional deterioration, the revised finding, work, pricing, timing, and authorization should be documented before added work proceeds. Concealed conditions do not automatically make the original assessment careless, but they do not justify undocumented additions.
Current NYC Department of Consumer and Worker Protection guidance supports written estimates, contracts with defined work details, and permit disclosure when permits are relevant. It supports scope clarity but does not determine whether a project requires a permit.
Questions to Ask Before You Approve the Scope
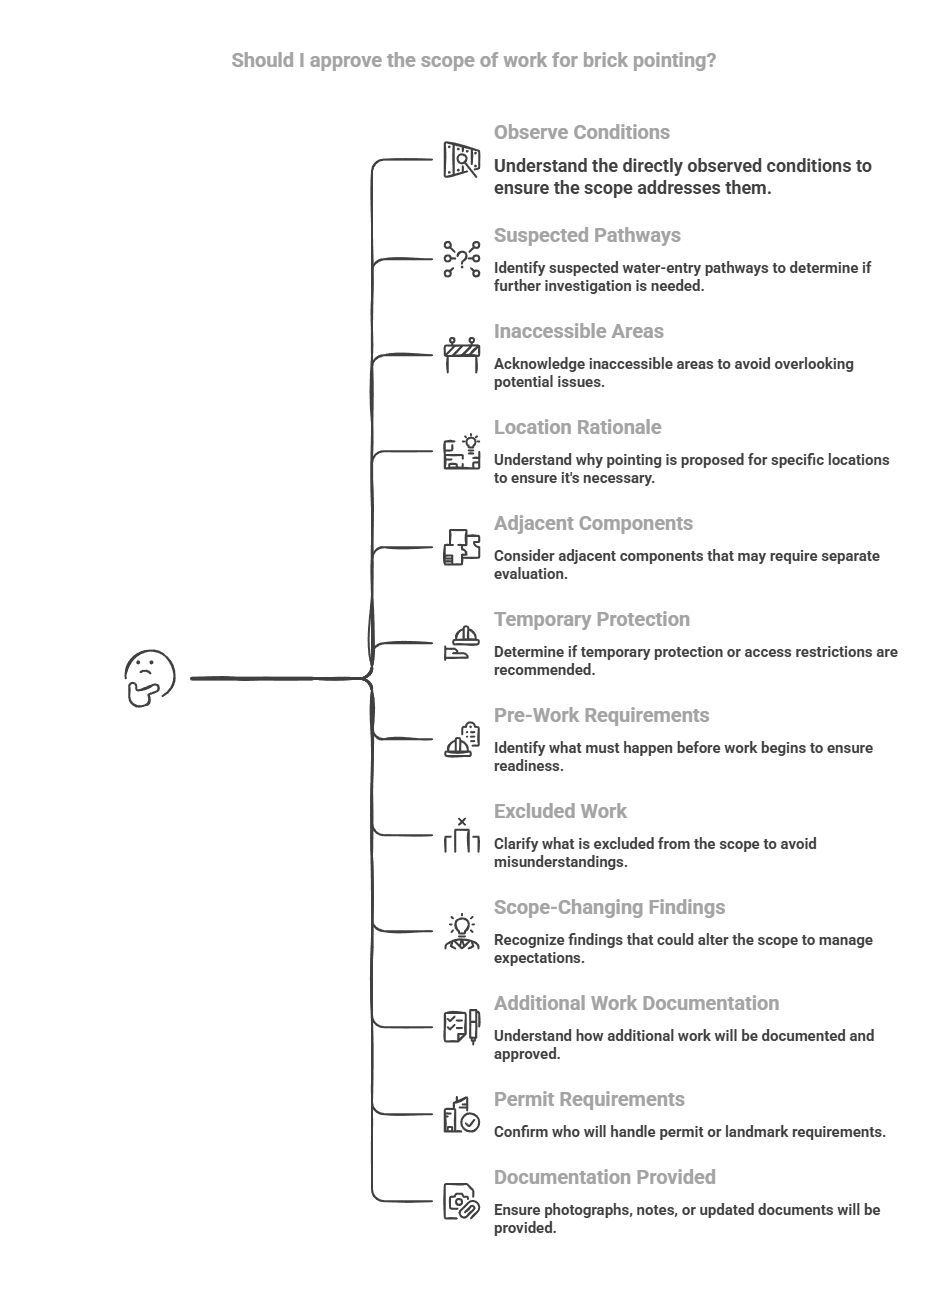
Useful questions focus on evidence, boundaries, responsibility, and documentation:
- What conditions did you directly observe?
- Which water-entry pathways are suspected rather than confirmed?
- Which areas were inaccessible or not evaluated?
- Why is pointing being proposed for these exact locations?
- Which adjacent components may require separate evaluation?
- Is any temporary protection or access restriction recommended?
- What must happen before the proposed work begins?
- What work, testing, access, or professional service is excluded?
- Which findings could change the scope?
- How will additional work be documented and approved?
- Who will confirm permit or landmark requirements?
- What photographs, notes, or updated documents will be provided?
New York City homeowners can use the DCWP license-status search to check a home-improvement contractor’s license status. Licensing is an important administrative check, but it does not establish whether a technical recommendation fits a particular wall or leak.
Assessment-to-Scope Clarification Checklist
| Item to clarify | What the proposal should state |
|---|---|
| Observed symptoms | Exact interior and exterior locations and visible conditions |
| Assessment status | Observed, suspected, confirmed, inaccessible, or not evaluated |
| Proposed work area | Identifiable elevation, section, opening, or joint area |
| Reason for inclusion | The finding and intended objective for each line item |
| Adjacent conditions | Components considered, excluded, inaccessible, or referred elsewhere |
| Immediate risk management | Any temporary measure, monitoring, or access restriction discussed |
| Sequence | What must occur first and why |
| Exclusions | Work, testing, access, areas, or disciplines not included |
| Change triggers | Conditions that may require a revised written scope |
| Permits and documentation | Verification responsibilities, approvals, photos, notes, and revisions |
Appropriate uncertainty is not automatically a warning sign. The problem is uncertainty that remains hidden, unexplained, or disconnected from the proposed work.
Compare Proposals by Scope Clarity, Not Price Alone
Two estimates are comparable only when they describe substantially the same work. Compare areas, findings, exclusions, access, protection, sequence, permit responsibilities, and change conditions.
| Comparison point | Proposal A | Proposal B |
|---|---|---|
| Work area | Record the exact boundaries | Record the exact boundaries |
| Finding addressed | Note the stated evidence | Note the stated evidence |
| Exclusions and access | List omitted or inaccessible areas | List omitted or inaccessible areas |
| Change conditions | Record when revisions may occur | Record when revisions may occur |
| Permit responsibility | Record who verifies and handles it | Record who verifies and handles it |
A lower total may reflect a smaller scope, while a broader proposal is not automatically better. “Repoint rear wall” is less transparent than a proposal defining two areas, the observed condition, one inaccessible interface, exclusions, sequence, and change triggers. The clearer proposal still requires project evidence to establish technical suitability.
Frequently Asked Questions
Does deteriorated mortar prove that pointing will stop the leak?
No. Deteriorated mortar may be relevant, but the assessment should state whether it is observed, suspected as a pathway, or confirmed as a contributor. Other wall components or adjacent interfaces may require evaluation.
What should a written brick-pointing proposal identify?
It should identify work areas, the finding connected to each line item, sequencing, exclusions, access assumptions, change conditions, responsibilities, and relevant permit information. The intended objective should be described without guaranteeing an unsupported outcome.
Can photographs be enough for an active-leak assessment?
Photographs can support an initial review or estimate, but they may not show concealed conditions, inaccessible interfaces, or the complete water-entry pathway. The provider should explain what the photo review can establish and what remains unresolved.
Does brick pointing require a permit in New York City?
Requirements depend on the exact work. NYC Department of Buildings guidance states that most construction requires approval or permits, while some minor alterations or ordinary repairs may be exempt. Confirm the specific scope with DOB or an appropriate professional.
What if the property is landmarked?
Exterior work on a designated landmark or a property in a designated historic district may require Landmarks Preservation Commission approval. Verify the property’s status and consult current LPC application guidance before work proceeds.
What should happen if conditions differ after work starts?
The original scope should identify foreseeable change triggers. New findings, revised work, pricing, timing, and authorization should be documented through an updated written scope or change order before additional work proceeds.
A clear assessment explains both the proposed work and the remaining uncertainty. Use the checklist to connect findings to work areas, identify limitations, and compare proposals on equal terms.
For a professional brick pointing assessment, City Suburb accepts photos or a brief description for a photo estimate and offers an on-site inspection path. Use the checklist to organize the concern, then request an assessment through the contact page. An initial review does not confirm that pointing is appropriate or establish the final scope.
Disclaimer: This article is for general informational purposes only and does not constitute compliance, safety, technical, or professional advice. Requirements, risks, and best practices may vary by context, jurisdiction, system, provider, or use case. Confirm important decisions with the appropriate qualified professional, authority, or technical expert.
Our Editorial Process:
The City Suburb Insights Team synthesizes complex topics into clear, helpful guides. While our content is reviewed for clarity and accuracy, it is for informational purposes and should not replace professional advice.
About the City SuburbInc Insights Team
The City SuburbInc Insights Team is our dedicated engine for synthesizing complex topics into clear, helpful guides. While our content is thoroughly reviewed for clarity and accuracy, it is for informational purposes and should not replace professional advice.