
One Wall, Several Symptoms: Connecting Interior Dampness to Visible Mortar Damage Without Assuming the Cause
📌 Key Takeaways
Interior dampness and nearby mortar damage belong in one assessment, but their location alone cannot prove a shared cause.
- Map Both Sides: Record exterior damage, interior moisture, rainfall timing, and changes so a professional can examine the full pattern.
- Preserve What Is Unknown: State that the entry point and water path remain unknown instead of choosing a cause or repair.
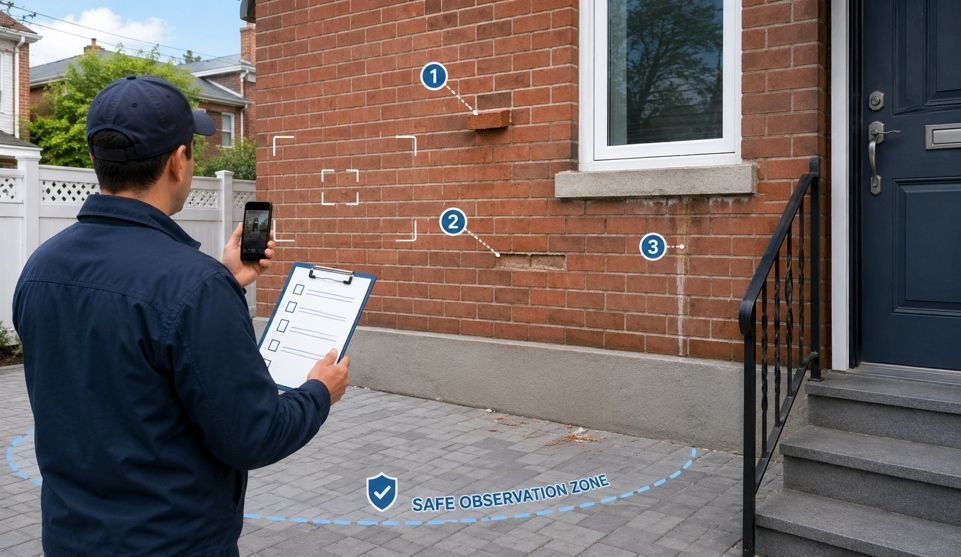
- Photograph Context And Detail: Use wide exterior views, close safe images, and interior photos to show locations and visible conditions.
- Avoid Self-Testing: Do not probe, scrape, hose, seal, climb, or disturb the wall before a qualified professional assesses it.
- Ask For Evidence: Compare assessors by their evidence and reasoning, not only by price, confidence, or a vague repair scope.
Map the pattern before naming the problem.
Ozone Park homeowners can build a clearer assessment request using the symptom map and questions that follow below.
~ ~ ~ ~ ~ ~ ~ ~ ~ ~ ~ ~ ~ ~ ~ ~ ~ ~
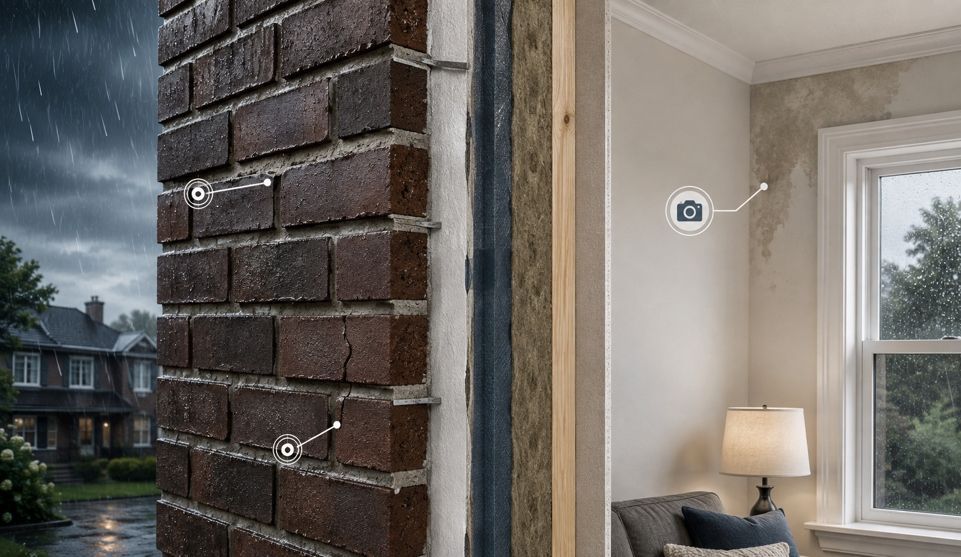
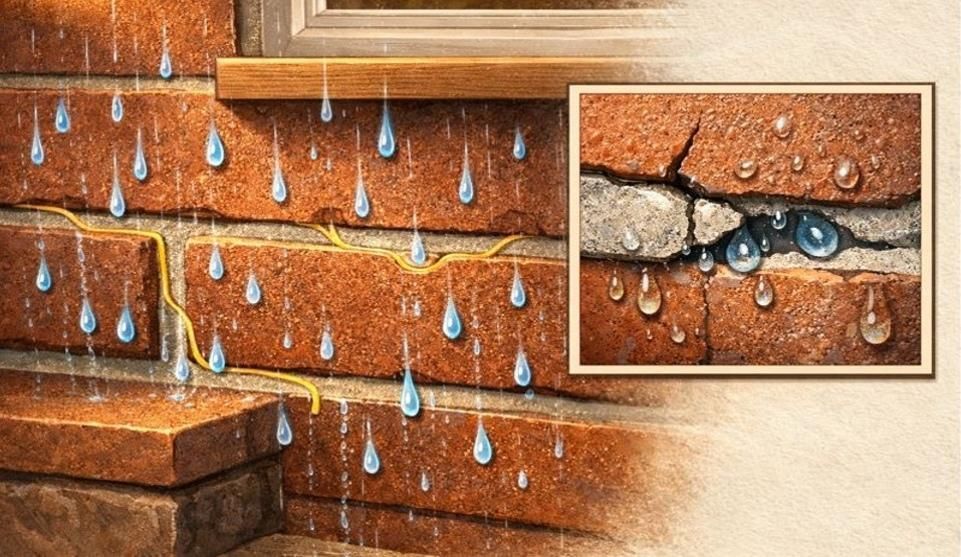
A damp patch appears inside after rain. Outside, the mortar joints along roughly the same part of the wall look recessed, cracked, or washed out. For an Ozone Park homeowner, the two observations create an obvious question: are they connected? They may be, but "occurring near each other" and "one caused the other" are not the same conclusion.
The useful first step is to organize what you see, where you see it, and when it happens so a professional can evaluate the relationship. That means building a two-sided symptom map of exterior conditions, interior moisture patterns, rainfall timing, and changes over time, then presenting the observations together without prescribing the repair. What follows is a framework for doing exactly that.
A few terms are worth defining up front. A mortar joint is the material-filled space between bricks. Brick pointing, also called repointing, replaces deteriorated mortar in those joints. Seepage refers to unwanted water appearing through or within a building surface. A water pathway is the route moisture takes from its entry point to the location where it becomes visible. You do not need precise masonry vocabulary to describe your situation. If you are unsure whether a material is mortar, cement, grout, or a prior patch, describe what you see and where it is.
Why the Symptoms Belong in the Same Assessment Request
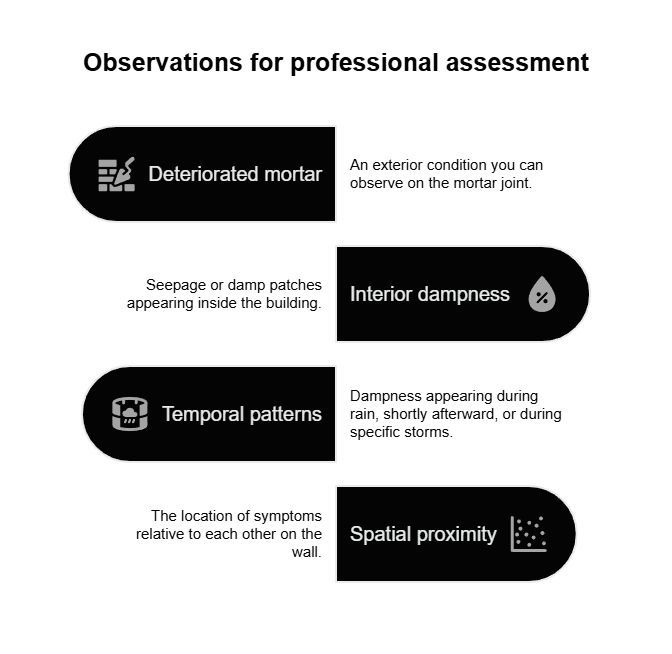
Deteriorated mortar is an exterior condition you can observe. Interior dampness or seepage is a separate observation. When the two appear near the same part of a building, that spatial and temporal relationship is useful information for a professional assessment. Dampness that appears during rain, shortly afterward, or only during certain storms adds another pattern for an assessor to evaluate. If you have heard the material between bricks called "cement" or "grout," the more precise term is the mortar joint, and its condition is one of several details worth recording.
Reporting both observations together helps the assessor consider a broader area of the wall and its adjacent components rather than evaluating each symptom in isolation. The investigation determines whether the observations share a single cause, have separate causes, or involve multiple contributing conditions.
Consider a hypothetical example: a damp patch appears inside below a second-floor window after rain, and the homeowner can see recessed mortar near, but not exactly opposite, the same window. Both observations belong in the assessment request even though the water path has not been established. Their proximity is relevant, but it does not confirm the entry point.
The National Park Service's repointing guidance (Preservation Brief 2) cautions against assuming repointing alone will solve deficiencies resulting from other problems. That principle holds even when the property is not being treated as historic: visible mortar deterioration can be a legitimate condition to assess without proving that it explains nearby interior moisture. Connect the observations for communication. Let the assessment connect them causally.
Build a Two-Sided Symptom Map
A symptom map organizes what you observe on both sides of the wall, when the moisture appears, and how conditions have changed. Record each category from a safe, already accessible position. Do not probe, scrape, tap, push, or pick at joints. Do not hose-test the wall or apply caulk or sealant as a test. Do not climb ladders, walk onto a roof, lean from a window, or enter any area that feels unsafe. Disturbing mortar or altering the wall surface can change the conditions an assessor needs to evaluate.
Exterior Side
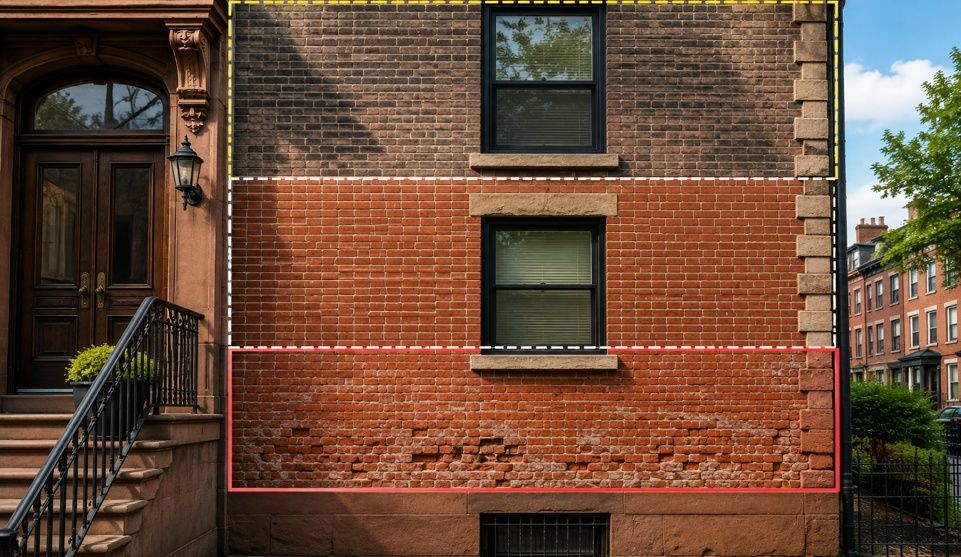
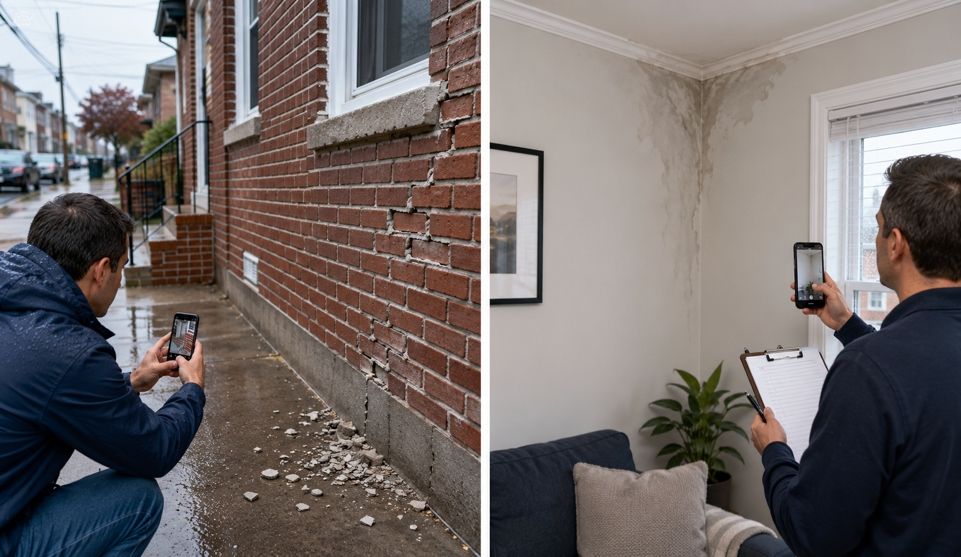
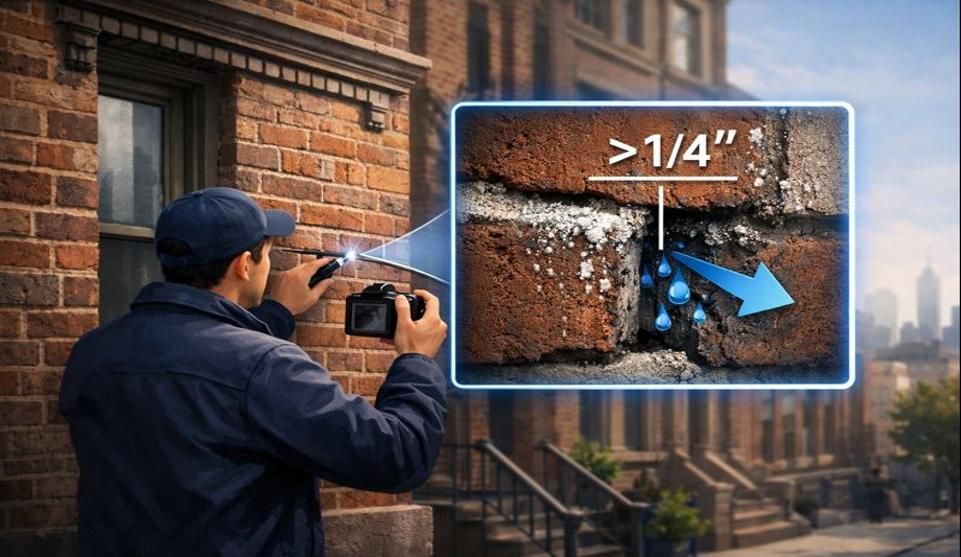
Describe appearance rather than cause. Note the wall or elevation involved and the approximate location of the visible deterioration, using visible landmarks such as a window, door, roofline, parapet, corner, or wall transition. Record mortar that appears recessed, cracked, missing, eroded, or visually different from surrounding joints. If brick faces show cracking, chipping, staining, or displacement, record that separately. Note any visible gaps, surface deposits, or areas where previous repairs, sealant, or patches are visible, and estimate whether the condition appears localized or extends across a wider section of the wall.
For additional context on recognizing exterior mortar concerns, City Suburb's overview of brick-pointing warning signs describes common visible indicators.
Interior Side
Identify the room and wall where the moisture appears, along with the approximate height. Record whether the dampness occurs at a ceiling line, corner, window perimeter, wall surface, or floor line. Describe what you see: a damp patch, staining, bubbling or peeling paint, dripping, or recurring wetness. Estimate the approximate size of the affected area and note whether its position shifts between rain events.
Add Timing and Change
Record the date you first noticed the condition. Note whether the moisture appears during rain, immediately afterward, or with a delay of several hours. Describe the event in ordinary language: steady rain, a brief heavy downpour, or rain accompanied by strong wind. Do not create technical thresholds. Pay attention to whether it recurs with every rainfall or only during heavier, wind-driven storms. Track whether the affected area appears to be growing, shrinking, or holding steady.
If a stain dries and the wall appears normal afterward, do not assume the issue has resolved. Record recurrence over subsequent rain events, because a single dry period does not mean the leak is fixed.
A hypothetical example illustrates why this matters: the exterior mortar condition appears unchanged over several months, but the interior dampness appears only during certain rain events and has shown up in slightly different locations. That shifting pattern and selective timing may be more informative than any single photograph.
If older photographs of the exterior exist, compare the current mortar condition with what was visible previously. Note any prior repairs you are aware of, such as slightly different colored mortar, wide smears of caulk, or misaligned bricks
Symptom Map Table
| Exterior | Interior | Timing / Weather | Change Over Time | Still Unknown |
|---|---|---|---|---|
| Wall/elevation | Room/wall | During/after rain | New or recurring | Entry point |
| Mortar condition | Damp/stained area | Delay before appearance | Larger/smaller | Cause |
| Brick/gap/staining | Relationship to window/ceiling | Which events trigger it | Exterior change | Repair suitability |
| Nearby opening/transition | Approximate extent | Duration | Prior visible repair | Whether symptoms share a cause |
The final column matters. Identifying what remains unknown keeps the assessment request honest and gives the professional room to investigate rather than confirm a preselected answer.
Photographs That Provide Context
Photographs should provide context as well as detail. A wider exterior view establishes the location of the deterioration relative to the surrounding wall and nearby features. A closer image, if safely obtainable, shows the mortar condition itself. A separate interior photograph documents the moisture pattern and its relationship to the room. A single close-up may omit important relationships between the affected area and surrounding components, so aim for at least one image at each scale.
Same Area Does Not Necessarily Mean Same Water Path
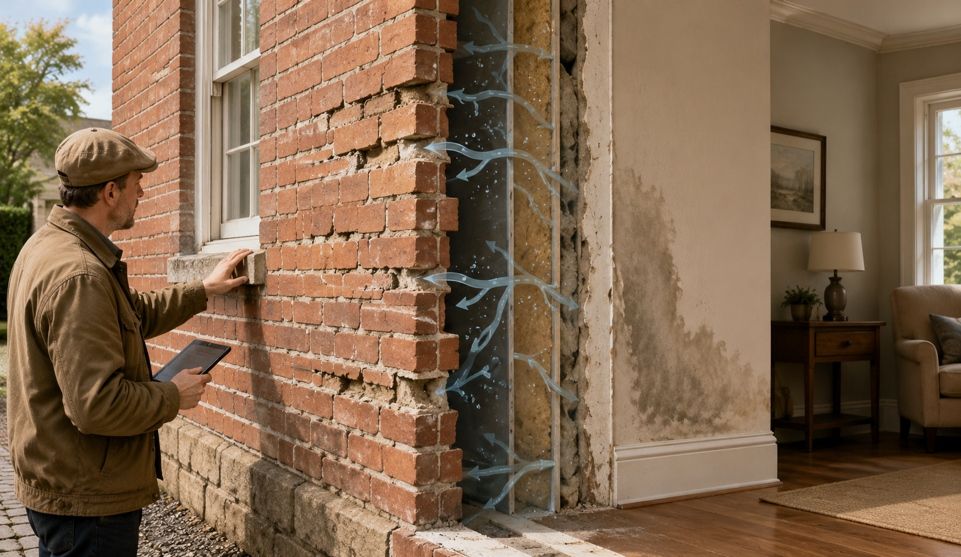
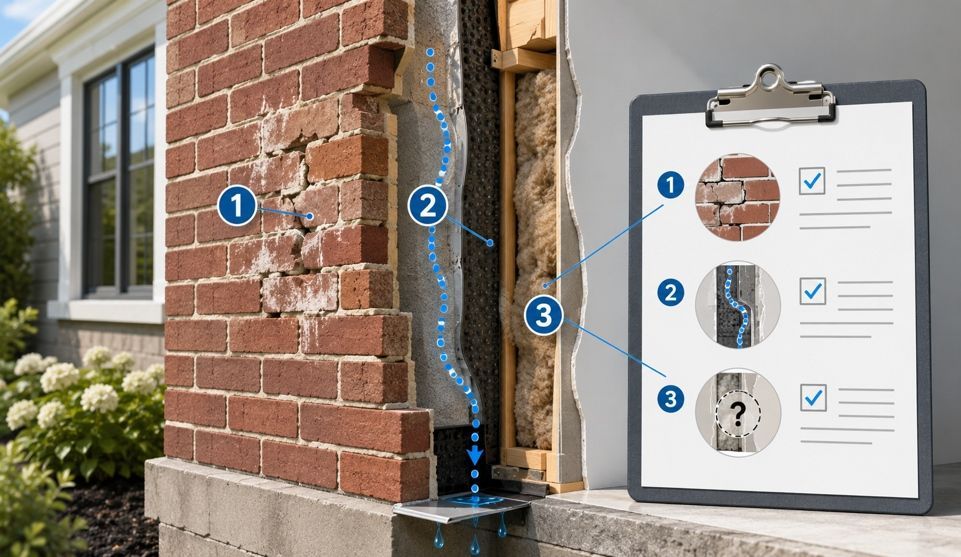
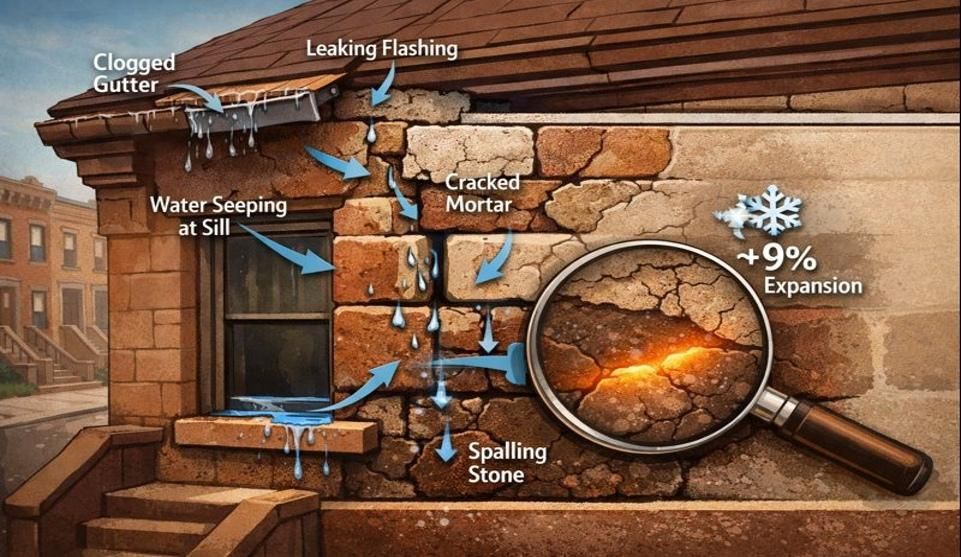
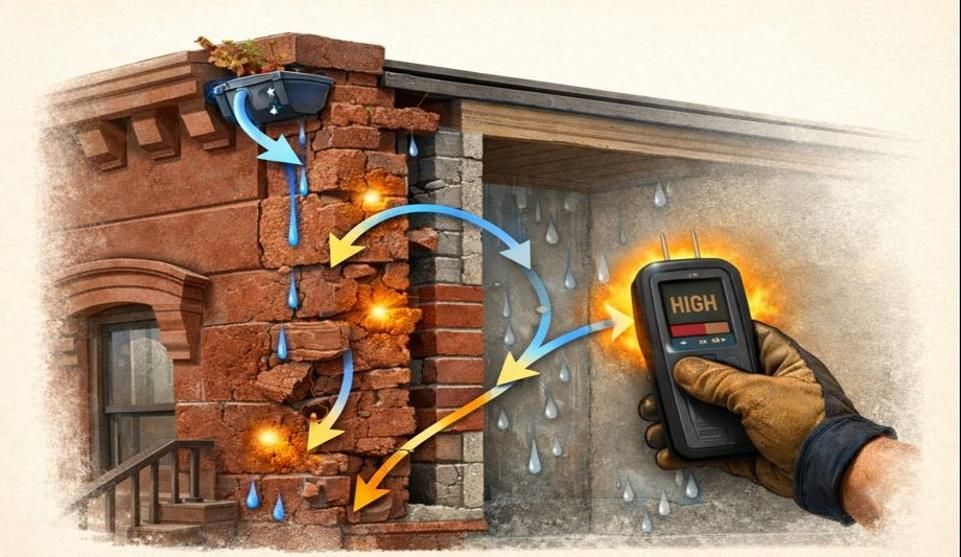
The interior location where dampness appears does not, by itself, identify the exterior entry point. When the interior damp patch appears to line up with exterior mortar damage, the assumption feels logical: water must be passing straight through. But a building wall is an assembly of materials, interfaces, and components. Because brick walls are built with internal cavities, weep holes, and hidden metal flashing, water entering through a third-floor mortar crack might travel down the inside of the wall and only become visible as a damp patch on your second-floor ceiling. Moisture can travel laterally, downward, or along concealed pathways before becoming visible inside.
A window opening, a flashing detail, a sealant joint, a roofline transition, or a drainage element could contribute to the moisture pattern. Several of these conditions can coexist. Naming these components here does not imply that any of them are defective in your case. It illustrates why a professional assessment considers the broader area rather than concluding from one visible symptom.
The National Park Service's moisture guidance emphasizes adequate documentation and consideration of multiple simultaneously existing variables in recurring moisture problems. The principle applies broadly: investigate documented conditions before selecting a treatment.
Professional evaluation of wall water leakage also follows formal methodology. ASTM E2128-26, Standard Guide for Evaluating Water Leakage of Building Walls, establishes a systematic framework for that investigation. Its existence in the current ASTM building standards index reinforces that wall leakage evaluation is a professional investigation discipline rather than a conclusion drawn from one visible defect.
What Not to Conclude From the Symptoms Alone
Visible symptoms provide assessment context, not a final answer. Recording an observation and drawing a conclusion ar
| Observation | Do Not Automatically Conclude |
|---|---|
| Mortar is visibly recessed | "This is where water enters" |
| Dampness appears after rain | "The brick wall is definitely leaking" |
| Interior stain aligns roughly with exterior damage | "The pathway is straight through the wall" |
| Pointing is visibly old or deteriorated | "Repointing alone will stop the seepage" |
| Photos show a gap | "The repair scope can be determined remotely" |
Each observation is worth documenting. None of them, individually or together, substitutes for a professional determination of the water-entry condition and appropriate repair. Federal preservation standards echo this logic: treating a mortar joint in isolation rarely cures a systemic moisture intrusion.
Do not use a repair as a diagnostic experiment. If pointing or another repair is proposed, the useful question is what identified condition it addresses and how the moisture concern will be evaluated — not whether work can be tried first to see what happens.
A note on safety escalation: If exterior masonry shows actively falling material, large-scale displacement, or a condition that appears immediately dangerous, the concern may extend beyond a routine assessment request. Current NYC311 guidance distinguishes immediate hazards from other cracked or defective façade concerns. Ordinary mortar deterioration does not automatically meet that threshold, but visible instability or falling debris warrants separate reporting.
What to Ask During a Professional Assessment
A good assessment should make the reasoning understandable. The questions you ask can shape the quality of the diagnosis by drawing out what was observed, what is inferred, what remains unknown, and how those distinctions shape the proposed scope. These are decision-support questions, not instructions for performing the assessment yourself.
Questions for the Assessor
- "Which exterior conditions do you think are relevant to the interior dampness?"
- "What evidence connects those conditions to the moisture location inside?"
- "Are there other possible entry paths that should be ruled out?"
- "Does the proposed work address the confirmed source, a contributing condition, or only visible deterioration?"
- "Are there areas you cannot evaluate without additional access or testing?"
- "If pointing is recommended, what observed condition is it addressing?"
- "Would another component need separate evaluation?"
- "How will we know whether the proposed scope addresses the moisture problem?"
- "If new conditions are discovered during the work, how will a scope change be explained?"
A professional who can answer these questions clearly is showing you the reasoning behind the recommendation. A vague scope, such as "seal the wall" or "point as needed," without explaining what was assessed does not give you enough information to evaluate whether the proposed work matches the actual condition. When that happens, ask what condition each proposed item addresses.
If you receive more than one assessment and the explanations differ, compare the evidence and reasoning each assessor provides rather than choosing solely on price or confidence of delivery. Appropriate uncertainty about concealed conditions can reflect disciplined assessment, not incompetence. A professional who distinguishes visible evidence from a conclusion about concealed conditions may be giving you more useful information than someone who assigns a cause from one photograph.
The difference between a premature request and a useful one is framing. A homeowner who contacts someone asking for "repointing to stop the leak" has already prescribed the repair. A better assessment request describes the deteriorated joints, the interior moisture pattern, the rain timing, and what has changed, then asks whether pointing would address the water-entry condition, an independent mortar condition, or both. That neutral framing gives the professional room to investigate and gives you a better standard for evaluating the answer.
Prepare the Assessment Request
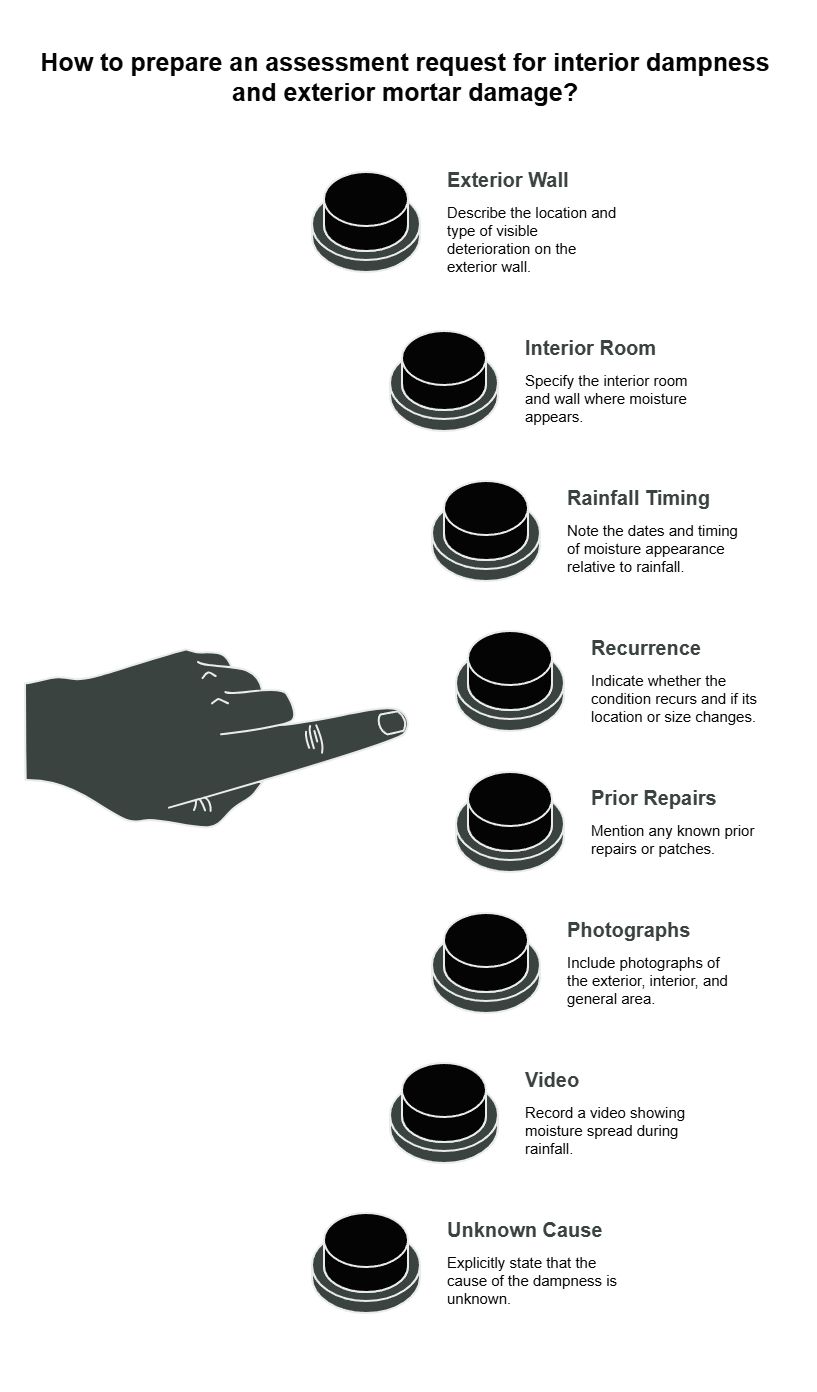
Before contacting a professional, organize the following items into a single request.
Assessment Request Checklist
- Exterior wall and approximate location of visible deterioration
- Interior room and wall where moisture appears
- What looks different outside (mortar recession, cracking, gaps, staining, prior patches)
- What occurs inside (damp patch, staining, bubbling, dripping, recurring wetness)
- Dates and timing relative to rainfall
- Whether the condition recurs and whether its location or size changes
- Prior visible repairs, pointing, sealant, or patches, if known
- A wider context photograph showing the general area
- A detail photograph of the exterior condition, if safely obtainable
- An interior photograph showing the moisture pattern
- A short video recorded from the interior while the rain is actively falling, showing how fast the moisture spreads or drips.
- An explicit statement that the cause is unknown
A useful request can be straightforward: "Mortar appears recessed near this window, and dampness has appeared inside after certain rain events. These observations are near the same part of the building. Please assess whether they are related and what condition any proposed work is intended to address."
The goal is to give the assessor a useful pattern to investigate, not to tell them what repair to sell.
While mapping these symptoms helps frame your request, you may still have immediate questions about what those symptoms mean.
Frequently Asked Questions
Does dampness after rain prove deteriorated mortar is the leak source?
No. Rainfall timing is useful evidence, and visible mortar deterioration should be reported, but the two observations together do not establish the full water pathway. A professional assessment should evaluate the broader wall area and any relevant adjacent components before concluding that one specific defect is responsible.
If the interior stain lines up with damaged mortar outside, does that prove the two are connected?
Spatial alignment strengthens the reason to assess them together, but it does not establish causation by itself. Water can move within or around building components before becoming visible indoors, which means the interior manifestation may not sit directly behind the exterior entry point. Report the alignment, then let the investigation determine the relationship.
Can photographs determine whether pointing will stop the seepage?
Photographs can document visible conditions and support an initial conversation with a professional, but they may not reveal concealed conditions inside the wall assembly or establish the complete repair scope. Use photographs as part of the symptom map rather than as a substitute for on-site evaluation.
Should I test the wall myself before requesting an assessment?
Do not physically test, probe, scrape, or hose the masonry. Do not apply caulk or sealant as a diagnostic experiment. Document visible conditions, timing, and photographs from safe, accessible positions and leave testing and diagnosis to a qualified professional. Attempting your own leak test or disturbing the mortar can alter the conditions an assessor needs to evaluate.
Map the Pattern, Then Ask for Evidence
You do not need to determine the cause before requesting help. Map the exterior condition, the interior moisture, the timing, the progression, and the limits of what you can observe. Preserve what you do not know as clearly as what you do, and ask for evidence connecting the symptoms before approving a repair scope. Assessment and repair authorization are separate decisions.
For homeowners in Ozone Park and surrounding Queens neighborhoods, City Suburb's brick-pointing services page lists Queens in its service geography and accepts photographs and descriptions of mortar concerns as part of an initial inquiry. Where the condition requires closer evaluation, contact City Suburb to request an on-site assessment.
Disclaimer: This article provides general information for organizing visible masonry and moisture observations. The source of water entry, the condition of concealed wall components, and the suitability of any repair depend on the specific property and may not be determined from photographs or visible symptoms alone. Do not disturb masonry or enter unsafe areas to inspect it. Obtain an appropriate professional assessment for property-specific conclusions.
Our Editorial Process:
The City Suburb Insights Team synthesizes complex topics into clear, helpful guides. While our content is reviewed for clarity and accuracy, it is for informational purposes and should not replace professional advice.
About the City SuburbInc Insights Team
The City SuburbInc Insights Team is our dedicated engine for synthesizing complex topics into clear, helpful guides. While our content is thoroughly reviewed for clarity and accuracy, it is for informational purposes and should not replace professional advice.